Seven Pizza Hacks I Wish I’d Put in My Books
Photos by Mark Luinenburg
First off: thanks to everyone who came out to Cream & Amber bookstore in Hopkins MN back in March. It was a great opportunity to sign books and answer your burning (hopefully not) bread and pizza questions. I continue to be obsessed with pizza, and while I’m happy to talk bread on the 14th, pizza is on my mind right now.
Over the years, I’ve probably made more pizza and flatbread than pretty much anything else in my books. Why? Because it’s the fastest bread there is, it’s very forgiving, and everyone loves it. (If you’ve never tried my method, start with a recipe for a basic classic pizza, or even cracker-crust pizza). I’ve written an entire book about pizza, and included pizza recipes in each of my eight books. Along the way, I’ve learned a lot of simple pizza-making hacks, some of which you’ll find in print, as well as here on my website. But they’re not all in one place, so here goes…
1. Have all toppings prepared in advance without fail: In one of my early forays into entertaining with pizza, my wife and I invited friends over to sample a selection of free-form pizzas–shaped and topped on a pizza peel, and then slid onto a hot baking stone. Unfortunately, I got distracted after topping the first pizza, and it sat on the pizza peel for 20 minutes while I rushed to prep the rest of the toppings. Of course, the pizza got royally stuck on the peel, and when I tried to slide the pizza onto the stone, only the toppings slid—the dough stayed on the peel! It was a smoking mess.
The bottom line: once you roll out/stretch your dough, whether you do it right on a pizza peel or transfer it from board to peel, top it quickly and get it into the oven—especially with high-moisture dough like mine.
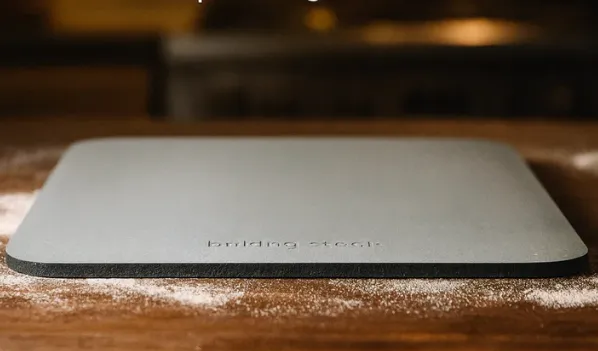
2. It’s all in the wrist: For free-from pizzas baked right on a hot stone, get the pizza off the peel by pulling the peel toward you, not by pushing the pizza off the far end of the peel. Place the peel’s tip at the back of the stone, shake a bit to loosen, and then, in a sharp and decisive gesture, pull the peel out of the oven. You’ve heard of the magician’s tablecloth trick, where a tablecloth is pulled out from under the dishes? This is the pizza peel trick, where the peel is pulled out from under the pizza.
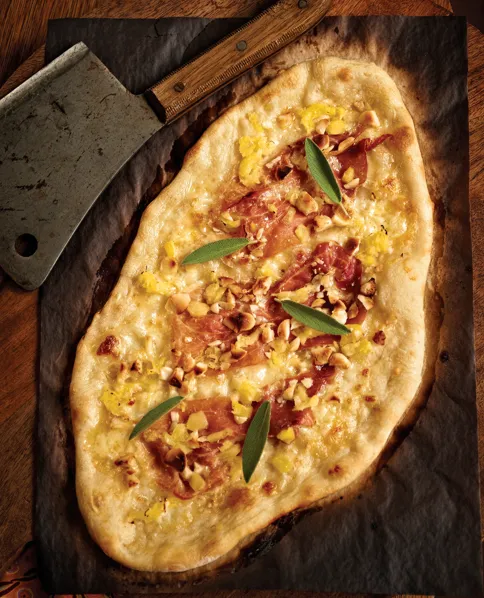
3. Embrace the oval: Pizza newbies tend to get frustrated when they try to stretch and/or roll the dough very thin (1/8-inch / 3 millimeters). Even when you give the dough a few 5-minute rests as you stretch it out, the dough seems to want to fight back. But if you’re OK with a rustic, oval-shaped pizza or flatbread, you can get a thin crust by feeling for the direction in which the dough is less resistant to being stretched or rolled out (there’s always one direction that’s more cooperative). That can become the long axis of a rectangular pizza. Just push or stretch the dough that way. Above, a thin crust was stretched into an oval and topped with a little mozzarella and cheddar, chopped macadamia nuts, sage, prosciutto, and (yes) pineapple, for a modified Hawaiian pizza.
If you feel like it, you can try throwing and spinning the dough (see the video) to get it super thin and round disk. It actually does help, if you’re good at it, but it takes a lot of practice, and it won’t work well with dough that’s been aged more than a day or so. In Italy, if you’re claiming it’s vera pizza Napoletana–authentic Neapolitan (thin-crusted) pizza, you are prohibited by law from using a rolling pin. But as you can see in the video, I don’t feel bound by that (unless someone invites me to Italy for this demo).
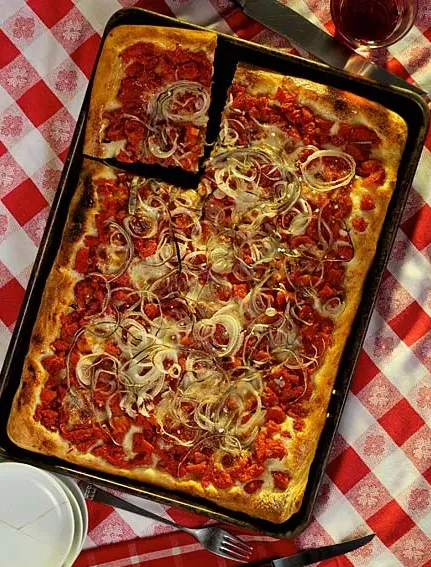
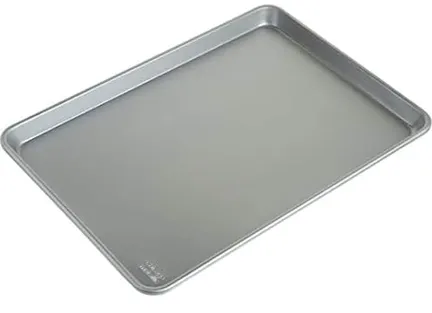
4. Pan pizza is easier: When you don’t want to stress about sliding a fully loaded thin crust pizza onto a hot stone, you can assemble the whole thing in advance on a heavy-duty baking sheet (I prefer uncoated ones). See Secrets of Sicilian Style Pizza Crust for details (Sicilian pizza is thick crust, but you can make thin-crust pizza this way too).
5. Par-bake your dough before topping: If you don’t love the drama of the perfect pizza-peel slide, par-bake your crust in advance. Roll out your dough as usual, then then bake crust “blind,” docking (puncturing) it well with a fork, and removing it from the oven when set (about four minutes). Check for puffing at one minute and dock again if you see any puffs, or you’ll end up with pita bread. Add topping and bake for slightly less time than the original recipe.
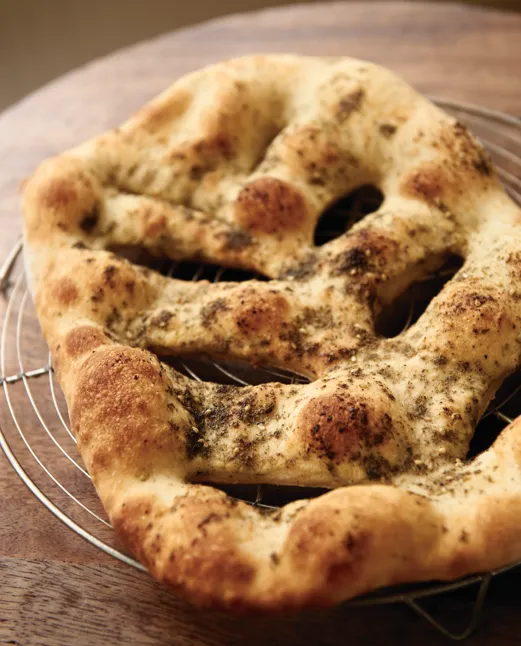
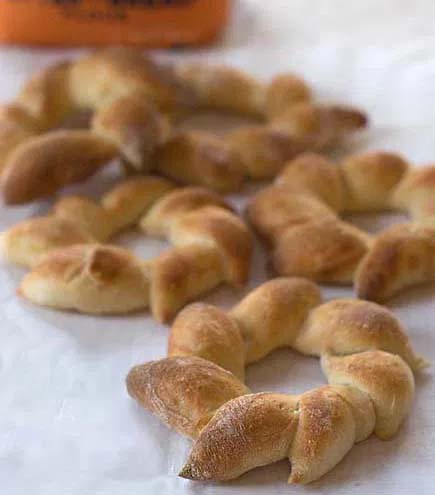
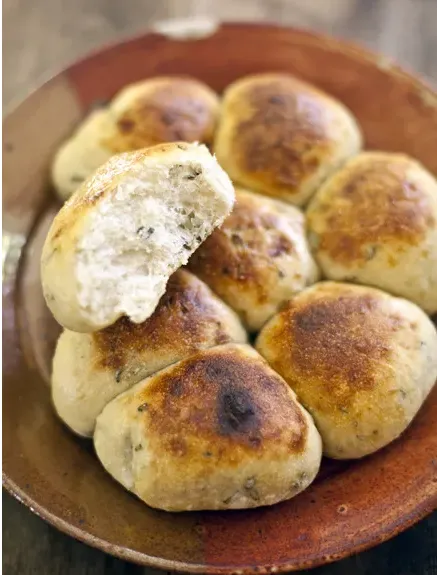
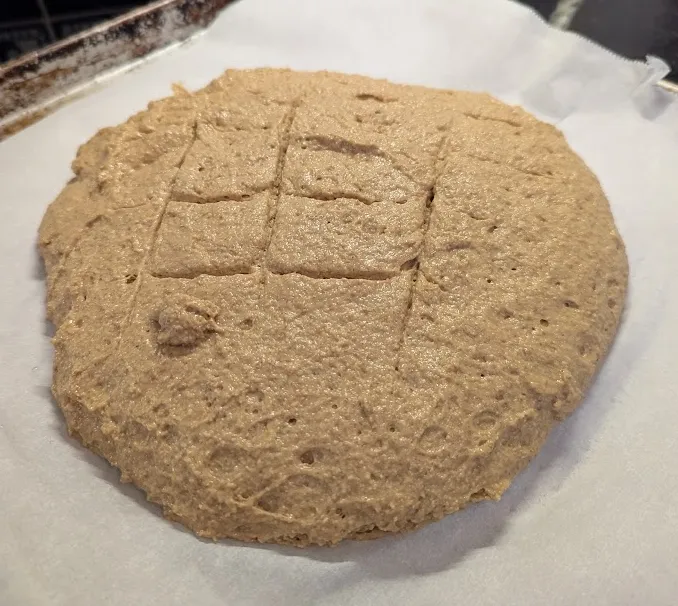
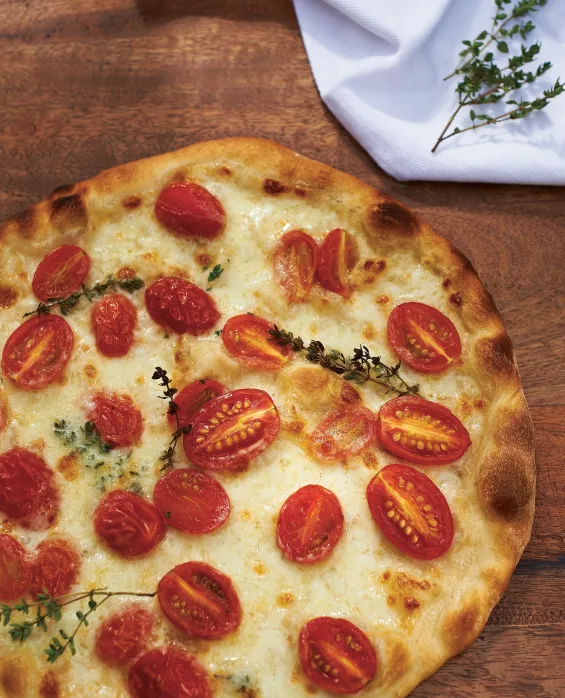
6. Keep it simple: Minimal toppings are also delicious. One of the best pizzas I ever had was a simple olive oil and herb version in Rome. So… how about a little grated Parmigiano and sliced olives? Or tomato sauce and oregano (known as pizza marinara in Italy)? It doesn’t have to be pepperoni and mozzarella all the time. The fougasse (Provencale French flatbread) above couldn’t be easier, and the decorative cuts will make you look like a pro. Recipe here.
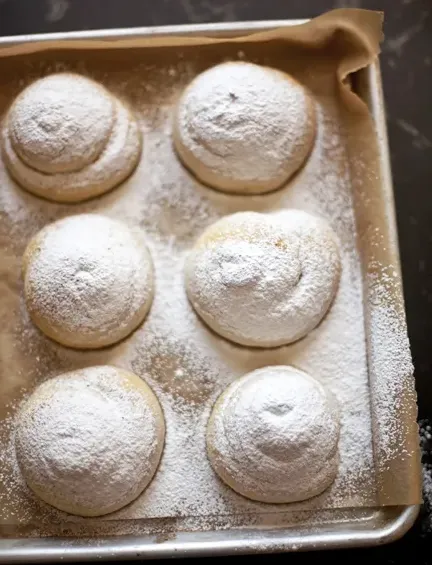
7. Use the freezer to save even more time: You can freeze most of my doughs at any time during its batch life, for up to two weeks. Make half-pound (orange-size) balls and wrap them well before freezing. Thaw overnight in the refrigerator and then use as usual. With the assistance of your freezer, there are three more ways to save even more time:
a. To freeze a pre-baked pizza: Bake a pizza as usual and allow it to cool completely. Freeze in a heavy-duty freezer bag, preferably ziplock. When ready to use, remove from the bag, and place on a baking stone, preheated to the temperature of the original recipe, for about 10 minutes (watch carefully to prevent scorching and consider a lower temperature next time if the pizza is dry). While this method won’t be quite as impressive as the other methods on this list, it’s clearly the fastest.
b. To freeze prepared 1/8-inch-thick dough disks, roll out individual disks on parchment, dusting as needed to prevent sticking. Freeze prepared dough disks on the parchment. As soon as they’re frozen (about 30 to 40 minutes), stack them, leaving parchment paper between the disks. Pack into gallon-size ziplock bags, then freeze and use within three weeks. Bake them still frozen by placing, un-thawed, on a greased baking sheet, assembling the pizza, and then baking in a preheated oven according to the original recipe. Or, bake right on the parchment, placing directly onto a preheated baking stone.
c. To freeze pre-baked pizza crusts: Bake the crusts “blind,” docking (puncturing) them well with a fork, and removing them from the oven when they just begin to brown (about four minutes). Check for puffing at one minute and dock again if you see any puffs, or you’ll end up with pita bread. Allow to cool on a rack, then place parchment or wax paper between the crusts and freeze in a ziplock bag. These will be far superior to store-bought pre-baked pizza crusts, just as convenient, and a little quicker-baking (about 20 percent quicker) than using unbaked frozen dough (see above). You can bake them frozen or defrosted (but when using frozen crusts it will take a few more minutes to complete the baking).
Do you have any pizza tips or shortcuts to share? I’d love to hear from you (click on any “Comments” field on the website, or here on this post).
And there’s a virtual library of pizza recipes here on the website. To view, type “pizza” into the Search Bar above. And for a deeper dive into my recipe reconsiderations focusing more deeply on bread than pizza, see “10 Things I Wish I’d Put into My Books.”
Note: BreadIn5.com is reader supported. When you buy through links on the site, BreadIn5 LLC earns commissions. View BreadIn5’s privacy policy.