The biggest difference between salt and sugar scrubs is that you can't use salt scrubs on your face or sensitive or irritated skin. Save those for extra dry areas (like your feet!) that could use a little extra TLC, especially during the winter.
Whether you're making a salt scrub or a sugar scrub, however the ratios will be the same: 2 parts salt or sugar to 1 part oil with 6-8 drops of essential oil.
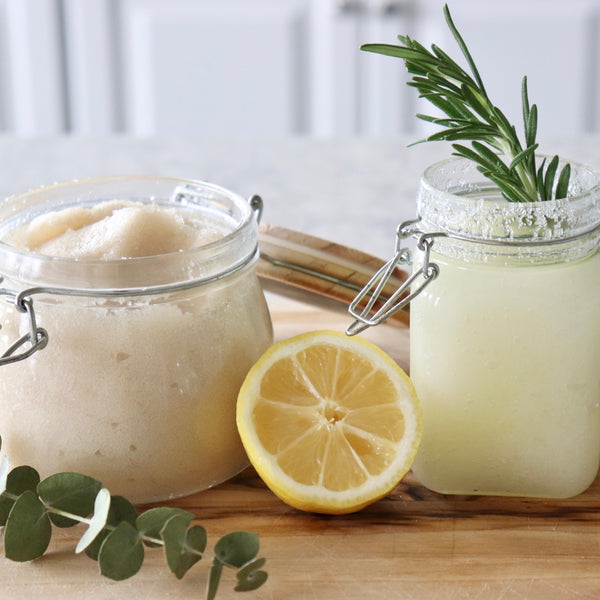
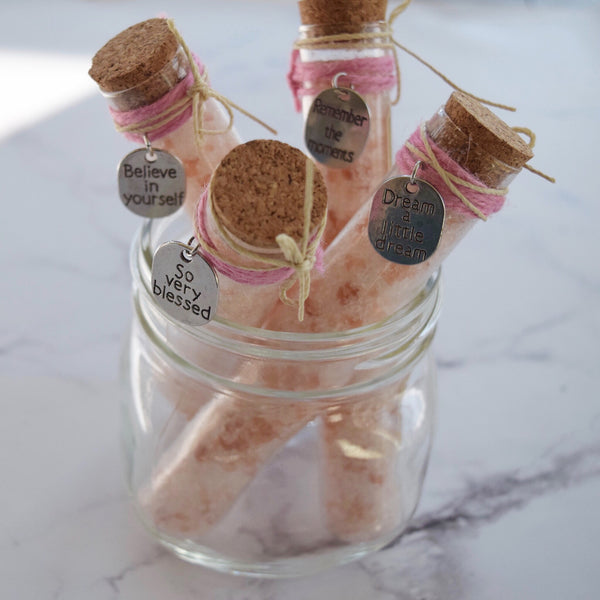
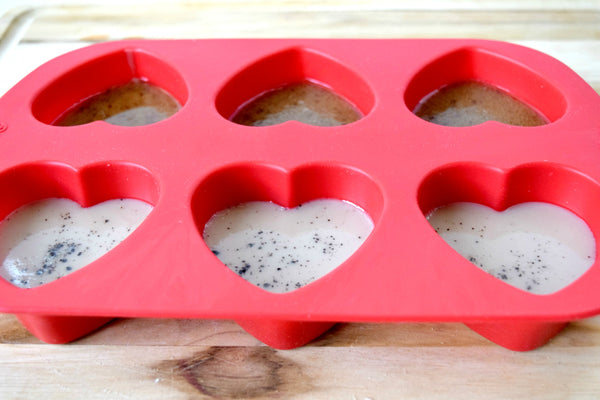
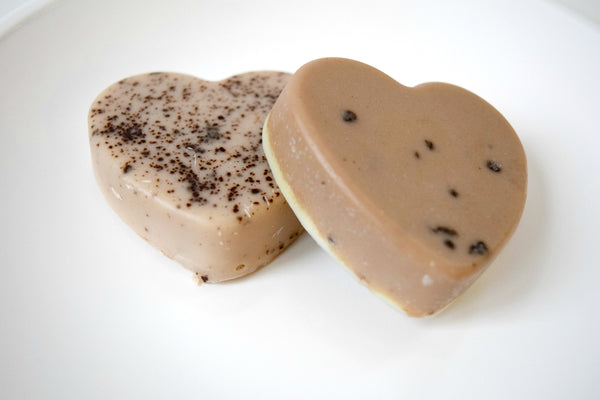
As you can imagine, the possibilities are endless, but for this episode, I chose two of my favorites: a Peppermint Rosemary Salt Scrub and a Lemon Eucalyptus Organic Sugar Scrub.
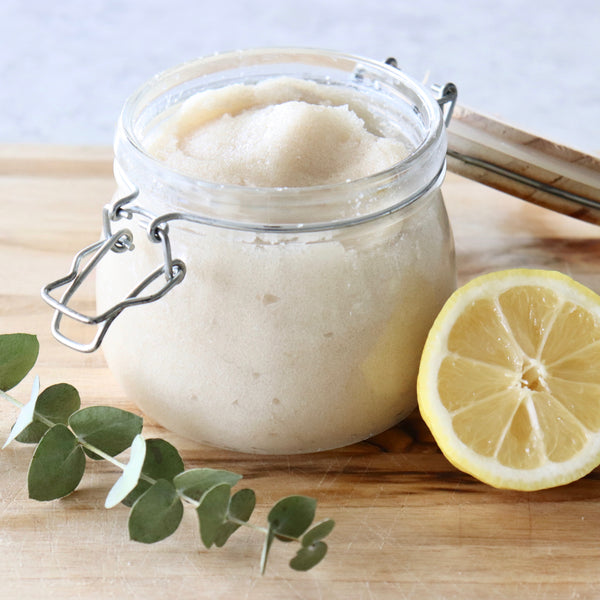
Peppermint Rosemary Salt Scrub
So soothing and so great for those extra dry areas on your body that need a little extra love like your feet and elbows!
INGREDIENTS:
- 1 1/2 to 2 cups coarse salt (sea, Epsom, Dead Sea and/or Himalayan)
- 3/4 to 1 cup oil*
- 6-8 drops each of peppermint and rosemary essential oils
*Suggested oils (choose one or try a mix):
- Almond
- Avocado
- Grapeseed
- Jojoba
- Safflower
DIRECTIONS:
1. In a small bowl, combine salt and oil.
2. Add 6-8 drops each of peppermint and rosemary oils. Mix well.
3. Spoon the mixture into an airtight container.
4. Use once 1-2 times a week, wetting the desired area before using. Discard after 6 months.
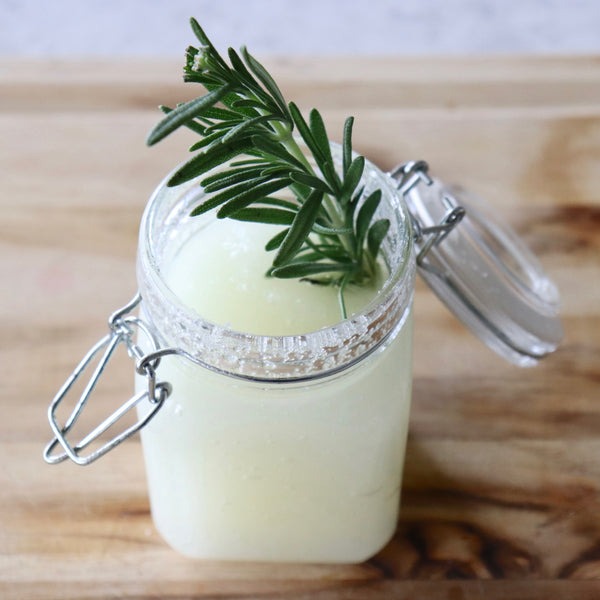
Lemon Eucalyptus Organic Sugar Scrub
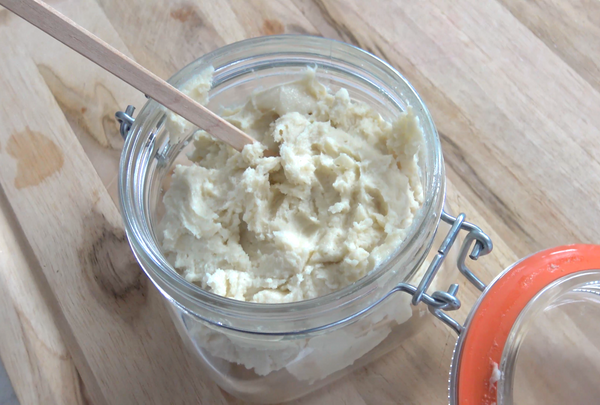
You can follow the directions above for the salt scrub to make this one OR make it a little fancy like I did in the video by whipping the coconut oil to give your scrub a thick, luxurious feel.
INGREDIENTS:
- 1 cup organic sugar
- 1/2 cup solid coconut oil*
- 6-8 drops lemon eucalyptus essential oil
*Use melted oil if you're not making a whipped scrub
DIRECTIONS:
1. Use a hand mixer or stand mixer on medium to mix solid coconut until until it's whipped (about 8-10 minutes.)
2. Add sugar and essential oil and continue mixing until well-combined.
3. Spoon the mixture into an airtight container.
4. Use 1-2 times a week, wetting the desired area before using. Discard after 6 months.
]]>


