Soil blocking is a method of propagating seedlings that involves filling a metal blocking tool with soil and squeezing to form a compressed cube. Seeds are planted directly into the formed block. Soil blocks come in various sizes and are advantageous for air pruning roots.
]]>Soil blocking is a method of propagating seedlings that involves filling a metal blocking tool with soil and squeezing to form a compressed cube. Seeds are planted directly into the formed block. Soil blocks come in various sizes and are advantageous for air pruning roots.
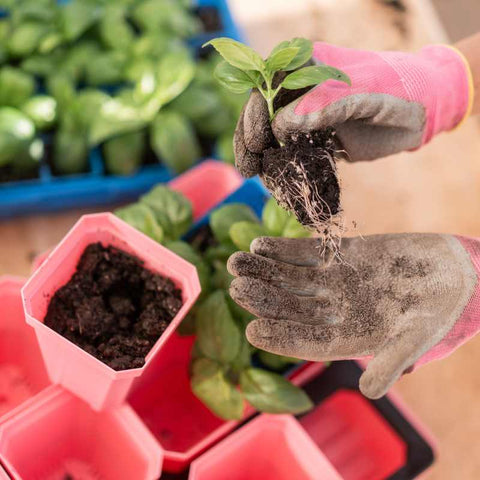
Air pruning occurs in soil blocking when the root systems start to grow out toward the drier soil and air surrounding the outer layer of the block. The exposure to air triggers the plant to send out secondary roots, creating more extensive branching for healthier roots with more surface area to absorb water and nutrients.
Benefits of Soil Blocking
Soil blocking is an eco-friendly, lower-waste method of seed starting that, when done right, can establish healthy seedlings that quickly acclimate after transplanting due to limited shock. Due to their small size and the ability to place many on a 1020 tray, soil blocks are advantageous for growers with limited space. They also significantly reduce single use plastics in seed starting. Properly cared for soil blockers can last for decades.
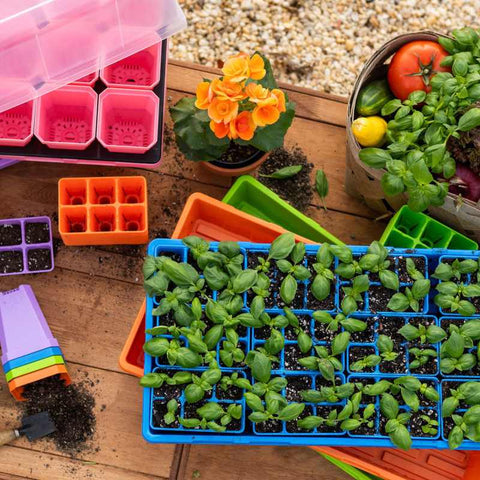
Supplies Needed for Soil Blocking
Soil blocking requires a few tools, but the inputs are low after the initial purchase of the blocker and trays. We recommend buying heavy-duty trays to place your soil blocks on that will last for many seasons.
Equipment you need:
- Soil blocker ( mini 3/4” or regular 2” )
- Soil blocking mix or finely sifted Potting mix
- Large plastic dish tub or tote for mixing and holding soil (tubs with a large flat area work best for compressing the blocks)
- Sifting Tray for Compost
- Scoop or bucket for measuring ingredients
- Water
- Trays (1020 Shallow Mesh & 1020 Shallow Tray no holes)
- Optional: Soil Block Drop Seeder
For an all in one option, check out the Soil Blocking Starter Kit.
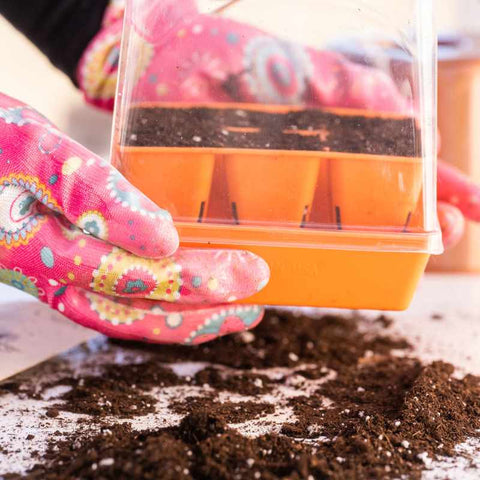
How to Soil Block
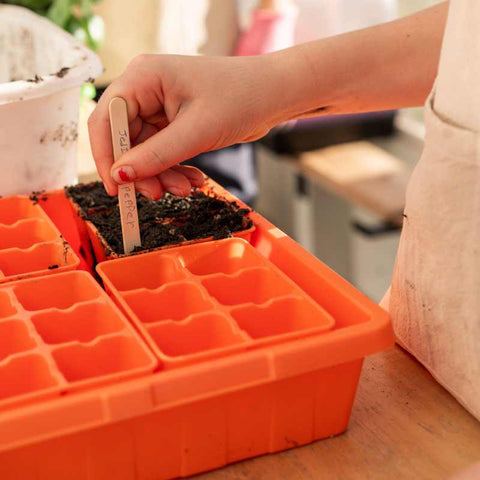
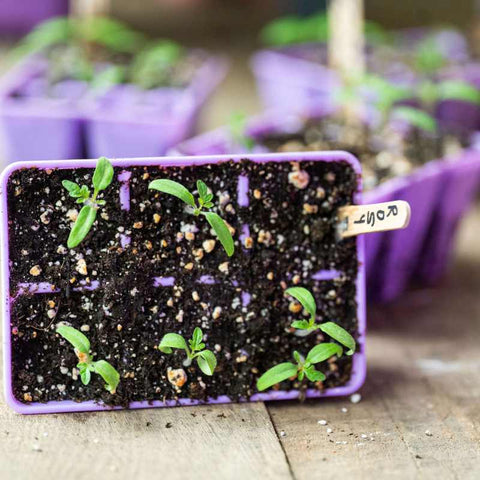
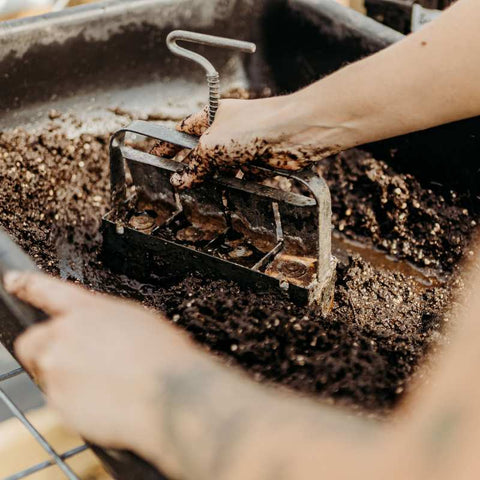
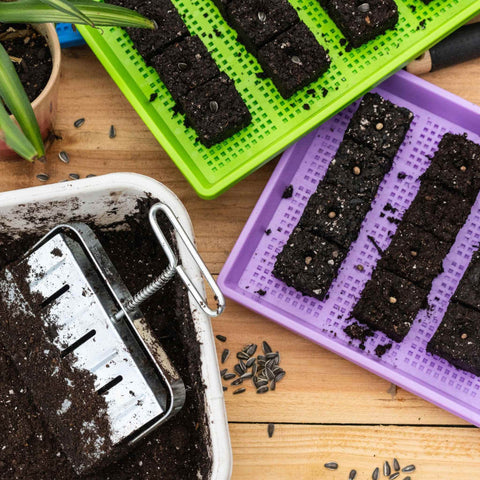
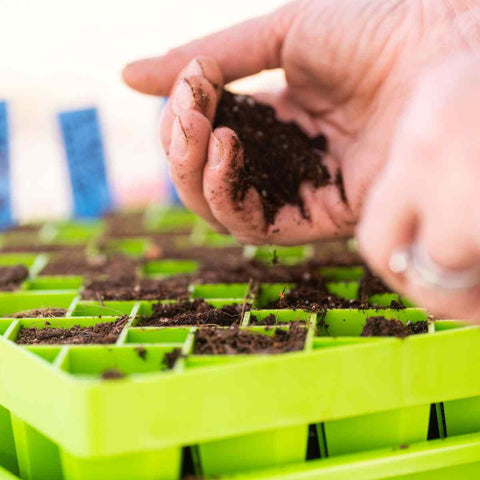
Fill the tote with no more than 4-6 inches of sifted soil mixture. Be sure to pick out any chunks of bark or any other large pieces that made it past the screen as it will prevent a good block formation and disturb tiny roots. Add water to your tote of soil mix until you have a soupy mixture. Press the wet mix into your soil blocker and pack it tightly into the tool using the flat bottom surface of your tub to add pressure. Gently release the block onto your mesh tray stacked into your 1020 2.5” tray without holes.
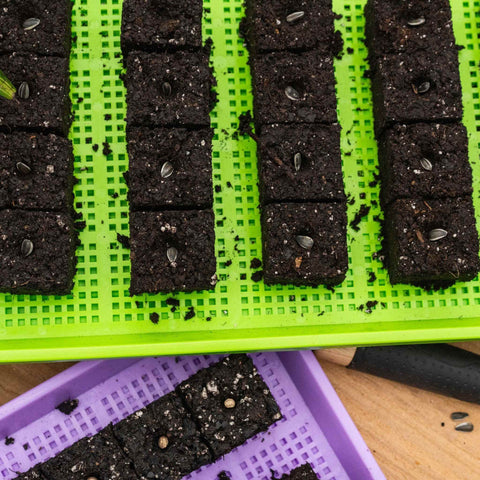
After you have made your blocks, insert seeds and cover lightly with soil mix if needed. For tiny seeds, a moist toothpick will help you to pick up and deposit a single seed into each tiny block. You can discard extra water from the bottom tray if necessary by simply removing the mesh tray and dumping out the 1020 bottom tray.

Using a Potting Mix for Soil Blocking
Many use pre-made soil mixes like Promix for their soil blocks, containing peat moss, perlite, and a wetting agent that helps hold the blocks together. Look for potting soil that contains these items, or amend what you have on hand to include them.
If your potting mix has large pieces of bark or pearlite, anything over ¼ inch, you will need to sift it just as you would compost. This will help to keep your soil blocks uniform. Smaller particles will also help the block retain structural integrity.

Whispering Willow Farm’s Soil Blocking Recipe:
Jill Ragan of Whispering Willow Farm uses soil blocking to start many of the flowers and vegetables on her farm. Check out her soil blocking troubleshooting video and learn more about the mixture she uses for her blocks. We recommend starting with a simple recipe and tailoring it to your needs as you become more experienced.
Making your own soil blocking mix
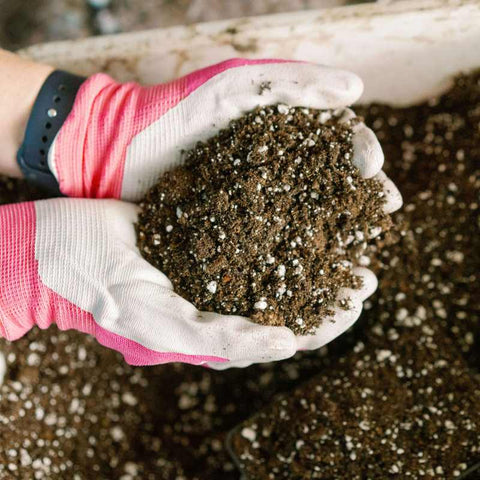
When making your own soil blocking mix with compost, you will most likely need to mix in a fluffing agent like coco coir, peat moss, perlite or vermiculite. There are pluses and minuses to all of these options which we go into in this article on Growing Media. You will also add something with a sandy texture like dolomite lime or greensand and some minerals in the form of rock dust.
Keep in mind if you will be using peat moss, which has a low pH you will need to use dolomite lime to raise the pH of your mix. If you are using a more neutral fluffy material like coco coir you can use greensand which has a more neutral effect on the mix.
Soil Block Recipe
- 4 parts sifted coco-coir or peat moss
- 1 part grit like sand or vermiculite
- 3 parts sifted well aged compost
For every gallon of mix that you make add ¼ cup of dolomite lime or greensand and ¼ cup of basalt rock dust. These add minerals and act as binding agents.
Compost Best Practices
Always use well aged compost for soil blocking and seed starting. Amending with immature compost may damage plants if it includes acids or pathogens. Another issue with immature compost is that it is still composting, meaning it continues to decay while mixed with your plants. This can result in overheating, nutrient burn or off gassing of nitrogen in your growing space.
Mature compost should not contain slimy things. It isn't ready if you can still recognize vegetables or any other original materials in your mix! If your compost, home-made or store bought, has large pieces of bark or other big chunks it will need to be sifted before using in soil blocks.
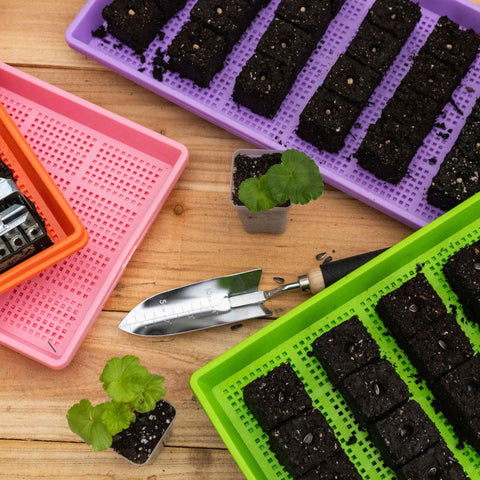
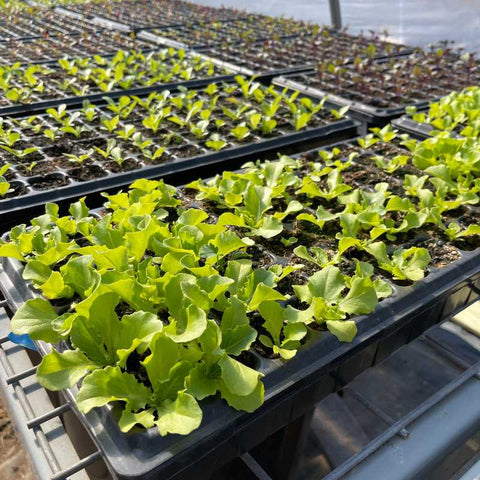
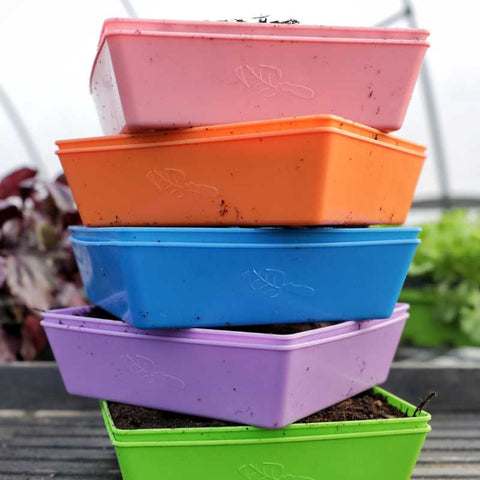
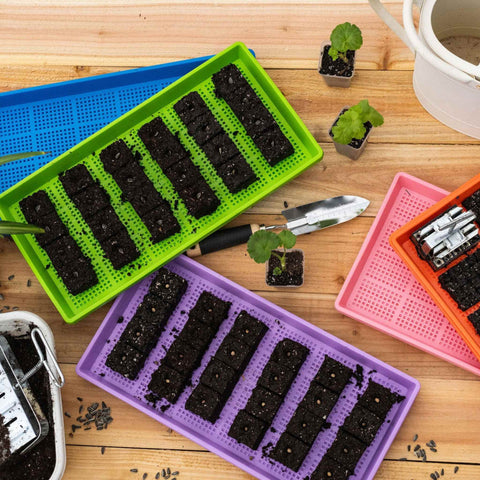
What are the best trays to use for soil blocking?
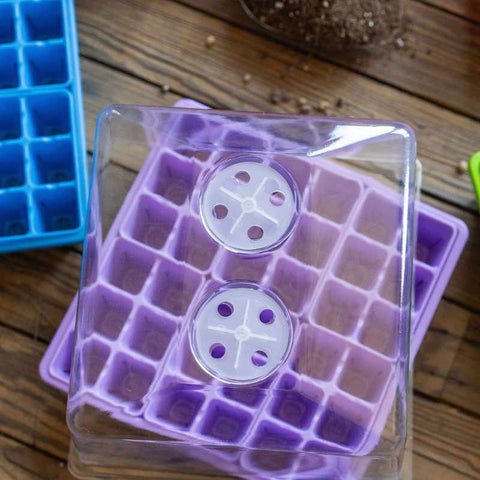
The best trays for soil blocking are those that allow you water consistently without destroying the integrity of the block. We find a 1020 shallow mesh tray with a 1020 shallow tray with no holes underneath for bottom watering to be the perfect combination. Using colored trays makes it easier to keep your seedlings separated by type without having to move labels around.
When to Start Seeds in a Soil Block
Follow the same guidelines as you would when starting plants indoors in a cell tray. Keep in mind your expected frost dates and plan for having adequate space for soil blocks that may have to be potted up. The mini soil blocks can be potted up into the larger 2” soil block with the help of the ¾” cubic pins. The 2” soil blocks may need to be potted up into a larger pot like our 5” square pots if they are getting too large before the temperatures outdoors have warmed enough for planting.
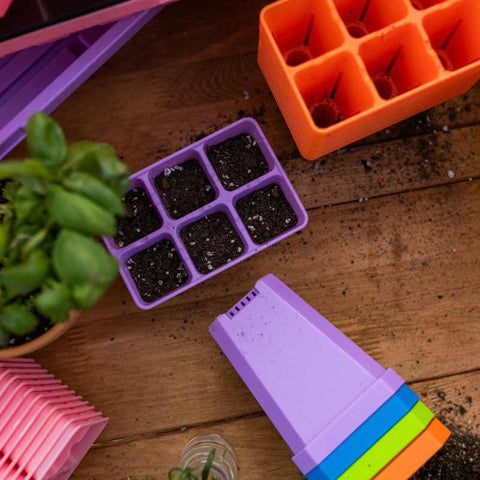
What size soil block should I use?
The two soil blocks most useful for home gardeners and small scale farms are the mini or ¾ inch and the 2 inch. The ¾ inch block can be easily transplanted up into the 2 inch block using the ¾ inch cubic pins. Growers also use the hand-held Maxi 1 for large blocks and the Multi 35 stand-up soil blocker for creating large plantings while standing.
The ¾ inch soil blocks should be used for:
- Small seeds, up to ⅛ of an inch
- Seeds that are slow to germinate
- Heat-Loving crops that should be germinated on heat mats
- Herb seeds
All of these types of seeds are best grown in the ¾ inch block to save space during germination. Tiny herb seeds like basil, thyme and oregano will have tiny seedlings that do not need the prime growing space that could be better spent on things like cucumbers. Slow germinating seeds should be planted in the mini blocks for the same reason.
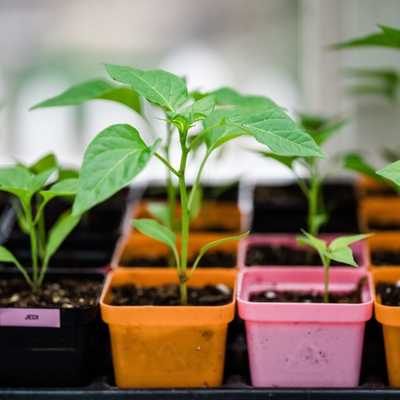
Heat-loving crops that do not mind being transplanted like tomatoes and peppers can be started in mini blocks to save heat mat space. They are then placed into a 2 inch block once their roots reach the edge of the mini block.
The 2 inch soil blocks should be used for:
- Large seeds, ¼ inch or larger
- Quick germinating crops
- Seedlings that do not like being transplanted, like cucumbers and squash.
- Up potting ¾ inch cubes

Using 5/8" Pins and 3/4" Cubic Pins
The larger blocks do well for seeds that need to be planted deeper and those that germinate quickly. The 2” (4 Block) comes with 1/2” pins for making indentations in the block. If you are planting larger seeds such as sunflowers or squash, plan to purchase a 5/8” pin to enable deeper seed indentions for larger seeds. If you plan to pot up your ¾ inch blocks you will need to add the ¾ cube pins to make the proper sized indentations in your 2 inch blocks.
Seeds planted in larger soil blocks should be transplanted out within 6 weeks of germination. Plants that do not do well with root disturbance like cucurbits should be transplanted out before too many roots are visible at the bottom and sides of the block.
 v
v
Tips for planting in soil blocks:
- Plant only 1 or 2 seeds per soil block to avoid having to thin.
- Seeds should be planted no more than twice the depth of their size.
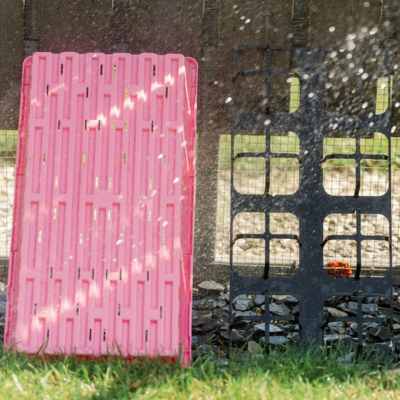
- To prevent algae from growing on the top of your soil blocks, bottom watering is the best practice. It allows the surface of your blocks to dry between watering.
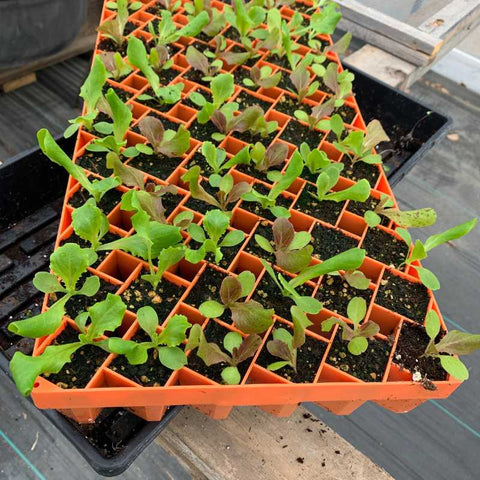
Soil Block Effects Without a Soil Blocker
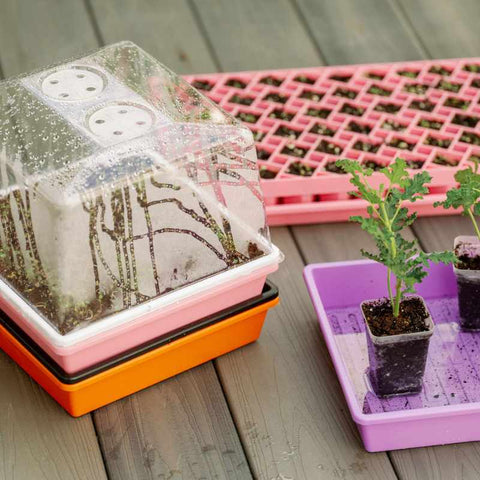
You can achieve similar results to soil blocks with air pruning trays, but without the need to use a soil blocking tool. These 72 cell trays have air pruning slits as well as a large opening at the bottom. They allow for airflow around the cell squares, encouraging healthy roots. For some of the longer growing seeds like lisianthus, the soil block can lose integrity before the seedlings have reached the proper size for transplanting.
Watering and Caring for Soil Blocks
After planting into your compressed blocks, we recommend watering from below using a bottom-watering tray. While some prefer a flat bottomed tray without holes, we prefer a mesh-style tray and a bottom tray without holes to prevent oversaturation. Once your soil blocks have absorbed all the water they can hold, it is easy to remove excess water without accidentally dumping out your blocks. Lift the mesh tray away from the bottom tray, dispose of extra liquid, and replace it.
Top 10 vegetable varieties to start in soil blocks
Some of the most recommended foods to Grow and Preserve are best started on a heat mat for optimum germination. Using mini soil blocks to start these will allow you to germinate a large number of seeds even if you only have a small warm spot to start them. Definitely start these two on heat mats:
- Tomatoes
- Peppers
Other seeds that are great to start in soil blocks include some that are ideal for Growing for Food Security With Limited Space. Below are our favorites along with which size block you should use.
- Kale (mini) can be transplanted into the garden as soon as true leaves appear
- Turnips (mini)
- Chard/Beets (mini) did you know chard and beets are the same genus and species?
- Peas (2” block)
- Cucumbers (2” block)
- Squash (2” block)
- Beans (2” block)
- Corn (2” block) a thirsty plant that can drink its weight in water every day so big is better.
Top 10 flower varieties to start using a soil blocker
Soil blockers are great for flower varieties that like to be surface sown, those with tiny seeds. They are also good for seeds that grow slowly at first and don’t need much space.
For larger seeds, thirsty varieties and those that will need to stay in their starter media for a long time, we recommend starting in an air prune tray for many of the same benefits of soil blocks.
The best flowers to start using soil blockers are:
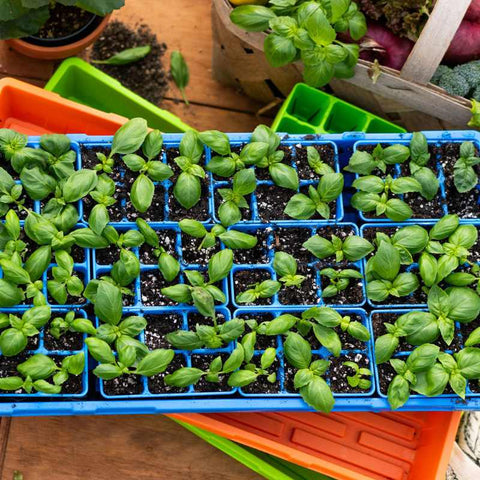
- Basil
- Bupleurum
- Dill
- Dianthus
- Nigella
- Poppies
- Salvias
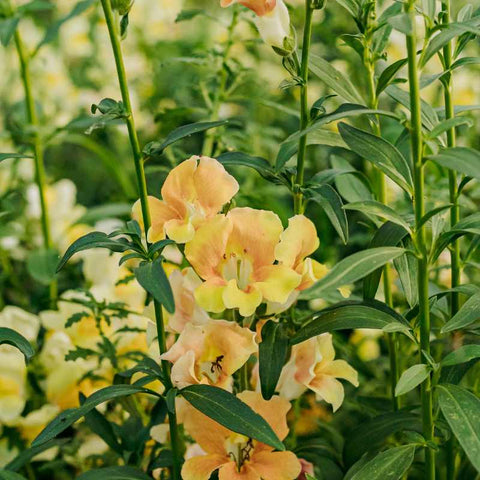
- Snapdragons
- Stock
- Yarrow
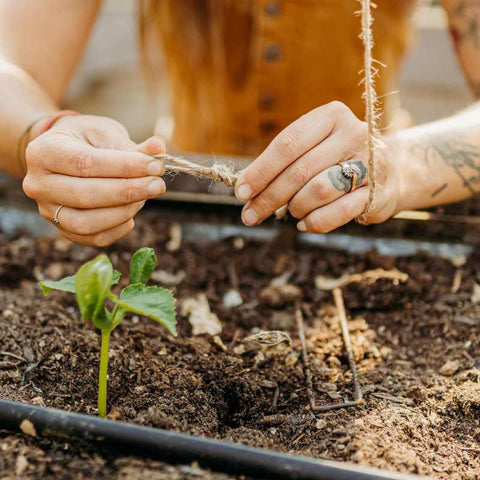
Transplanting soil blocks outdoors
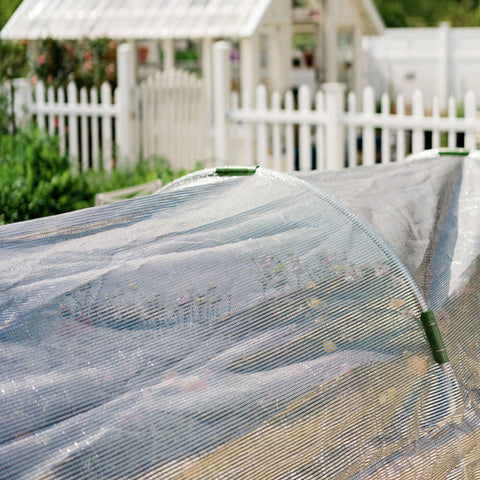
One of the best things about soil blocks is their seamless transition to outdoors. Wait until you see a true leaf and harden off for about a week before transplanting outdoors. For more information on transplanting seedlings check out How to Transplant Seedlings for more information on the process.


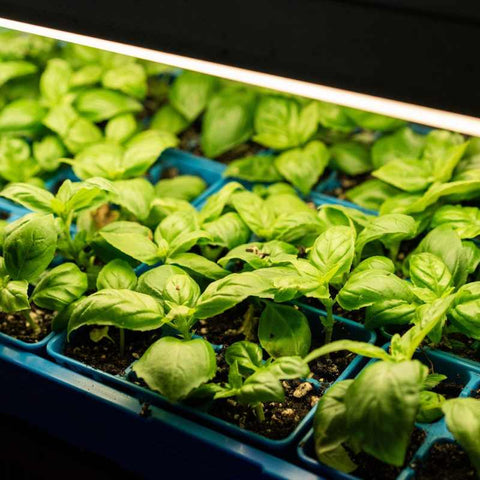
 Using a Heating Mat to Start Flower Seeds