Limited Edition Art of Rob Palmer
Welcome to Branded7, my online gallery of limited edition art and framed prints. Here you can view or purchase featured pieces from my most recent collections, The 4getmeknots™ and A Sheep’s Life along with a range of my earlier work.
-

Explore the wonderful world of The 4Getmeknots™ and discover their mischievous ways with your very own limited edition print. Explore the Collection
-
A Sheep’s Life is my largest collection of limited edition framed prints. With rolling landscapes and playful characters they're sure to brighten up your home. View A Sheep's Life


IntroducingThe 4GetmeknotsTM
A contemporary collection of limited edition framed prints featuring the mischievous and playful 4getmeknots™. Each piece is signed and edition numbered, accompanied by a certificate of authenticity. Visit my shop to view the full collection.
You Tug At My Heartstrings
Signed limited edition £469.00 (Available)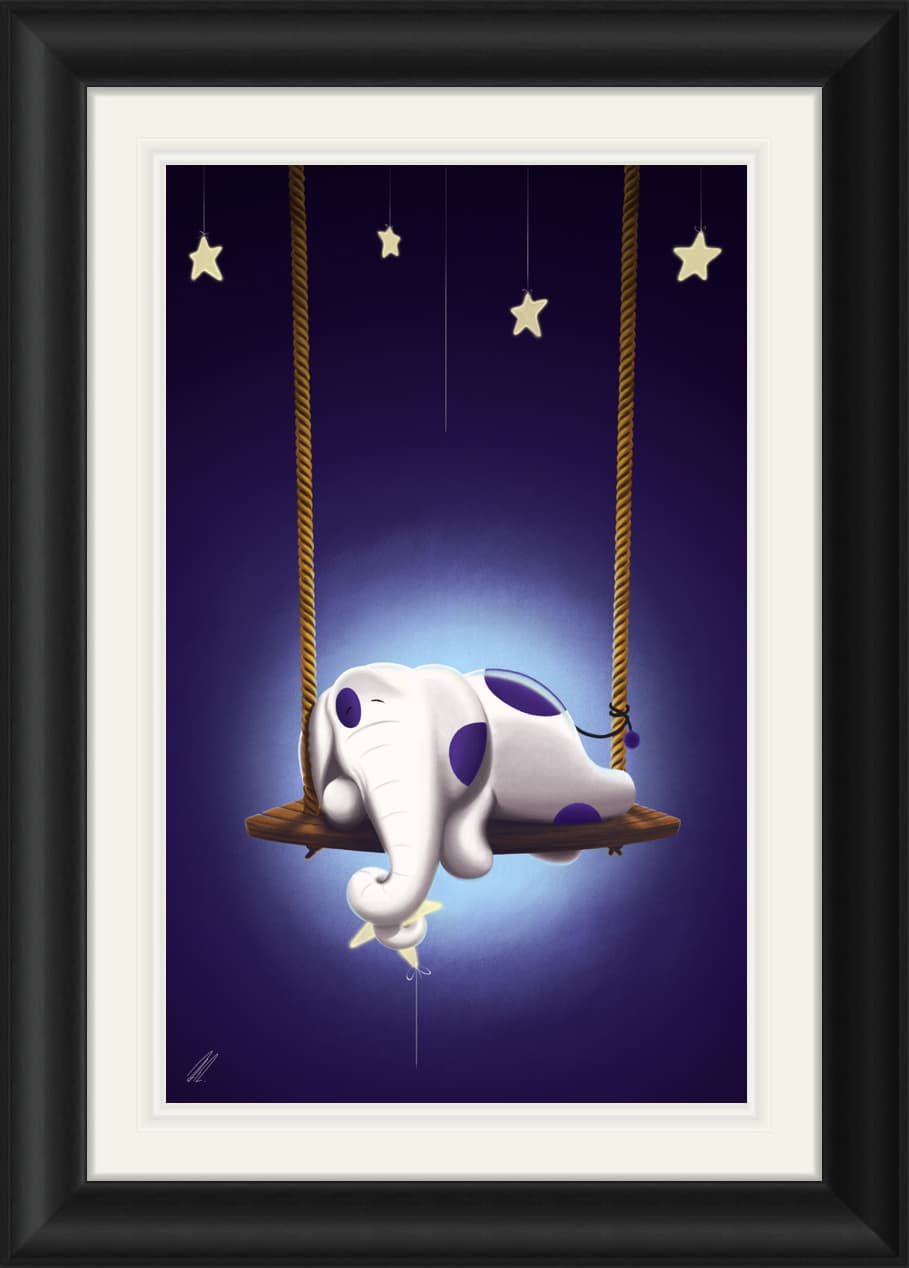
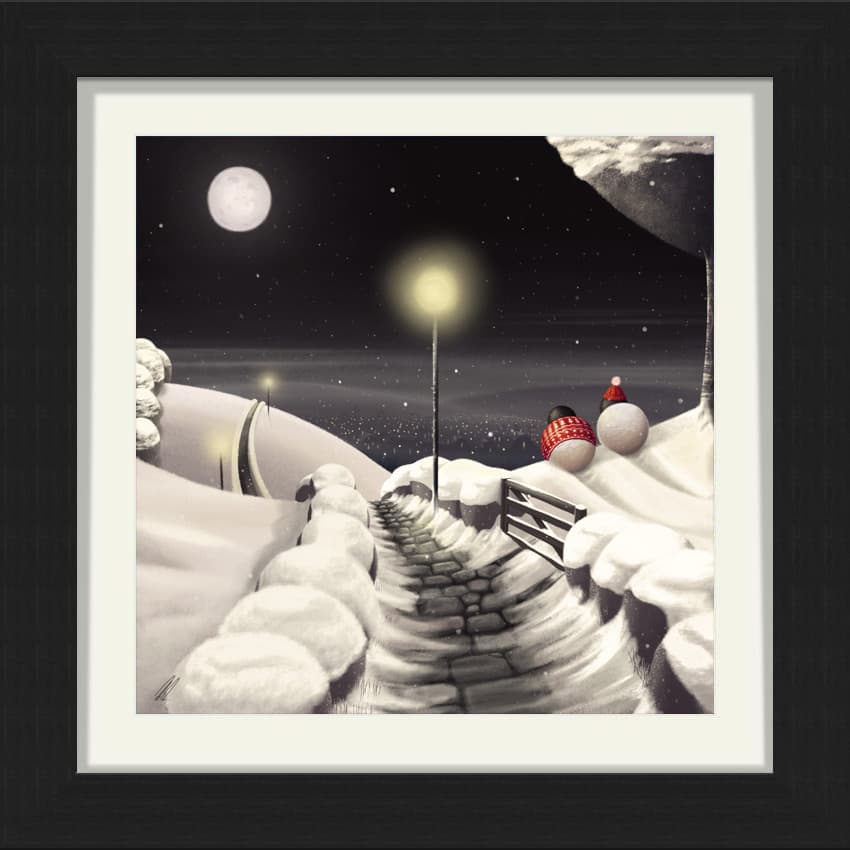
Wish Upon A Star
Signed limited edition £469.00 (Available)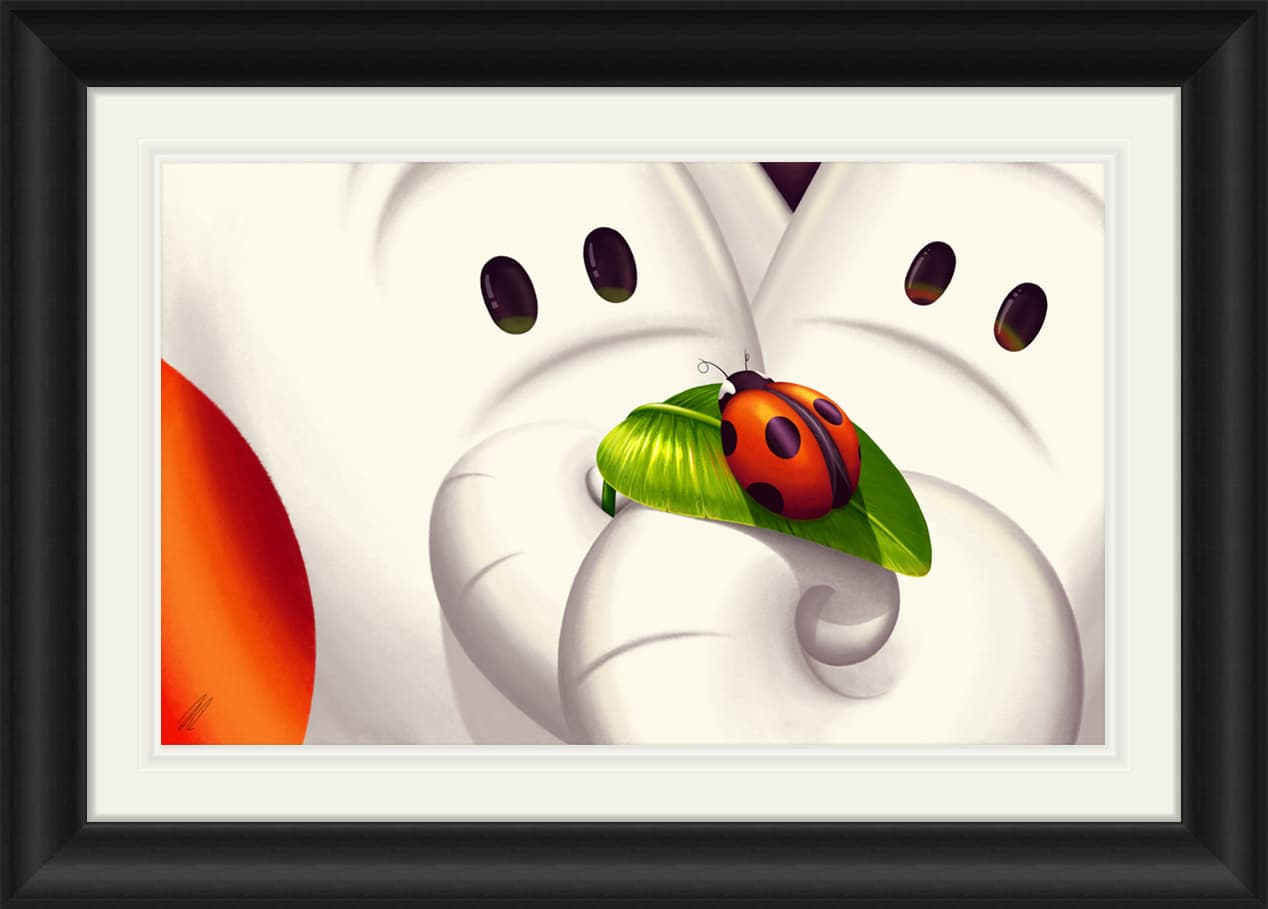
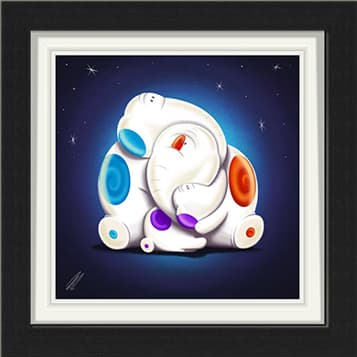
A Lady In Love
Signed limited edition £469.00 (Available)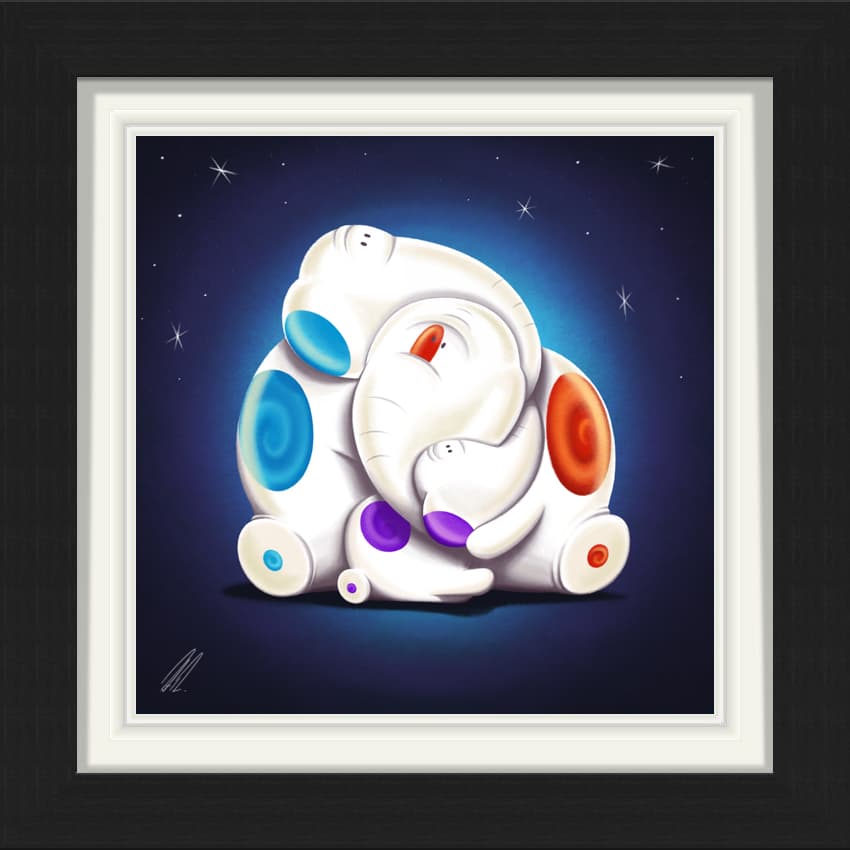
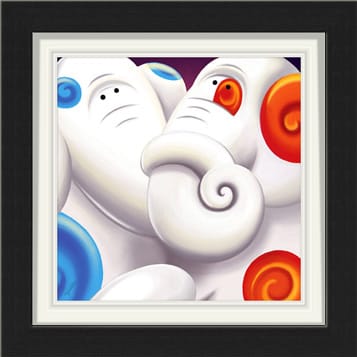
Family Ties
Signed limited edition £329.00 (Available)
Is It Raining? We've Knot Noticed
Signed limited edition £329.00 (Available)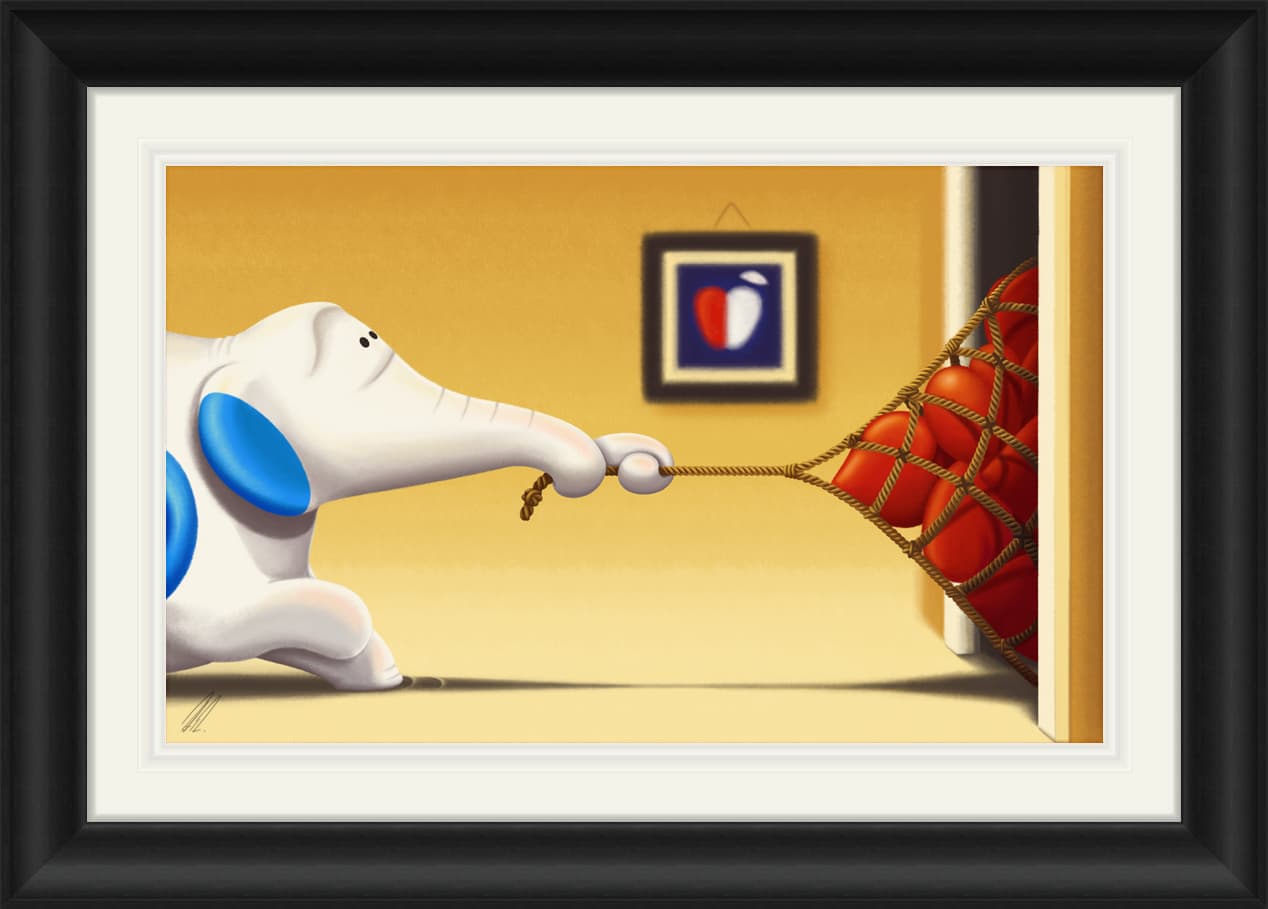
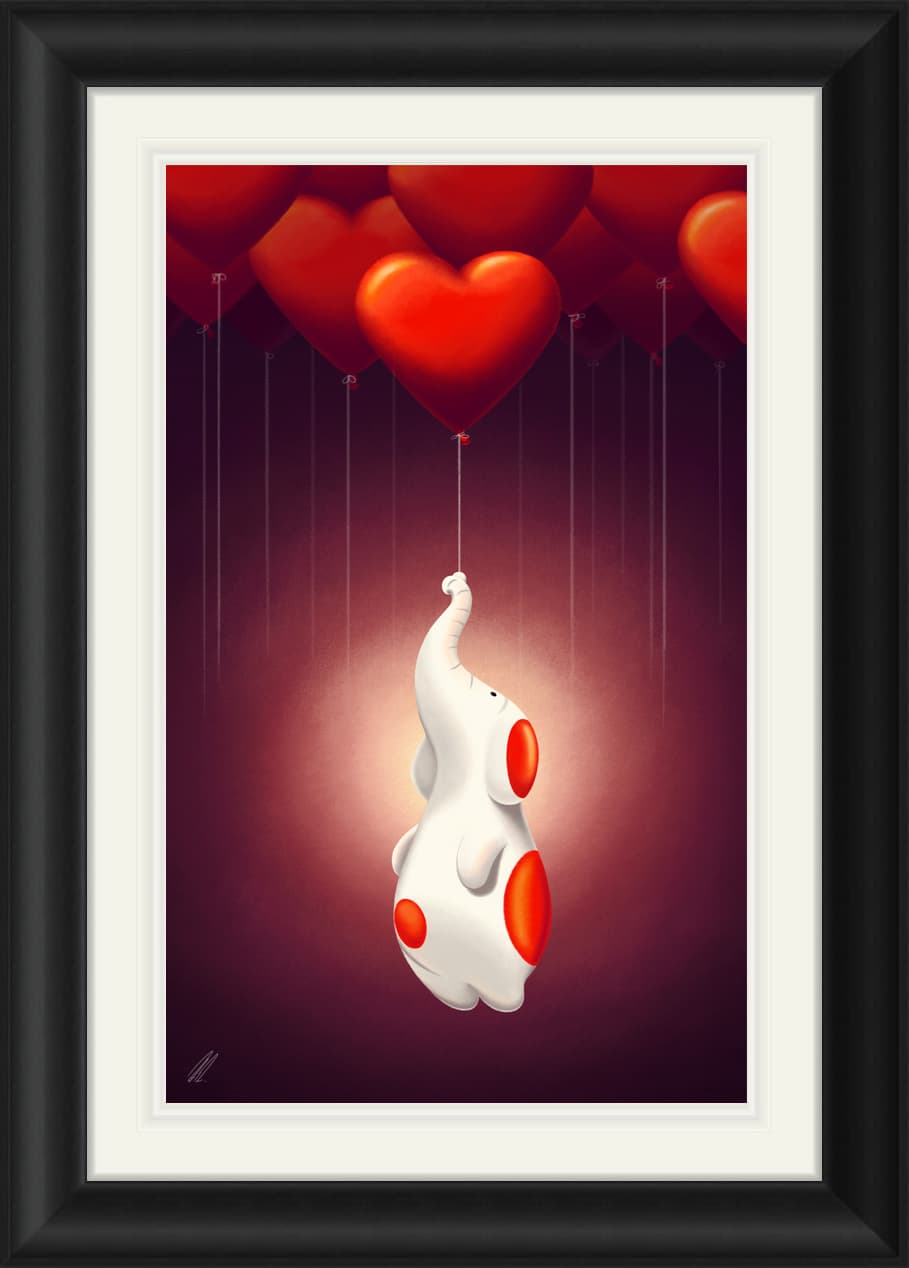
You Caught My Heart
Signed limited edition £469.00 (Available)
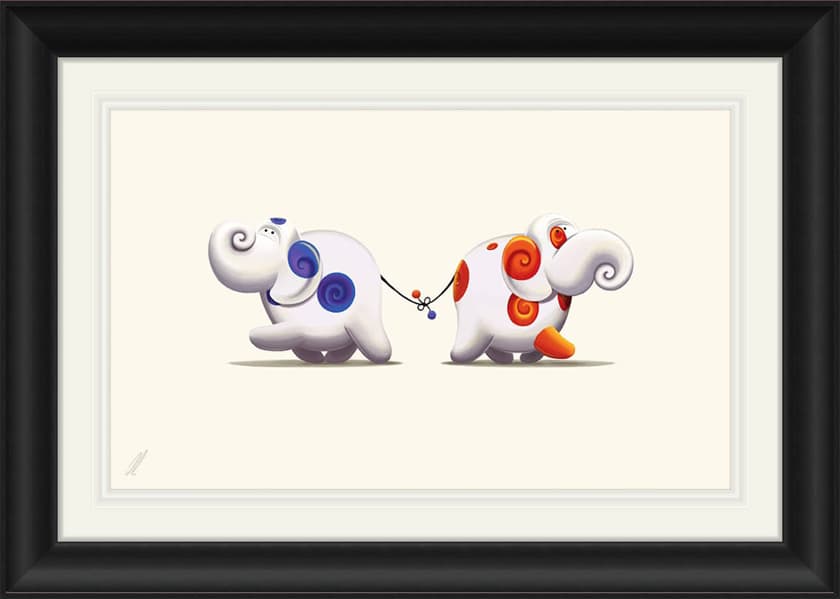
Entwined - Limited Edition

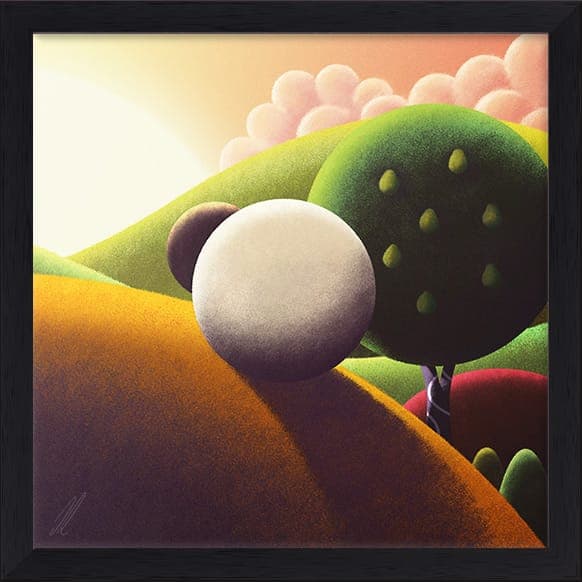
Some Favourites fromA Sheep's Life Collection
The Sheep’s Life collection was conceived in early 2015. Formed around simplistic shapes and a restricted brush set, vivid colours and rolling landscapes, each piece appeals to art lovers looking for a fun and vibrant addition to their collection.
Woolly Winter
Signed limited edition £360.00 (Available)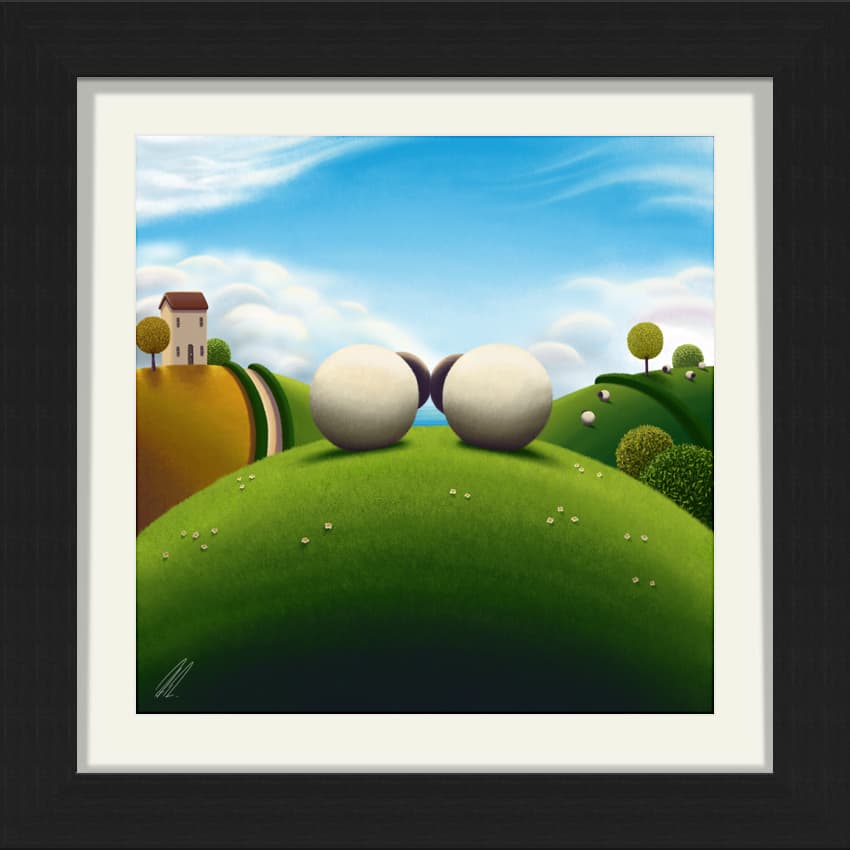
Ewe and Me
Signed limited edition £360.00 (Available)
Bridge Over The River Ewe
Signed limited edition £475.00 (Available)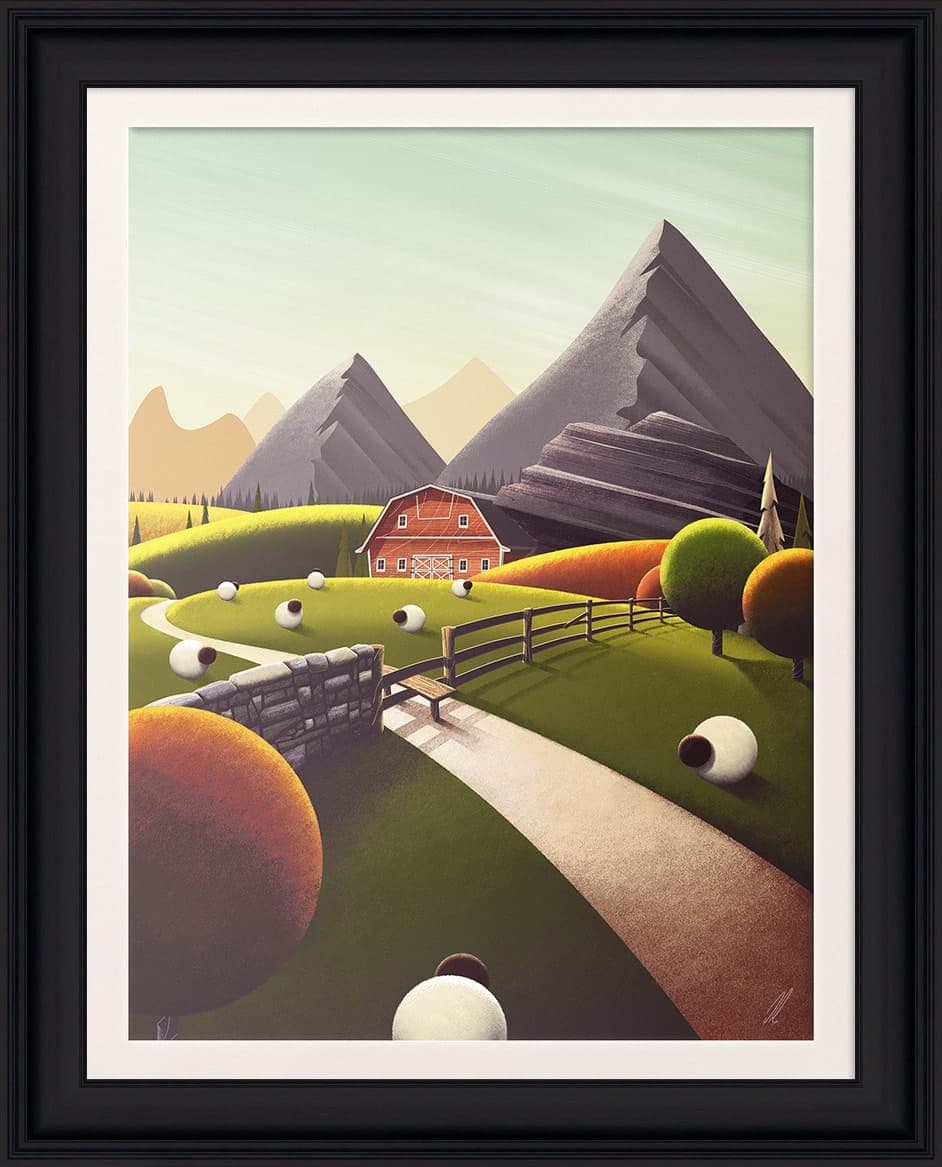
Flock Style
Signed limited edition £425.00 (Available)
Mountain View
Signed limited edition £425.00 (Available)
Sunset Cabin
Signed limited edition £395.00 (Available)
Apples and Pairs
Pair of signed limited edition £355.00 (Available)
At The Rivers Edge
Signed limited edition £475.00 (Available)
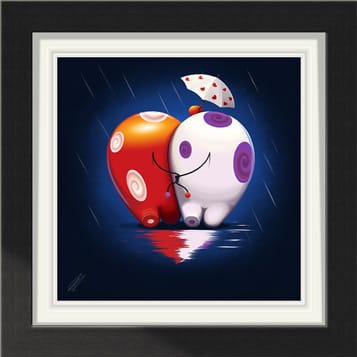
Lake View - Limited Edition

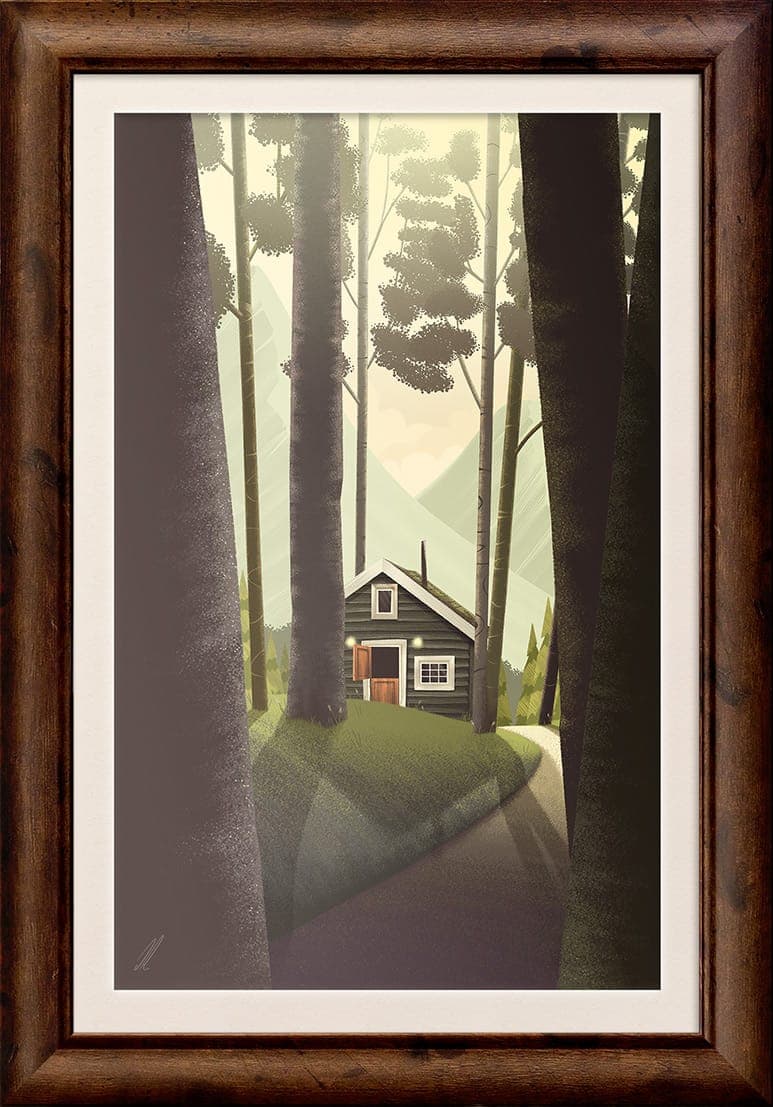
DiscoverHideouts
Hideouts was my second collection released in 2016. Focused around peaceful, tranquil locations, this collection will trigger emotions of longing and wonder, encompassing the feeling of escapism into a location or environment where anyone can go to disappear and unwind.
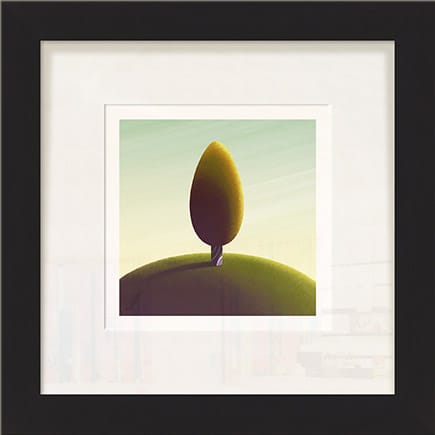
Thinking Time
Signed limited edition £360.00 (Available)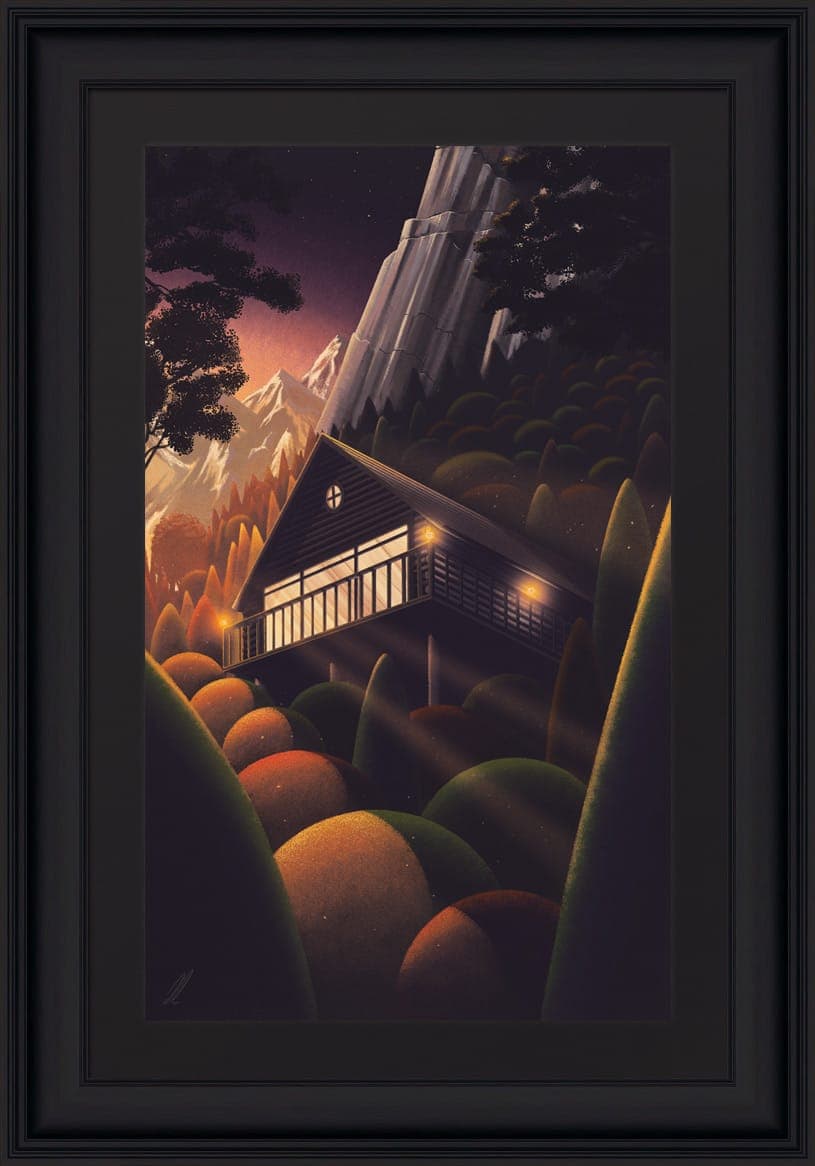
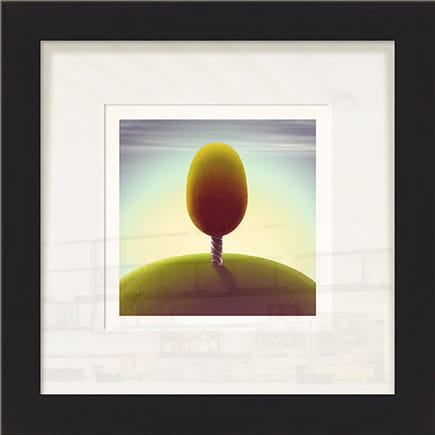
Star Gazer
Signed limited edition £350.00 (Available)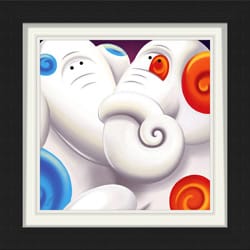
Newsletter Signup
If you like my work and want to be the first to know when I release any new pieces in The 4getmeknots™, A Sheep’s Life or other collections then sign up to my newsletter!