Click here for Part 5 of the sew along.
We're going to do our best to finish up the sew along in this one post. There really is not that much left to go but we have lots of photos so lets get going!
Waist Efforts
The waist binding for the skirt is the next step. (If you are between sizes, remember to shorten your Waist Binding piece by the difference in waist measurement from that of the larger size that you cut. Our model has a 33" waist. We cut the size 14 for a 34" waist, so we'll be taking 1" off the Waist Binding for her skirt.)

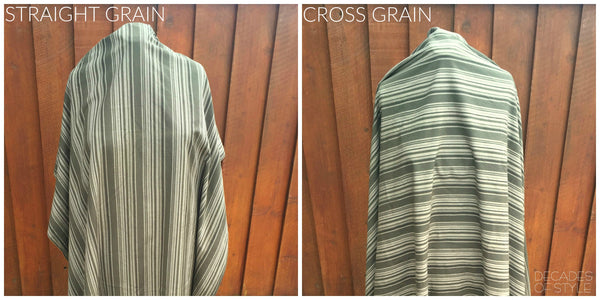
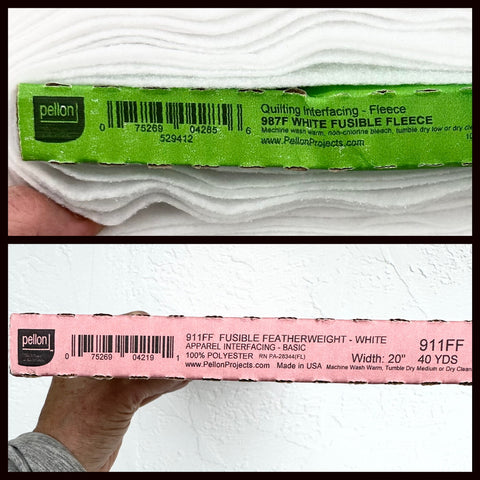
The Binding should not have any "give" to it. Usually, the straight of grain of fabric is stable and won't stretch. Give your fabric a little test by trying to stretch a strip of fabric on the straight of grain. If it has any degree of "give," use a strip of very light weight interfacing to stabilize it. You don't want to add bulk so it is important to find the lightest weight interfacing that you can.
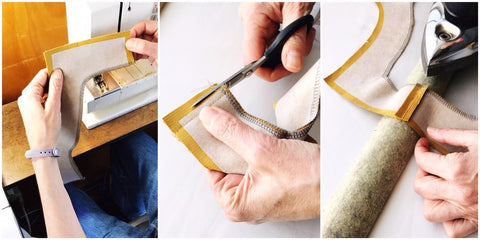
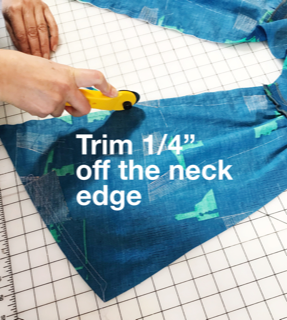
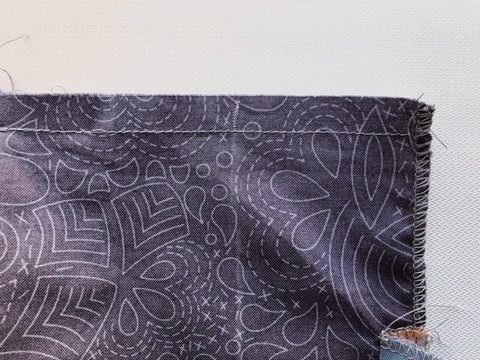
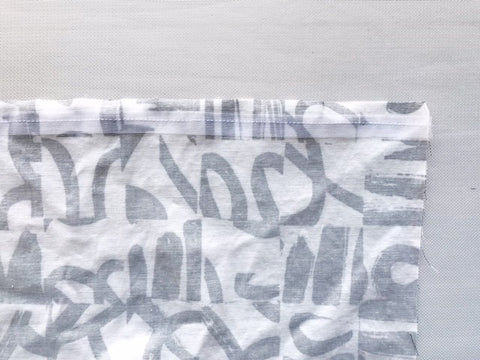
First step in this part is to finish one long edge of the Waist Binding. We serged the edge ahead of time trimming off 1/4" as per the instructions.(We didn't photograph this because it was just a serging assembly line before we got started.) If you are not serging, you can turn under 1/4" along that edge and straight stitch to finish it.
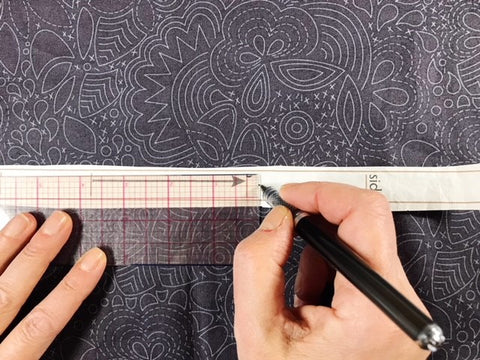
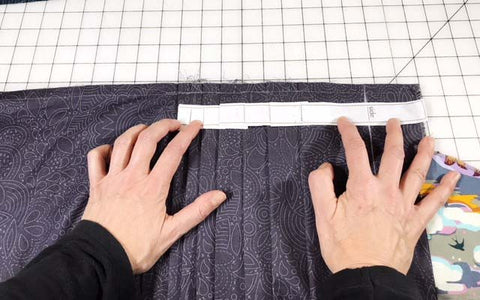
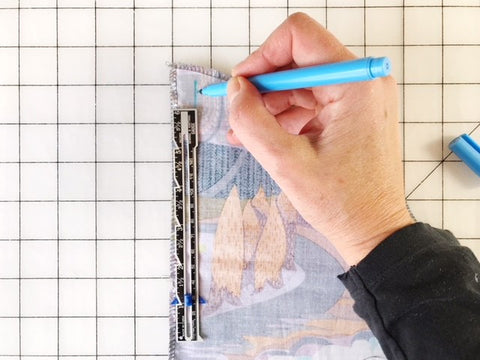
(If you want to mark the center front and center back of the Waist Binding - you can use your Pleat Guides to do this. Tape the pleats closed on the Guides. Turn under at the "side" line on the Pleat Guide Front. With the Binding facing right side up and the finished edge at the top of the piece, place the Front Guide at the right edge starting 5/8" from the short end as shown.)

Flip the Front Guide at the center front to mark the "side." Your Front Guide should be folded at the "side" line.

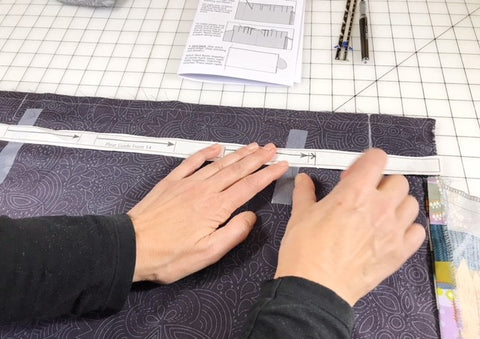
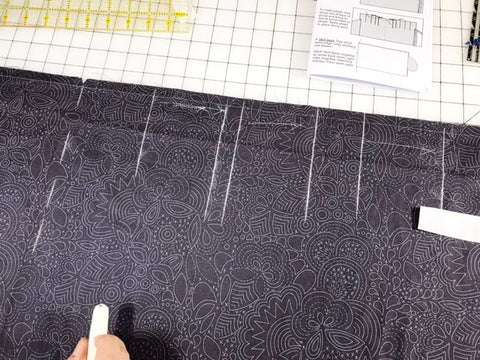
Tape the pleats closed on the Pleat Guide Back but leave the "side" as is. Place the Back Guide at the left side, 5/8" from the raw edge. Mark the "side" line and center back.

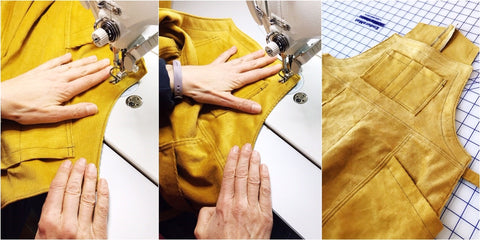
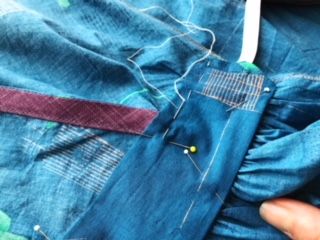
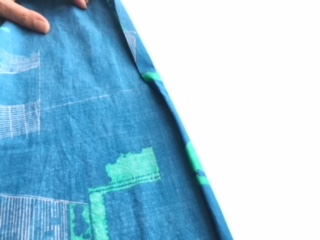
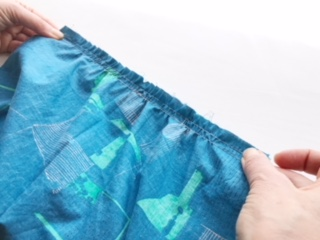
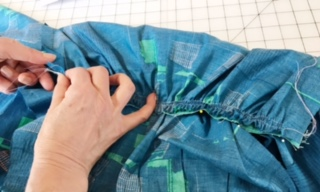
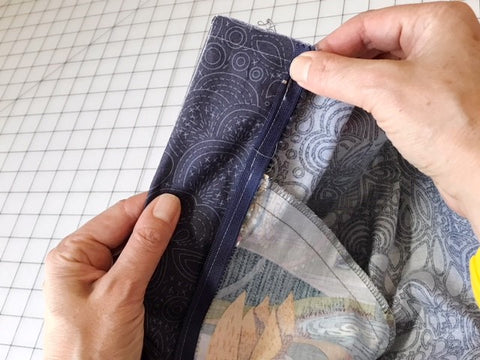
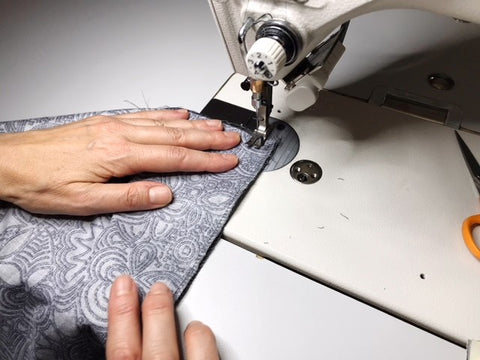
Pin the Waist Binding to your skirt at the waist, right sides together. The piece should fit along the waist of your skirt with 5/8" seam allowance extending at either end as shown.


Stitch Waist Binding to skirt.

Trim a scant 1/8" from seam.
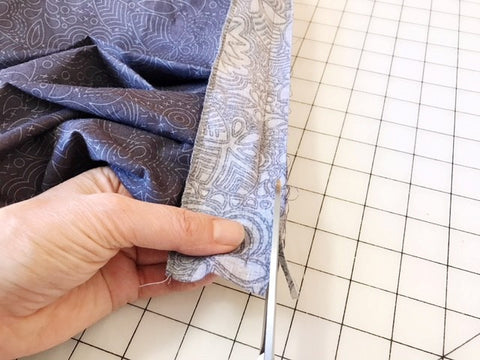
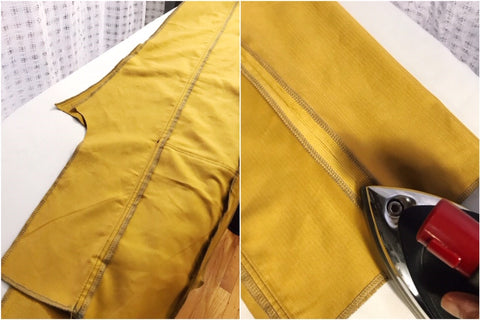
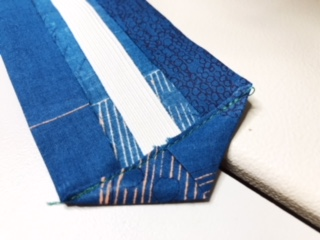
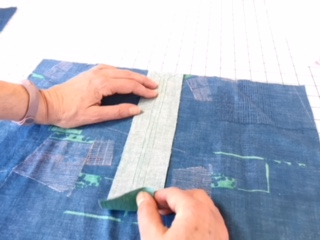
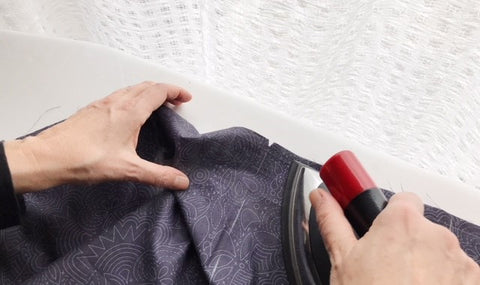
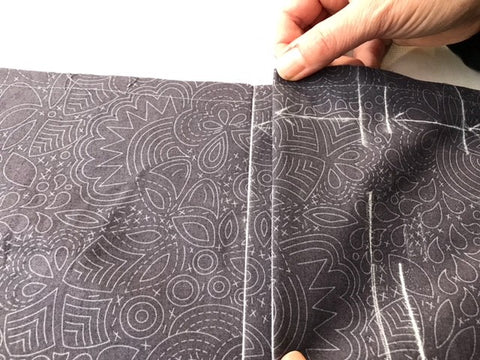
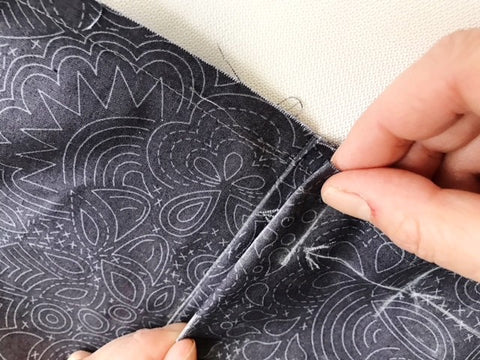
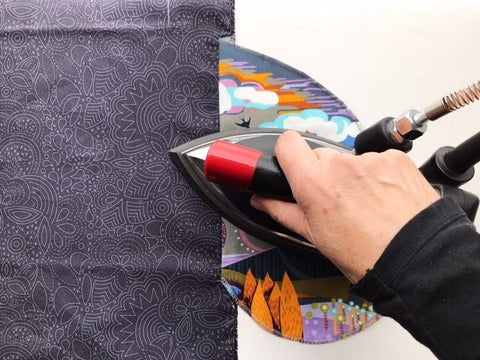
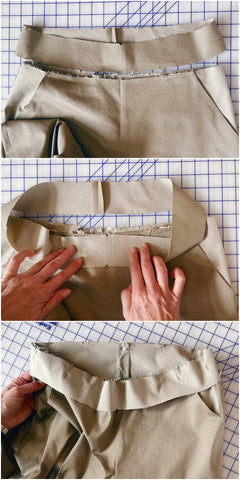
Press Waist Binding up and wrap seam allowance around to inside at either end.
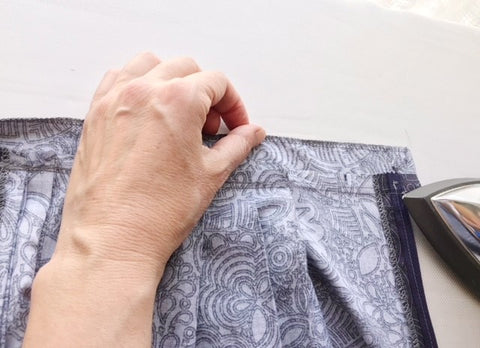

Next, press the Waist Binding over to the inside of the skirt, enclosing the the seam.

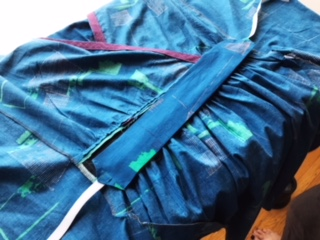
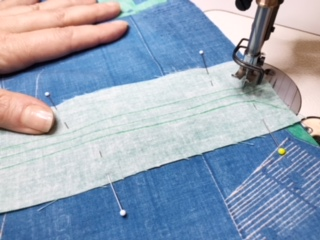
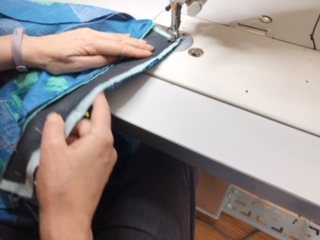
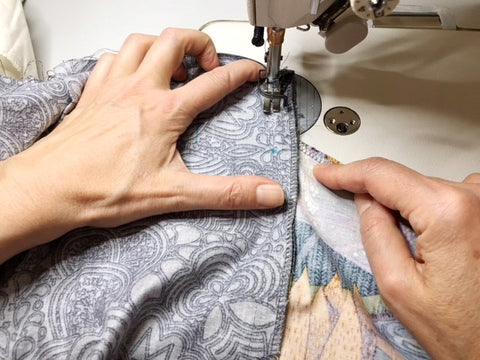
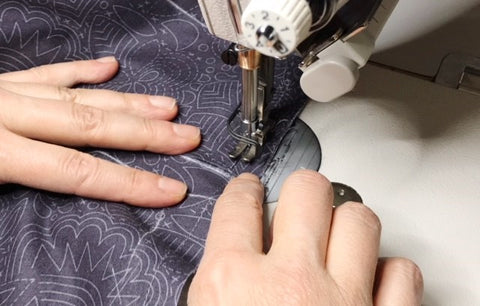
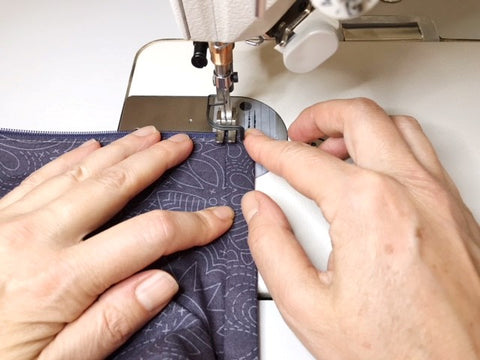
Pin in place if desired and from the outside of the skirt. Stitch in the ditch at the waist binding seam through all layers.

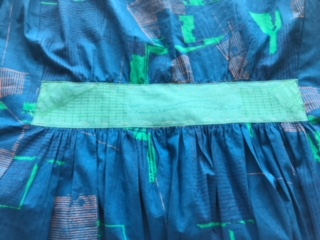
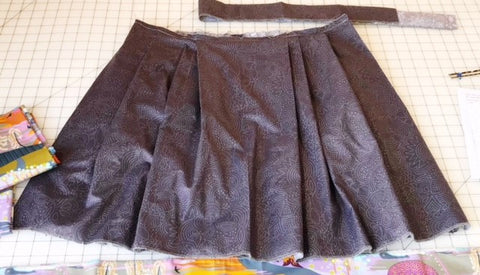
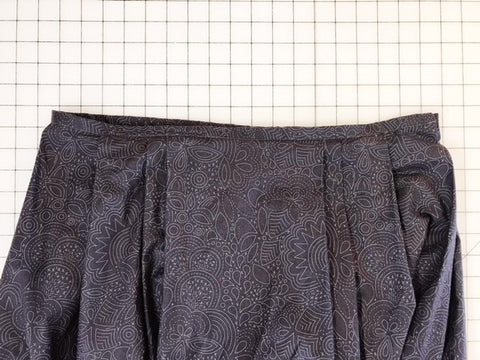
Waist binding done!
Band on the Run
The last part is the Skirt Band. We have a hack that eliminates hand sewing the weights to the hemline! Let's start with that.
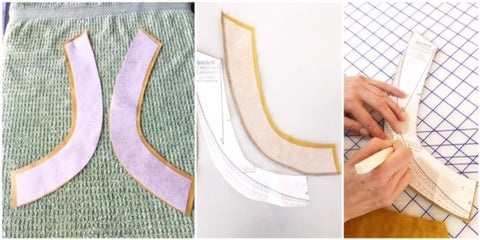
Cut a strip of scrap fabric that is 3" by the width of the Band Front piece. You can use just about anything in your scrap bin that is similar or lighter weight than your Skirt Band Fabric. The only thing to watch out for is checking if any part of your scrap fabric will show through your Band fabric.

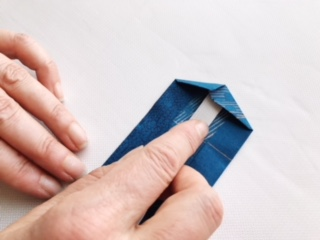
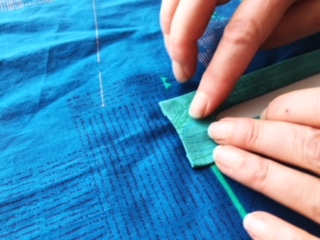
We've got plenty of muslin scraps lying around so that is what we used. Press up 1" along one long edge. This crease will align with the hemline.

Cut a double strand of curtain weights the width of the Front Band MINUS the seam allowance at both ends. There should be a good 3/4" space at either end of the weights.
.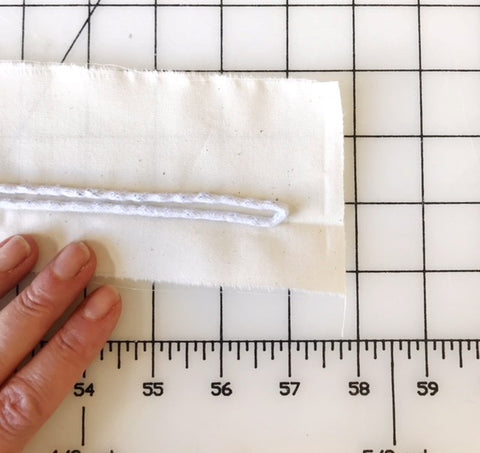
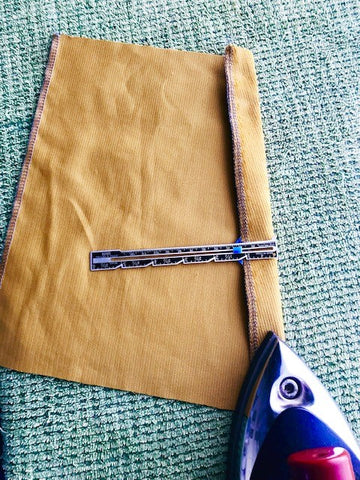
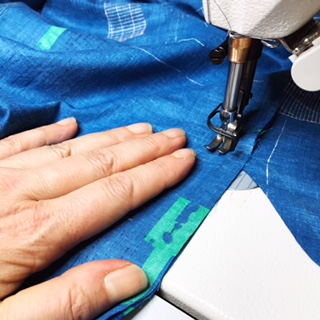
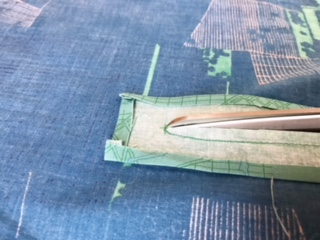
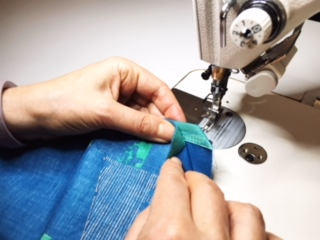
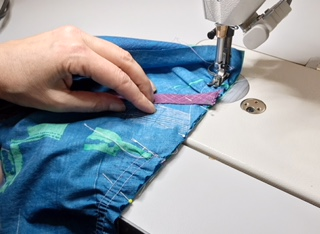
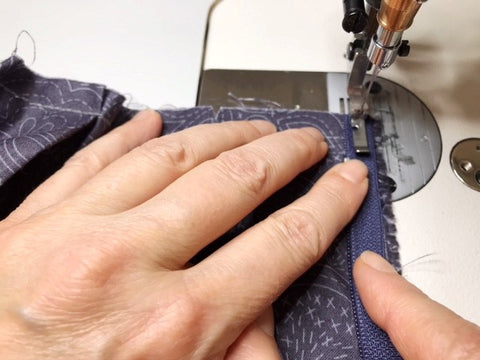
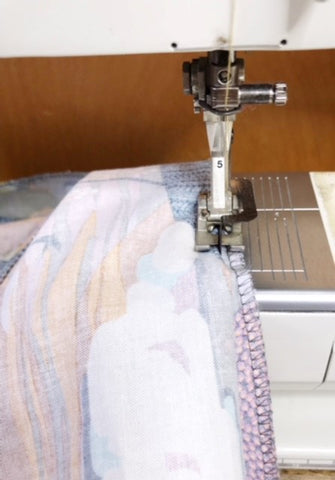
Place the weights in the crease and stitch next to them using a zipper foot. You're creating something like weight cording!

Stitch across at each end of the weights so that they are secure and won't be shifting at all once the skirt is finished.


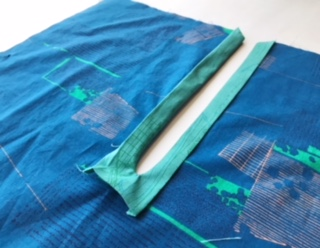
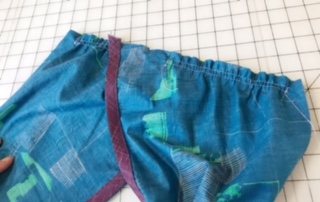
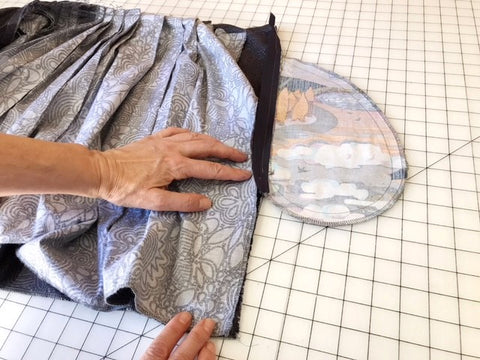
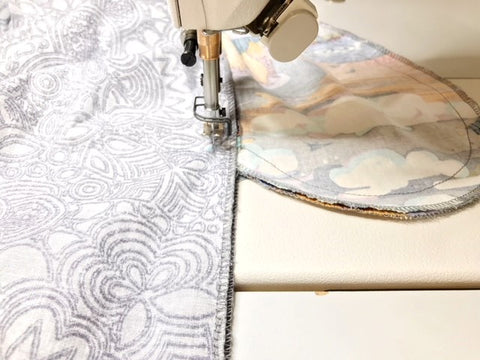
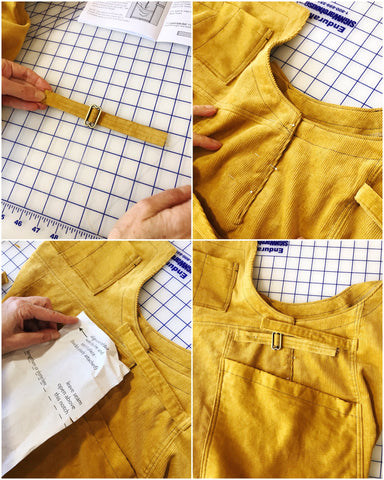
Attach the weighted strip of fabric to the wrong side of hem edge of the Band Front. The weights are 2" from the raw edge aligning with the hemline.
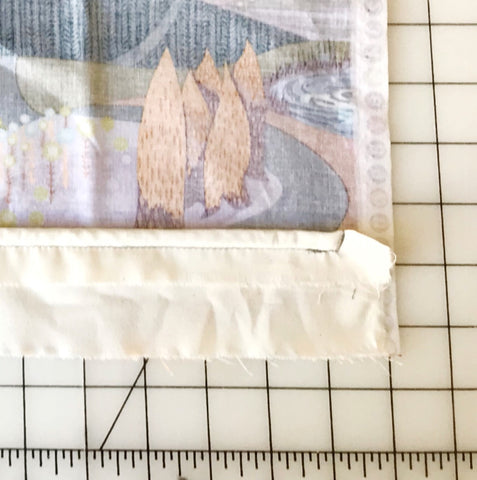
We serged the strip to attach it to the Band. You can use any method you desire; straight stitching is fine.

Now you are ready to assemble the Band! No hand sewing the weights!
As previously mentions, we serged all the edges of our pieces ahead of time and some of the pieces went right up to the selvage so the Band application went very fast this time around.
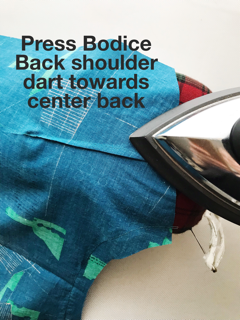
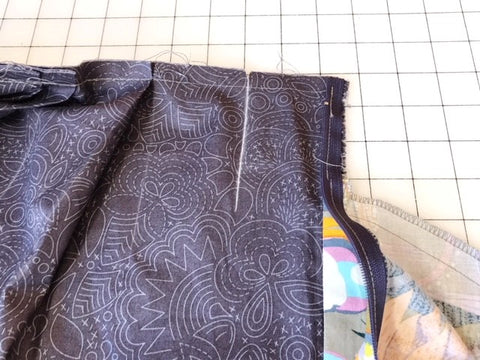
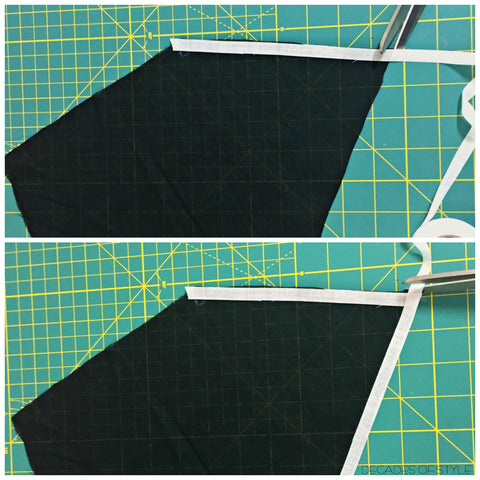
Stitch the center back seam for the Band Backs, right sides together and press the seam open.

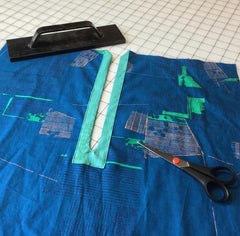
Stitch Band Front to Band Back assembly at the sides, right sides together. You will be catching the weighted strip in the seam so you might need to switch to a zipper foot. The weights should clear the seam itself.

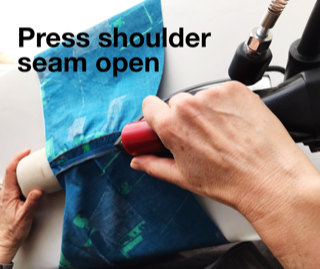
Press seam open.

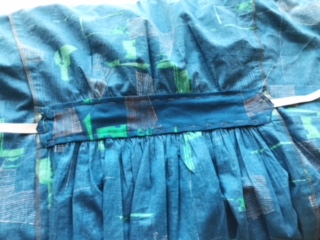
Now pin the Band assembly to the skirt, right sides together. Match the center back seams, the side seams, and the center fronts first. Then you can pin in between those points.

Stitch the Band to skirt (oops! no photo for this seam). Press the seam towards the skirt once the Band is attached.

Turn up a 2" hem and press. The strand of weights will be right at the hemline.
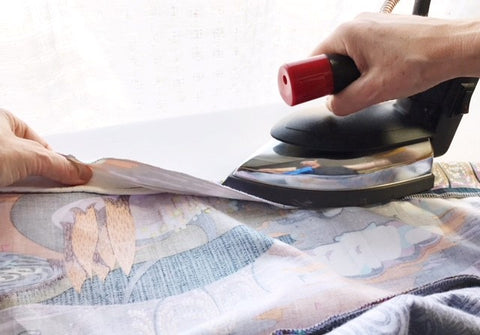
Stitch the hem as you desire by hand or machine. We used the blind hem stitch on the machine and made quick work of it.
Final detail
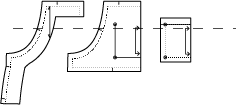
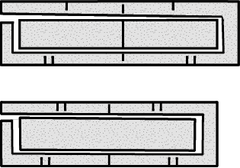
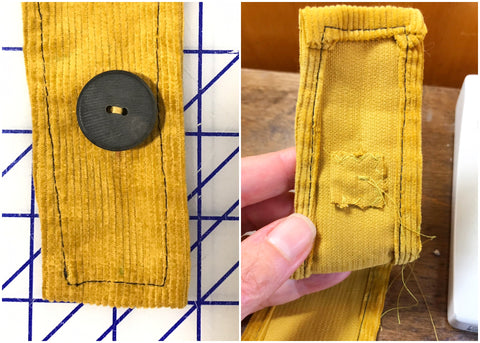
All that is left is to sew two sets of hooks and eyes at the side opening. Mark the placement for 2 sets of hooks and eyes as shown.

Sew the hooks and eyes in the configuration shown below.

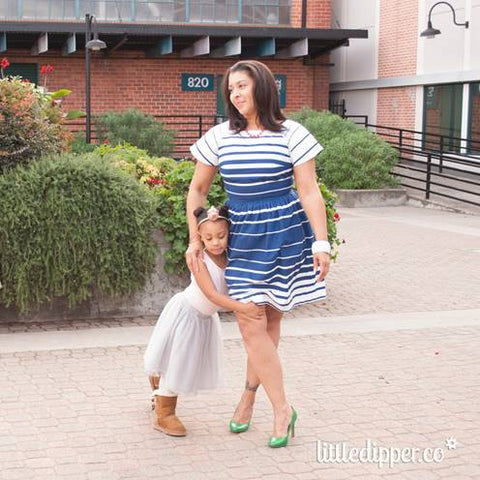
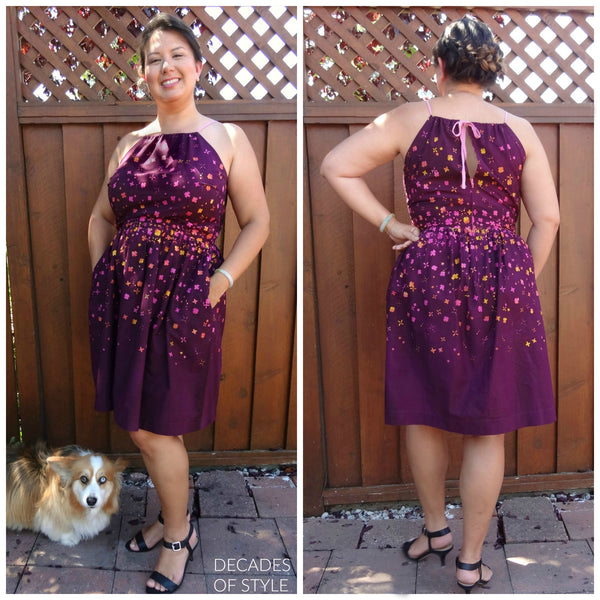
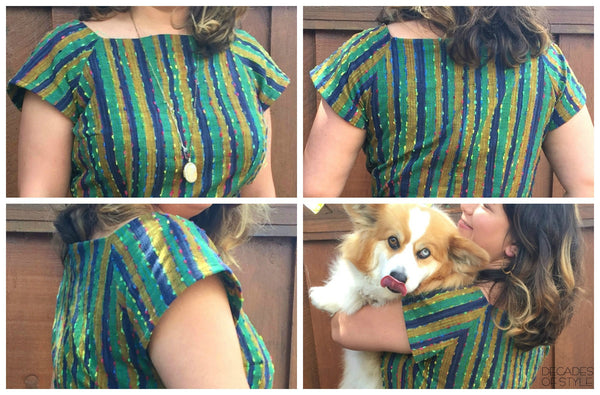
Now put it on and have fun! Thank you so much for joining us!!


]]>


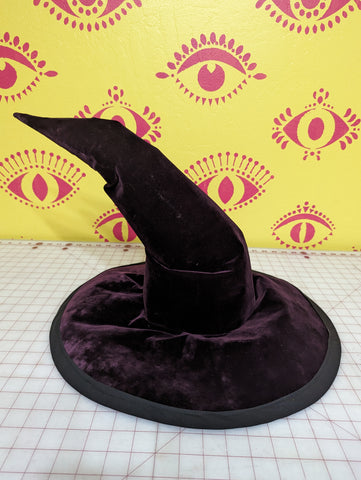
 Attach the cone to the brim (use the instructions included with the pattern), right sides together for both main fabric and lining.turn the lining inside out and insert it into the main fabric piece


 .
.