

Why Artistic Adventures in Australia Are Perfect for Unwinding

Discovering Australia's Art Scene
If you're just beginning your journey into the art world, Australia offers a vibrant and diverse scene for exploration. As someone who's just starting out, it can be overwhelming to know where to begin. However, exploring local galleries can offer a gentle introduction to the array of art styles and forms. Many galleries hold free exhibitions, allowing you to wander and absorb without any pressure. You'll find immersive experiences in the bustling areas of Queen Street Mall, where art meets urban life in a captivating way.
Creating art in the company of others can also be a rewarding experience. Consider attending a paint and sip Melbourne event, which is a fantastic opportunity to blend creativity with social interaction. Events like these have gained popularity for their relaxed settings, allowing you to enjoy painting while sipping your favourite beverages. Another option is to explore paint and sip Sydney venues if you're travelling, creating memories as you meet new people.
Lastly, for those looking to make the most of their weekend, there's no shortage of things to do in Melbourne this weekend when it comes to art. From visiting unique art installations to attending local art exhibitions, there's always something happening. By engaging in these activities, you not only enrich your own experience but also contribute to Australia's thriving art community.
Hands-On Art Experiences
Participating in Workshops
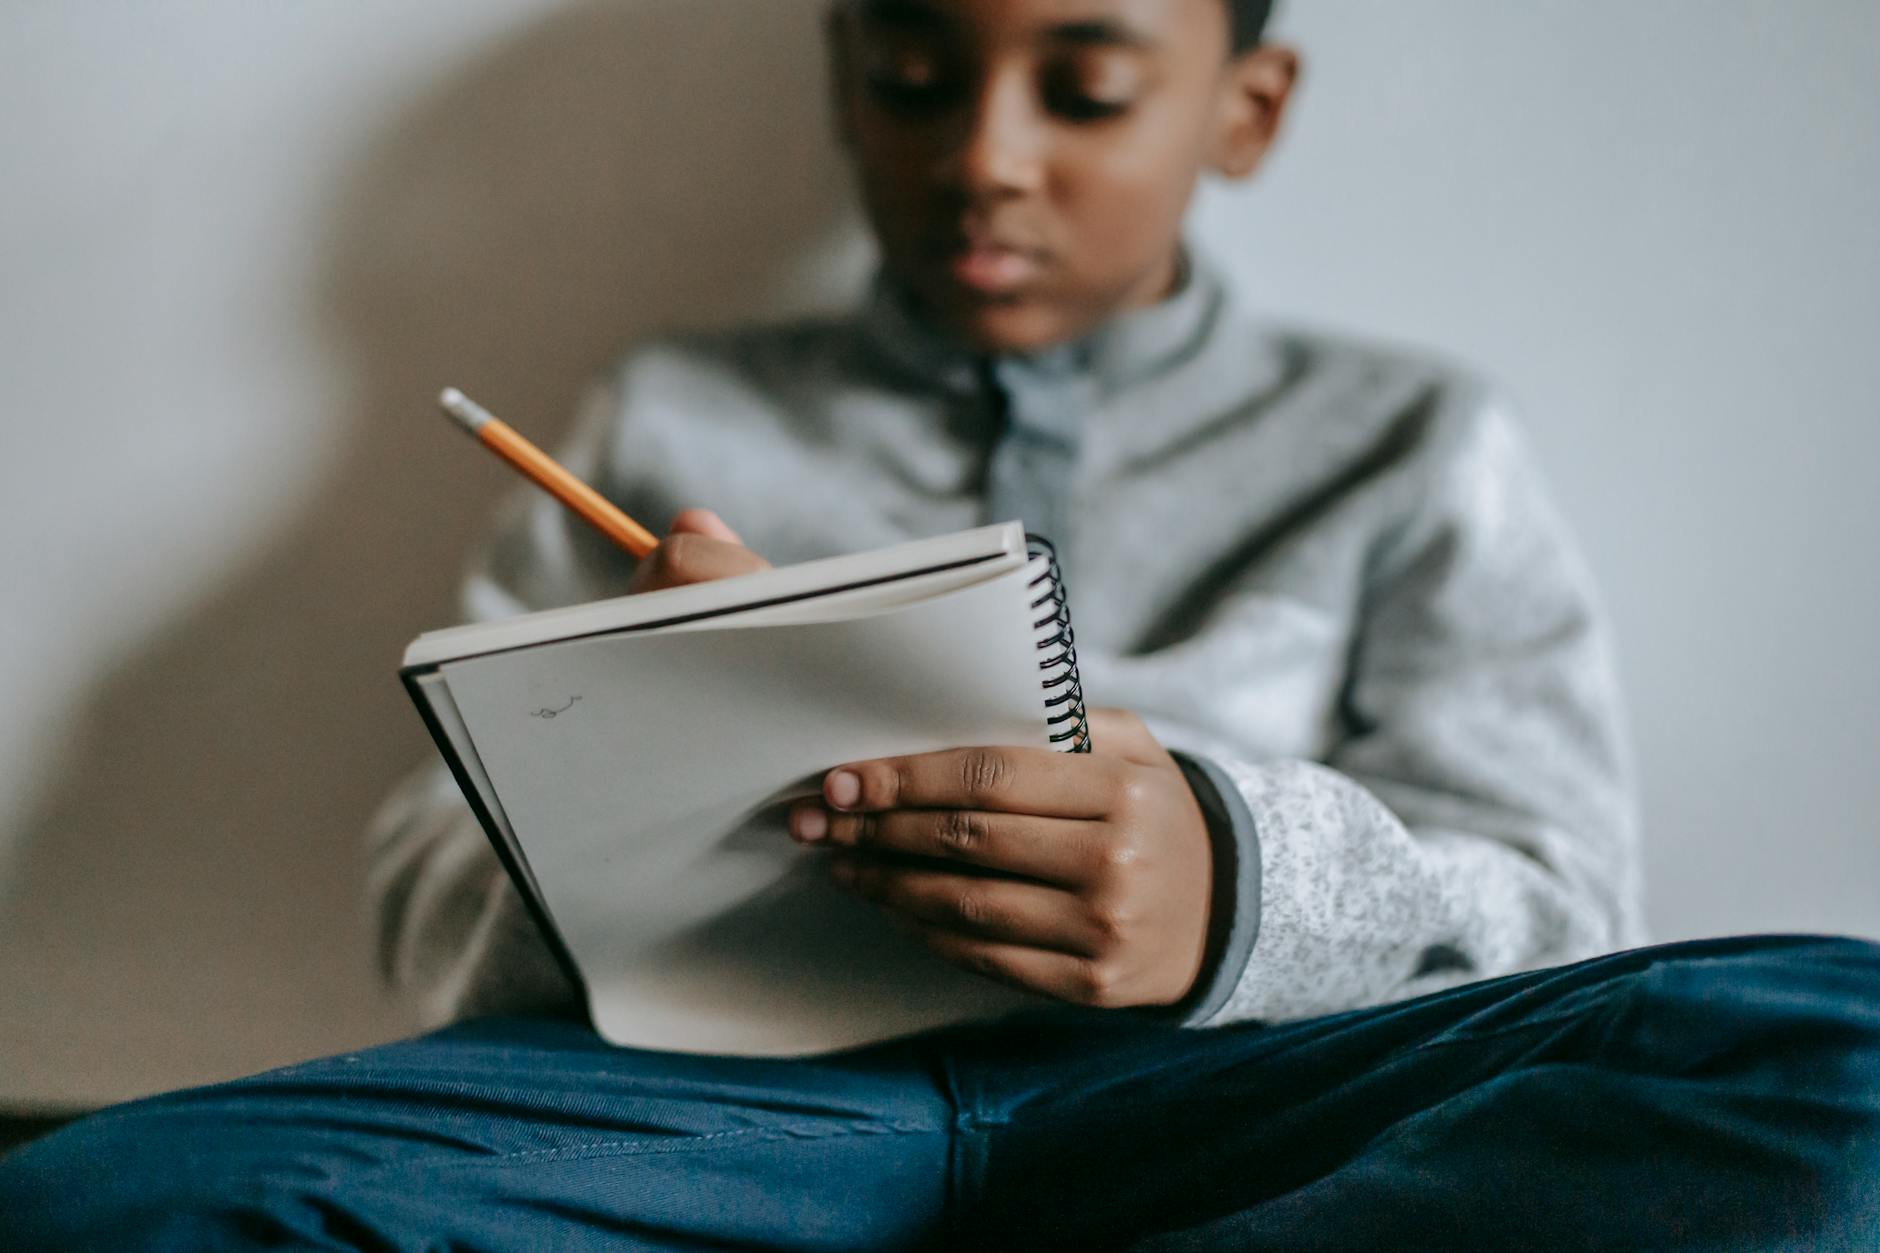
When it comes to creative outlets, workshops offer a great way for individuals to step outside their regular routine and channel their inner artist. Whether you opt for a photography session in the bustling areas of Queen Street Mall or a painting lesson at the cherished Kangaroo Point Cliffs, workshops in these vibrant locations offer immersive experiences for novices and seasoned artists alike. They not only allow you to explore different art forms but also provide a unique opportunity to meet and collaborate with like-minded individuals. Plus, these workshops often supply all necessary materials, making it easy for anyone to join in, no matter their current skill level.
Attending Paint and Sip Events
If you're contemplating a fun and low-pressure way to dip your toes into the world of art, consider a paint and sip Brisbane event. These gatherings merge creativity with social interaction, allowing you to enjoy a glass of wine while creating a masterpiece. It's a perfect setting for Jason and those seeking new, relaxed social activities outside of their usual circles. You’ll often find these events in accessible and lively locations, attracting an array of participants eager to unwind and express themselves.
Exploring Pottery Classes
For those interested in hands-on crafting, pottery classes can provide a therapeutic and creative escape from the rigors of daily life. Molding clay offers a tactile and meditative experience, inviting you to concentrate on each shape and form. This activity not only fosters patience but also allows for self-expression through the creation of unique pieces. For a thoughtful addition to your list of presents for mum, consider crafting a personalised pottery item that carries both sentimental and artistic value.
Outdoor Art Adventures
Discovering Street Art Tours
Imagine wandering through the vibrant streets of Brisbane and uncovering the city's artistic secrets. Street art tours offer a captivating glimpse into the local art scene, where every wall becomes a canvas for creativity and expression. These tours give participants an opportunity to learn about the artists behind the masterpieces, their inspirations, and the stories each mural tells. Just as the pottery classes open doors to hands-on creativity, street art tours bring the art world to life in an interactive way, perfect for those new to art appreciation.
Engaging in Outdoor Sculptures
Outdoor sculptures provide a unique opportunity to appreciate art in an unconventional setting. Brisbane's outdoor gallery showcases a variety of sculptures that blend art with nature, crafting a visual masterpiece right in your backyard. These installations often offer a sensory experience, with textures and forms that invite closer exploration. It's like having a personal "beauty hack" for the eyes, bringing inspiration into everyday life. It's a way of experiencing art that can be both enriching and entirely unexpected.
Enjoying Art in Nature
Embracing art in nature combines the tranquillity of the outdoors with creative expression. The serene surroundings near heritage sites, such as the Kangaroo Point Cliffs, offer a peaceful backdrop for appreciating nature-inspired art. These settings can transform into ideal date ideas, making them perfect for anyone seeking a calming and contemplative environment to truly unwind and disconnect from everyday pressures.
Social Art Gatherings
Finding Meetup Groups
If you're eager to break the monotony of daily routine and explore new social circles, joining art-focused meetup groups could be ideal. In the vibrant realms of Brisbane, these groups provide a platform for individuals to bond over shared interests in art and creativity. Whether it's a casual gathering to discuss art techniques or a collaborative effort to enhance each other's skills, paint and sip events often feature prominently in these meetups. They provide a relaxed atmosphere where creativity flows alongside conversation, making them an approachable entry point for anyone hesitant about diving into the art scene.
Connecting through Art Exchanges
Art exchanges offer an intriguing way to connect with fellow creatives. They typically involve swapping artworks, allowing participants to not only share their creations but also appreciate others'. This cultural exchange helps build a supportive community where everyone learns from one another's styles and perspectives. Such exchanges often yield delightful surprises and diverse insights, much like discovering gifts for mum with a unique, artistic twist.
Engaging in Collaborative Projects
Participating in collaborative art projects can be a rewarding experience. By working together, you can blend diverse ideas and skills to create something truly original. These projects often lead to deeper connections, as it's not just about working on art—it’s about building relationships. While Brisbane may not have landmark mentions relevant here, these art gatherings certainly add a vibrant touch to the city's already bustling art scene.
Top Tips for Maximizing Your Artistic Enjoyment
Embark on Local Discovery
As an experienced beauty consultant from the vibrant streets of Brisbane, one of my favourite beauty hacks for keeping your skin fresh and glowing is to embark on local adventures. When you're exploring Australia's art scene, don't miss the cosmetic boutiques at The Emporium for a quick touch-up during your artistic journey. Pairing the enchanting depth of art with delightful beauty practices can make your explorations even more rewarding.
Embrace Outdoor Art
Spending time outside with art installations or outdoor sculptures is not just a feast for your senses but also fantastic for your skin. A walk through heritage sites near Kangaroo Point Cliffs, enriched with Australia's artistic flair, can be both invigorating and soothing. The natural light helps boost your mood and gives your skin a natural glow—as good as any highlighter found at boutiques along the Queen Street Mall.
Socialise for Inspiration
Connecting with others through social art gatherings can be inspiring. Whether you're joining a new group or partaking in meetup groups, engaging with like-minded individuals often leads to a rich exchange of ideas and beauty tips. You never know—you might come across someone who has tried a new skincare trend that perfectly complements your art-driven excursions.
Exploring art doesn't mean sacrificing beauty care. By integrating beauty routines within your artistic adventure, you enhance your experience while nourishing your skin.