Cook confidently with easy vegan recipes

Reader Favorites


Find a recipe
Browse
By meal type


Hello, I'm Vaishali
I'm a former journalist, mom to three spoiled fur babies, and I live in Washington, D.C. I have been creating and sharing original, flavorful vegan recipes on this blog since 2007, including lots of authentic-tasting vegan Indian recipes and sourdough recipes. So happy you are here!

New Recipes
See what I'm cooking right now!

Easy Vegan Dinners
Get dinner on the table in less time than it takes to order takeout.
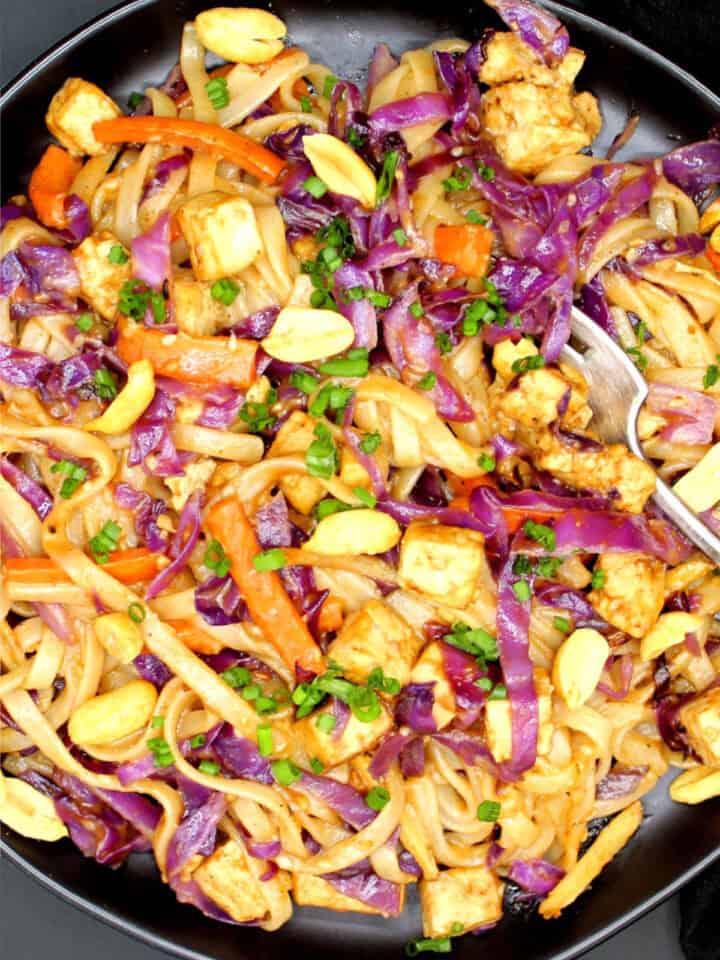
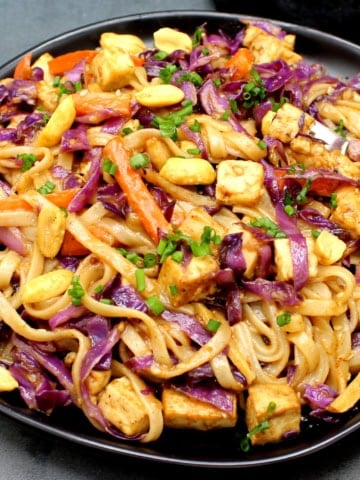
- Thai Peanut Noodles30 Minutes
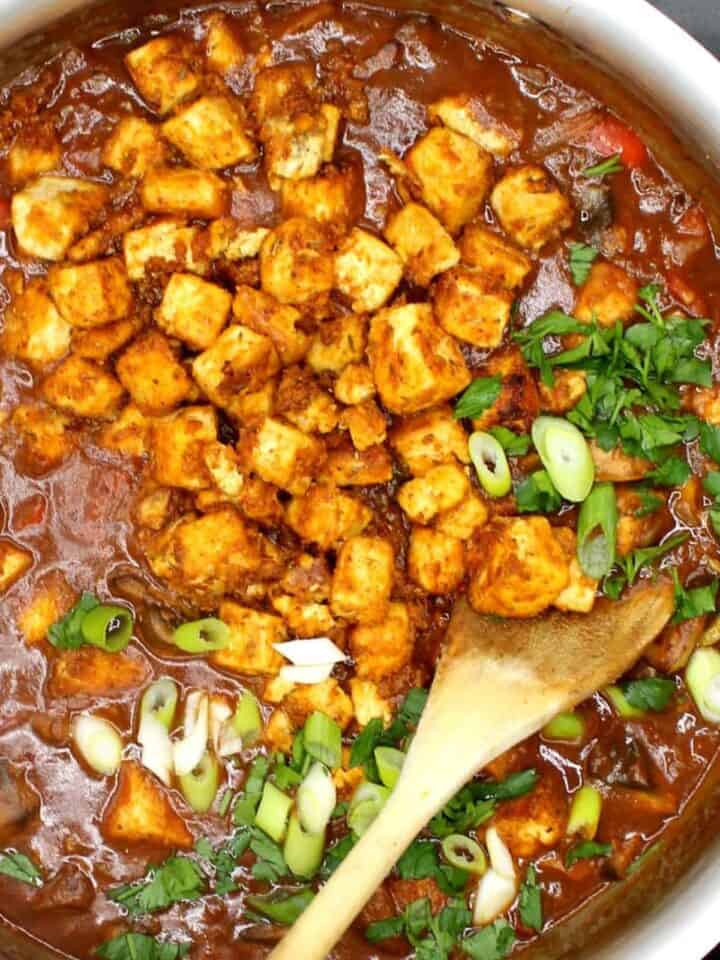
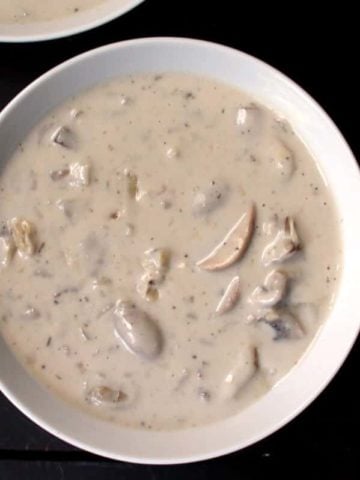
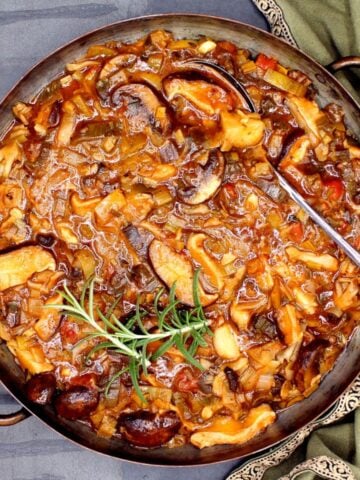
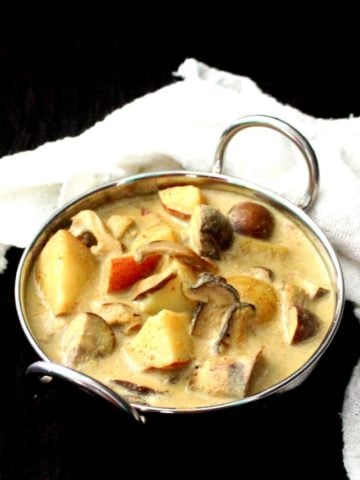
- Mushroom Stew30 Minutes
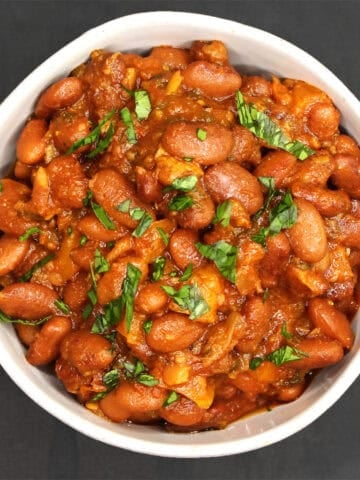
- Gochujang Chickpeas30 Minutes
- Masala Pasta35 Minutes
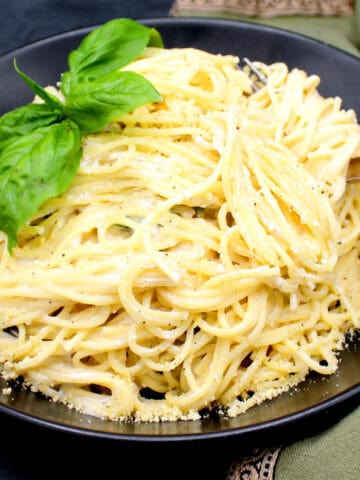
- Vegan Lemon Pasta with Basil15 Minutes
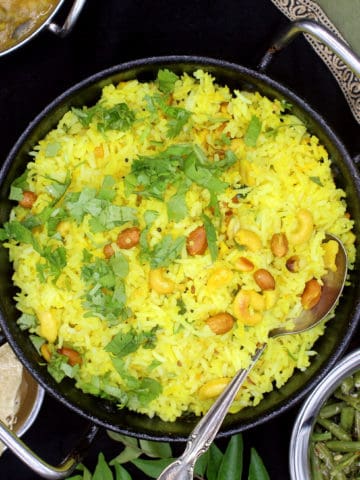
- South Indian Lemon Rice30 Minutes
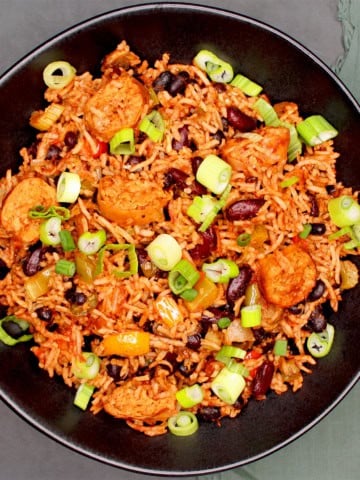
- Vegan Jambalaya45 Minutes
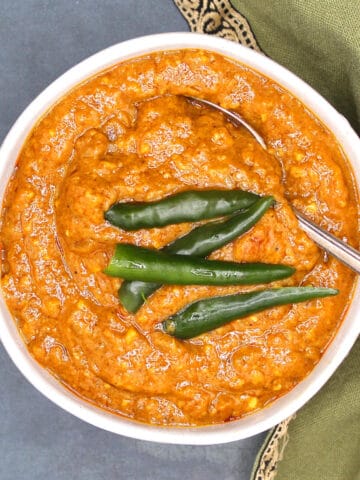
- Ethiopian Shiro Wot (Spicy Ground Chickpea Stew)40 Minutes


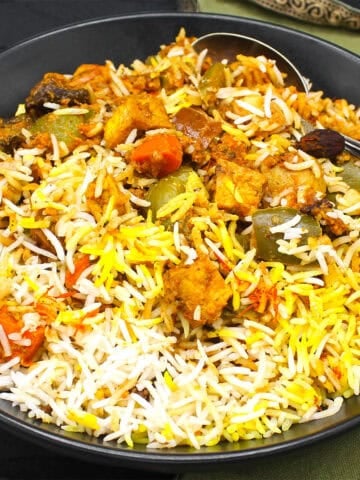
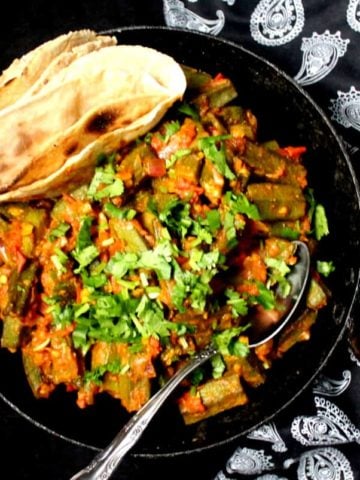
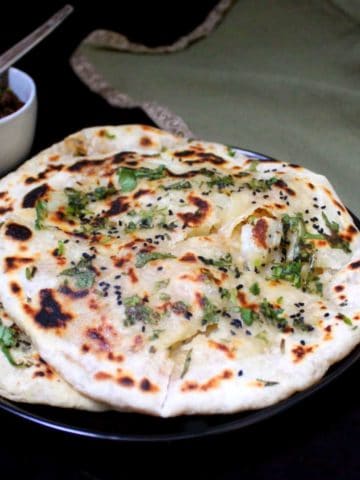
Vegan Recipes From My Indian-American Kitchen


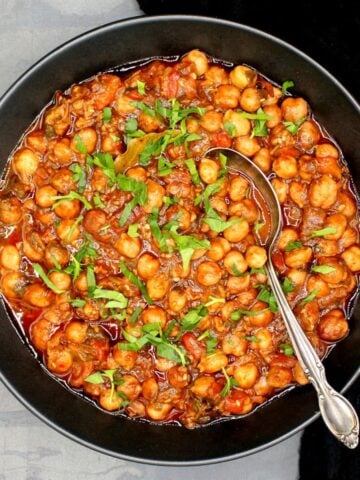
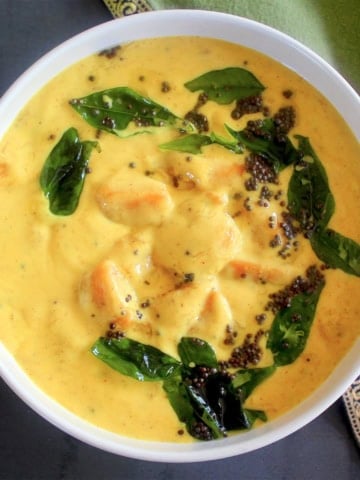
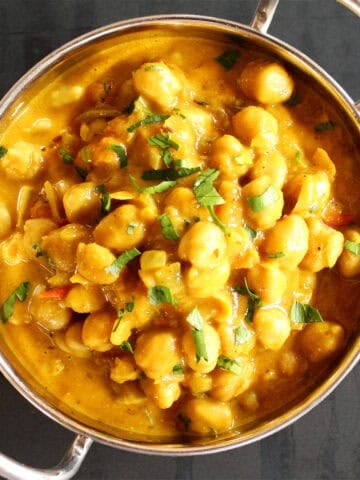
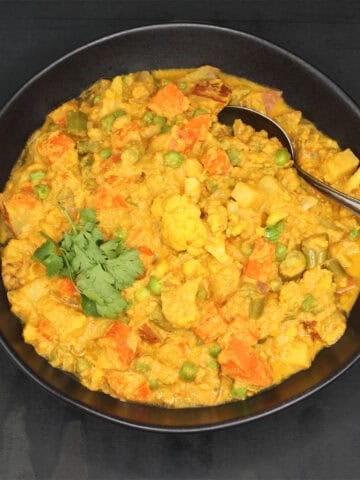
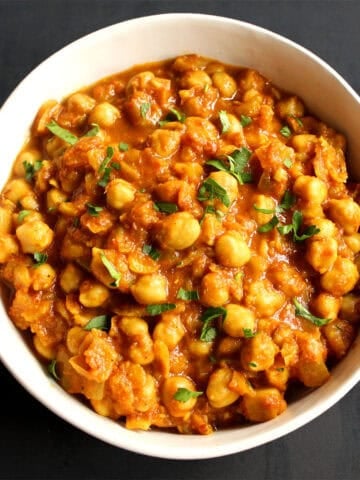
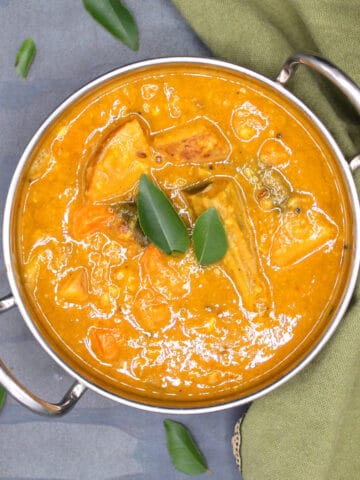
Reader Favorites - Indian
Love Indian food? These recipes are authentic, nourishing and loaded with flavor.


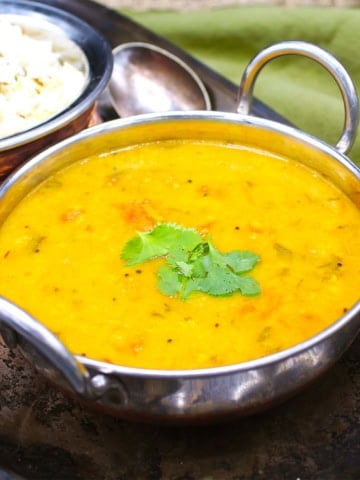
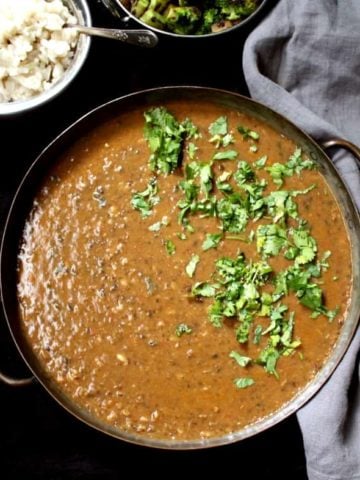
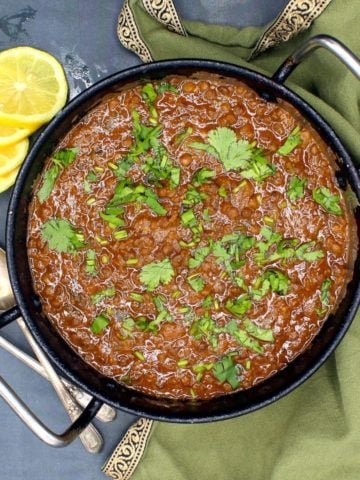
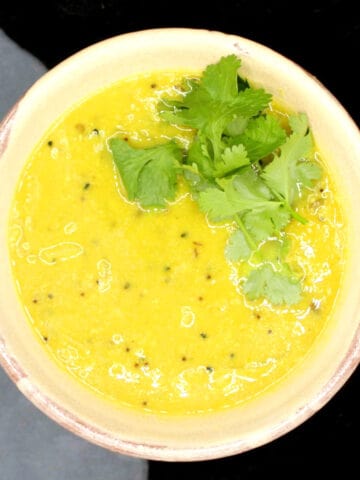
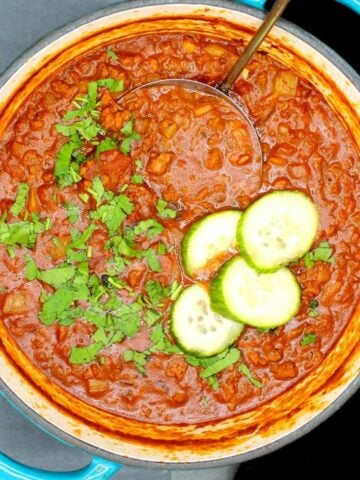
Dal-icious!
Authentic Indian dal recipes that soothe, comfort and nourish.


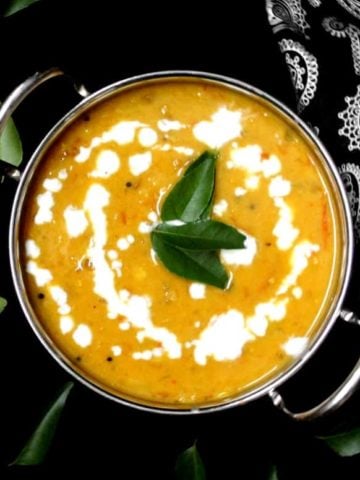
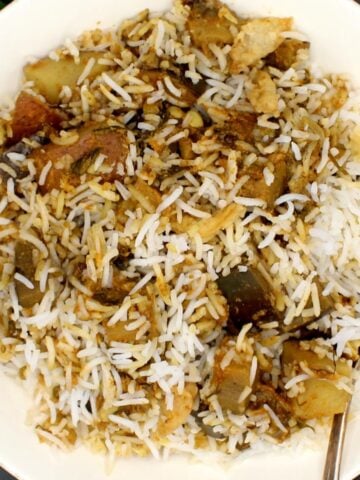
Indian Instant Pot Recipes
Dinner is a breeze with these easy Indian Instant Pot recipes.


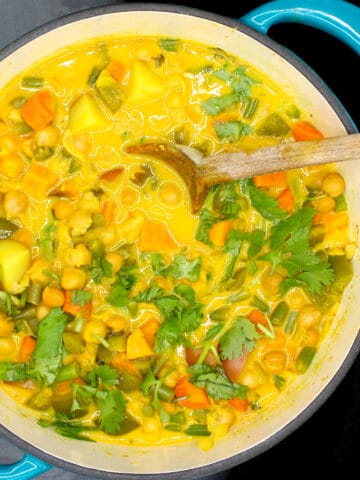
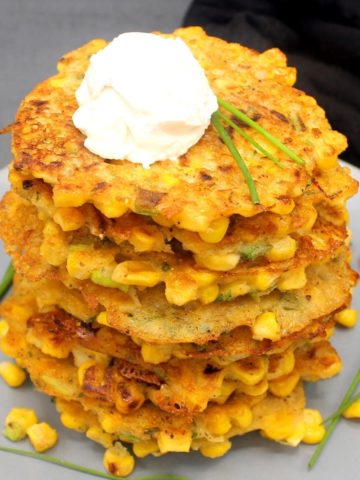
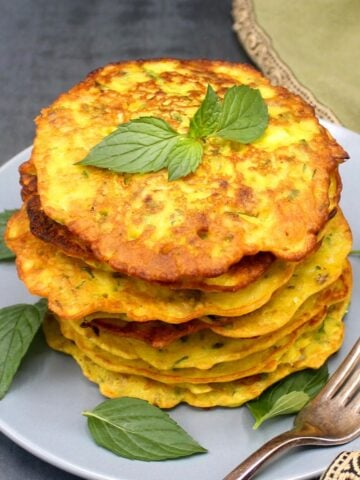
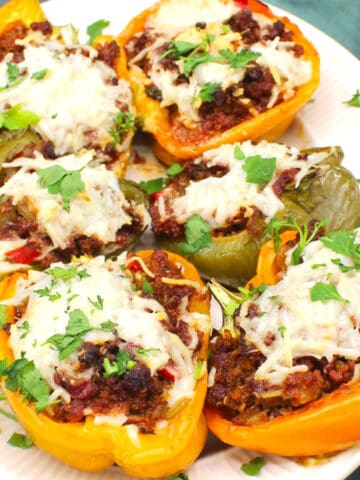
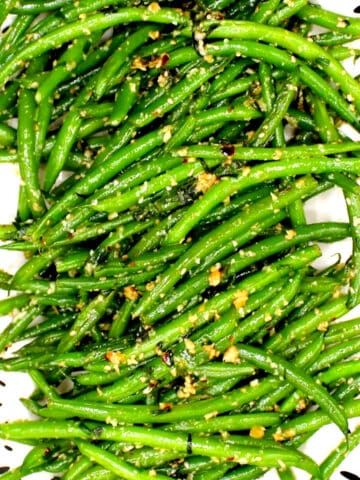
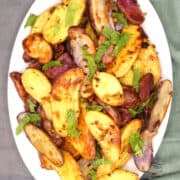
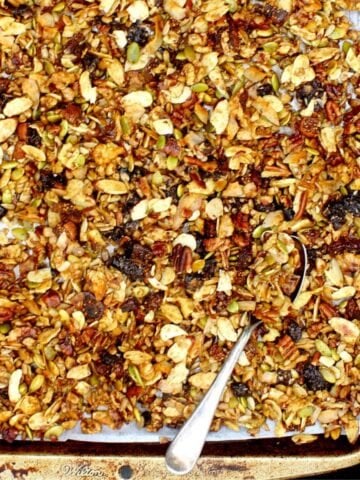
What to Cook Now
My favorite recipes to make in July with seasonal produce.


Browse
By ingredient


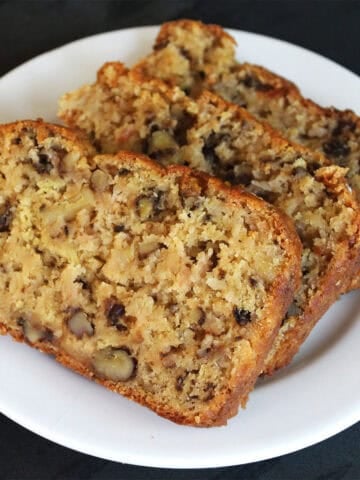
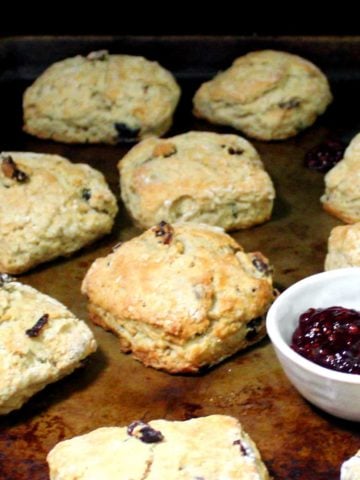
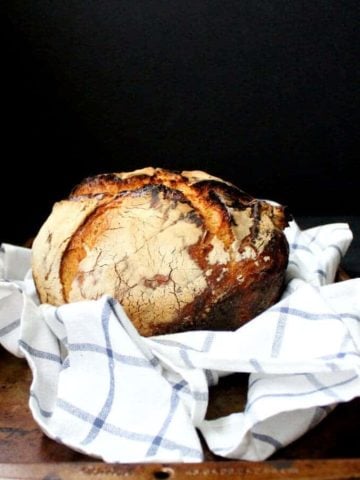
Sourdough Recipes
I've been nurturing a sourdough starter since 2016 and have dozens of sourdough recipes for breads and other baked goodies. See my tutorials on making sourdough starter and gluten-free sourdough starter.


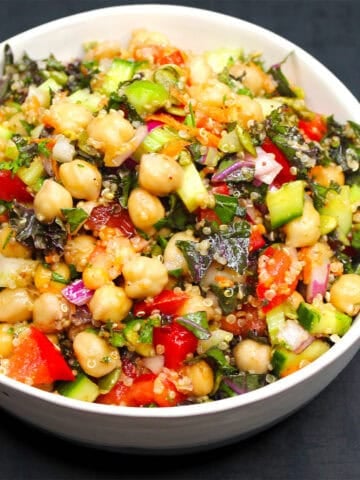
High Protein Vegan Recipes
These healthy recipes are loaded with protein from lentils, beans and tofu.


Low Carb Vegan Recipes
Cutting back on carbs? I've got you covered with these fantastic low-carb vegan recipes.


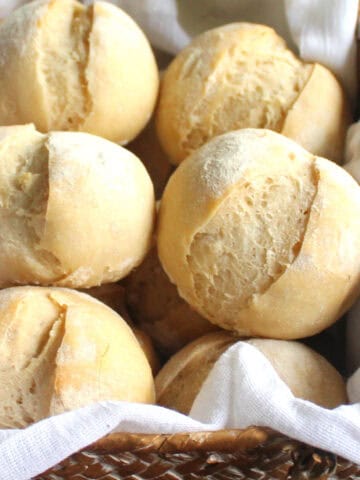
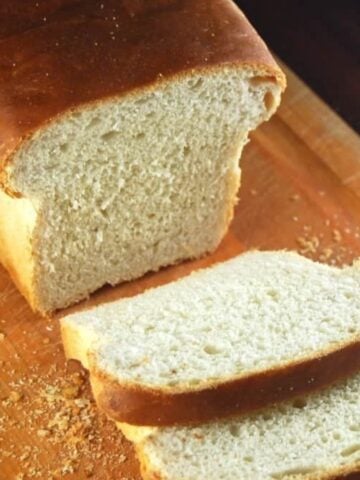
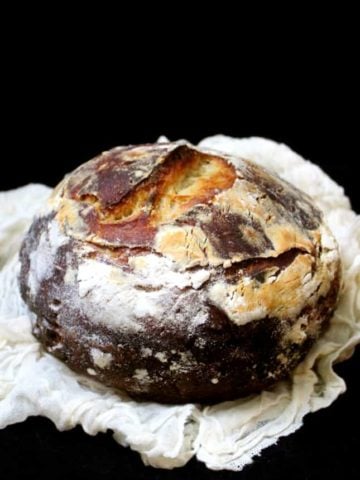
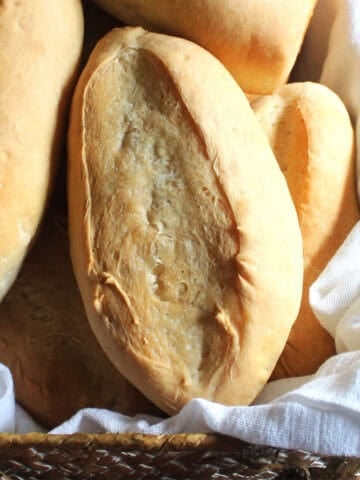
Bread Recipes
Fill the house with the aroma of fresh, homemade bread - there's nothing quite like it!


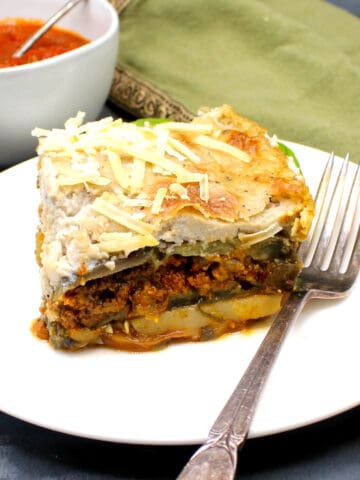
Global Meals
Travel the world without leaving your kitchen with these easy and delicious global meals.


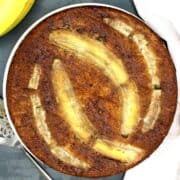
Seasonal Desserts
Make stunning desserts with what's fresh and in season now.