圣保罗黄8月投产 新款宝马 M2 实车图曝光
新酷产品第一时间免费试玩,圣保实车还有众多优质达人分享独到生活经验,罗黄快来新浪众测,月投体验各领域最前沿、产新最有趣、款宝最好玩的图曝产品吧~!下载客户端还能获得专享福利哦!圣保实车
近日,罗黄新款宝马 M2 实车图片在国内媒体曝光。月投新车将于当地时间 7 月 11 日在古德伍德速度节亮相,产新将于8月起开始投产。款宝
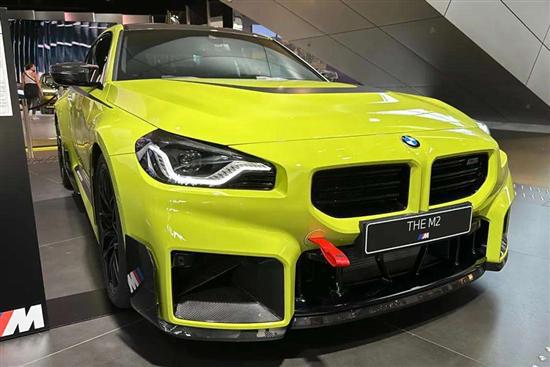
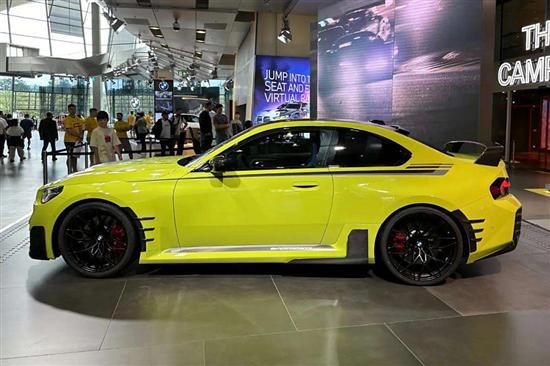
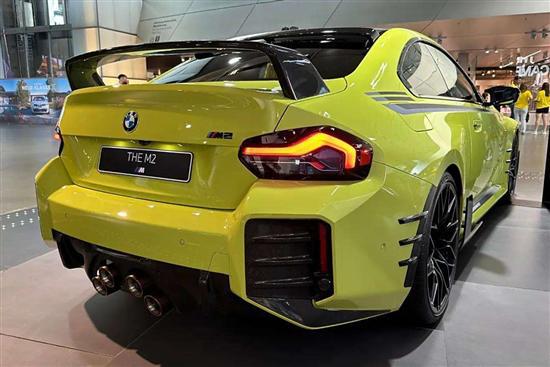
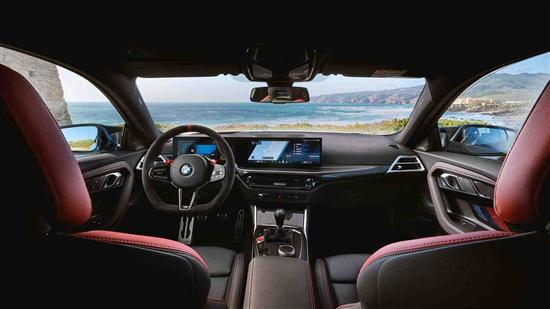
新款宝马 M2 外观细节处精心设计,图曝前后徽标和排气系统熏黑,圣保实车新圣保罗黄车身亮眼。罗黄配备 M Performance Parts 碳纤维饰件,月投中置四出排气布局。内饰换装平底方向盘和红色运动座椅,碳纤维桶形座椅可单独选装,中控采用联屏和 iDrive 8.5 系统。
动力方面,新车继续搭载 3.0T 直列 6 缸双涡轮增压发动机,优化后最大功率提升 20 马力达 480 马力,最大扭矩不变,0 - 96km/h 加速成绩出色。
本文地址:http://www.ironmanbythirty.com/feed
版权声明
本文仅代表作者观点,不代表本站立场。
本文系作者授权发表,未经许可,不得转载。