Make cooking feel easier again


BYOD Fridays… Launching 26th June!
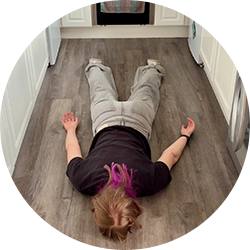
If this is your Friday night dinner mood, BYOD Fridays are for you!
Imagine a guilt free Friday night dinner, without the exhausting mental load. Plus a fun and supportive Friday night community for tired people who still need to cook, but really cba 💛 Find out more here.
Popular Categories
Trending Now


Or Search Our 250+ Recipes
Making Dinner Feel Easier Again

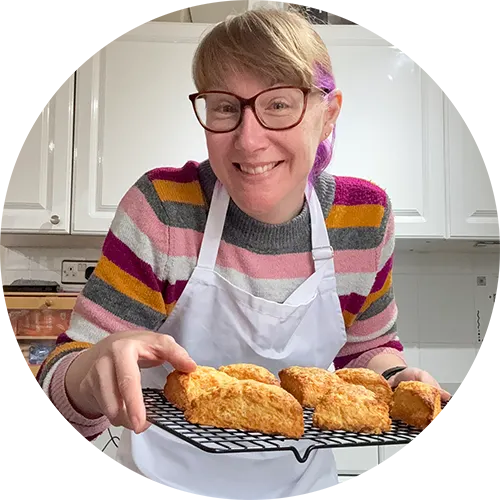
I help tired, overwhelmed people escape dinner survival mode with comforting recipes, practical kitchen tips, and relaxed online cooking clubs that make cooking feel enjoyable again.