


Posted inAmeba Gaming
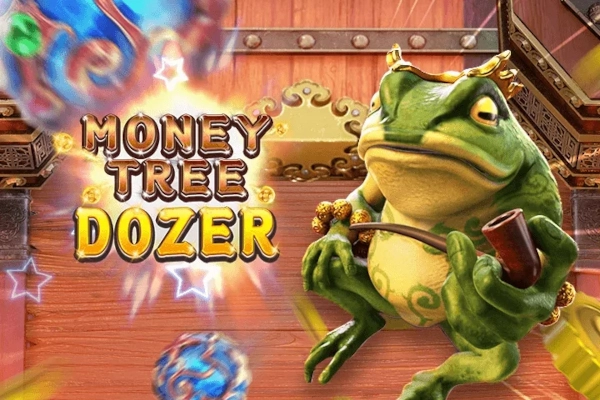
Cuma Modal Jempol di Money Tree Deezer, Emang Bisa Kaya? Ini Mitos dan Realita
OLE777 - Dunia digital belakangan ini dihebohkan dengan kehadiran platform yang menjanjikan keuntungan finansial hanya dengan aktivitas sederhana. Salah satu yang paling santer dibicarakan adalah Money Tree Deezer. Slogan "mendapatkan…