Note: this review is a work in progress and will be updated over the next few days with more images and details.
Battle lines have been drawn across the camera industry. Micro 4/3 cameras have been resounding successes, Sony is betting on tiny bodies with big sensors (and equally big lenses), and Pentax has its miniature Q. Canon and Fuji still have surprises in store, but with the J1 and V1, Nikon has finally shown its hand.
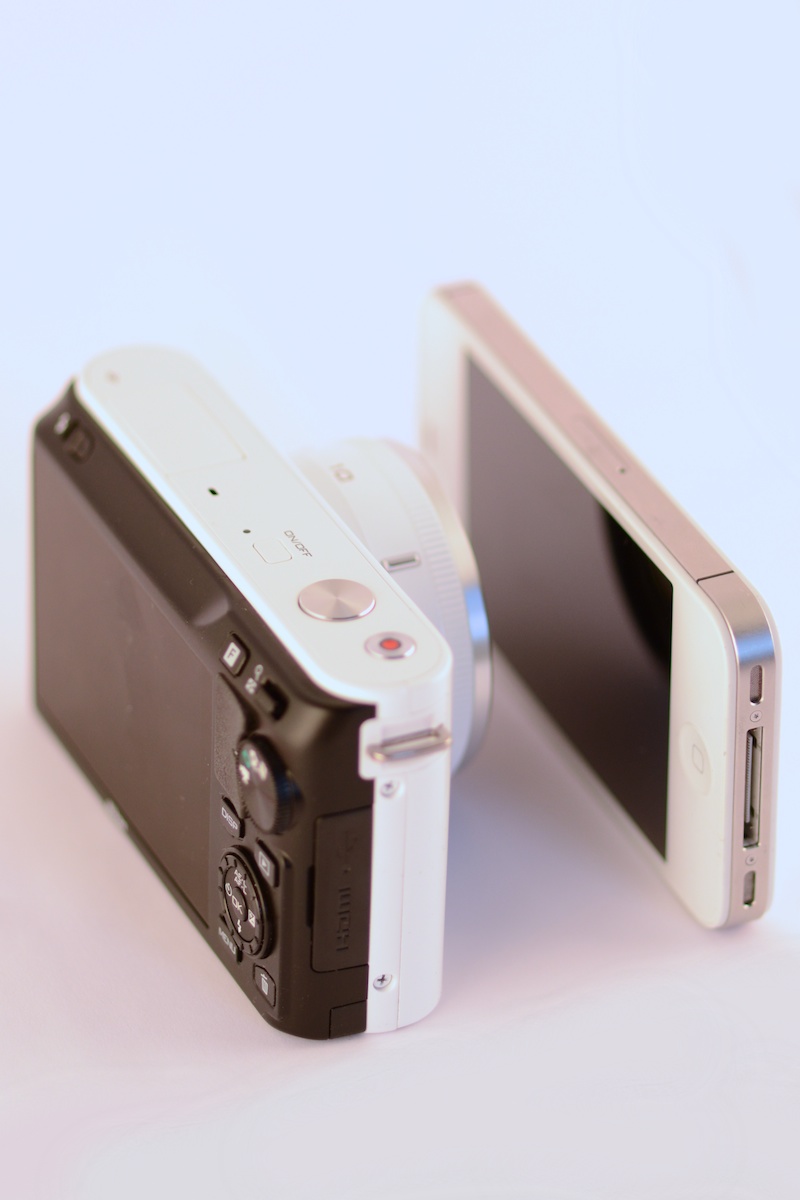
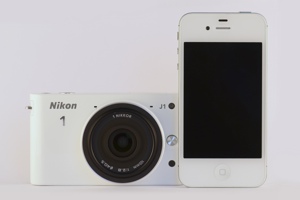
Nikon J1 with 10mm pancake and iPhone 4S
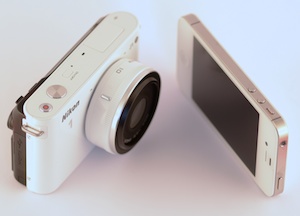
The J1 is tiny. By itself, the body is close in size to an iPhone 4/4S, but 3 times thicker. It feels significantly smaller than the Micro 4/3s cameras I’ve used, especially when taking the size of lenses into account. Even the Canon G12 is bigger than the J1 despite the Canon’s much smaller sensor. Nikon found a hole in the market, planted a flag, and claimed this newfound territory in their own name.
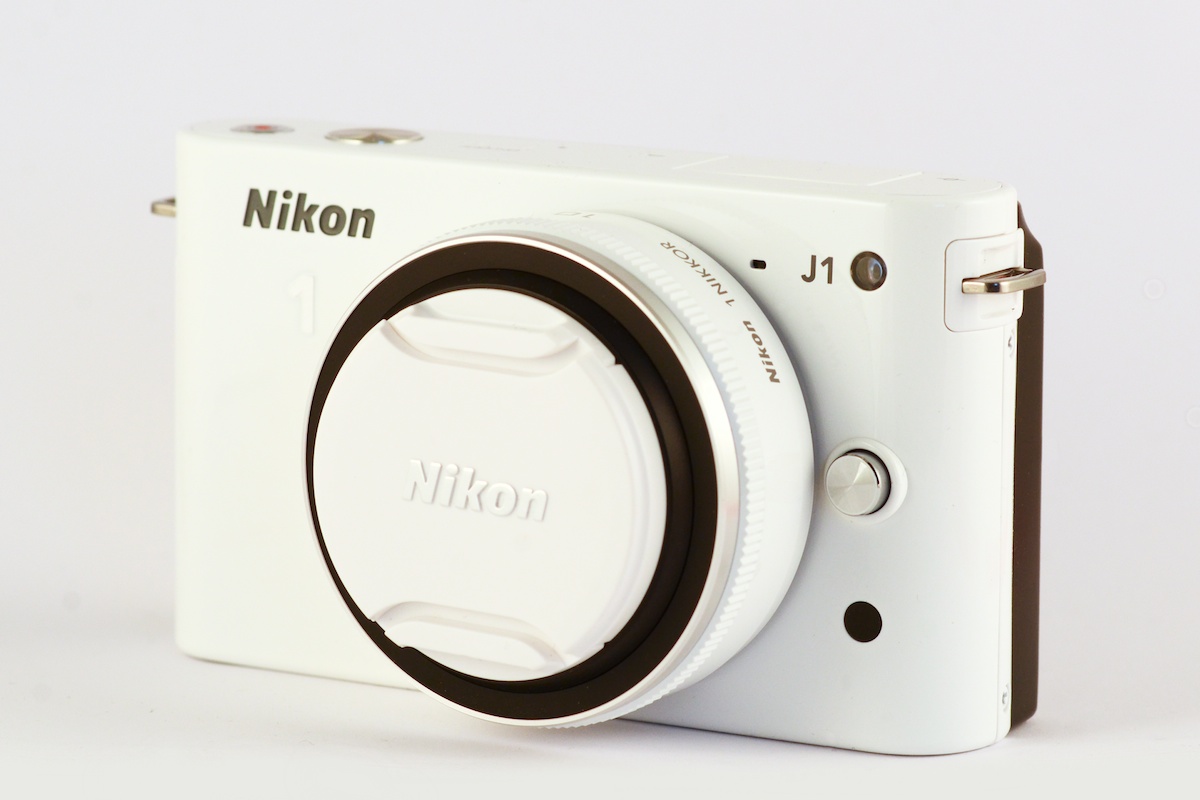
Nikon J1 with 10mm f/2.8 pancake
Specifications
Nikon's official specs can be found here. I've highlighted a subset below.
|
Sensor Size
|
13.2 x 8.8mm
0.52 x 0.35"
|
|
Sensor Diagonal
|
15.9mm / 0.624"
|
|
Crop Ratio
|
2.7
|
|
Resolution
|
3872x2592, 10.1MP
|
|
RAW File
|
12-bit NEF
|
|
Shutter Speed
|
1/16,000–30s
|
|
Frame Advance Rate
|
5fps (manual exposure), up to 60fps (auto)
|
|
ISO Sensitivity
|
100–3200 (6400 extended)
|
|
Autofocus
|
Phase Detect and Contrast Detect
|
|
Built-in Flash
|
YES
|
|
Hot Shoe
|
NO
|
|
1 System Multi Accessory Port
|
NO
|
|
Battery
|
EN-EL15, rated 230 shots
|
|
Tripod Mount
|
1/4" Aligned to lens center
|
|
Dimensions
|
106 x 61 x 30mm
4.2 x 2.4 x 1.2"
|
|
Weight
|
383g / 13.5oz with battery/memory card
|
Sensor size comparison.
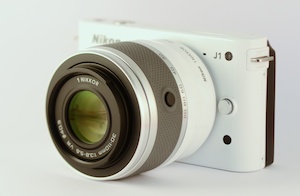
Nikon J1 with 30–110mm f/3.8-5.6
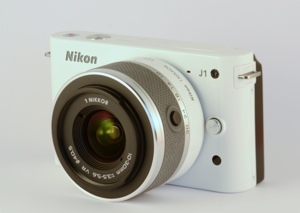
Design
While Fuji looked to classic rangefinders when designing the X100, Nikon seems to have been eyeing the iPhone with envy when designing the J1. The J1 can’t hope to match the pure functional simplicity Jony Ive et al. have created, but cameras are a different beast than phones. The best iPhone camera interface couldn’t hope to compete with an array of buttons and knobs for controlling a camera, just as no amount of buttons and knobs could match a touchscreen for creating masks in Filterstorm.
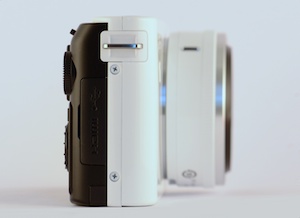
Nikon J1 with iPhone 4S

The white (it also comes in silver, red, pink, and black) part of the camera is metal, whereas the black on the back is plastic. The metal has a higher quality feeling to it than does the plastic, but in overall it doesn’t feel at all cheap.
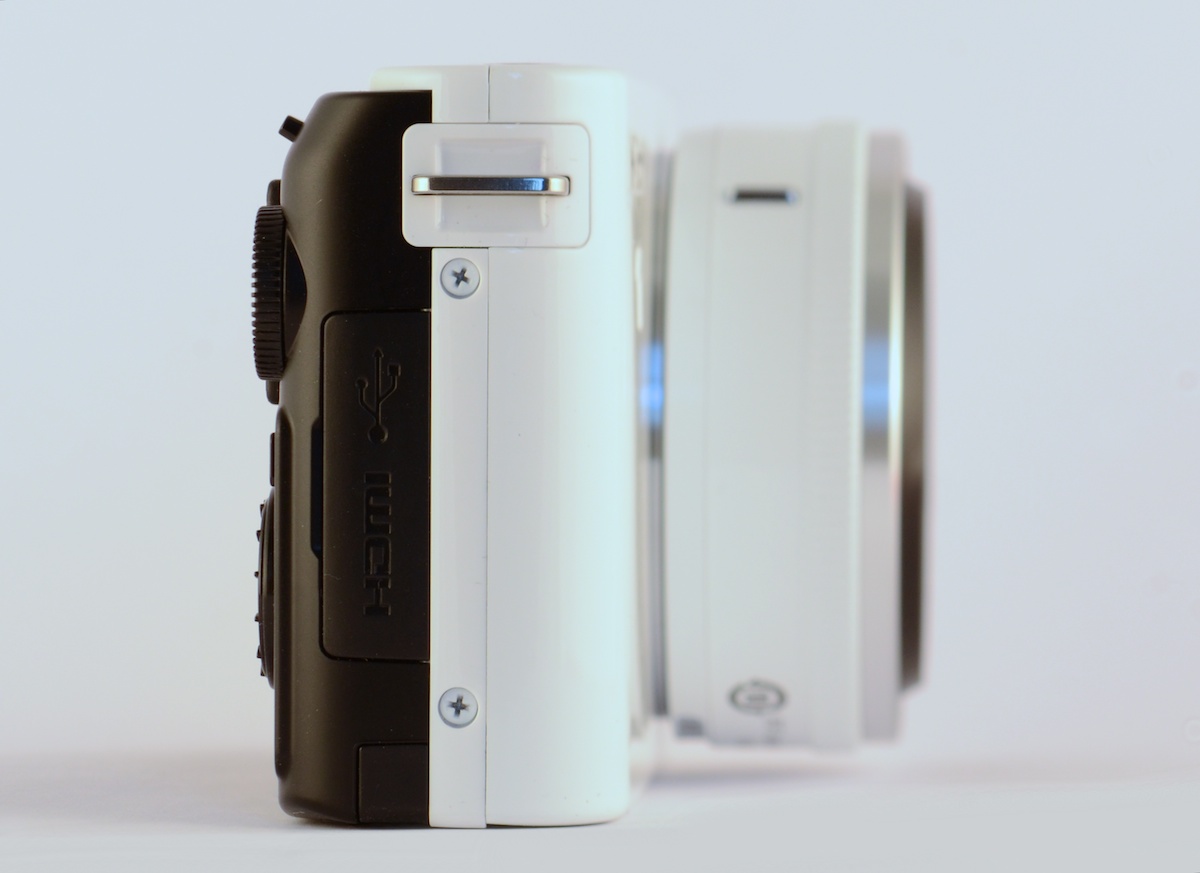
The front of the J1 is simplicity itself, with just a single button to release the lens. The front also contains other necessary bits, the lens mount, an autofocus assist lamp, remote trigger IR receiver, and two microphones. The top has three buttons: power, shutter, and a video record button — which oddly only works if you’re in video mode (more on that later). The tripod mount on the bottom is properly aligned with the lens, but the battery cover is a bit flimsy. On one side, you’ll find HDMI and a USB port. I think audio-in as the V1 has would be more useful than HDMI.
The rear buttons in general are comfortably placed for my small hands, so long as the camera is being supported on the bottom by the left hand (which you should be doing anyway). If you hold it with only the right hand, you can shoot fine, but probably won’t be able to change settings.
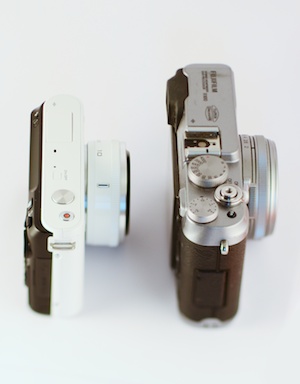
Nikon J1 with Fuji X100
Performance and Controls
The J1 feels eager to please. It starts up quickly, in approximately the time it takes to move your finger from the power button to the shutter. If you’re using a zoom lens, unlocking and extending the lens will automatically turn the camera on, a nice touch. Unfortunately, locking the lens will not turn the camera back off. It shoots at a fast 5 fps under manual settings and can go up to an amazing 60fps in auto exposure, though the buffer will understandably run out very quickly at that speed. There’s no appreciable shutter lag, everything feels very snappy with one caveat. You cannot turn off image review, which means when you’re not shooting continuously, there’s approximately a 2 second shot-to-shot delay. I hope that will be fixed in a firmware update.
Nikon J1 with 10–30mm f/3.5–5.6
 RAW file
Autofocus is fantastic. In decent light when using phase detect, it’s as fast as a good SLR. Things slow down when it has to fall back to contrast detection, but it’s still best in class in terms of speed and accuracy.
Manual focus is okay. It’s controlled by a rotating dial on the back of the camera. It’s probably the best manual focus I’ve used that’s not a focus ring on a lens, but it’s still not as good as having a the real thing. Hopefully Nikon will release some lenses with focus rings, but I’m not holding my breath.
Nikon J1 Back
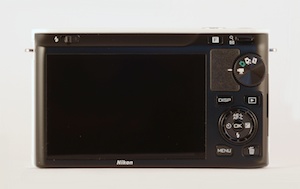
The back of the camera has a nearly useless mode switch with 4 options: video, still image, best shot selector, and the baffling motion snapshot. For some inexplicable reason, Nikon’s marketing department seems to be in love with the motion snapshot, but it just seems bizarre to me. The video mode option on the dial seems odd to me, too. There is a dedicated video recording button on the top of the camera, but it only works in video mode. It seems to me that the video button on top should simply take a movie with the current still image settings so that no special video mode is necessary. Please write in the comments if you can think of a good reason for Nikon to have done this. You can also take full resolution still images while recording a movie, which unlike the dedicated motion snapshot feature, I could see being useful.
Nikon J1 with 10–30mm f/3.5–5.6
If you want to switch between PSAM modes, you must do so through the fast and well laid out menu system. It’s still not as good as having the dedicated knob, but not terrible, either. The PSAM controls are analogous to those on Nikon’s DSLRs. Instead of having a primary and secondary rotating ring for changing shutter speed and aperture, the two-way switch on the top right acts as the primary control, and the spinning ring on the back acts as the secondary. In Aperture priority, you can press the switch on the top up to increase aperture/down to decrease, while in shutter priority and manual it works to control shutter speed, with the aperture controlled by the rotating ring in manual mode. Exposure compensation is easy to access as well. Since the exposure compensation button is part of a 4-way dial under the ring, you can press it and rotate the ring to change exposure compensation in one quick motion.
My one complaint with is with ISO controls; you have to go through the cameras menus in order to change ISO. The exposure compensation button does nothing in manual mode, and could have potentially been mapped to bring up the ISO menu. It would be a huge help and even makes logical sense as the use can be analogous. The function button on the top currently currently brings up continuous/single shutter controls, an option in the menu to change it to control ISO would also be fantastic. I doubt Nikon will change any of this in a firmware update, but they could.
Image Quality
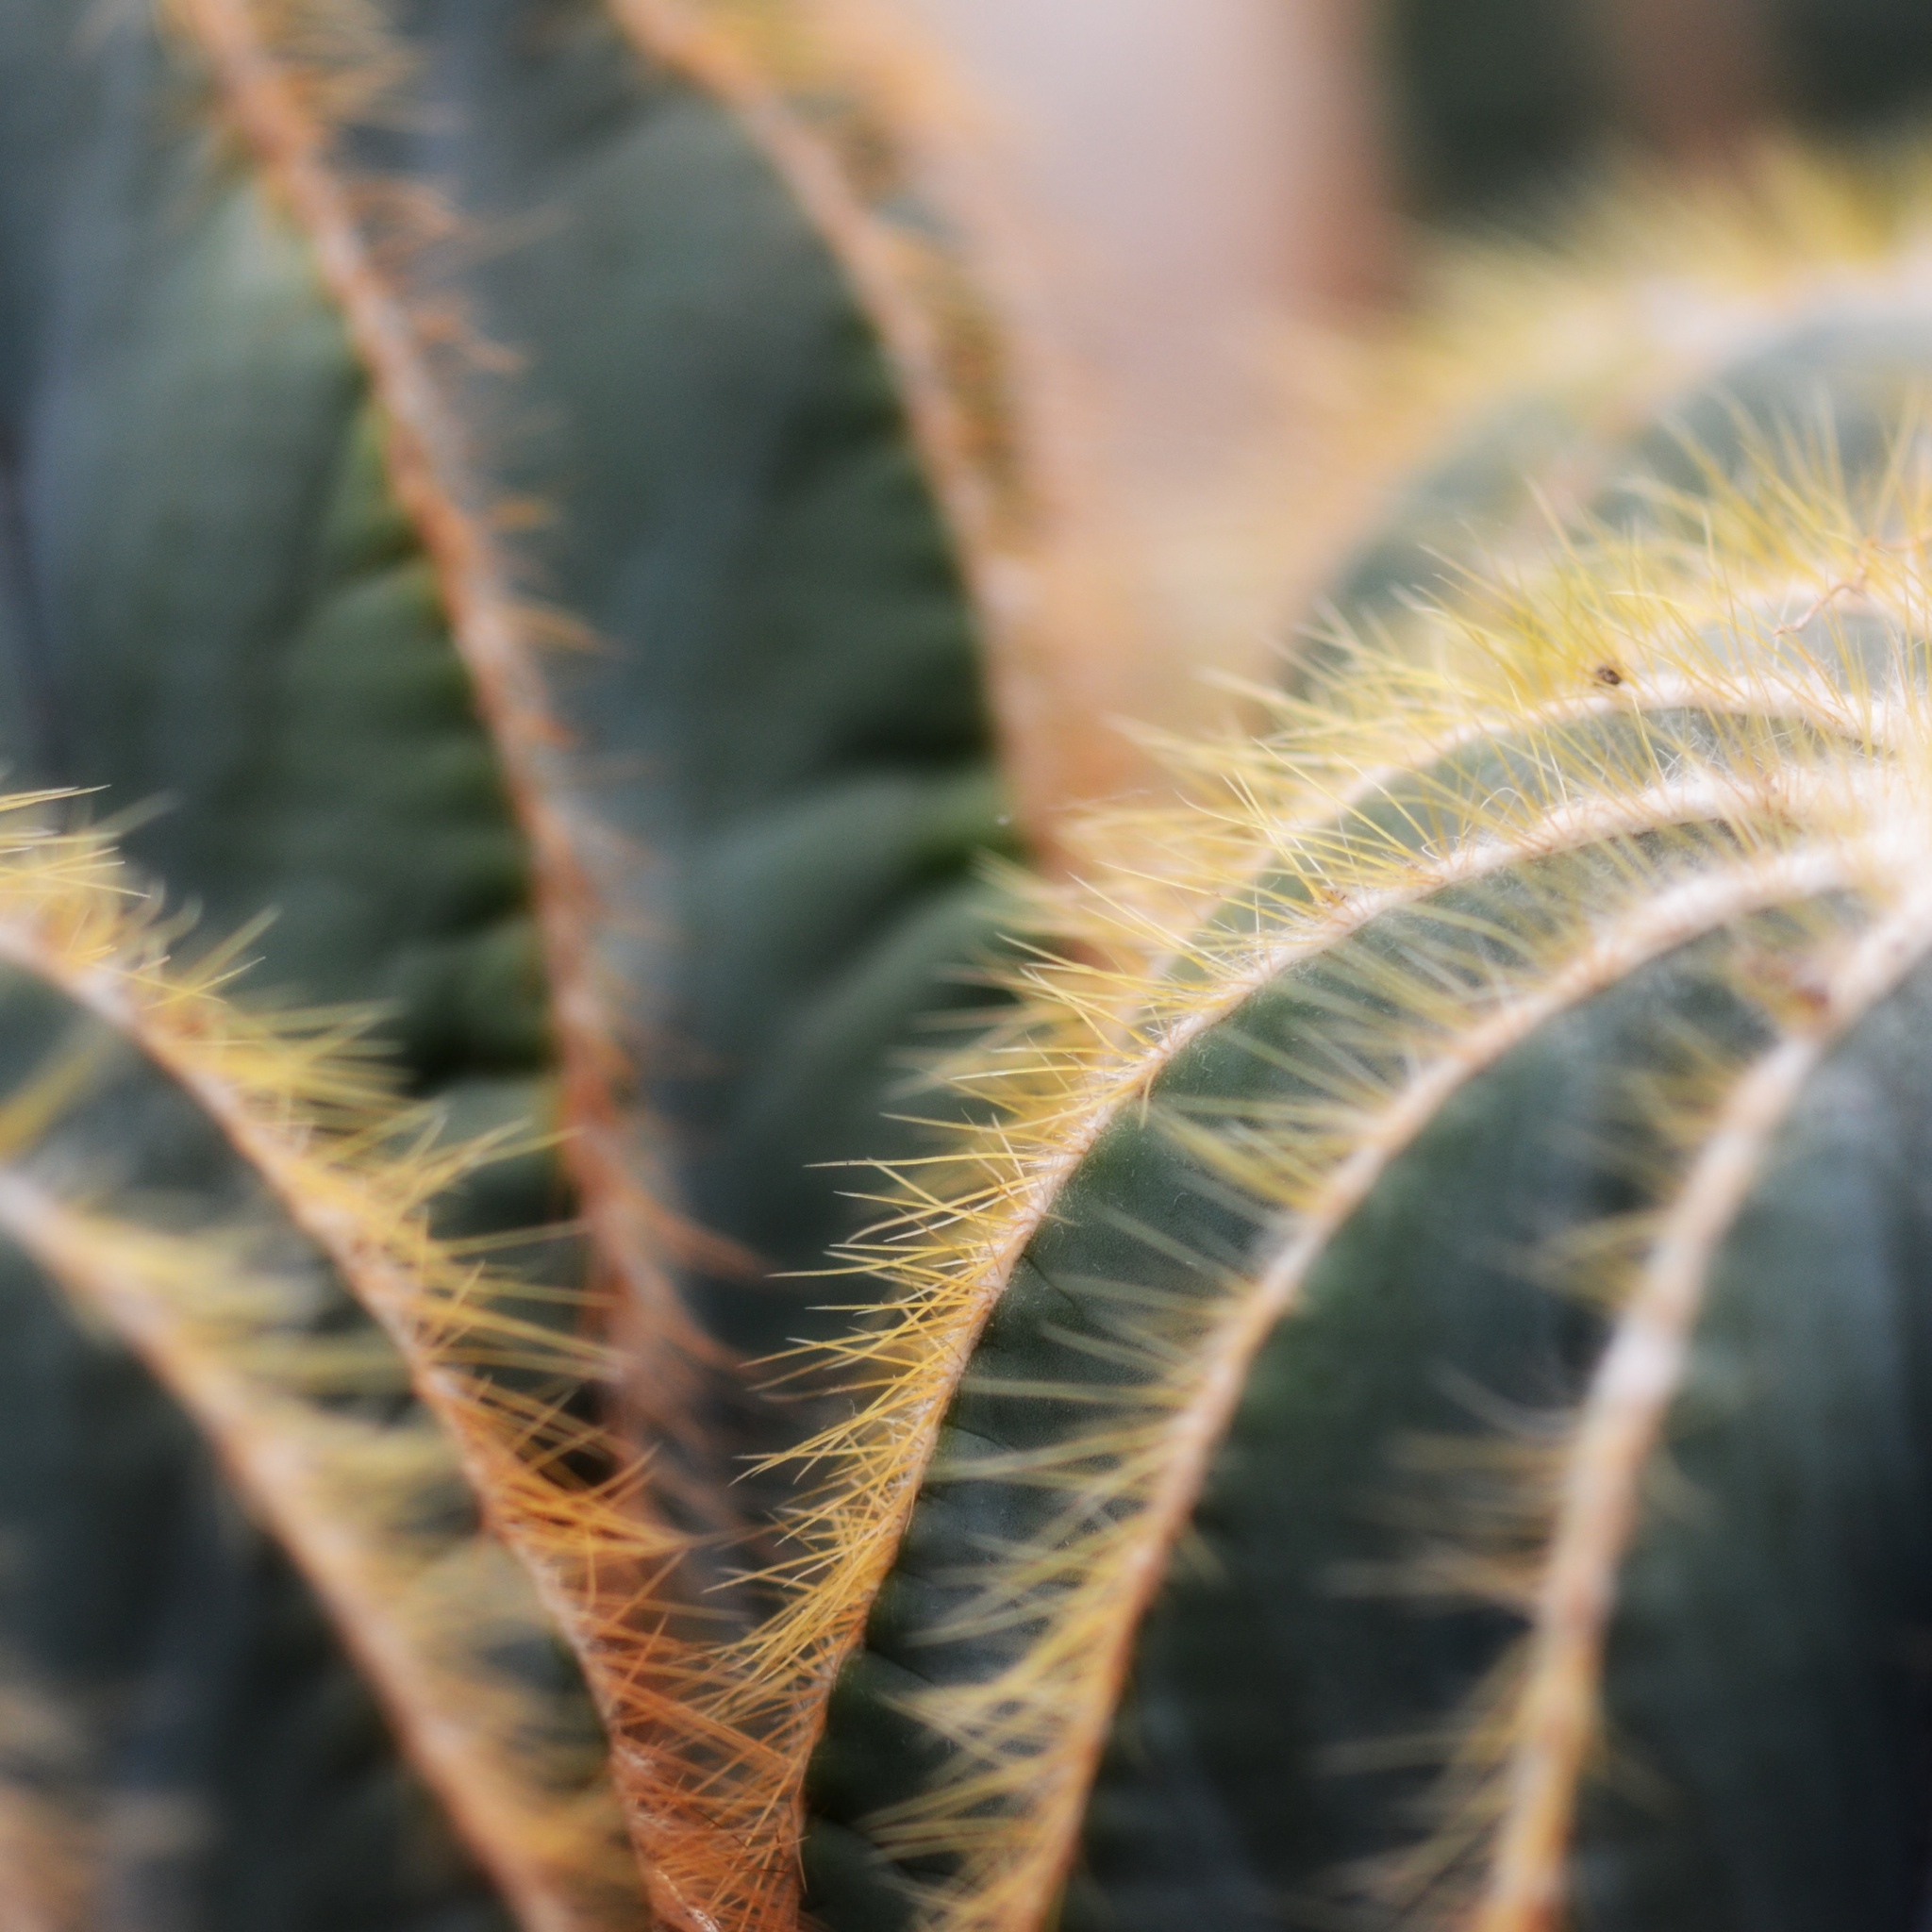
Image quality reminds me of the D60, but with more noise at low ISOs. It’s an impressive feat for a camera with a sensor a bit under 1/3 the area, even if it does come a generation or two later. Color reproduction and dynamic range are both good. The lenses remind me of Nikon’s DSLR kit lenses, but perhaps a bit better. They’re plenty sharp, but are slow and with a decent amount of distortion. They also focus faster than cheap DSLR kit lenses. I will have more information in coming lens reviews. If you have a program that can read the J1 RAW files, you should look at the difference between some of the RAWs and JPEGs posted. You can get some more detail out of the RAW files than the out of camera JPEGs are producing.
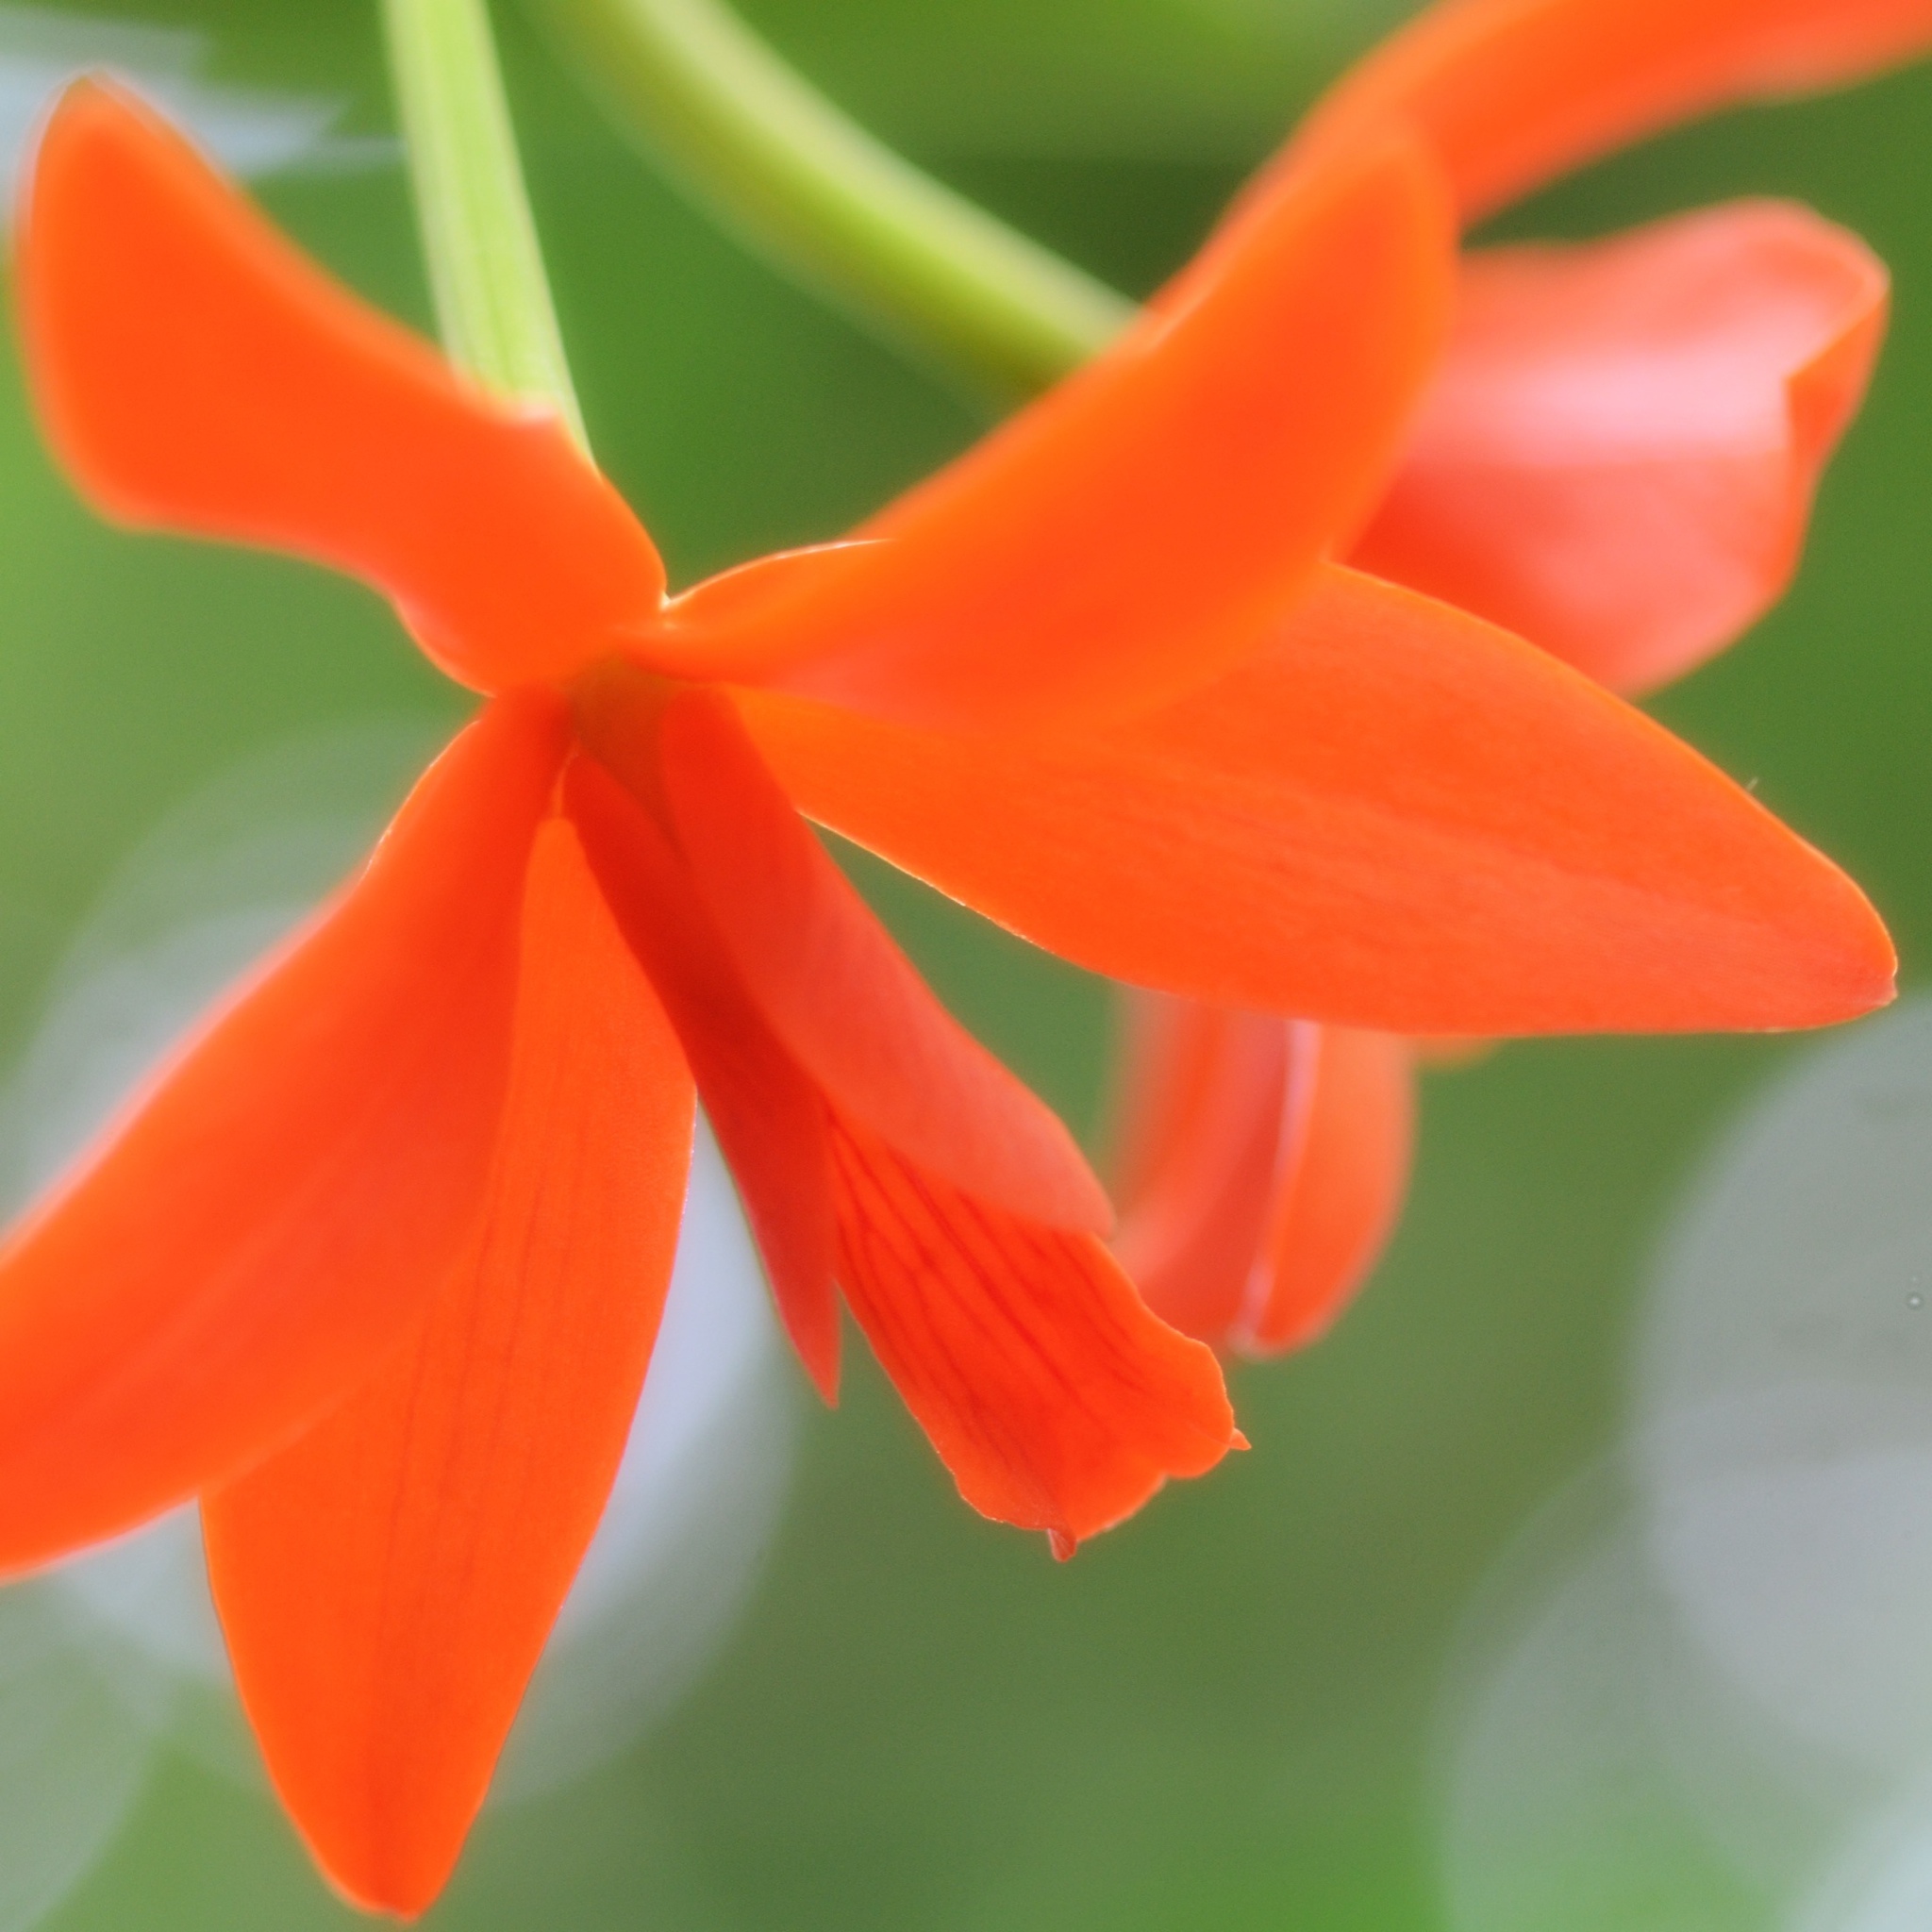
30–110mm @f/5.6, 110mm, 1/80s, ISO560
 RAW file
Low light performance is worlds better than point and shoots, probably close to micro 4/3 despite the difference in sensor size, and bad compared to modern DSLRs, as is to be expected. Fast primes would be nice.
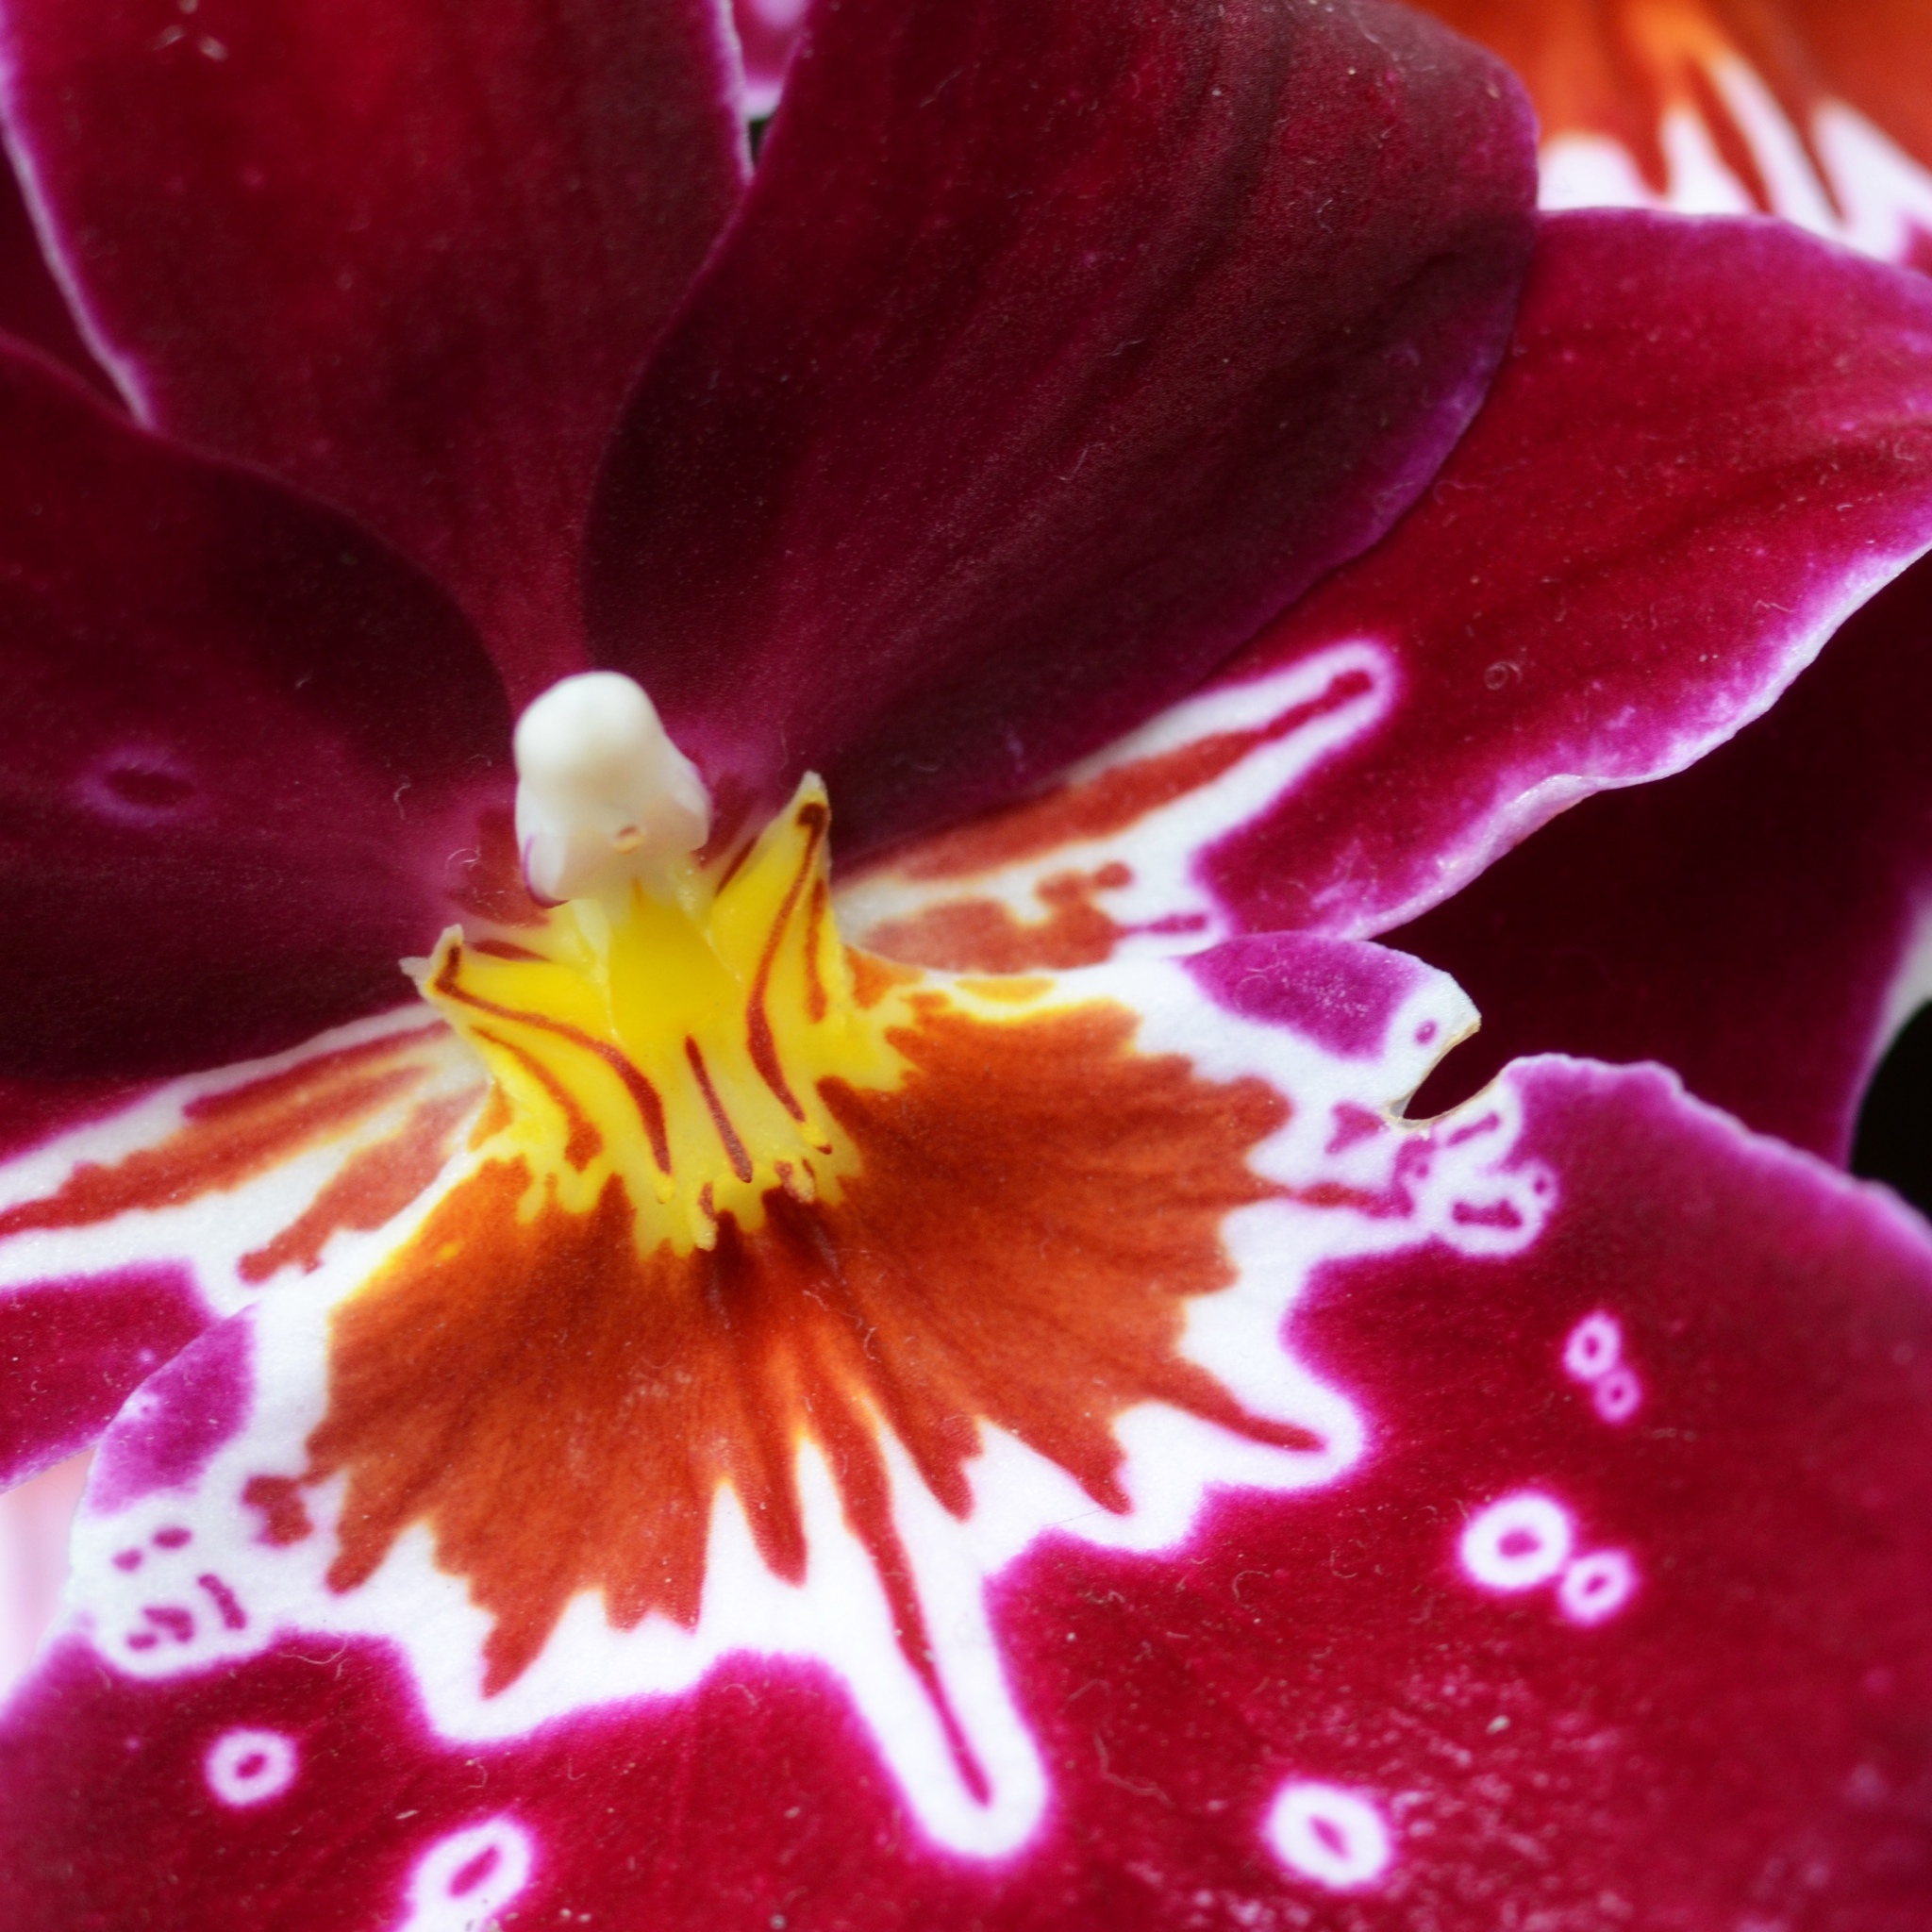
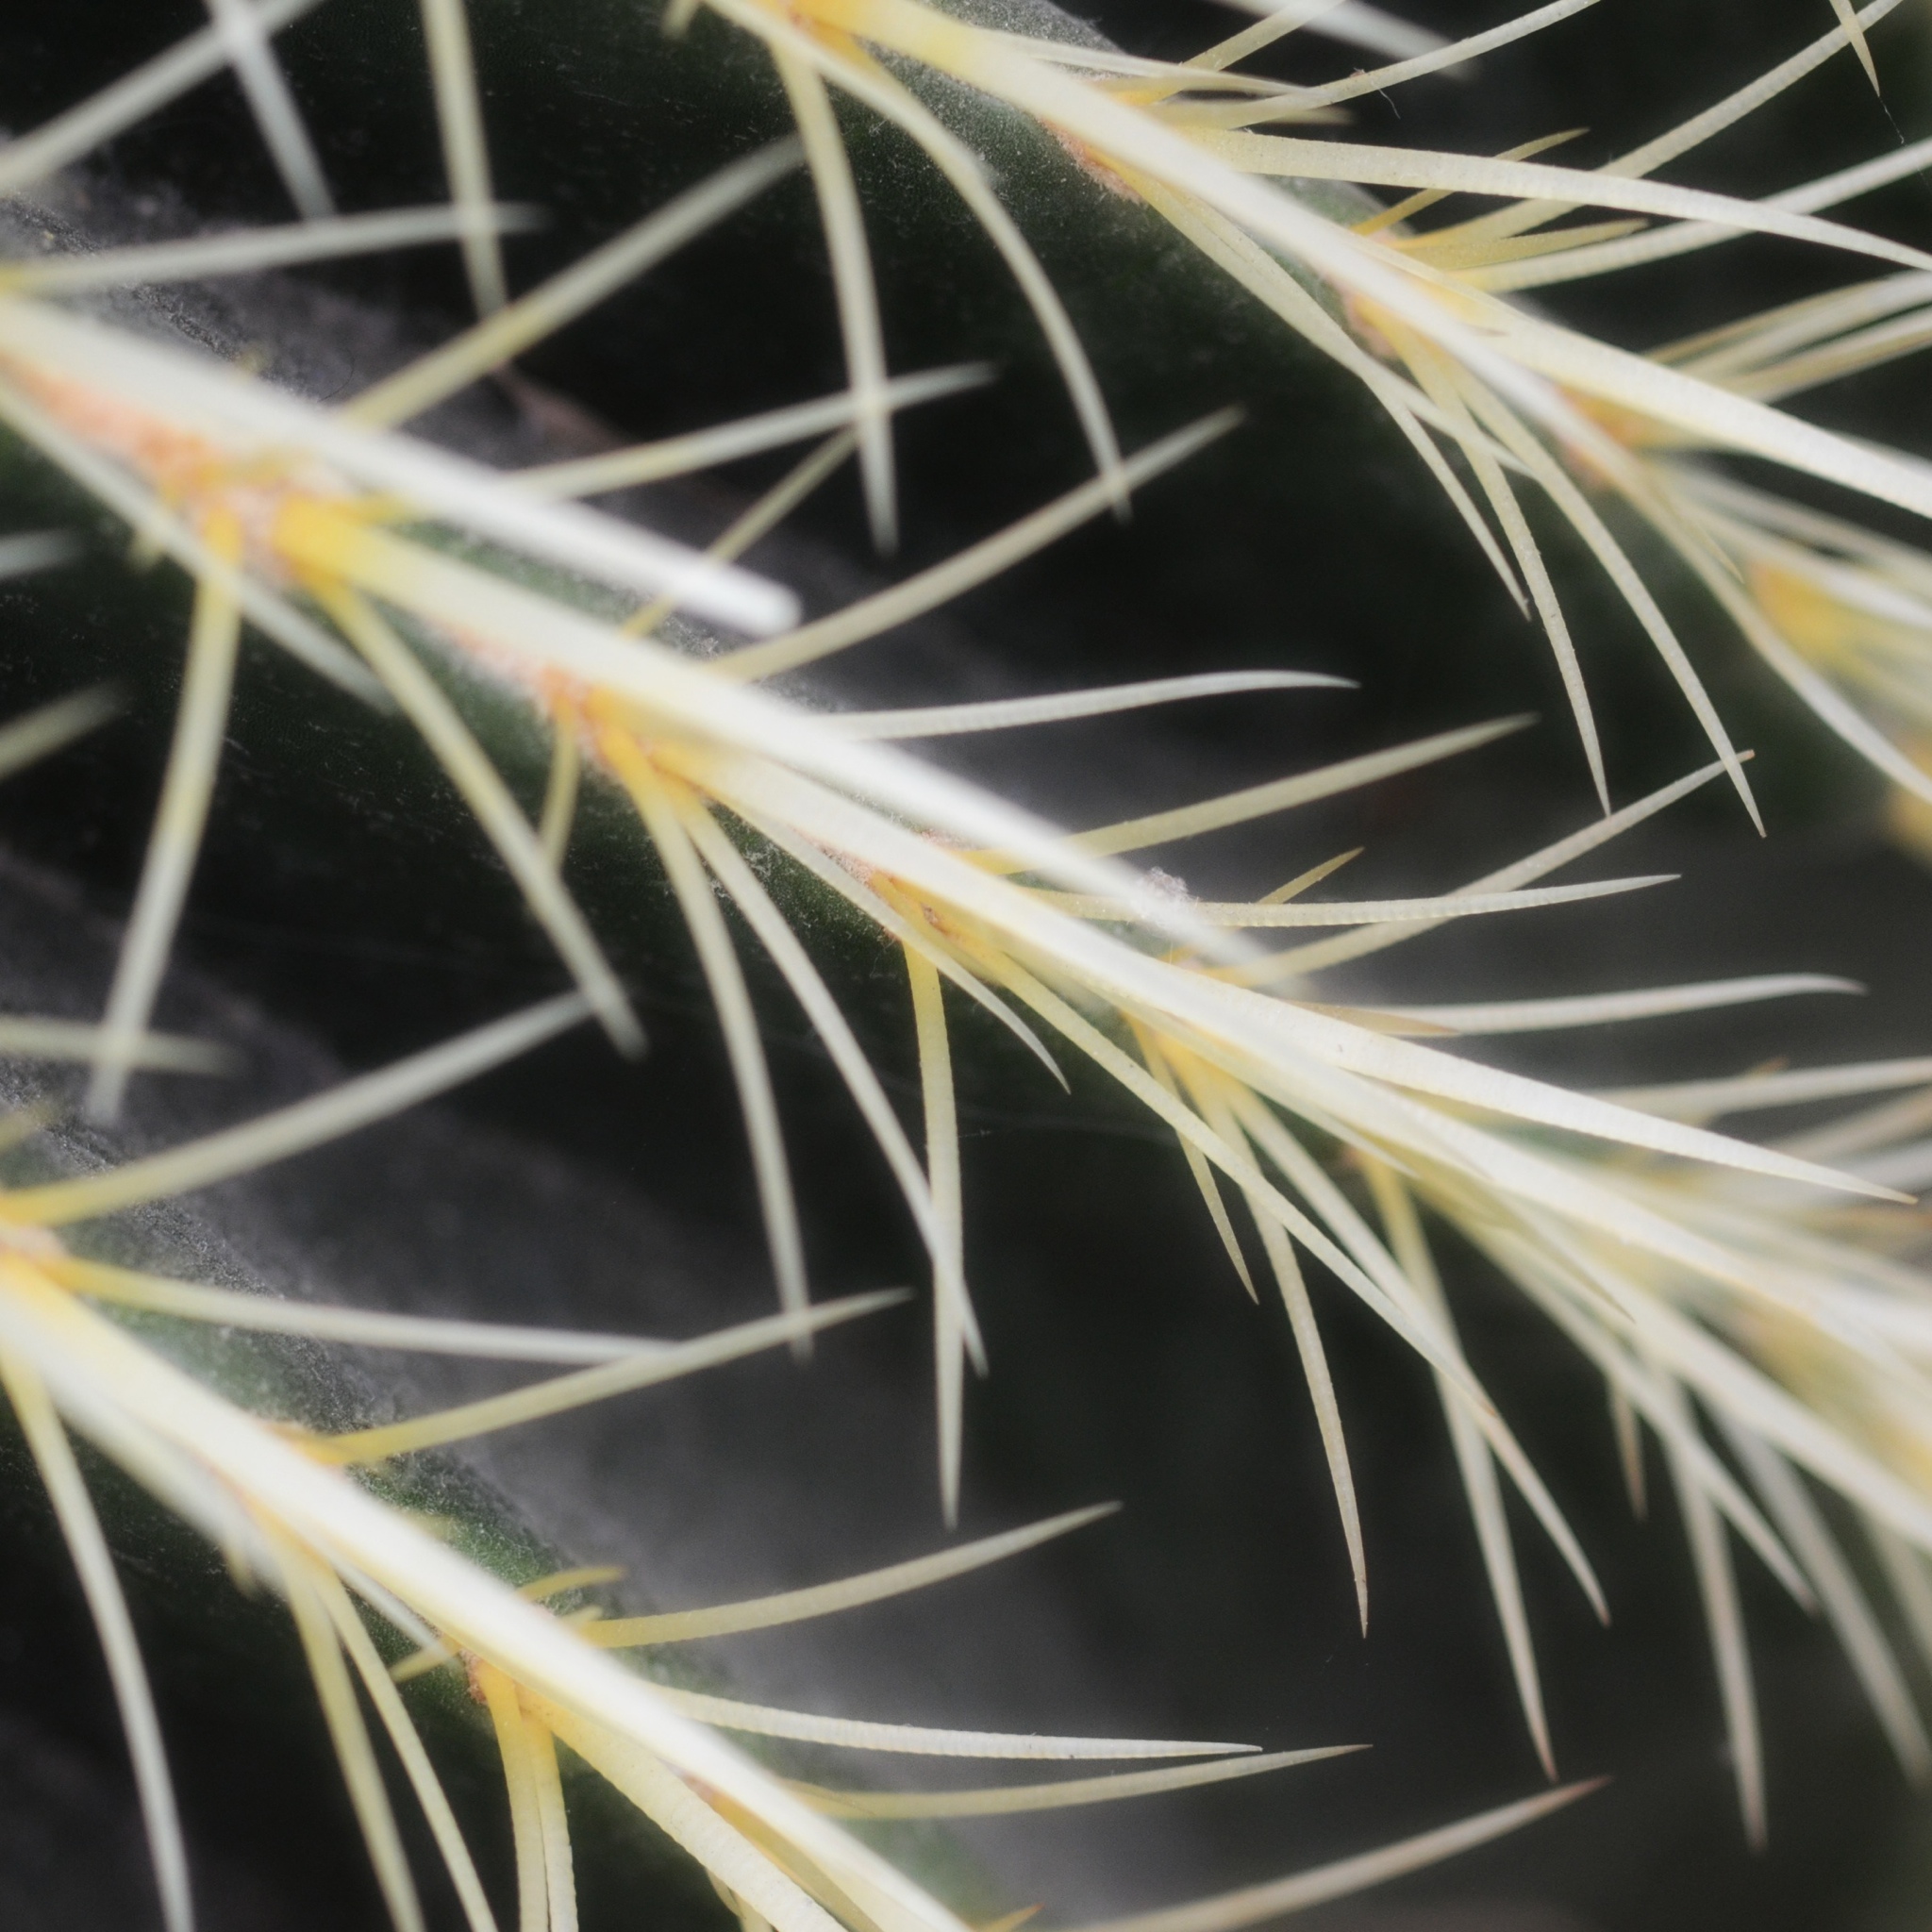
30–110mm @f/8, 66.4mm, 1/60s, ISO360
 RAW file
Things I Love
- Size — It's really tiny, especially when taking lenses into consideration
- Performance — It starts up quickly, focuses quickly, has little shutter lag, and has high frame rates with a decent buffer.
- Autofocus — Much better than anything I've seen in the class.
- Display responsiveness — The LCD has very little lag.
- Video — Very little rolling shutter, and video looks good.
- Build — It's a great looking and feeling camera.
- Unlocking Lens Turns on Camera — As soon as a zoom lens is extended, you're ready to shoot. Nice.
- Image Quality — Similar to DSLRs of just a few years ago. Images are a bit noisy at low ISO, but there's a lot of detail and dynamic range captured.
- Sound — Or more accurately, lack of sound. It's very quiet once the beeps are disabled through a simple menu setting
Things I Think are Just Okay
- Manual Focus — It's much better than I expected it to be without focus rings on the lenses, but focus rings on the lenses would be still be better. Thankfully, I don't think there's anything design flaw preventing Nikon from releasing lenses with focus rings in the future.
- Price — It sets you back about the same as an entry level DSLR. You pay for the size.
- Display Quality — It's not bad, the V1's is better.
Things I Hate
- Mode Selector Dial — It could have been useful, it is not. PSAM should be there.
- No dedicated control for ISO — Aperture and Shutter Speed both get dedicated controls in Manual, but ISO must be handled through the menus.
- Locking lens does not turn off camera — Not a huge problem, but it would be nice. The camera can detect when the lens has been locked, so this could be fixed in a firmware update.
- No Bracketing — I don't bracket too often, but it's good to have. This could potentially be fixed in a firmware update.
Who It's For
- Photographer's Camera — If you want a small but capable camera to always have by your side, The J1 can fill that niche well. Thom Hogan and Rob Galbraith both prefer the V1 which I haven't used. It certainly has its advantages but is bigger and lacks built-in flash.
- Parents — Lots of parents buy entry level DSLRs because they want high quality pictures of their kids. The J1 is a great camera for that market, likely better than a DSLR in most cases.
- For Anyone Else — Similar to above. It's probably a great camera for a member of the point & shoot crowd who wants something nicer, but doesn't necessarily want to get into photography as a serious hobby.
- Mountain Unicycling from Canada to Mexico to Fight Human Trafficking — If you want to minimize size and weight and maximize quality, it's about the best out there.
Nikon J1 with 10mm f/2.8 pancake
 RAW file
Conclusion
I’ve quite enjoyed shooting with the J1 so far, and will be sad to give it up. Alas, it was purchased for my brother to take with him on his aforementioned unicycling trip. He needs something light with good image (and video) quality for the trail, and I can’t think of a better option, though the Fuji X10 and X100 might both be decent choices, too. Most of my complaints are about the fact that I’m not the target consumer for the J1—I want easier access to manual options and the J1 wasn’t built for that. However, the V1 was supposed to be, and all my complaints about controls are identical for that camera.
Despite the complaints given, the J1 is a fantastic camera. The general responsiveness, especially of autofocus makes it feel closer to a DSLR than other mirrorless cameras. I don’t believe there is anything of comparable size that can match the image quality and performance. Certainly Micro 4/3 cameras can match or best the IQ, but when lenses are taken into account they’re not too different from a small DSLR in size. It has rough edges, but is a great little camera.
Arbitrary Numerical Rating: 4.5 of 5
More Photos
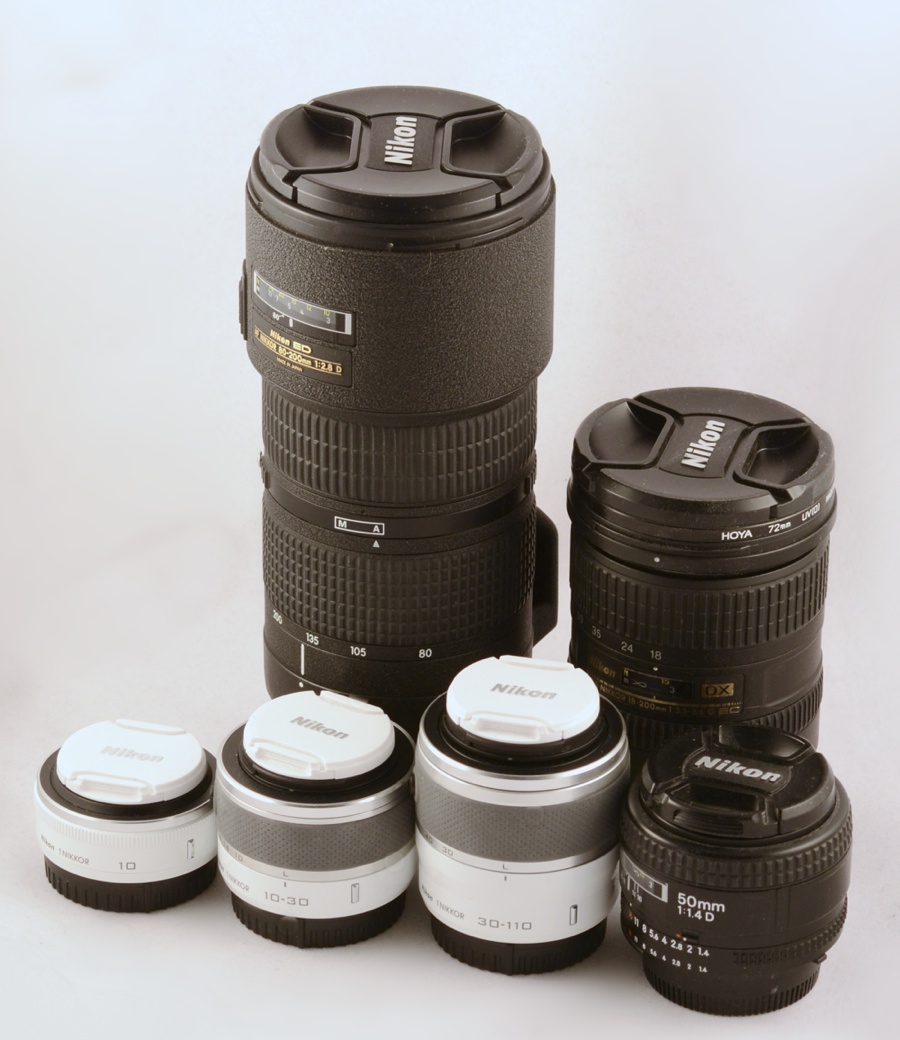
CX Lenses vs. 50mm (FX), 18–200mm (DX), & 80–200mm (FX)

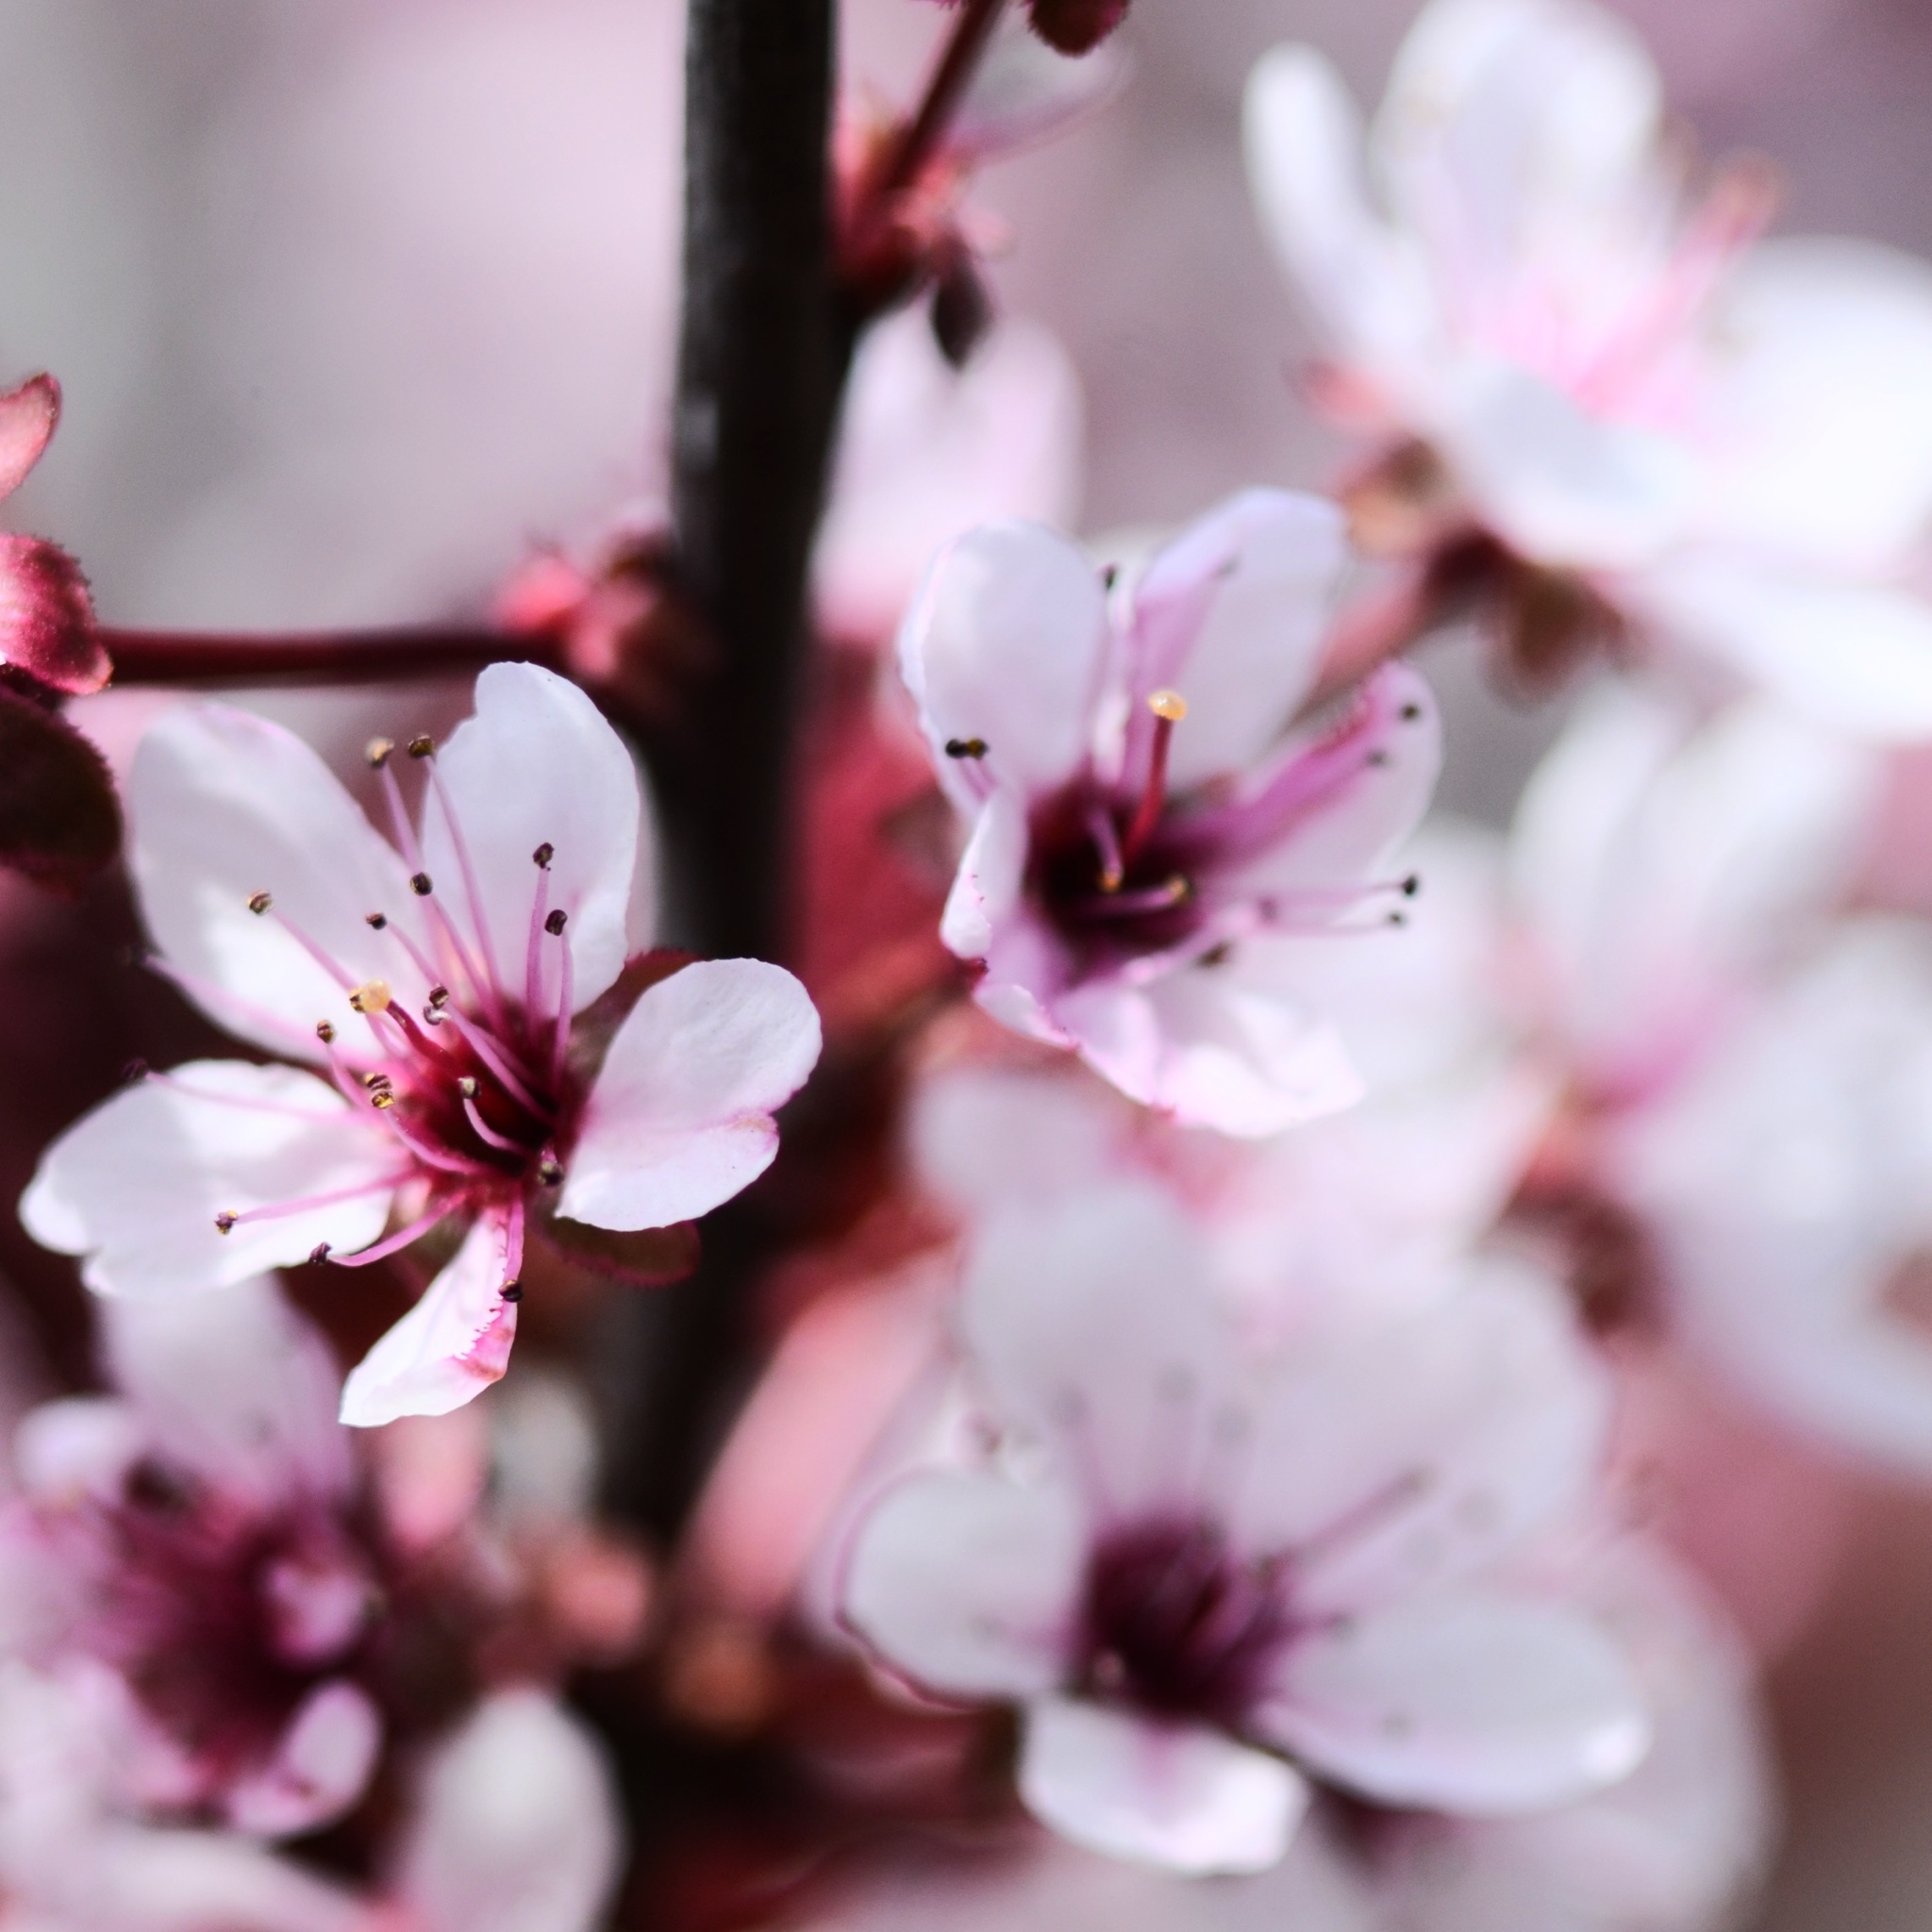
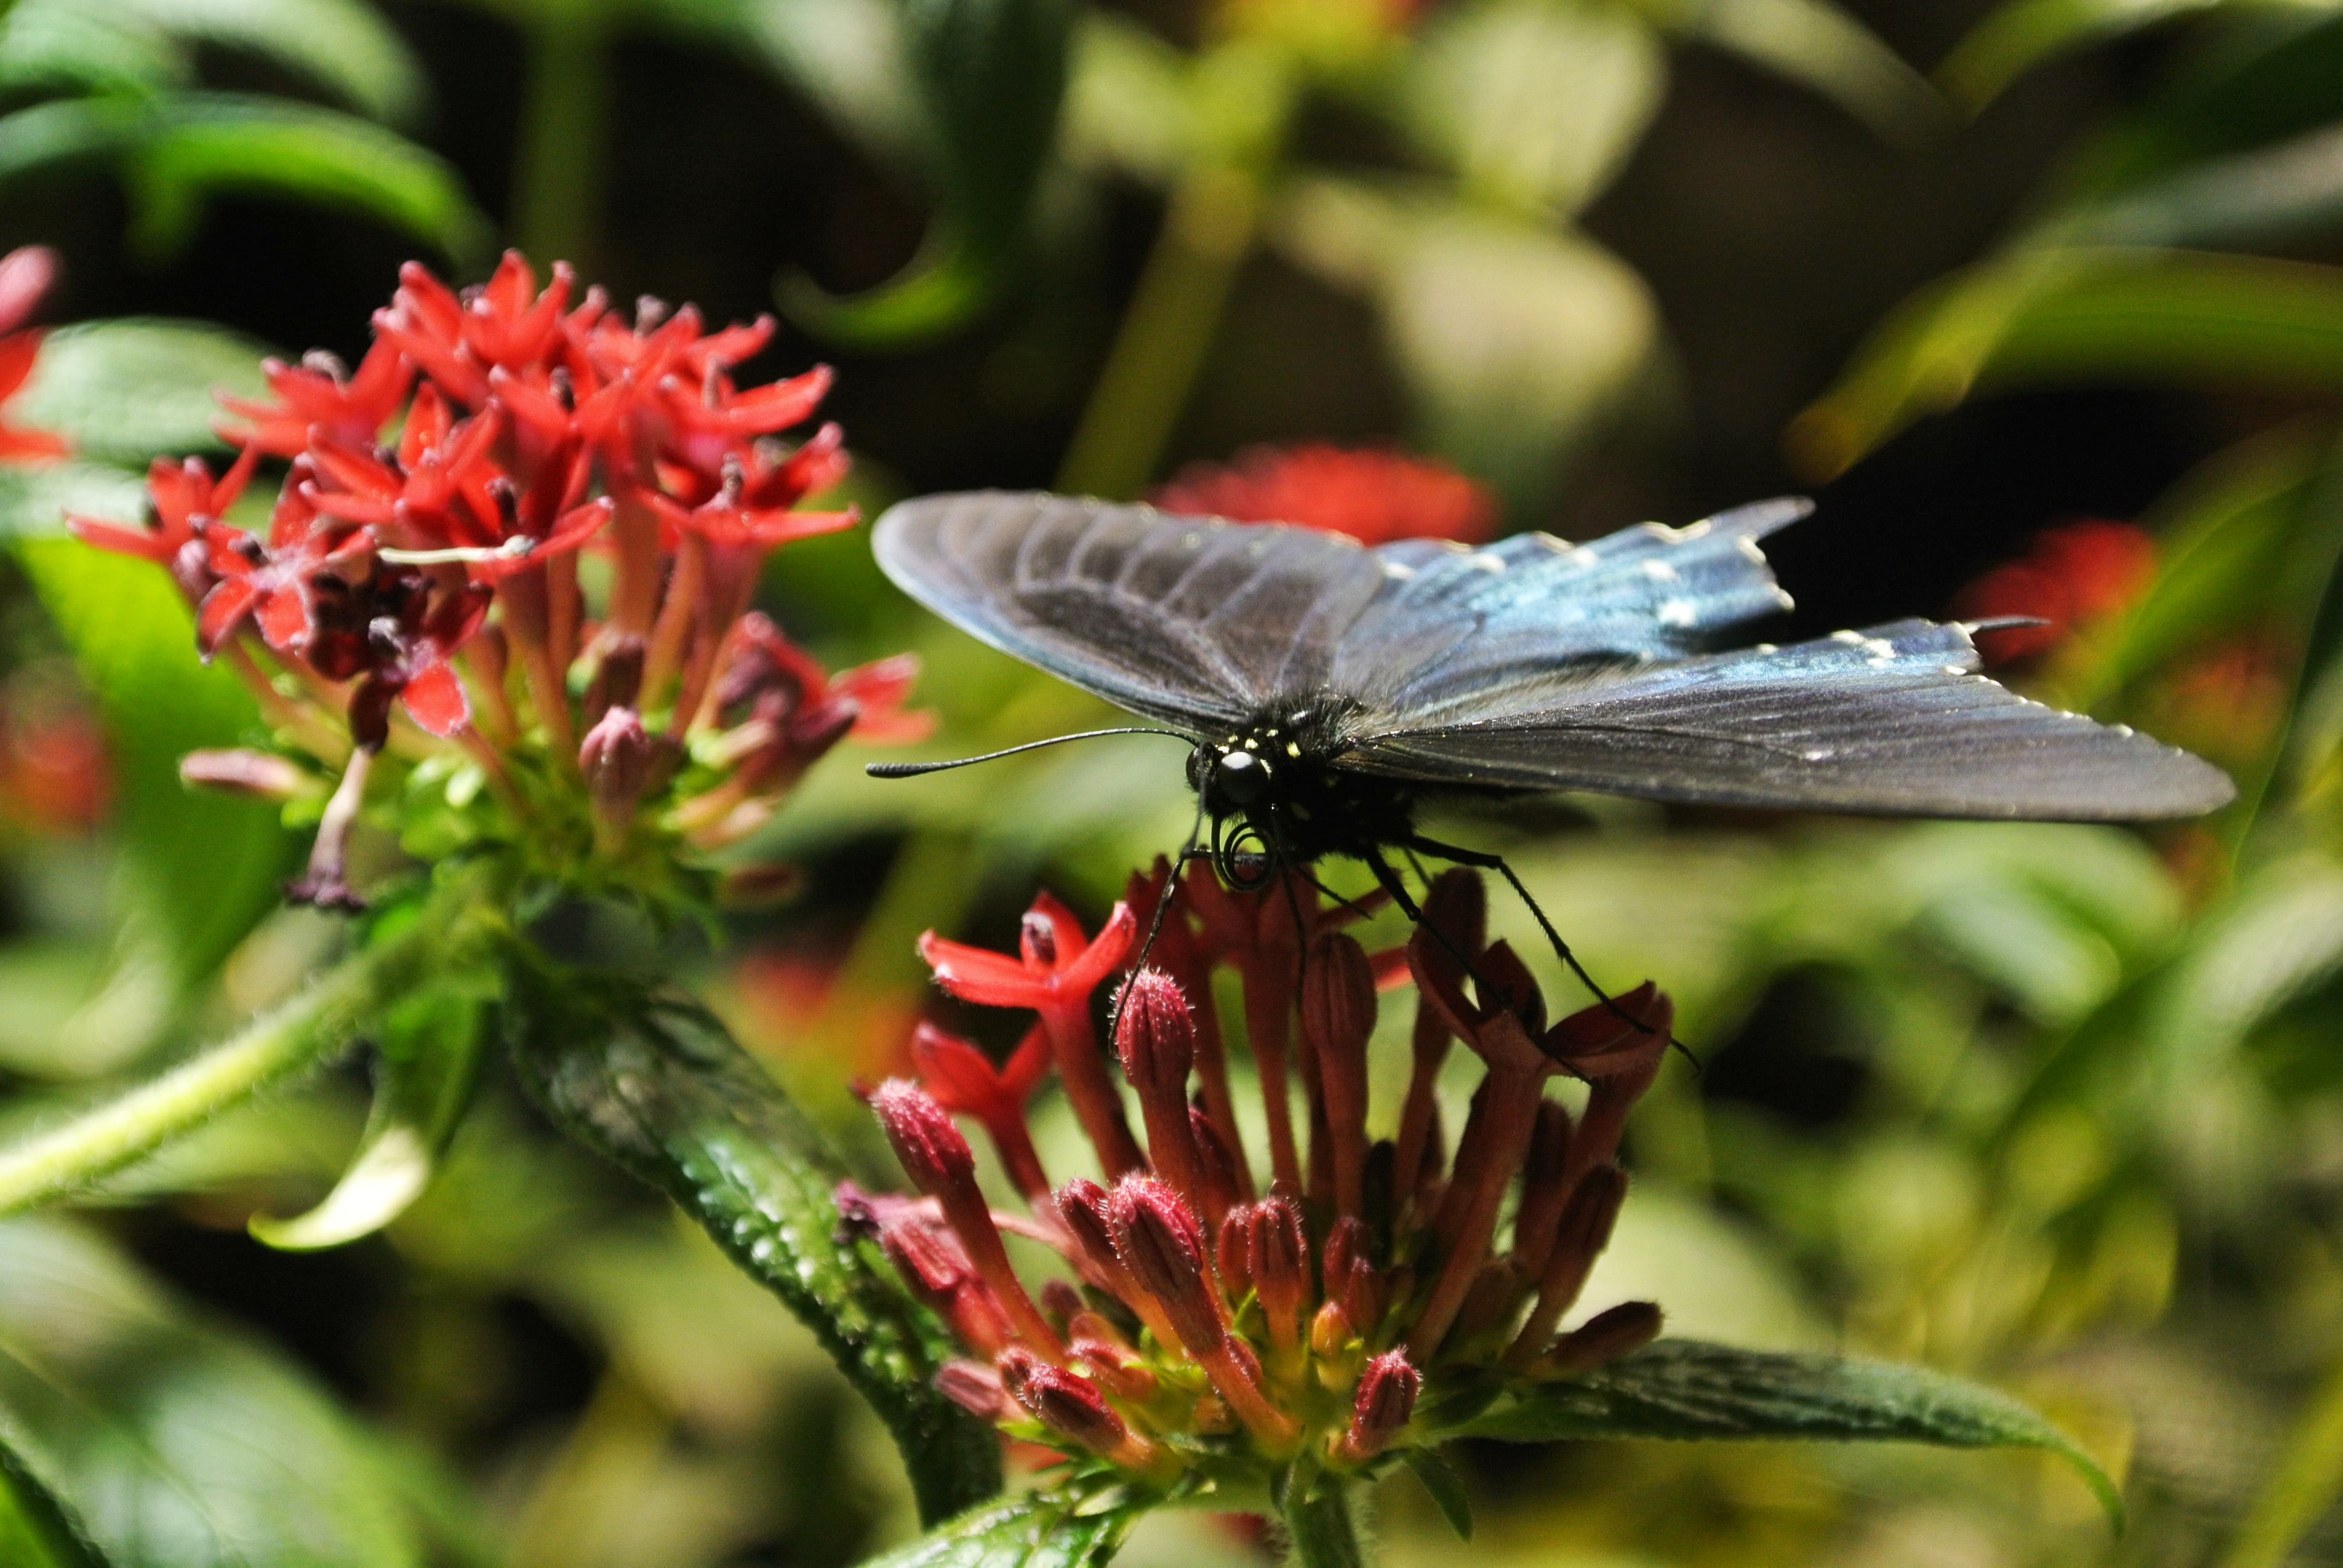
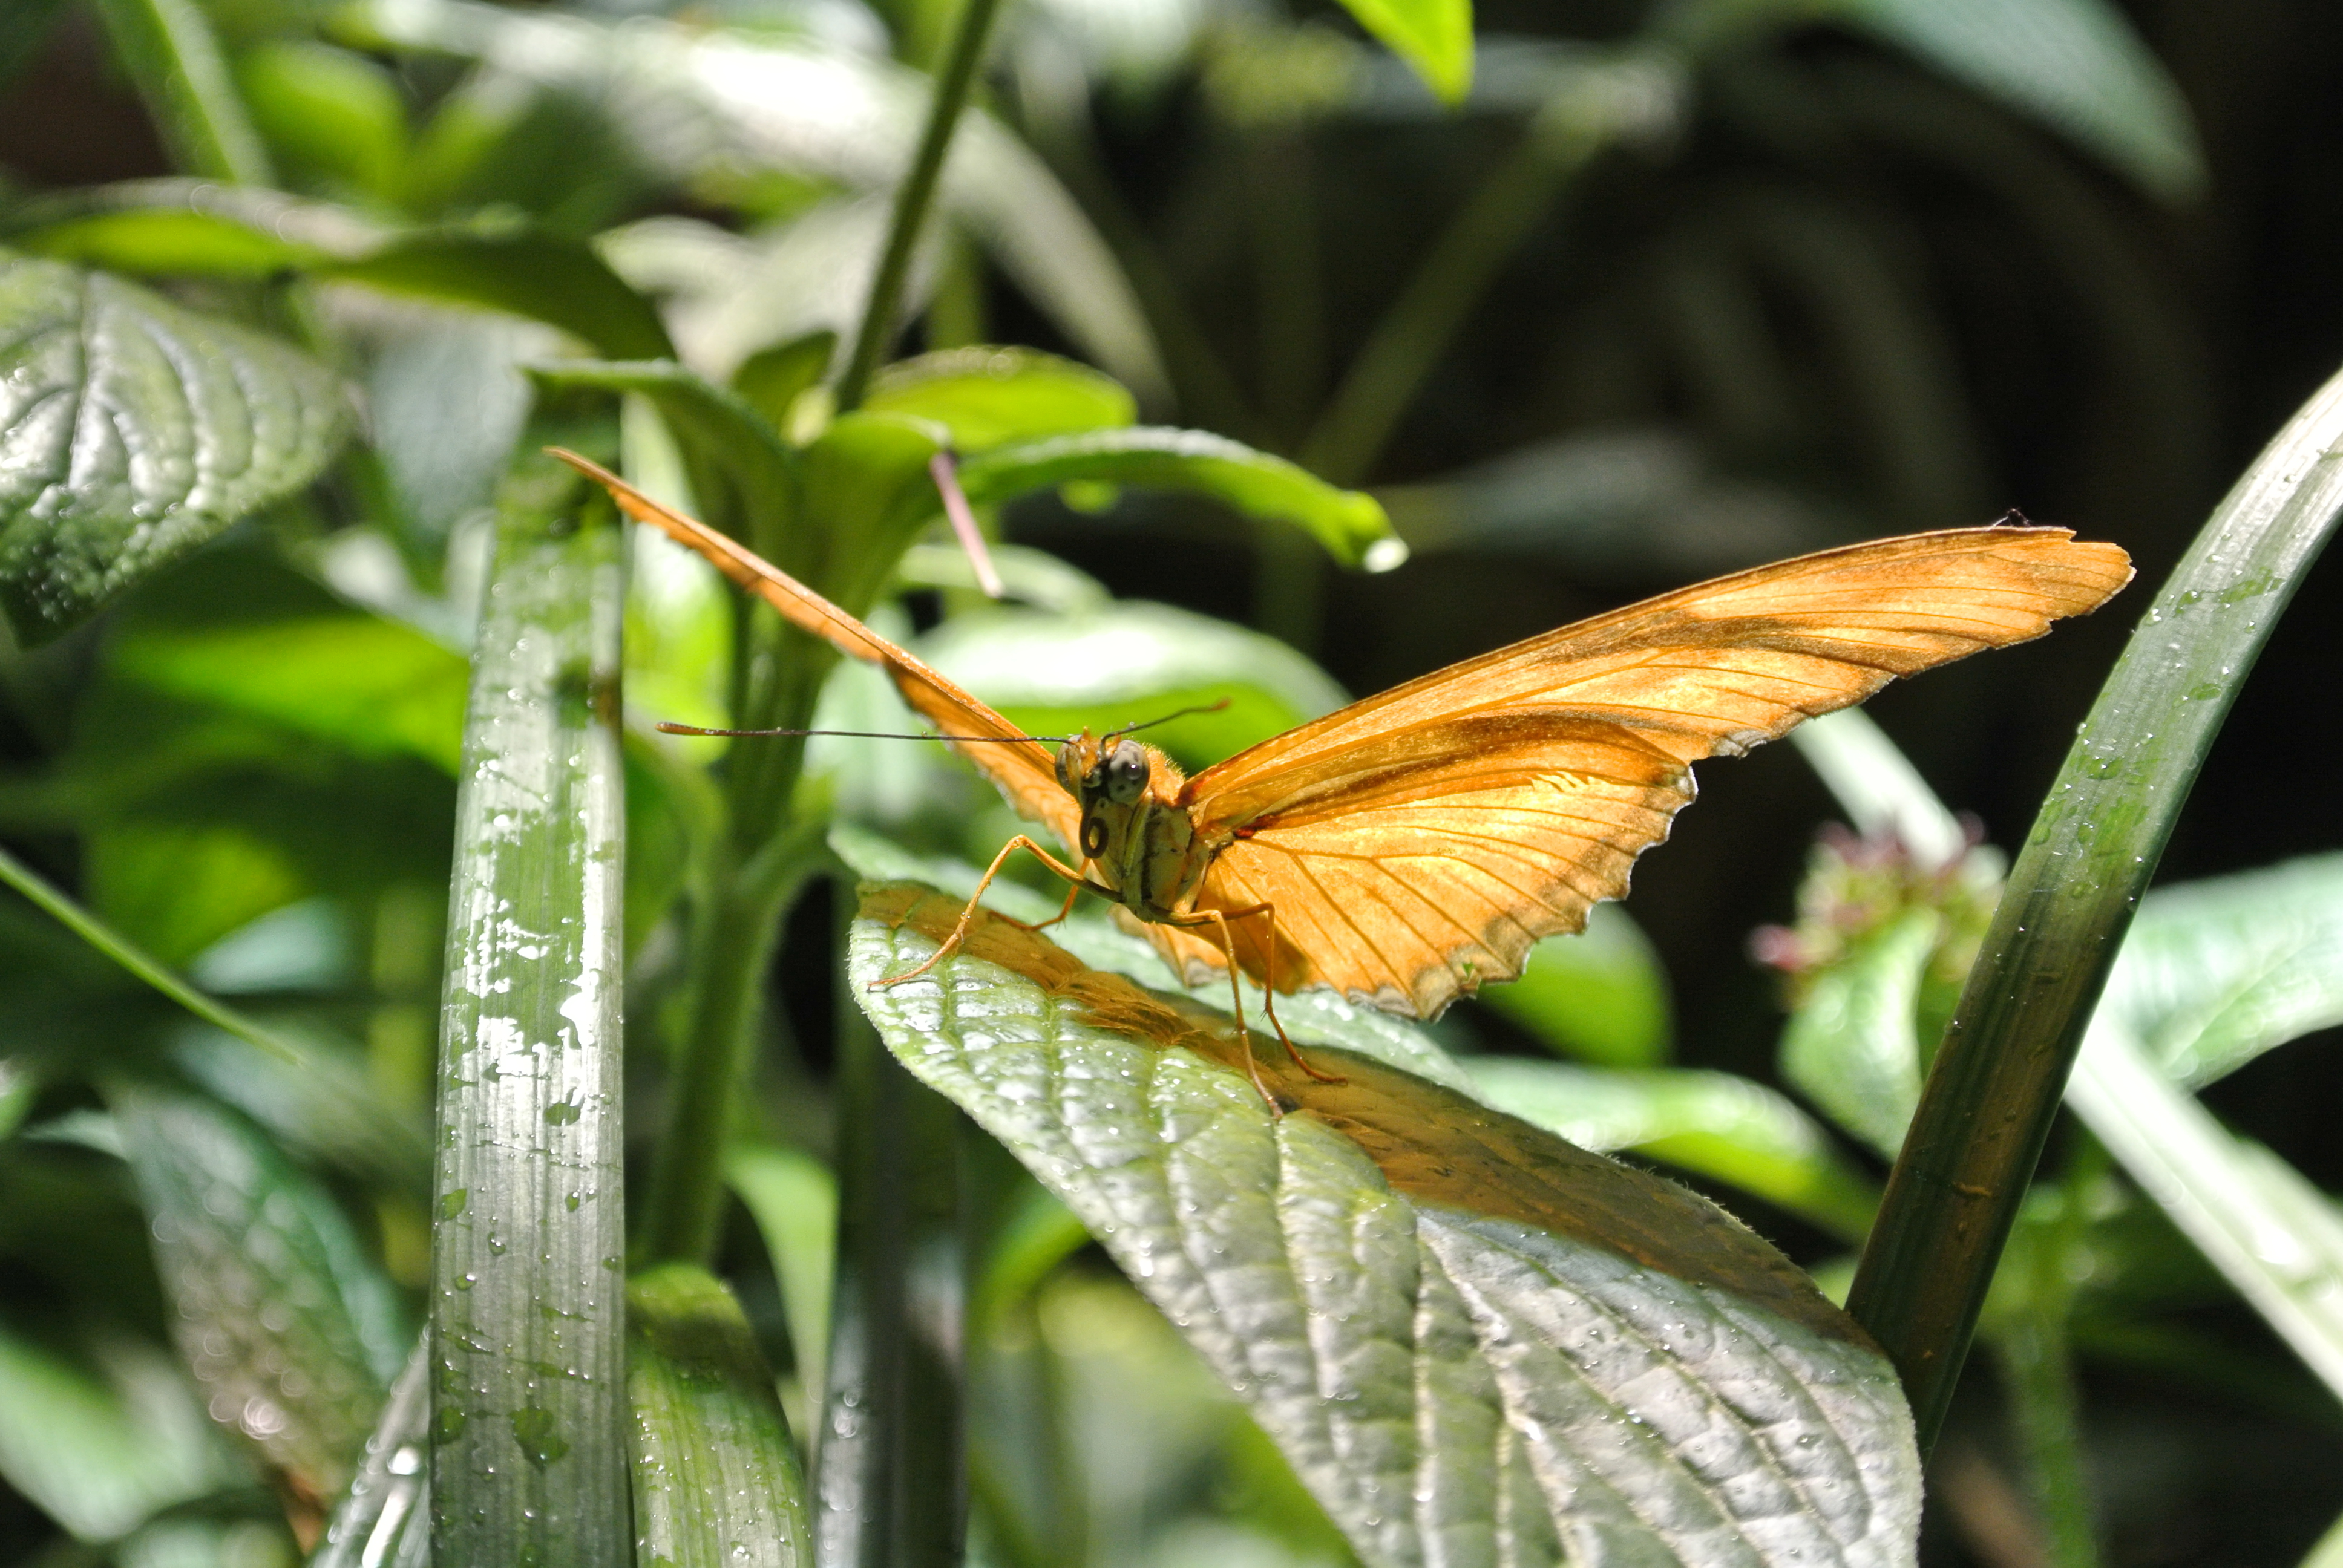
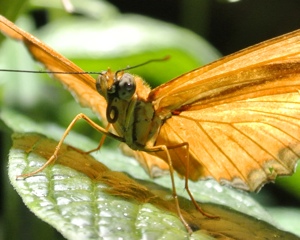
Butterfly, 10–30mm f/3.5–5.6 @f/5.6, 30mm, 2/333s, ISO400
 RAW file
Nikon J1 iPhone 4S

Nikon J1 with 10mm f/2.8 pancake

Nikon J1 iPhone 4S
Nikon J1 with 10mm f/2.8 pancake
 RAW file
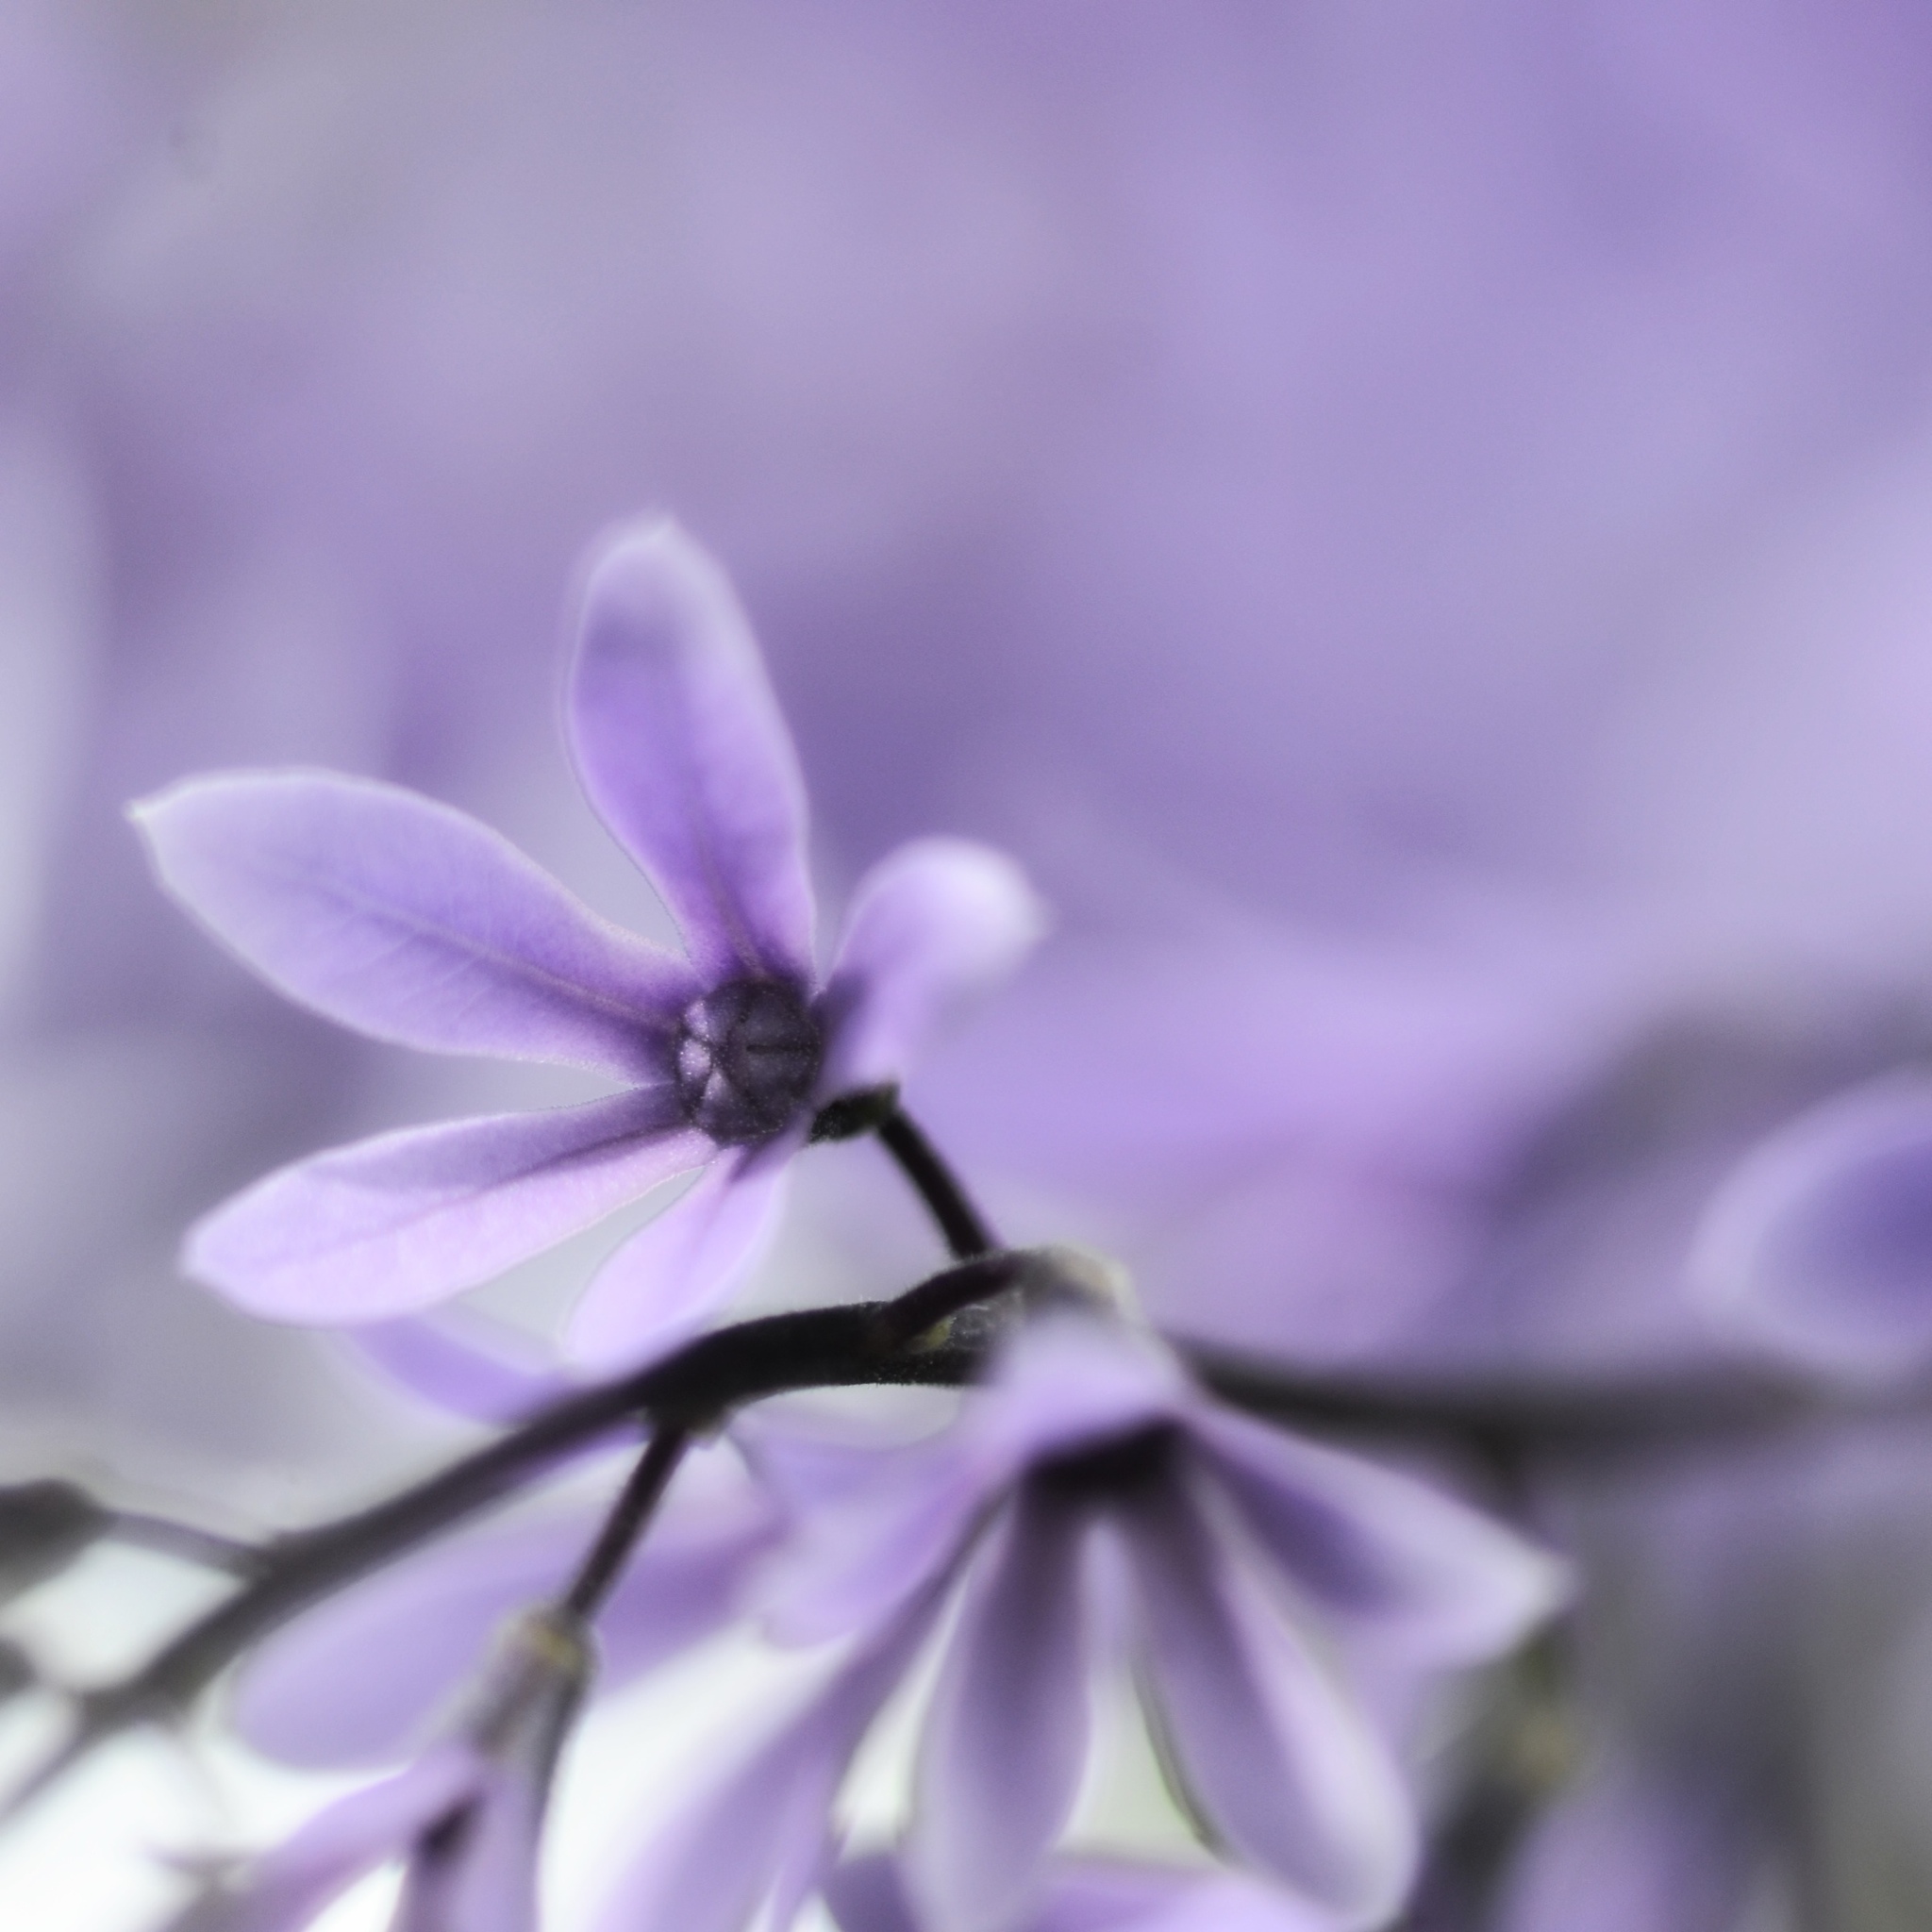
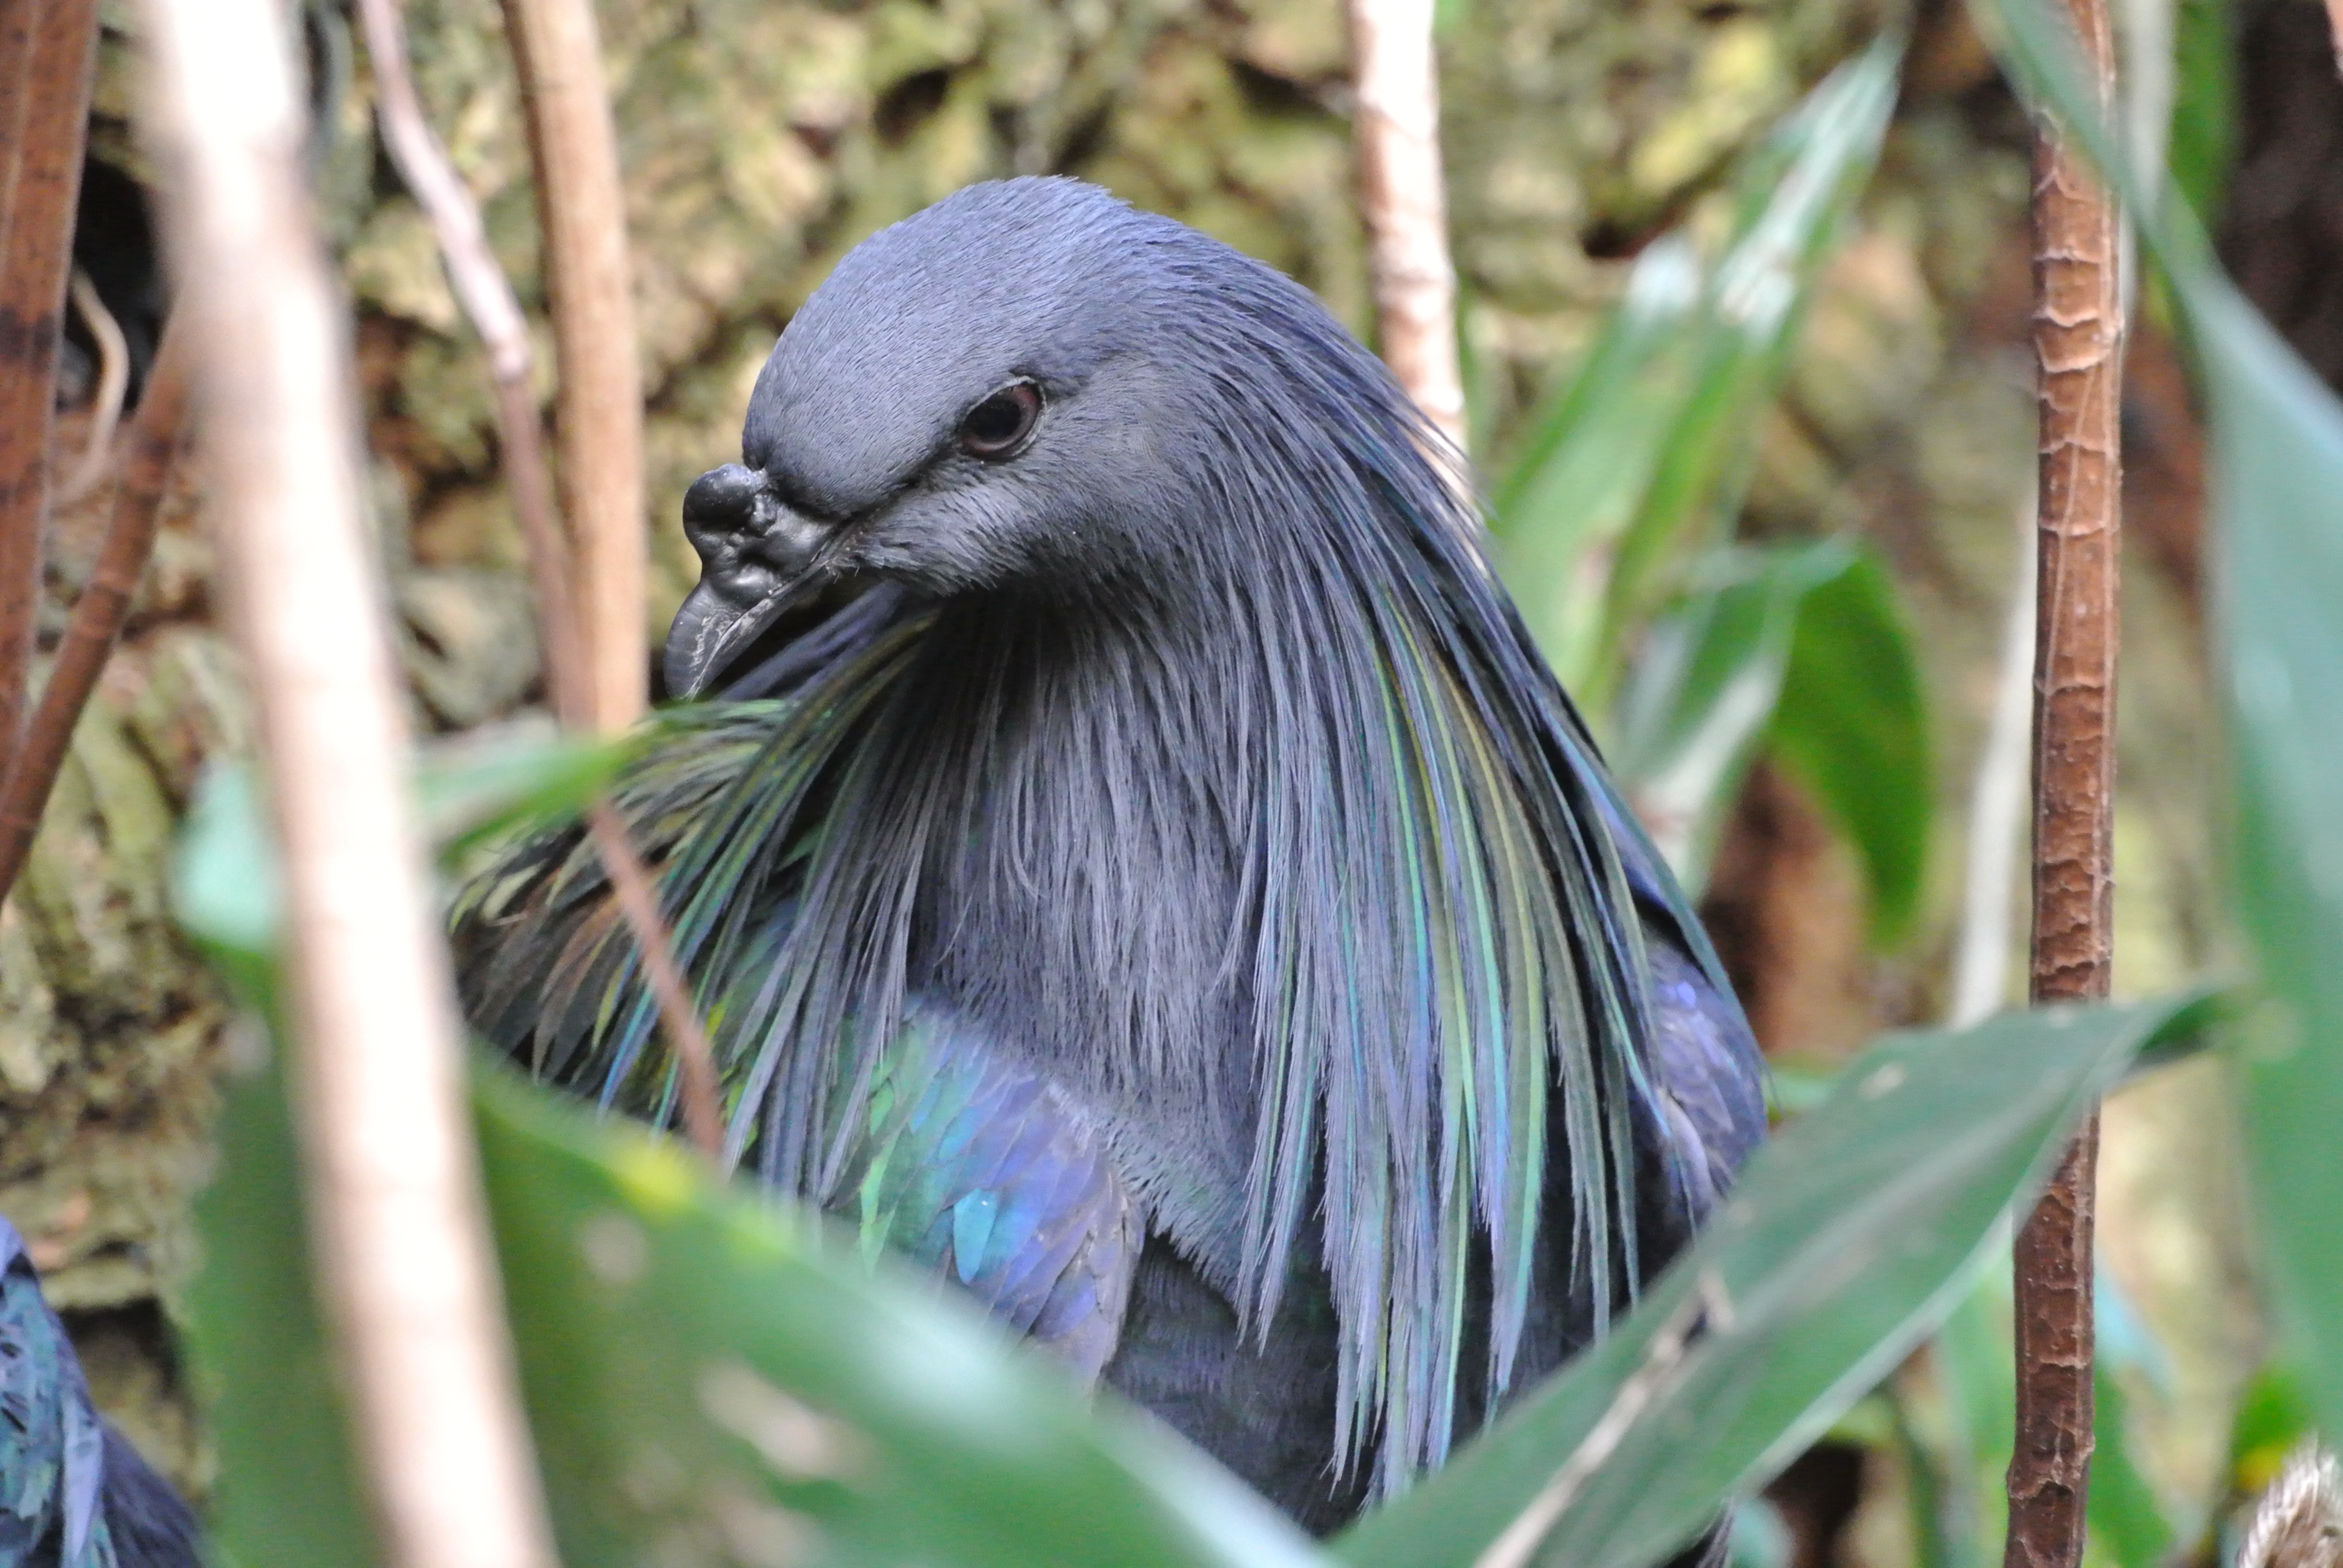
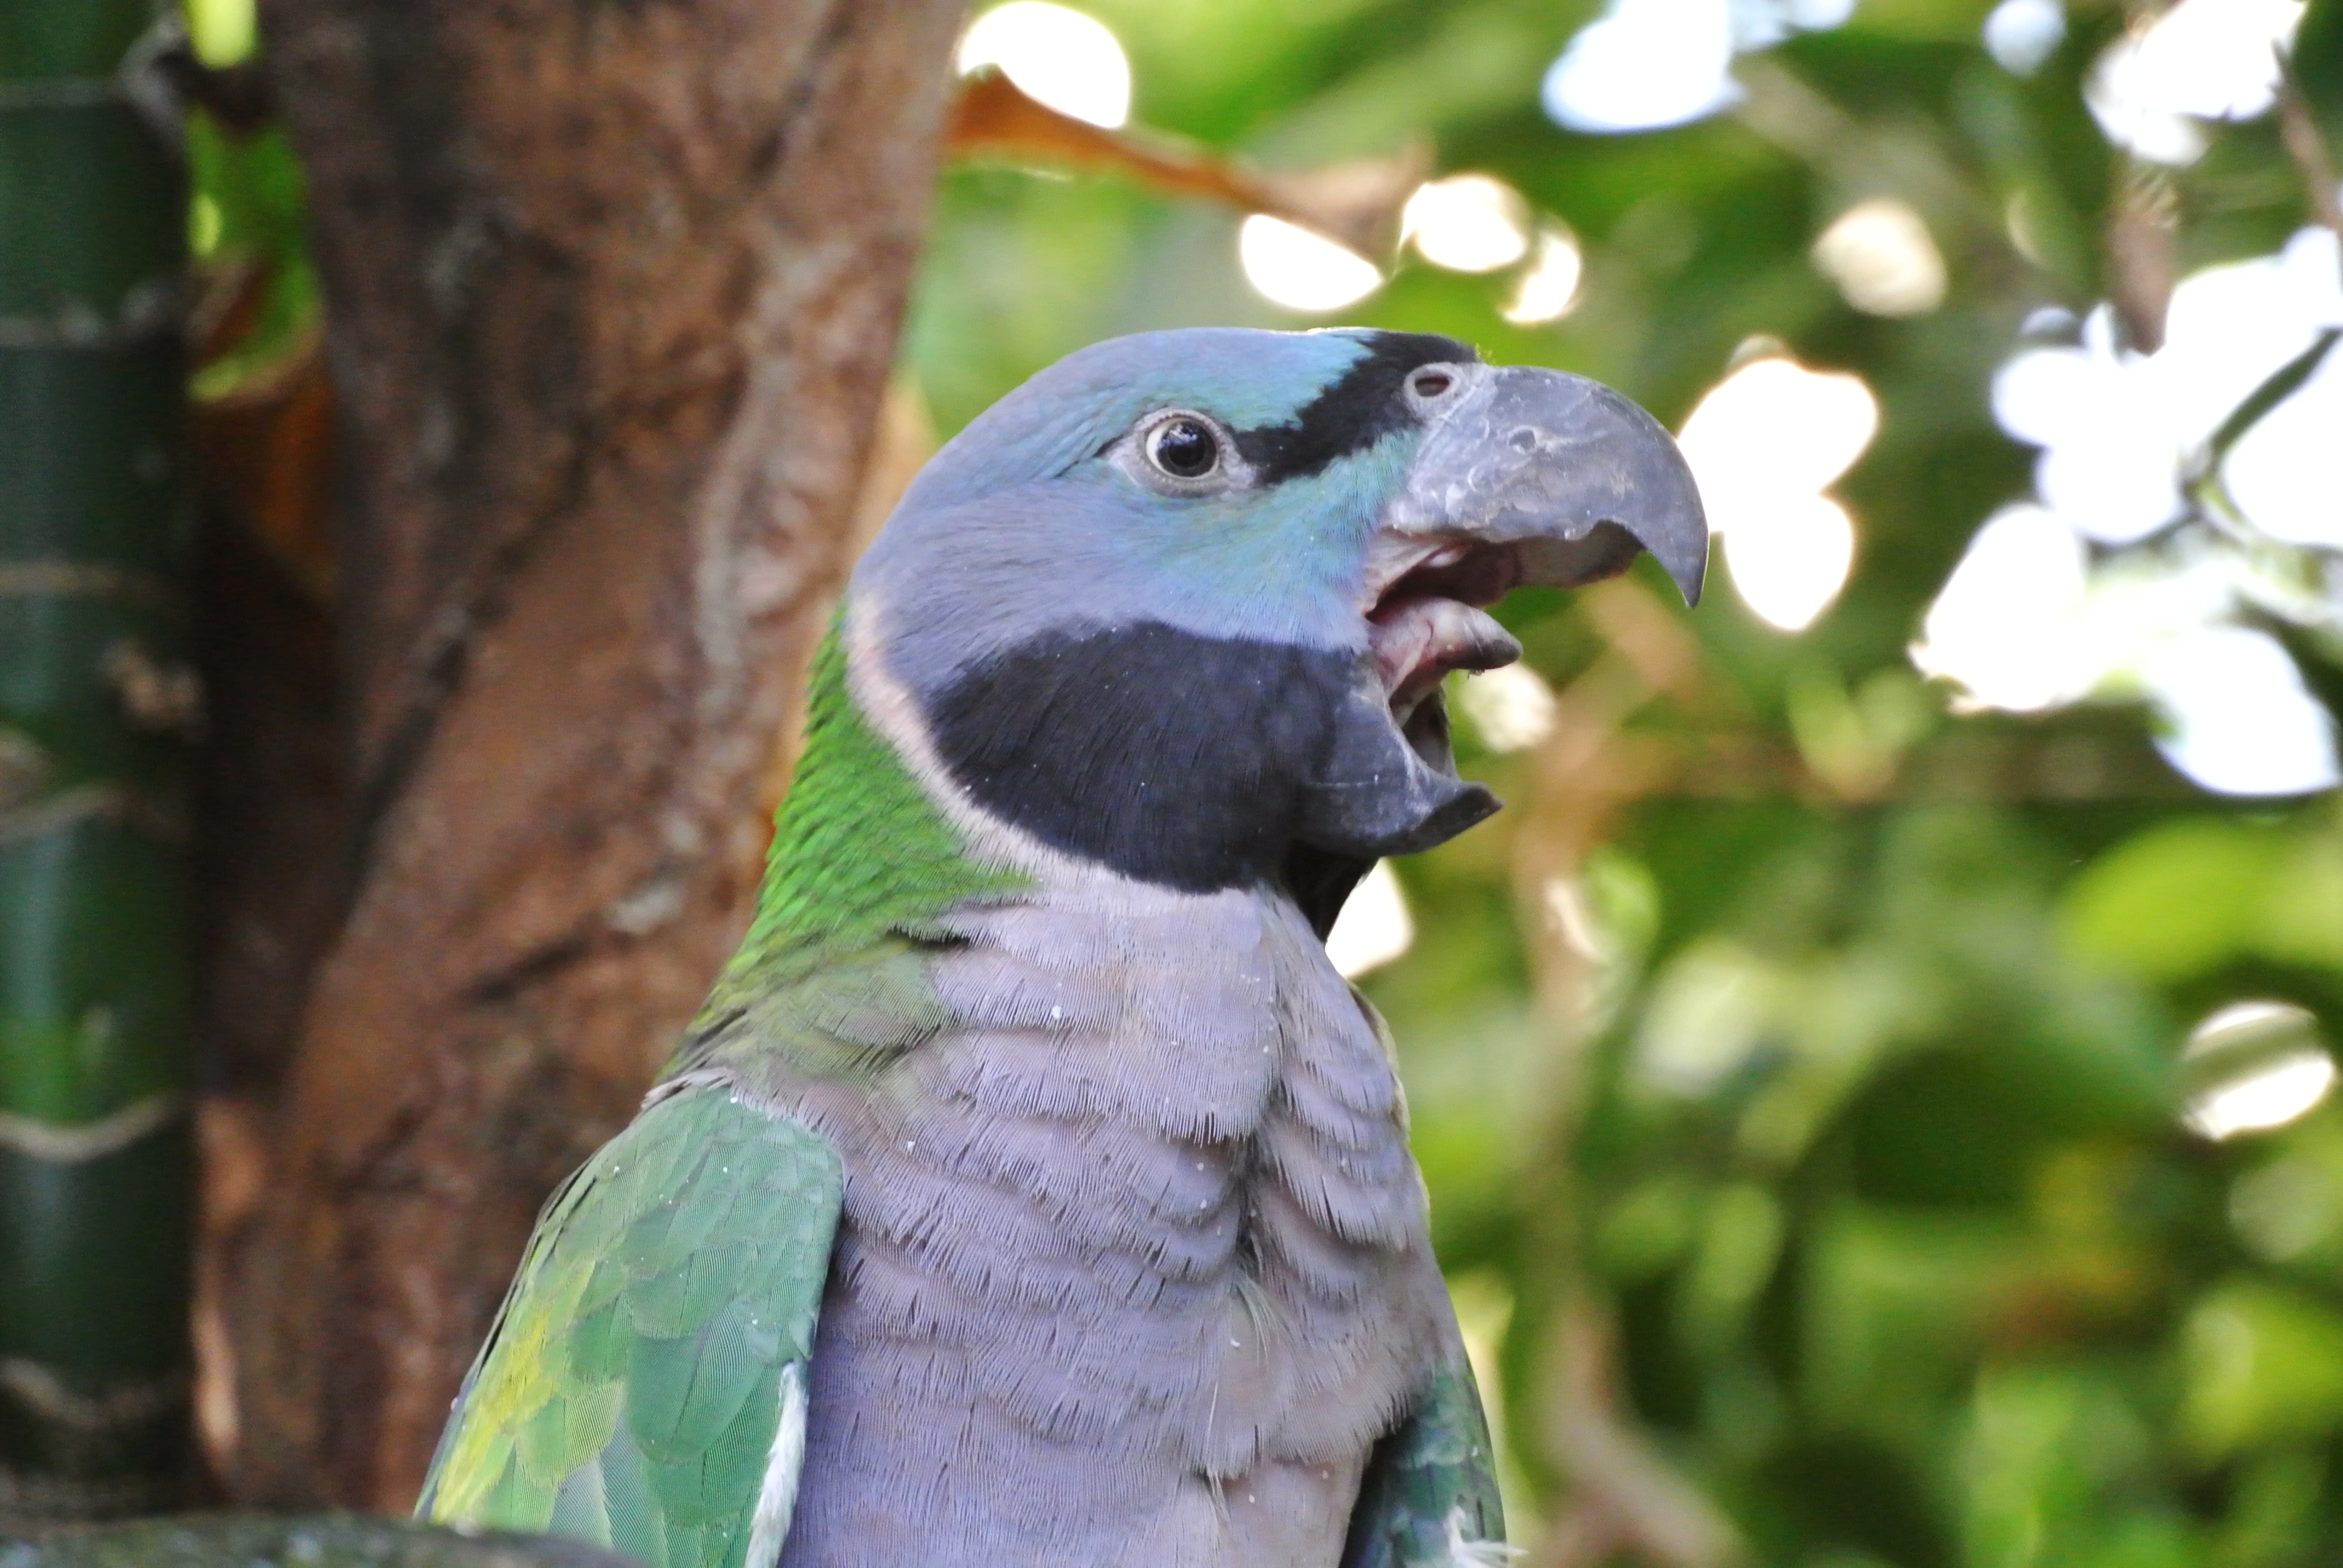
30–110mm @f/5.6, 110mm, 1/30s, ISO2000
 RAW file
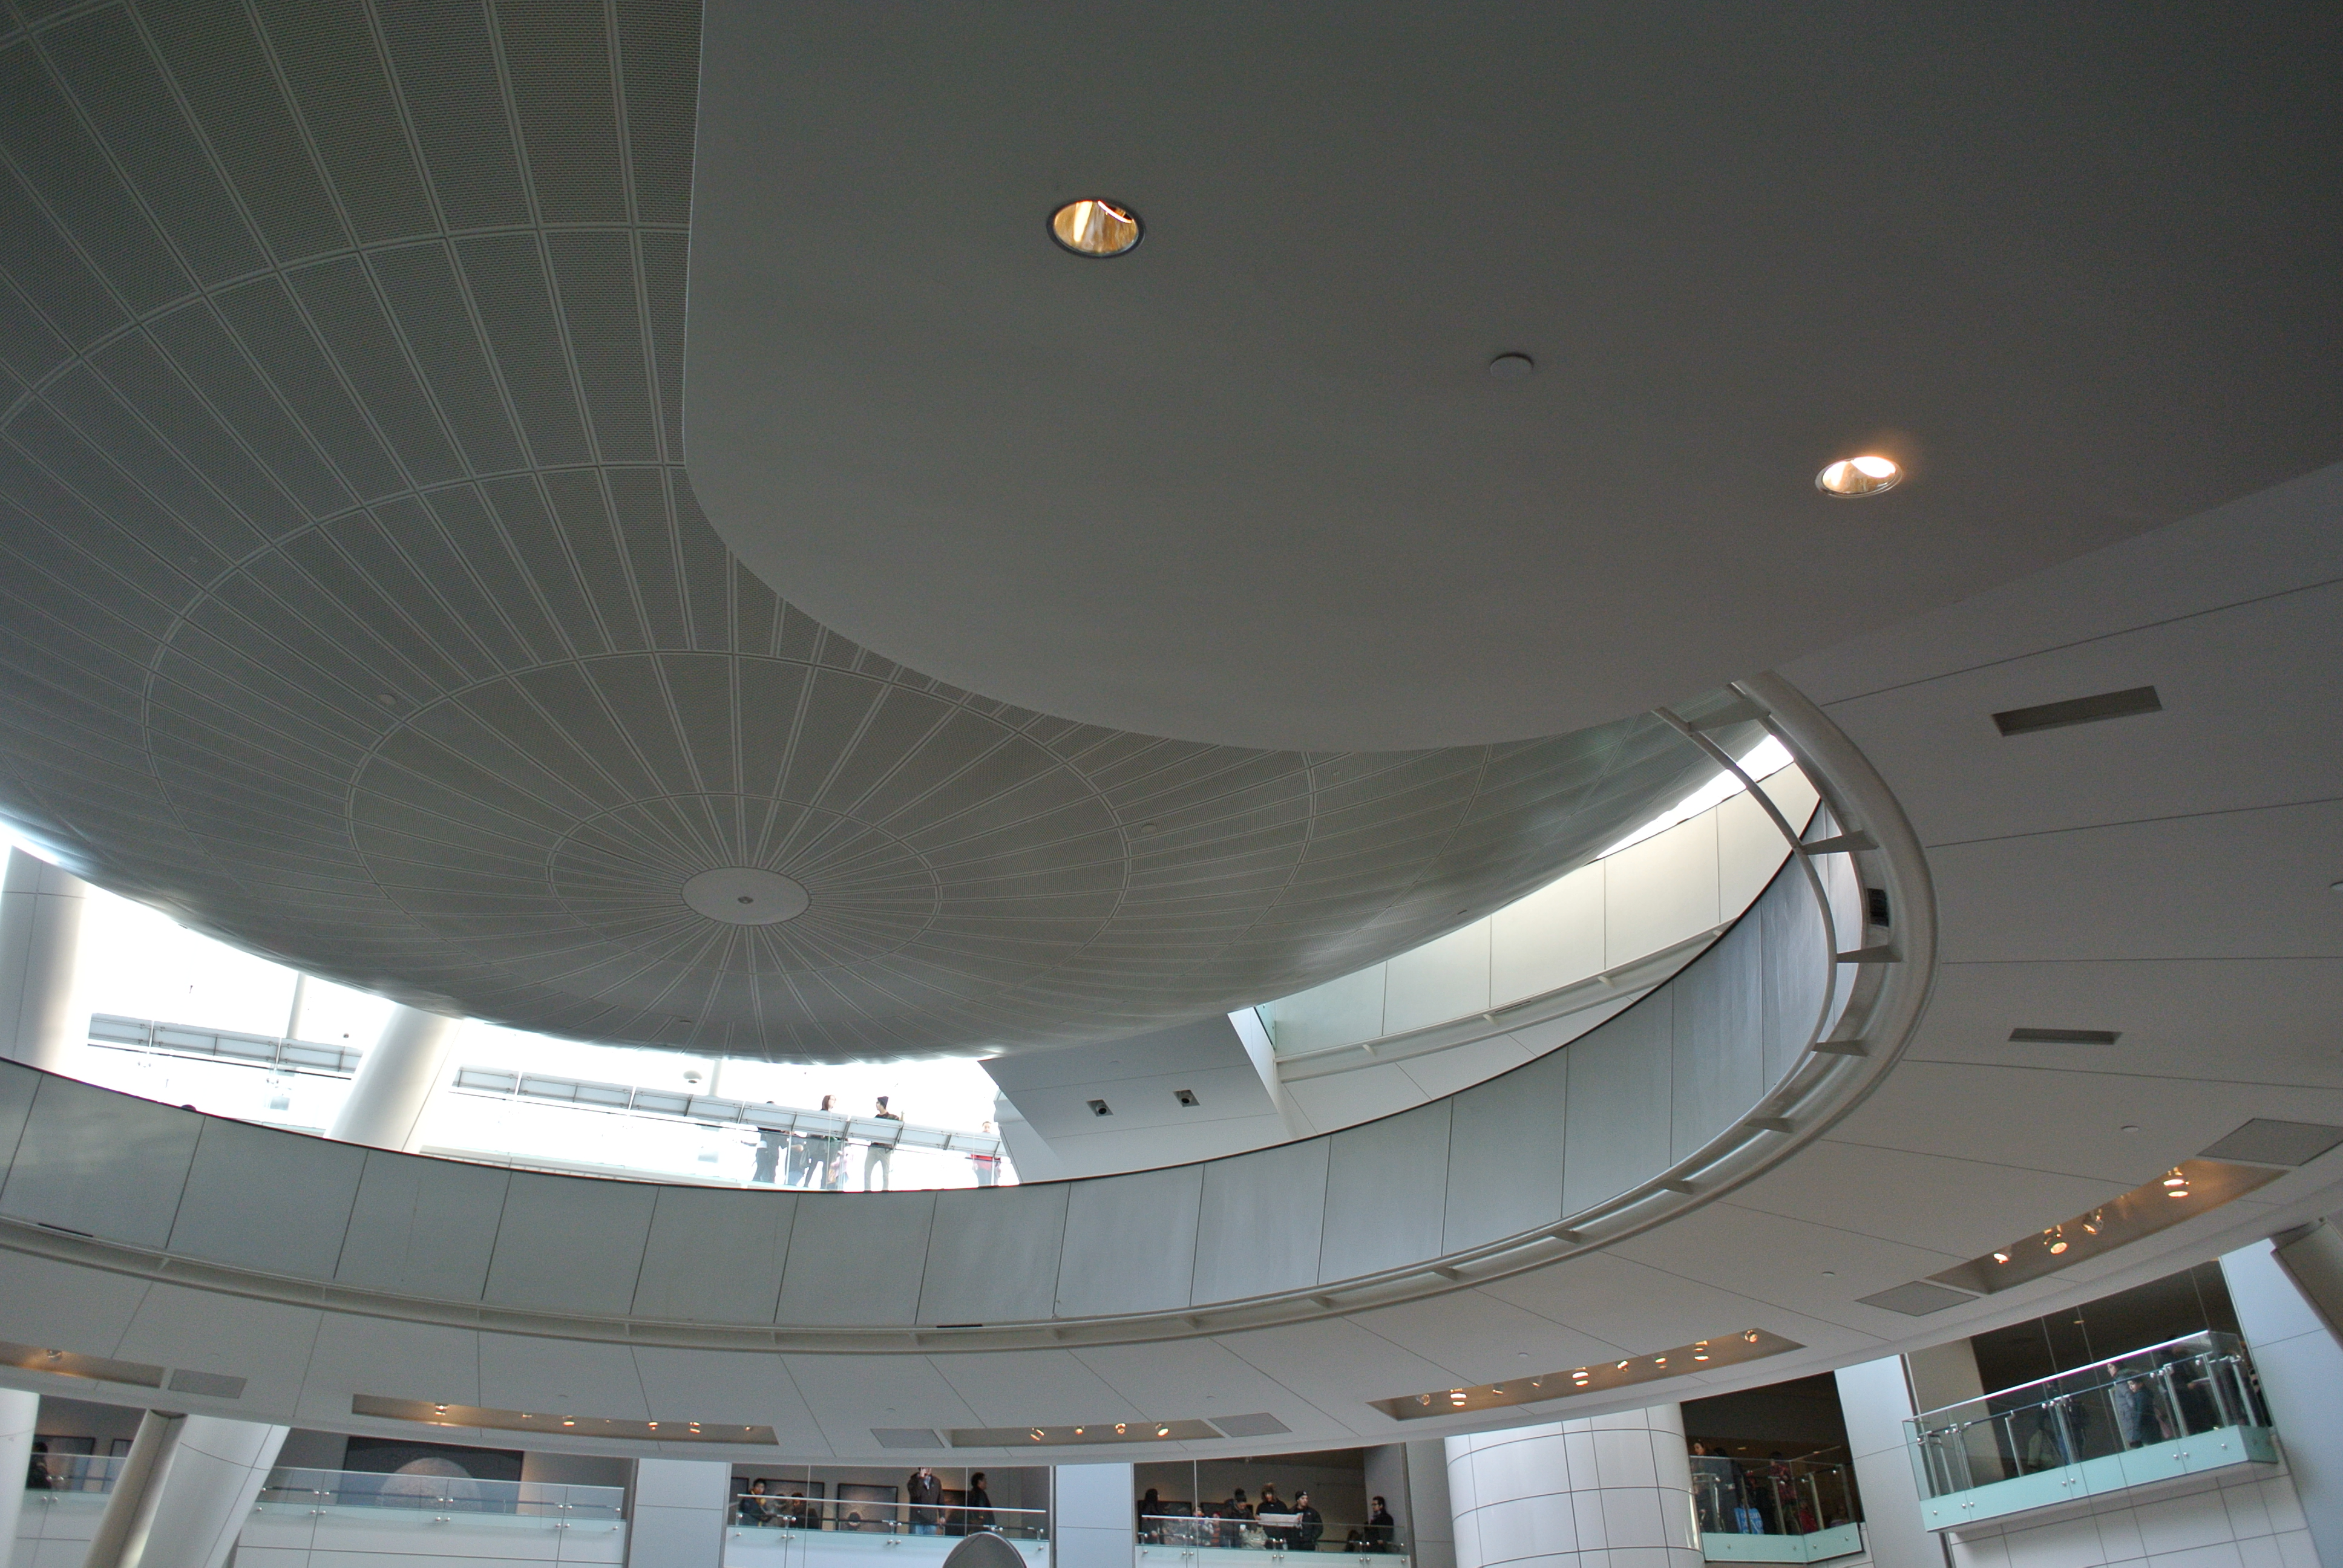
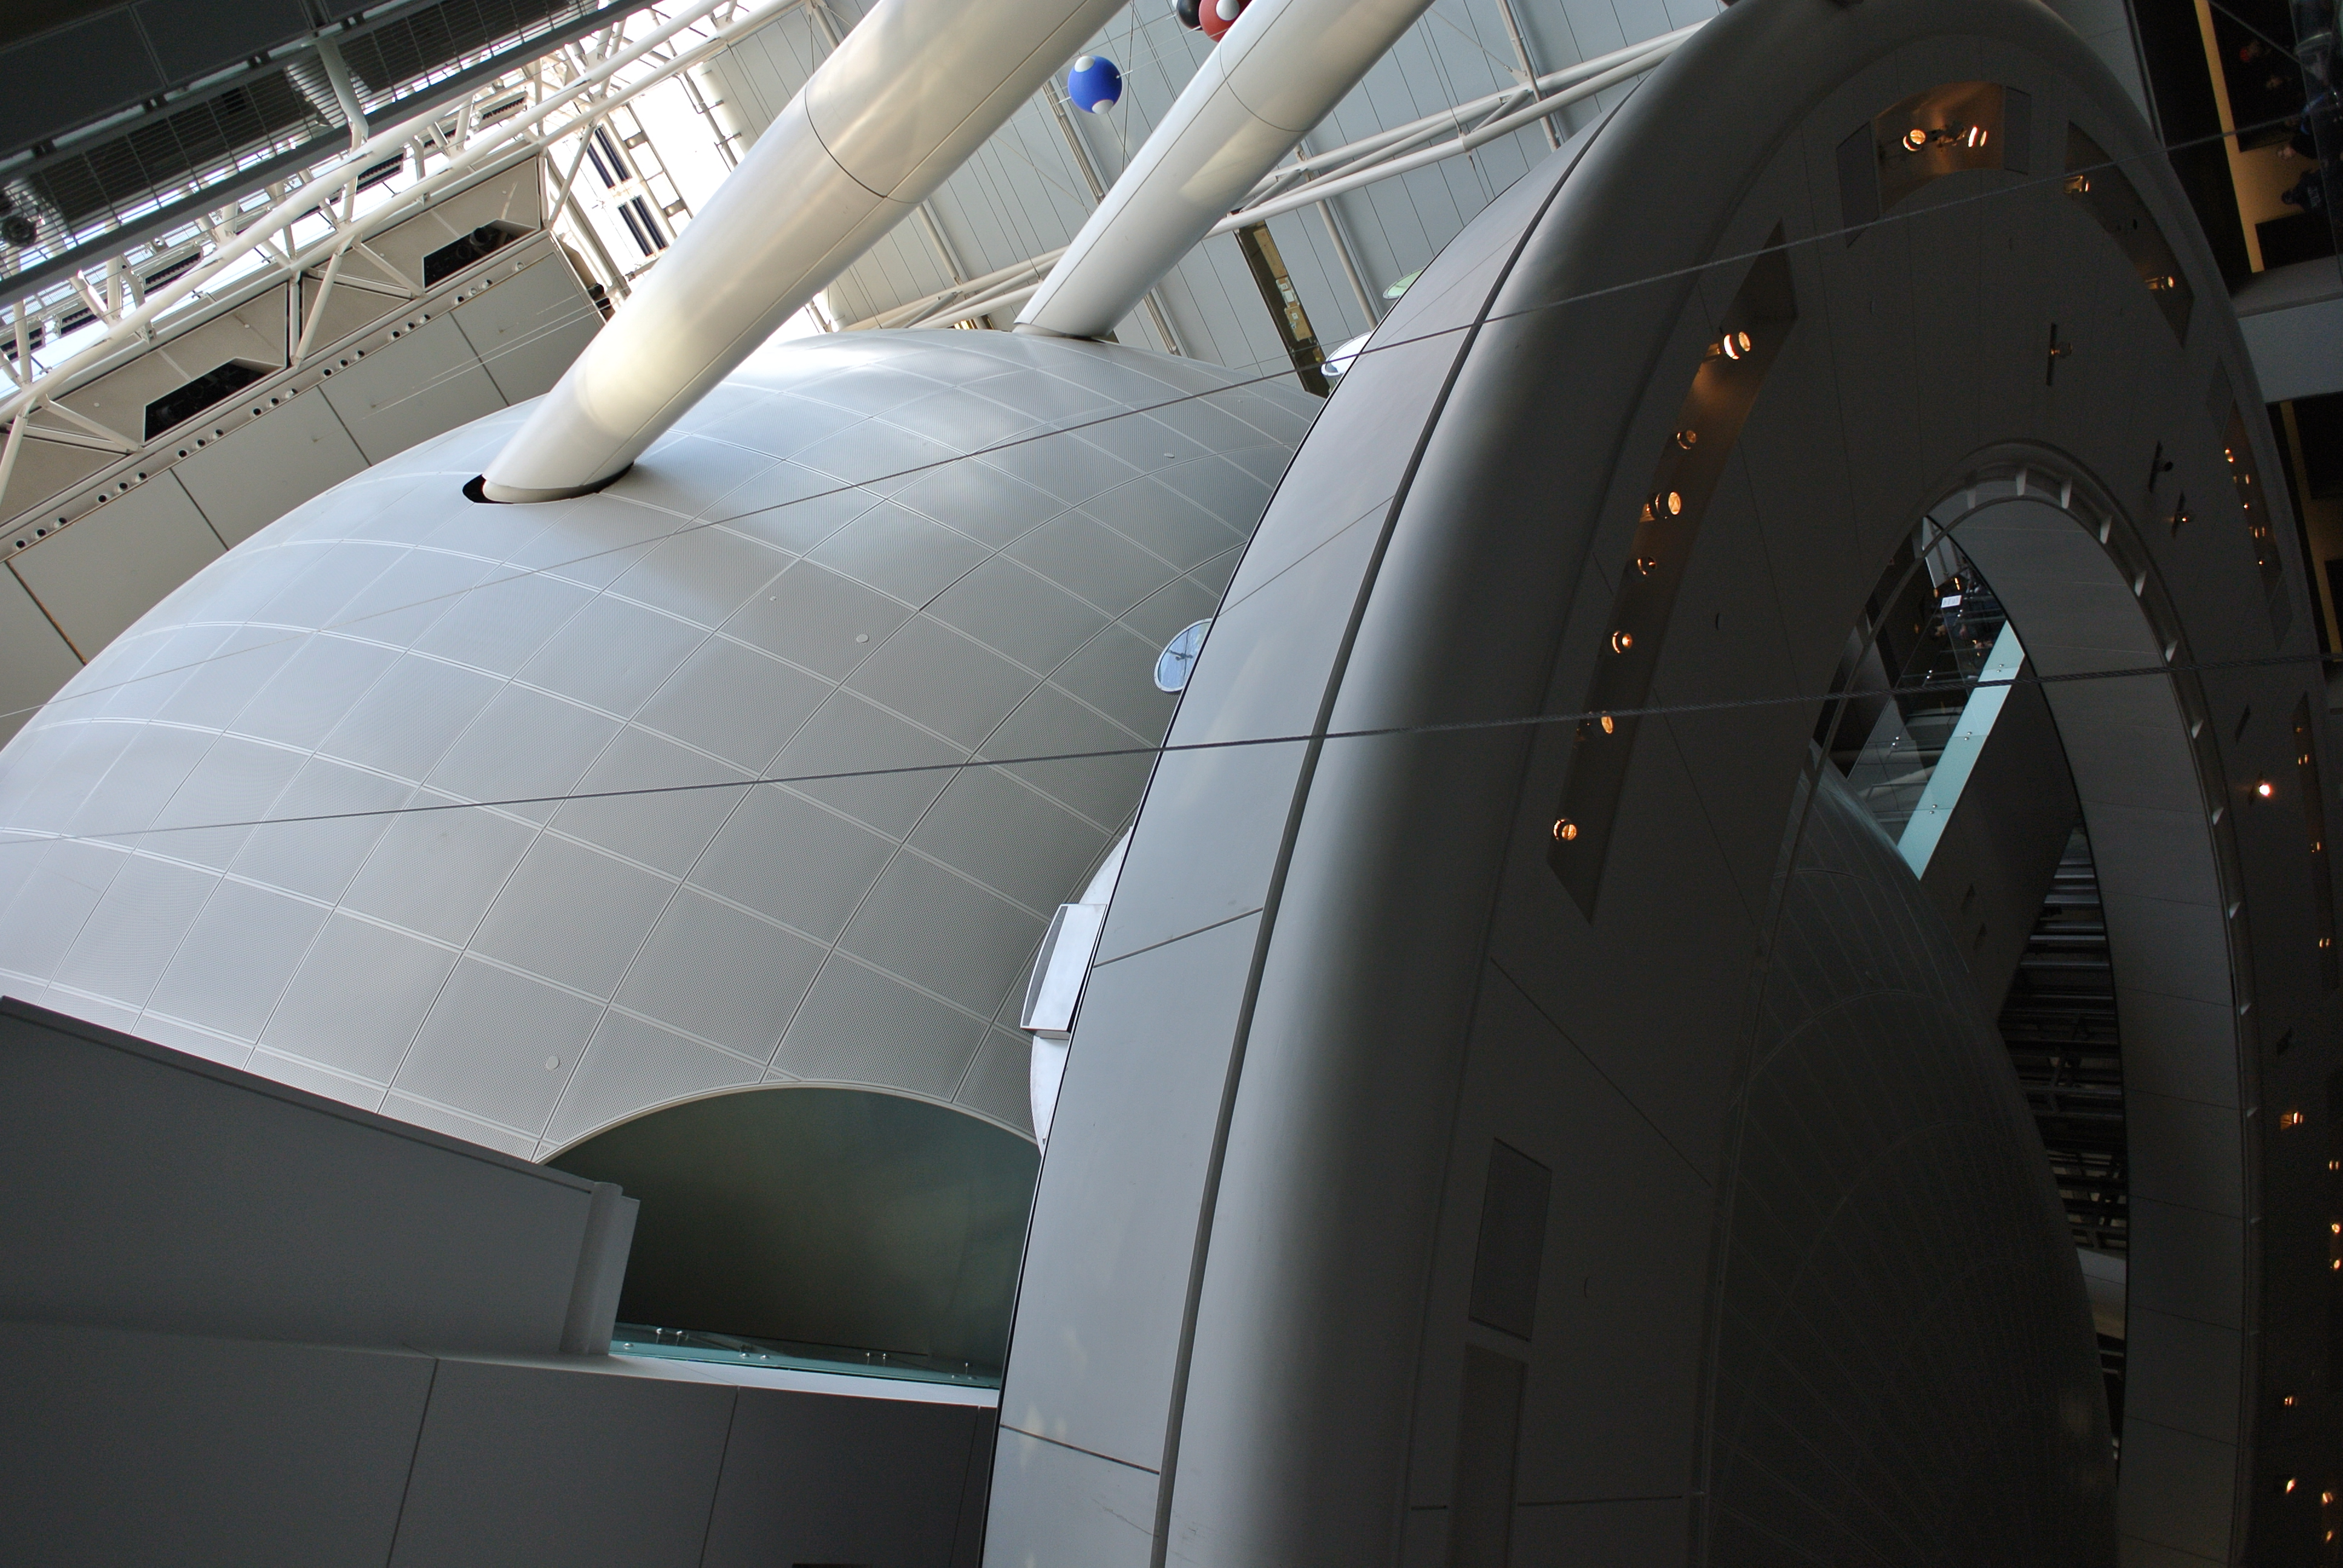
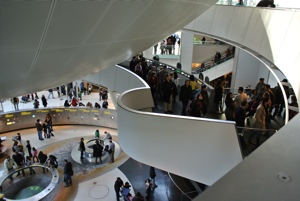
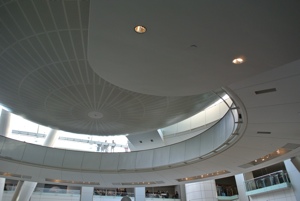
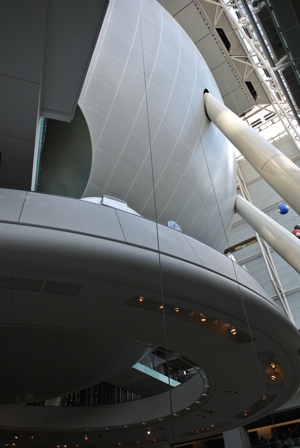
Hayden Planetarium 10mm f/2.8 pancake, @f/2.8, iso 100, 1/160s
 RAW file
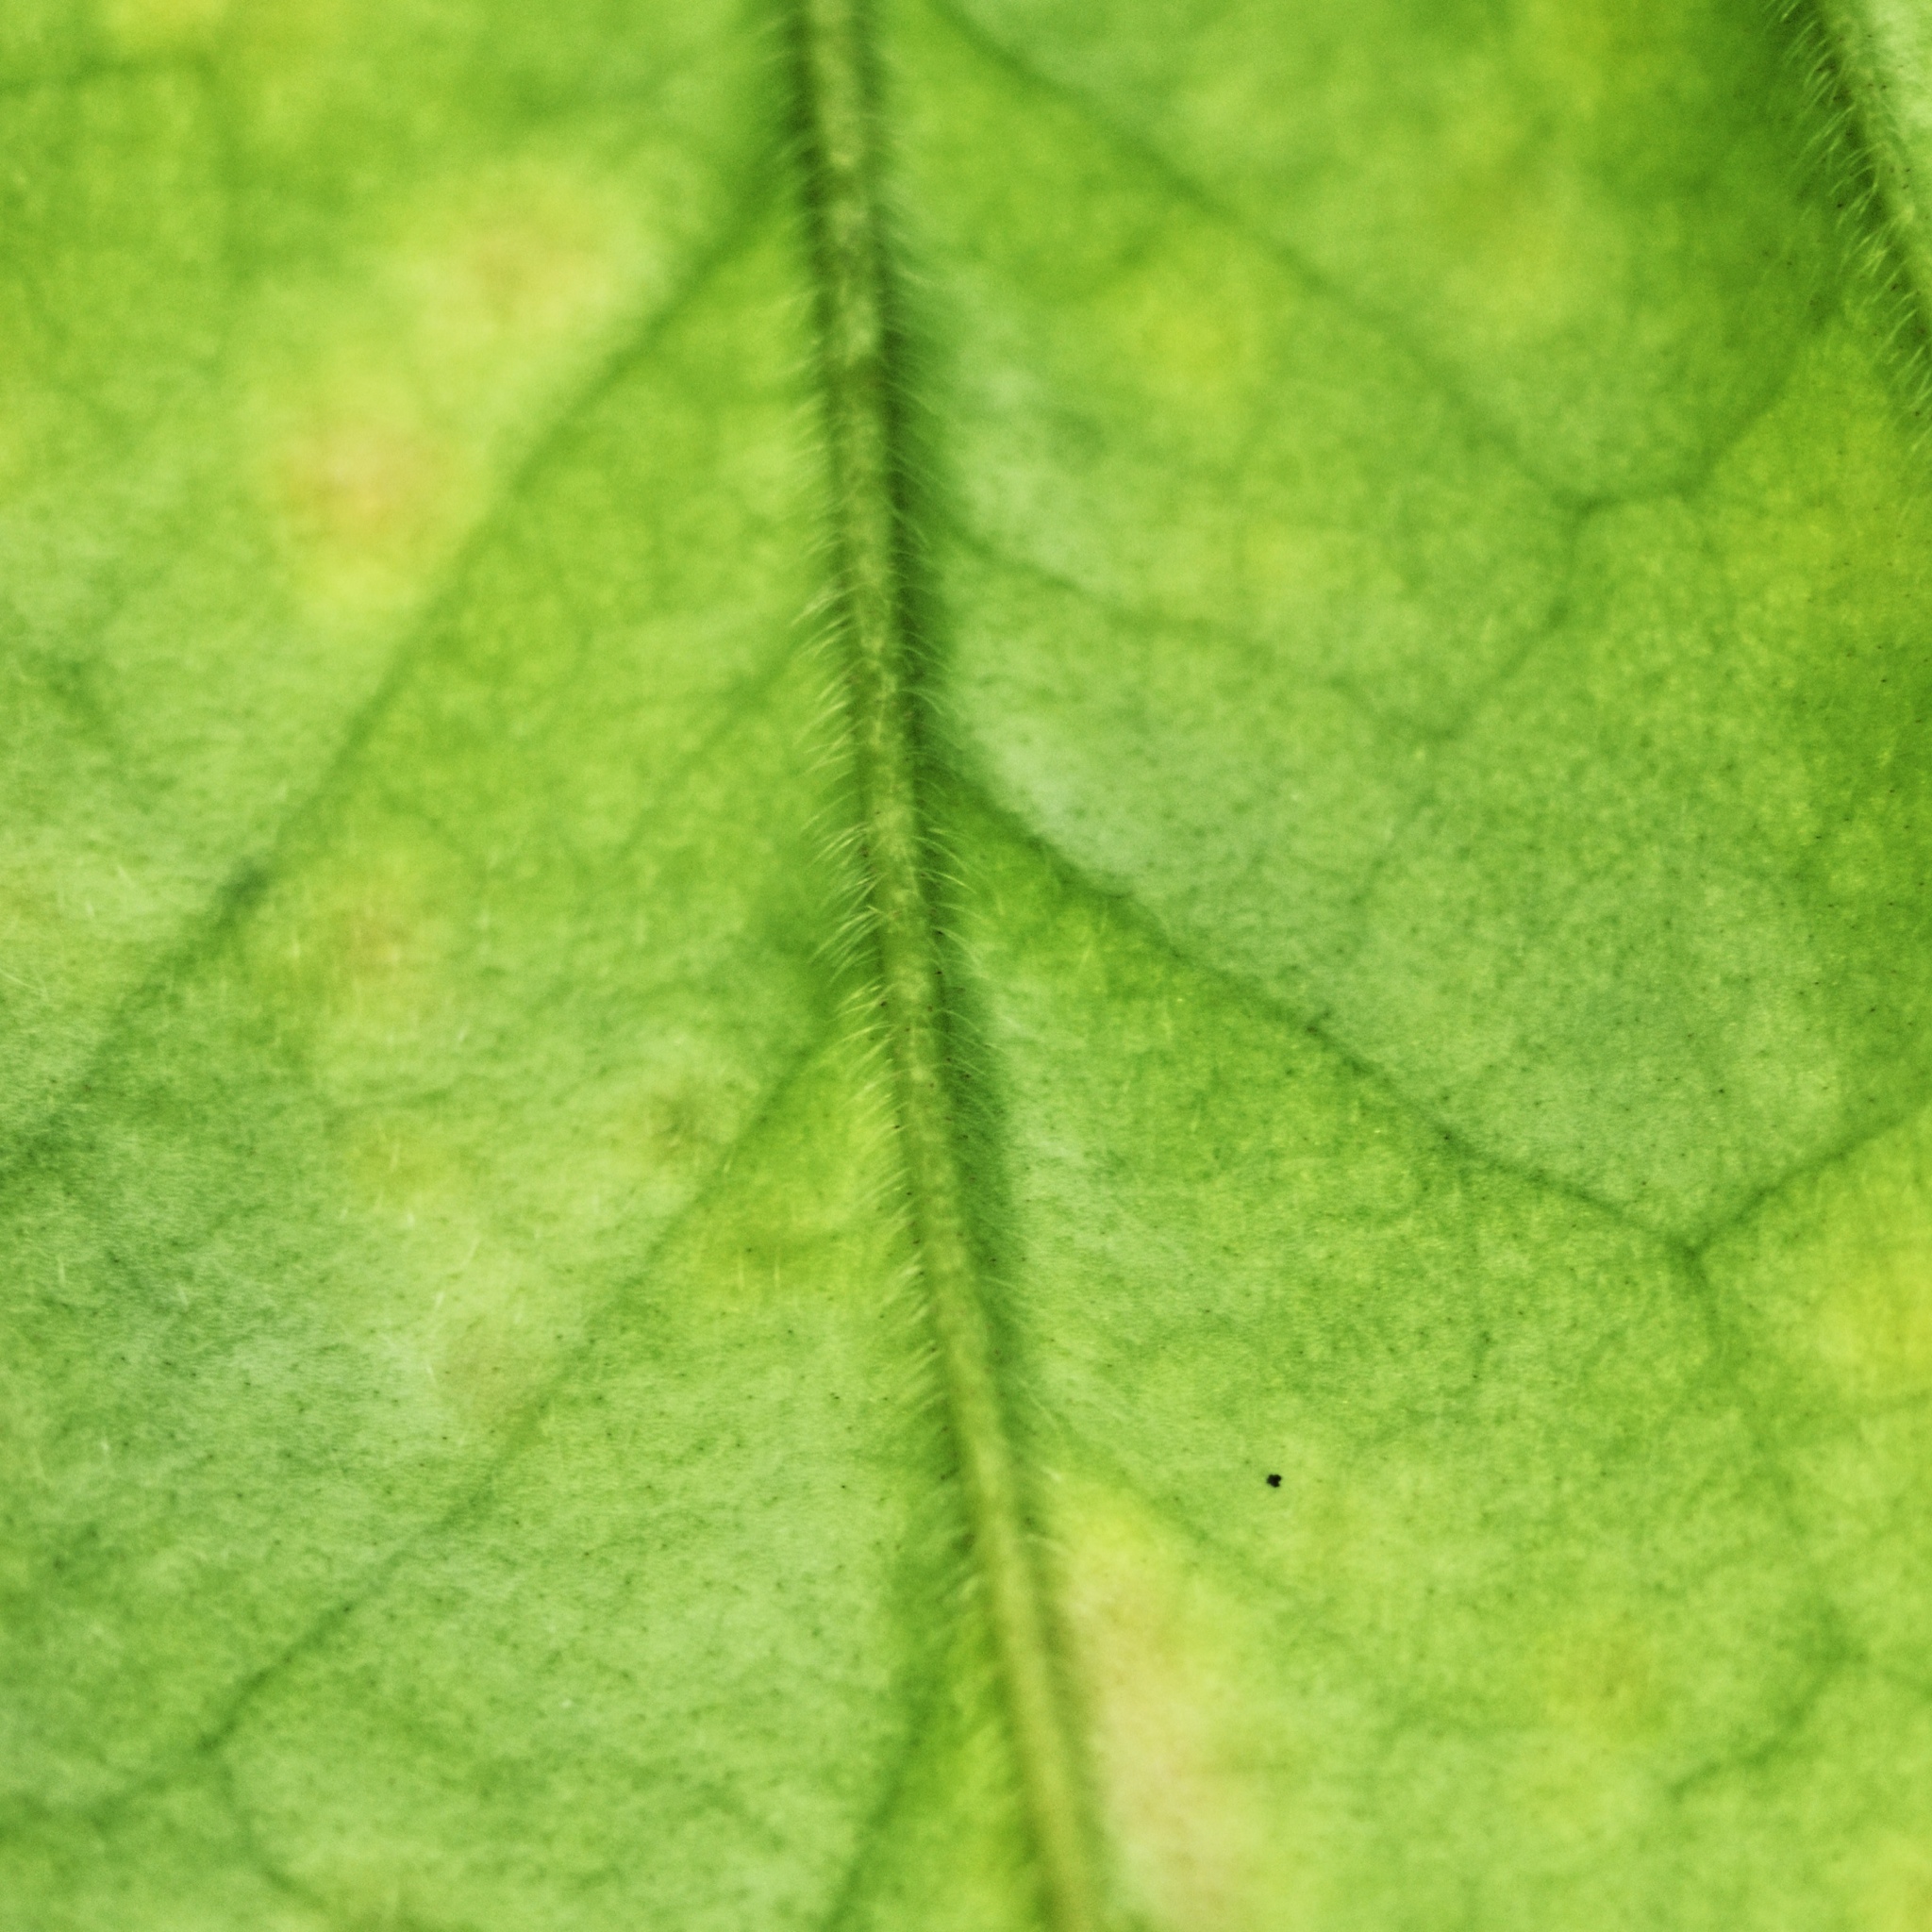
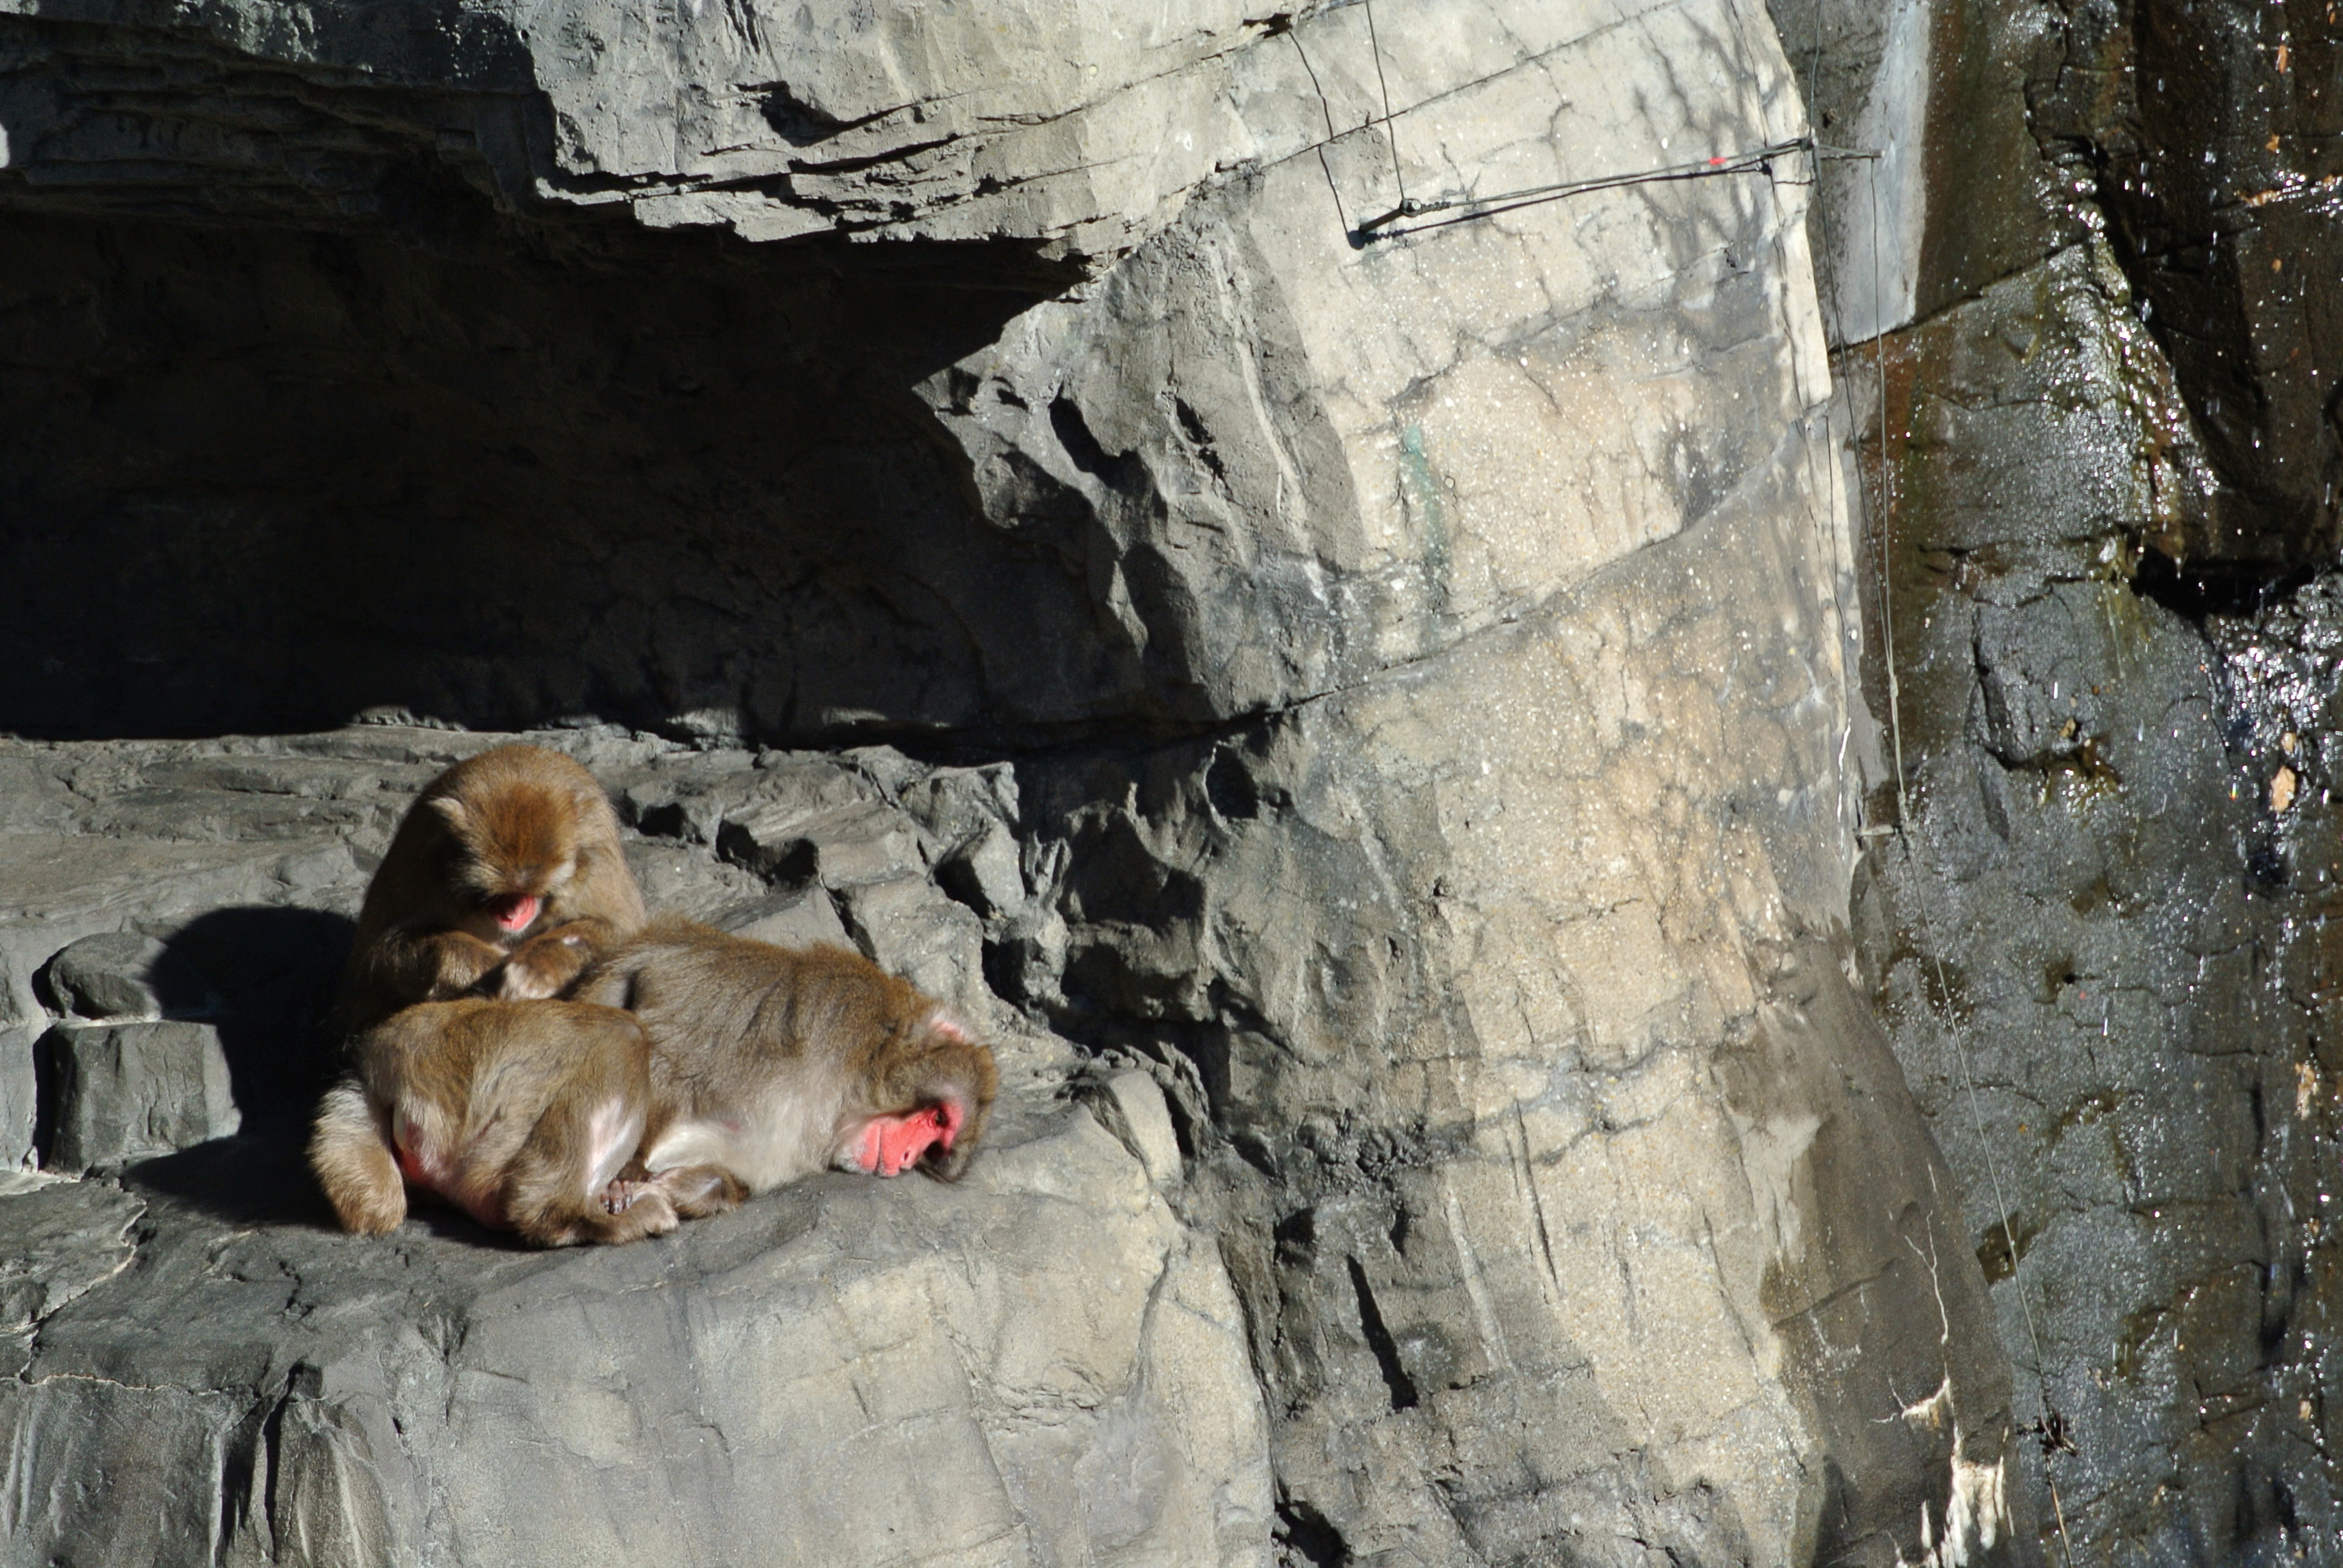
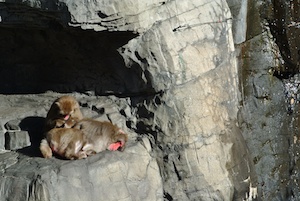
30–110mm @f/5.6, 110mm, 1/60s, ISO1600
 RAW file
30–110mm @f/6.3, 110mm, 1/250s, ISO125
 RAW file
]]>