Hi, what are you looking for?

When Microsoft launched the AI tool Windows Recall earlier this year, they were hopeful about its reception. The core idea behind Recall was to...


HP highlighted two primary features of Print AI. The first, known as Flawless Output, is aimed at removing unnecessary components before printing and improving...


The well-known media player, Winamp, has officially become open-source. Nevertheless, the specifics of its licensing have generated debate within the open-source community. Several months...


YouTube Premium subscribers in a range of European, Asian, and South American countries are currently receiving alerts about upcoming price adjustments. The magnitude of...


Today at 8 AM PDT, tickets for our workshops will be made available! If you’re intending to attend Supercon and wish to take part...


LAHORE: Punjab Chief Minister Maryam Nawaz has expanded the scope of the “CM Maryam Nawaz Free Wi-Fi” initiative, now providing free internet access at...

Alongside the launch of iOS 18, Apple has introduced iOS 17.7, which brings a host of critical security enhancements. This update will be prominently...


Users of Thunderbird who are on older versions of Windows or macOS will lose the ability to receive program updates beginning next month. The...


At last! macOS has introduced built-in support for Window Tiling. Users no longer need to rely on third-party tools to manage their windows side...
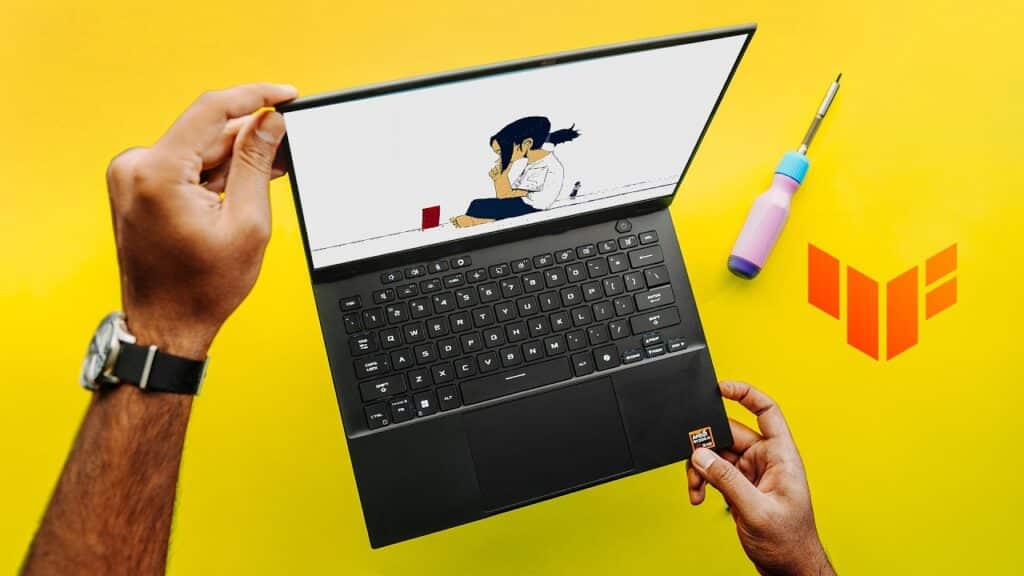

The new TUF A14 is everything we could possibly want in a gaming laptop but in a smaller form factor. A lot of people...

Snapchat is introducing its most significant update in years, simplifying its layout from five tabs down to three: one for chatting and viewing friends’...


On Wednesday afternoon, Reddit’s mobile and web applications experienced a notable outage, causing over 150,000 users to express their dissatisfaction on Downdetector. The issues...


Have you ever encountered a day when you can’t download media files on WhatsApp, like a funny meme or an important video? It seems...

Many Windows users enjoy using the Microsoft Photos app for viewing their pictures and videos. The main reason for its popularity is simple: it...
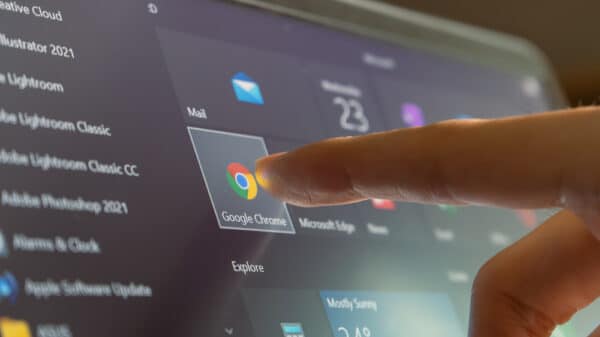

Google is improving Safety Check and refining the management of site notifications and permissions, while also enabling Chrome to oversee certain security features. The...

Recently, Microsoft released security updates for all versions of its Windows operating system and related products. Users can find these updates via Windows Update...


Every version of Windows eventually comes to an end. For Windows 11, this happens two years after it is made available to the public....