The store will not work correctly when cookies are disabled.
BakeryBits - the best Baking Equipment and Ingredients
Where kindness is baked in. Come in, shop slow, ask anything.
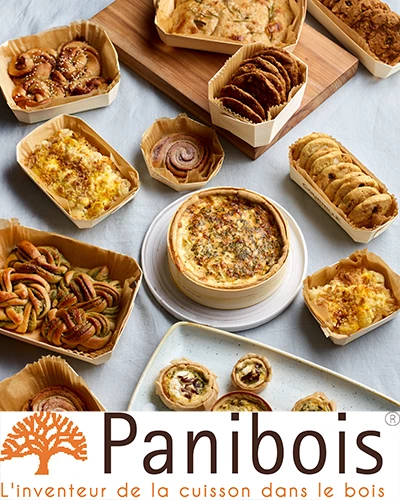
Panibois Baking Cases
The original biodegradable cases
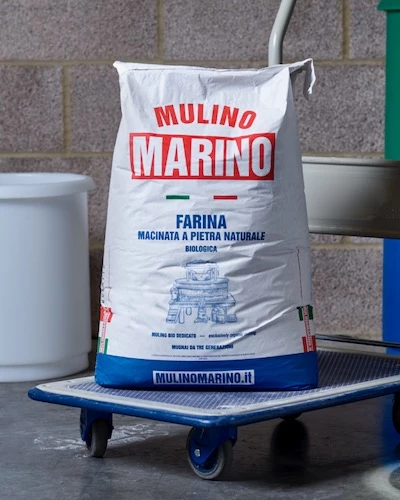
Bulk Flours
A wide range of bulk flours for the pro-baker
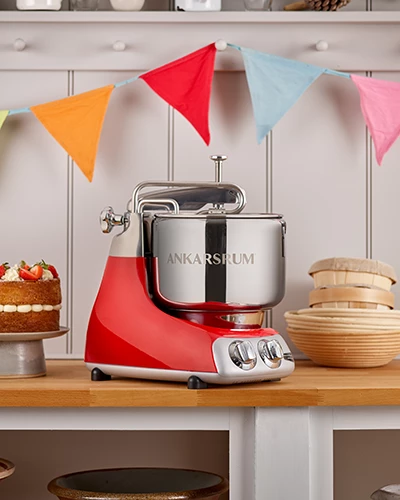
Ankarsrum Assistent Mixers
Colourful and robust for your all-round mixer
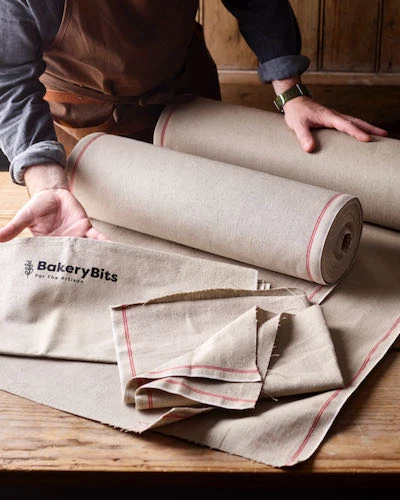
All Things Proofing
The widest range of proofing baskets and couche cloth
Cast iron cookware from Colombia
Dutch ovens, skillets, pizza pans, taco presses, Poffertjes and plenty more
Bakery Bits Flour of the Month
Merchants Mill 00 Pizza and Pasta Flour.
Join the BakeryBits club for offers, new products, recipes, tips and much more!


 Courses
 Recipes