It isn’t just that I’ve felt reluctant to sew for my fluctuating body shape. I can think of plenty of size-flexible dresses, tops and skirts I’d love to make: loose and floaty styles, a bit of forgiving shirring, adjustable ties and wrap fronts. The ideas are there! But between looking after a lively toddler, keeping up with my part-time Herbal Medicine studies and navigating those wonderfully unpredictable pregnancy energy levels, I just don’t have the time.
I know what you’re about to say. Surely I could sneak in 15 minutes a day while my toddler naps, or after she’s gone to bed? Isn’t that what all the other toddler mums on Instagram are doing?
Sadly for me, no.
Naptimes are for watching lectures (or actually napping myself – much more of the latter these days), and by the end of the day there’s no will left for anything beyond snuggles with my husband on the sofa. And honestly? That’s exactly as it should be.
But it’s ok – I’m not complaining. I’ve made my peace with the reality that this season of my life is simply less about sewing. What I’ve cultivated over the last 20-ish years is a skill that will stay with me for life, and a temporary break from the machine isn’t going to change that.
Having said that, without some sort of creative outlet I would go completely stir crazy. So if, like me, you find yourself in a temporary no-sew season of your own, here are some ideas to keep you feeling inspired and inventive in lieu of sewing machines and fabric stashes.
#MakersGonnaMake
Cooking+
I don’t mean everyday cooking (which I also love and get immense creative pleasure from – most of the time!). By cooking+ I mean getting properly playful in the kitchen and disappearing down new culinary rabbit holes.
For me, that has looked like falling head-first into sourdough and fermenting. Crucially, these are things I can do while my toddler toddles about – and even gets involved with. Measuring flour, stirring starters, tasting kombucha, poking at jars of sauerkraut: it all counts as making.
Cooking+ could also be baking decorative pies, learning to make pasta from scratch, trying a new cuisine, or finally tackling that intimidating recipe you’ve bookmarked for years.

Challenge: Choose one cookbook from your collection each month and cook two recipes from it per week (or however many you can realistically manage). By the end of the month you will almost certainly have learned something new and hopefully added a fresh favourite meal to your repertoire. You can even evaluate whether it’s a book you actually want to keep – I don’t know about you, but I have a huge cookbook collection and many of them never get opened!
Lap Crafts
This is always my first go-to when I’m too time- or energy-poor to sew. I love having a project right there by the sofa that I can pick up in small pockets of the day: something to work on casually while watching TV, supervising colouring sessions, or having tea with a friend.
Right now I’m knitting a hooded scarf for myself and working on an endless baby blanket. Will I finish it before the baby arrives? Probably not (I started it when I was pregnant with my last one!). But there is something wonderfully freeing about a pattern-less project that simply keeps my hands busy and my mind calm.

Challenge: Pick a different lap craft to try each month (or each season – whatever works for you): embroidery, knitting, crochet, visible mending, macramé, English paper piecing, beadwork, or even a bit of simple weaving. By the end of the year you’ll have new skills – and beautiful little makes you squeezed in almost by stealth.
Growing + Sprouting
Even with no garden and zero gardening skills, you can still enjoy the creative (and nutritional!) benefits of greener-fingered friends.
Growing microgreens on a windowsill or sprouting grains and legumes indoors is simple, inexpensive and endlessly satisfying. Watching something transform from seed to food in a matter of days scratches exactly the same itch as starting a new sewing project – only with much less mess.
Winter is the perfect time to begin. Both microgreens and sprouts provide incredible nutrient density at a time of year when our bodies could really do with a boost.

Challenge: Start a mini windowsill herb garden and enjoy tending something living, even in the smallest of spaces.
Tablescaping
Tablescaping is the art of setting a beautiful table – turning an ordinary meal into a tiny creative event.
Play with napkin folding, mismatched crockery, jam jars of flowers, candles you’ve been 'saving', or little handwritten place cards. It’s creativity you can practise daily, with whatever you already own.

Challenge: Once a month, set the table as if you were hosting a favourite friend – even if it’s just fish fingers with the family. Think about bringing in seasonal elements, or even taking astrological inspiration if you're that way inclined (you know I am!!).
Wardrobe Audit
When you can’t sew, you can still design.
A wardrobe audit is a brilliant way to stay creatively connected to your personal style. Spend ten minutes trying new combinations, photographing outfits on your phone, or identifying gaps you’d love to fill in the future. Rearranging, re-styling and re-imagining what you already have is a form of making in its own right.
Challenge: Or more of a recommendation, invest in a colour analysis session - this has honestly been life changing for me (and then I persuaded my husband to do it too, and he’s now also obsessed). Understanding your undertones, contrast and which colours do and don’t work for you make conducting a wardrobe audit, and future sewing/shopping, infinitely more satisfying and productive. You’ll end up with a closet-full of clothes that all work harmoniously with each other, and best of all, make you look your most radiant self!
Future Sewing Plans Journal
If the urge to sew is bubbling away but time is scarce, pour that energy into a "future sewing plans journal". Keep an ongoing notebook of patterns you want to try, colour palettes you love, dream projects and fabric wish lists. Jot down capsule wardrobe ideas, collect inspiration images, and plan ahead for the moment when life opens up a little more. You may even find that without the pressure to actually make any of these garments anytime soon, the limits of your creativity are blown wide open! You’ll be amazed how satisfying it feels simply to nurture ideas until you can bring them to life, plus you’ll have a fun record of your evolving style to look back on!

And that, my friends, is where my creative energy for the day has officially begun to fall away…! Is there anything else you would add to this list? How do you stay inspired and keep creative when you simply don’t have time to sew?
With love,
Elisalex xxx
]]>


 Images clockwise from top left:


 My sewing machine that used to be mom’s


 Cutting out my mock-up


 Sewing on the trim by hand


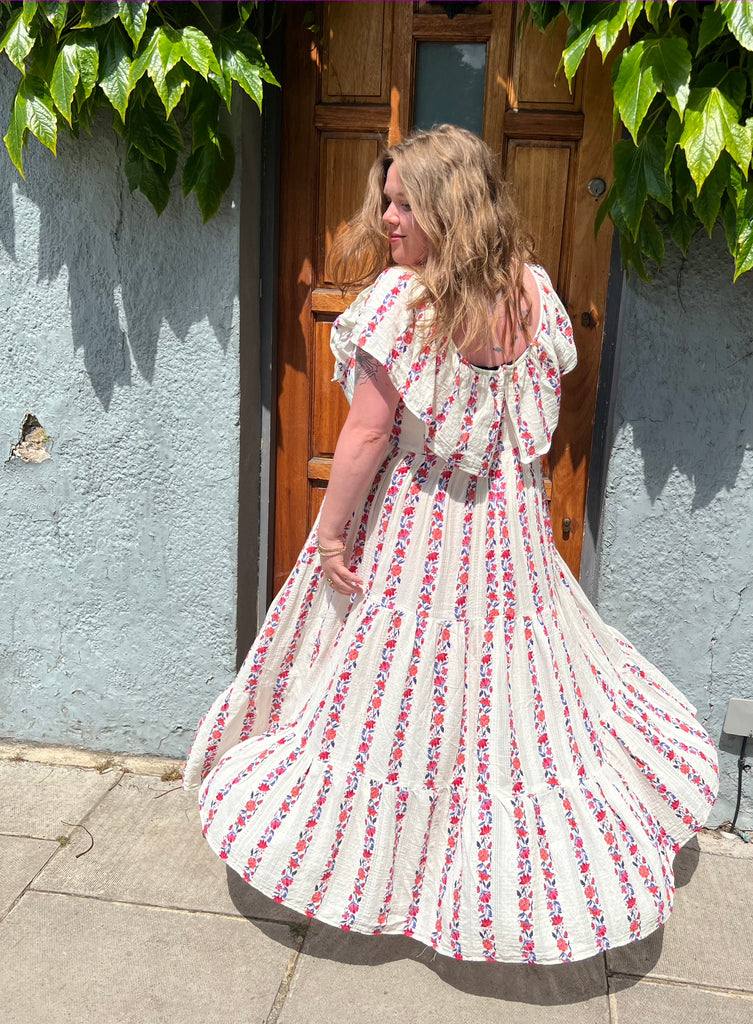
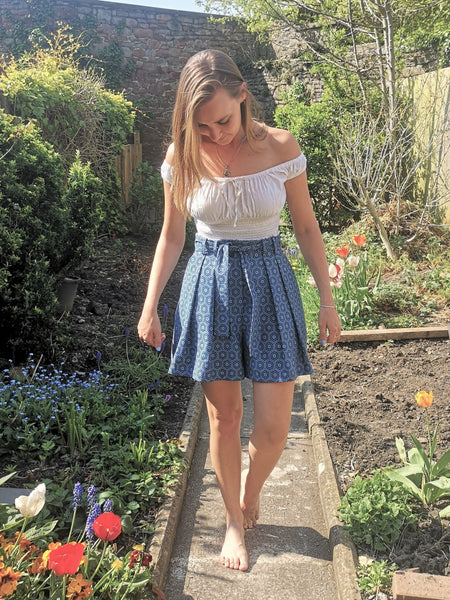
 Lena wears the
 Lena wears the
  Lena wears the