Identity and Access Management
Elevate Your IAM Effectiveness
Let SDG Services Elevate Your IAM Effectiveness and Save Effort, Cost, and Your Assets.
From the increasing threats posed by AI to improvements in behavior analytics, the identity and access landscape is changing quickly. Our 25+ years of experience in identity and access management has helped us guide some of the largest and most diverse enterprises to success.
How SDG’S IAM SERVICES BENEFIT YOU:
- Streamlined identity and access
management controls - Vendor agnostic solutions
- Enhanced security and compliance posture
- Customer centric frictionless identity
- Existing investments are maximized
- Modern and sustainable identity programs
- IAM Resources


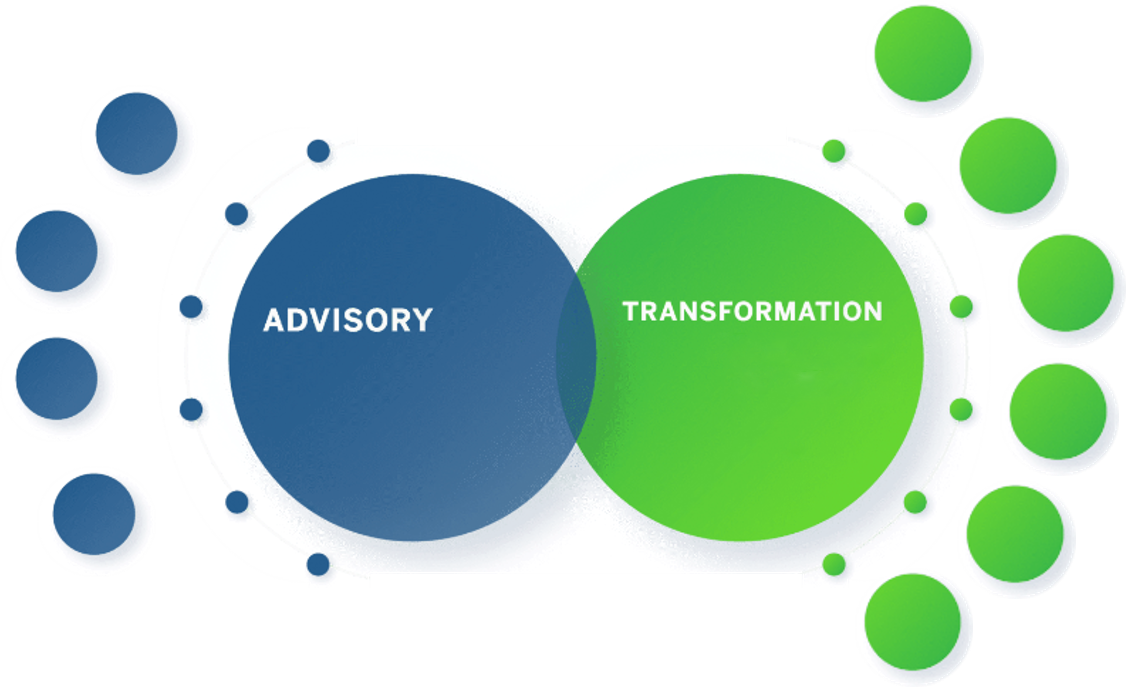
Identity & Access Management Services
SDG leverages 25 years of IAM services to successfully advise, deliver, and manage future-proof solutions that achieve business outcomes.
Strategy & Roadmap
Discovery, Gap Analysis, Target Recommendation and Roadmap generation
Risk Assessment
Investigation and Identification of high-risk issues or gaps
Technology Rationalization
Analysis and Recommendations to optimize legacy tools
Cost-Benefit Analysis
Comprehensive CBA of existing IGA platform VS a modern IGA platform
Managed Services
Comprehensive and Continuous Support of IAM systems and processes
Identity Modernization
Transitions, Upgrades, and Cloud Migration
Identity Governance
Implementation, Integration, Access Certifications, RBAC & SoD Management
Consumer Identity
Adaptive MFA, Passwordless, Fraud Prevention, ID Verification & Privacy
Privileged Access
PAM solutions, Integration, or Discovery for full coverage
Access & Authentication
SSO, MFA, Passwordless, Policy Management
Directory Remediation
Analyze, Advise, and Remediate AD or LDAP to clean and simplify structures and content


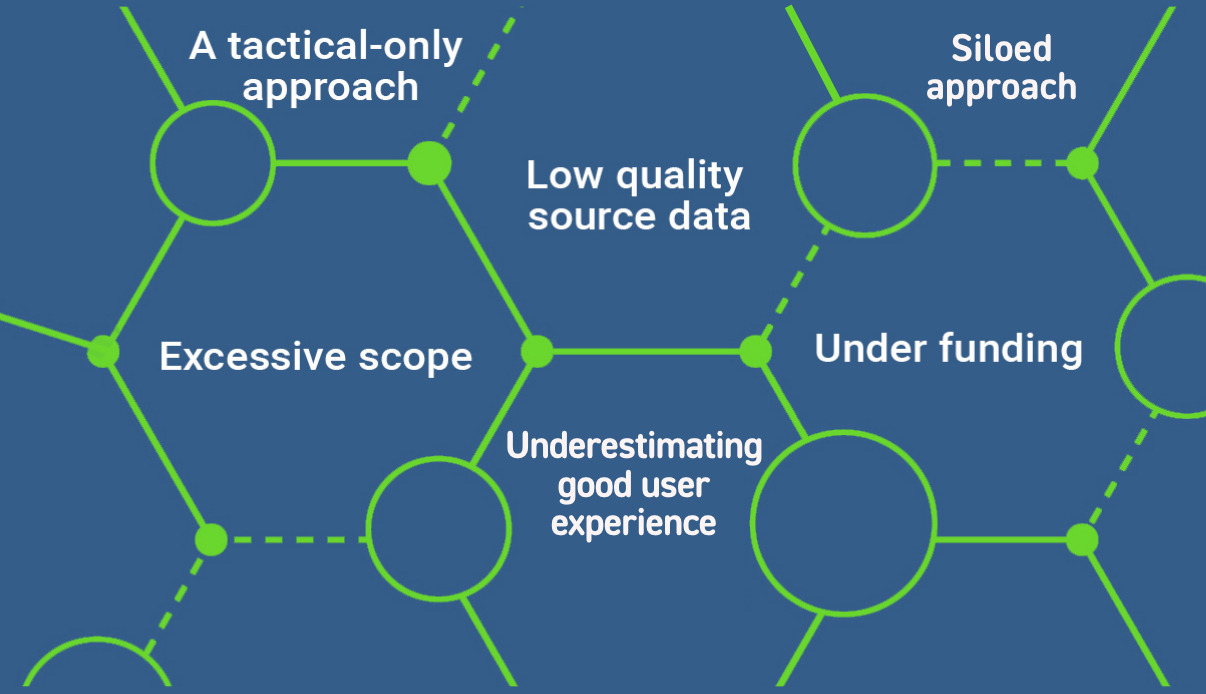
An Unfortunate Number Of IAM Projects Fail Due To . . .

Siloed
Approach
Underestimating
Good User
Experience
Low Quality
Source Data
A Tactical-Only
Approach
Under Funding
Excessive Scope
This is when SDG’s 25+ years of IAM service experience matters.
There’s more to IAM than which technology platform. With over 20 years of experience, we know the path to success is a thorough understanding of the people, processes, and technology and how they work together to be successful.
An Unfortunate Number Of IAM Projects Fail Due To . . .
. . . this is when SDG’s 25+ years of IAM service experience matters.
There’s more to IAM than which technology platform. With over 20 years of experience, we know the path to success is a thorough understanding of the people, processes, and technology and how they work together to be successful.
5 Reasons to Modernize your IGA System to a Cloud IGA System


One Size Fits One . . .
We are technology agnostic; this means we work for YOU, not an outside tech provider. We have templates, for sure, but our flexibility and extensible methodology allows us to map a unique path to success based on your organization’s individual needs.

“SDG has been easy to work with. They have listened to our requests and supplied qualified candidates. In the rare instance that a resource was not a fit, they worked with us to swiftly get an alternative that better matched our needs.”
IAM Engineering Manager, Major Airline


Security Begins with Identity –
But Where to Start?
Whether your organization is modernizing, expanding, or just looking for guidance evaluating and selecting a vendor – but is unsure where to start – SDG’s popular Risk-Based Health Assessment is a good first step.


0
Fortune 500 Clients
0
+
IAM Professionals
0
+
Total Engagements
0
Identities Worldwide
0
+
Hours of Experience
0
Years in Business
Trusted by The World’s Best Organizations