It seems like such a long time ago that I reviewed my first Christi Friesen book. That was before I met her. That was before I became one of those folks who wouldn't pass up an opportunity to take a class — any class — from her. Christi is probably the best teacher-of-adults I've seen. She manages a classroom full of creatives amazingly. She's generous and encouraging. And her classes are just plain fun.
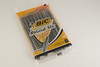
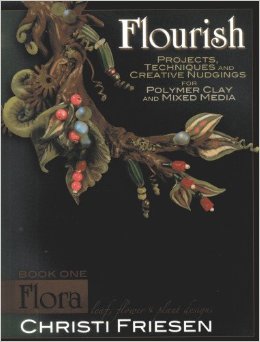
And because I've gotten to take some of her classes, Christi's latest book was especially enjoyable to me. It's got a mouthful of a title: Flourish: Projects, Techniques, and Creative Nudgings for Polymer Clay and Mixed Media: Book One: Flora: Leaf, Flower and Plant Designs. But you could shorten that title to A Christi Friesen Class in a Book, because that's what it felt like reading it. Her conversational tone in the book meant I could just about hear her chatting away. The pictures of her, sprinkled throughout the book, made it feel like she was right there guiding me as I learned.
Of course, if you've taken any of Christi's classes, you're probably as big a fan as I am. So you've already bought all of her books, including this one. This book review is not for you. This book review is for those of you who are wondering whether this book is worth adding to your library. And here's what I think about that...
The Book
]]> This is the first book in the Flourish series, which (per the back cover) is about "that little extra swish, that bit of curl, that touch of drama... learning how to add the extra flourishes to your polymer clay and mixed media creations." This book, FloraOne of the first things you'll notice about this book is its creative layout. There are drawings, sketches, and scribbles throughout — almost like an artist's sketchbook. The font is large-ish. The text is conversational. It all works together to give the book an informal, creativity-focused approach. Nothing feels sacred. It's all about the ideas. This is not a textbook, but a book full of, as Christi puts it, "creative nudgings." I think that's very effective.
After a brief intro, she directs us to turn to the "Back O' the Book" for materials, basic techniques, resources and other info. It's a nice way to allow those who are so inclined to get right into the projects, especially folks who are already familiar with polymer clay. On my first read of her Back O' the Book section, I was impressed with how concisely and conversationally she incorporated so much information. It might even have all the information a polymer clay beginner would need to get started on these projects, I thought.
But as I read through more of the book, I found that the Back O' the Book wasn't as complete as it needed to be. Christi tells folks to look there for more info on a whole host of things that aren't actually mentioned in the back of the book. For example:
- p. 26 says to see the back of the book for info on reducing canes (but the back of the book just says to Google more info on caning)
- p. 30 says to see the back for carving safety/tricks
- p. 39 says to see the back for covered vessel or wall piece details
- p. 51 says to see the back for info on pins, channels, and hooks
- p. 86 says to see the back for info on pin backs or hanging loops
- p. 90 says to see the back of the book for the difference between metal leaf and metal foil
[Note: Some of the things that were supposed to be in the back of the book may be elsewhere — like the channeling instructions, which I found on p. 79. But without a table of contents, just having it somewhere in the book is not-so-helpful.]
So the Back O' the Book could have been a little more complete. And Christi could use a good copy editor to catch these things. But let's go back to the front.
The main part of the book has sections for various portions of the plant. It starts out with leaves, then moves on to pods, fruits and berries, buds, flowers, and trees. For each of these sections, the pages include photos of real nature specimens, sketches of flora, sketches of jewelry designs incorporating flora, and photos of completed pieces by Christi Friesen and other artists. This format illustrates nicely the idea of an artist's sketchbook, showing the process from inspiration to finished project.
While I liked that she included photos of real plants, I felt like the quality of those photos wasn't always up to par. Some weren't clear in what they were showing. They didn't have a consistent feel, and they didn't always look professional. Not a big deal, especially if it's supposed to feel like a sketchbook, but it's something that could have been better.
And speaking of photos, some of the photos of Christi's work weren't big enough to see the details referred to in the text. Like the Leaf Exhibit on p. 14-15 (I had trouble locating the "added vein of clay and one of tiny pearls" in the top photo and the "teensy bit of clay in each leafy section" in the bottom left). And it was hard to discern the blue edges referred to on the "More Ferny Stuff" photo on page 28.
I did like the way fellow artist's pieces are shown with an "I'm inspired by..." statement. For example, on page 56, for Penni Jo Couch (hey! I know her!), Christi says, "I'm inspired by her delicacy and detail." It helps us focus our attention on something that particular artist does especially well.
The Instructions
I like the pacing of the techniques and projects. For example, she teaches how to make several styles of leaves, then gives us a couple of leaf projects, then throws in some different materials and techniques to inspire our creativity.
The text just kinda flows from one project to the next, and there's no table of contents, so this list of projects is probably not complete. Still, here's an overview of the things covered in Flourish Book One: Flora:
Instructions:
- Leaves: Favorite, Road Kill, Generic, Forest, Mr. Fancy Leaf, Holey-er Than Thou, Round, Water Lily, Fern, Fiddleheads
- Odd Pods
- Berries
- Buds: Shy, Perky, Drama
- Flowers: Groovy, Superstar, Circle Fan, Chorus Line, Pressed, Chrysanthemum, Orchid, Rose, Narcissus
- Trees: two stylized versions
Techniques:
- Canes: leaf, bullseye, flower petals, flower
- Carving Ultralight Sculpey
- Wire working
- Carving a polymer clay reverse stamp
- Mold-making and creative use of molds
- Embellishments such as hot-set crystals, powders, glitter, glaze, etc.
- Faux stone carving
- Faux stained glass
- Sgraffito
- Swellegant / faux metal
- Mosaic
Projects:
- Leaf cluster on top of metal box
- Water lily necklace
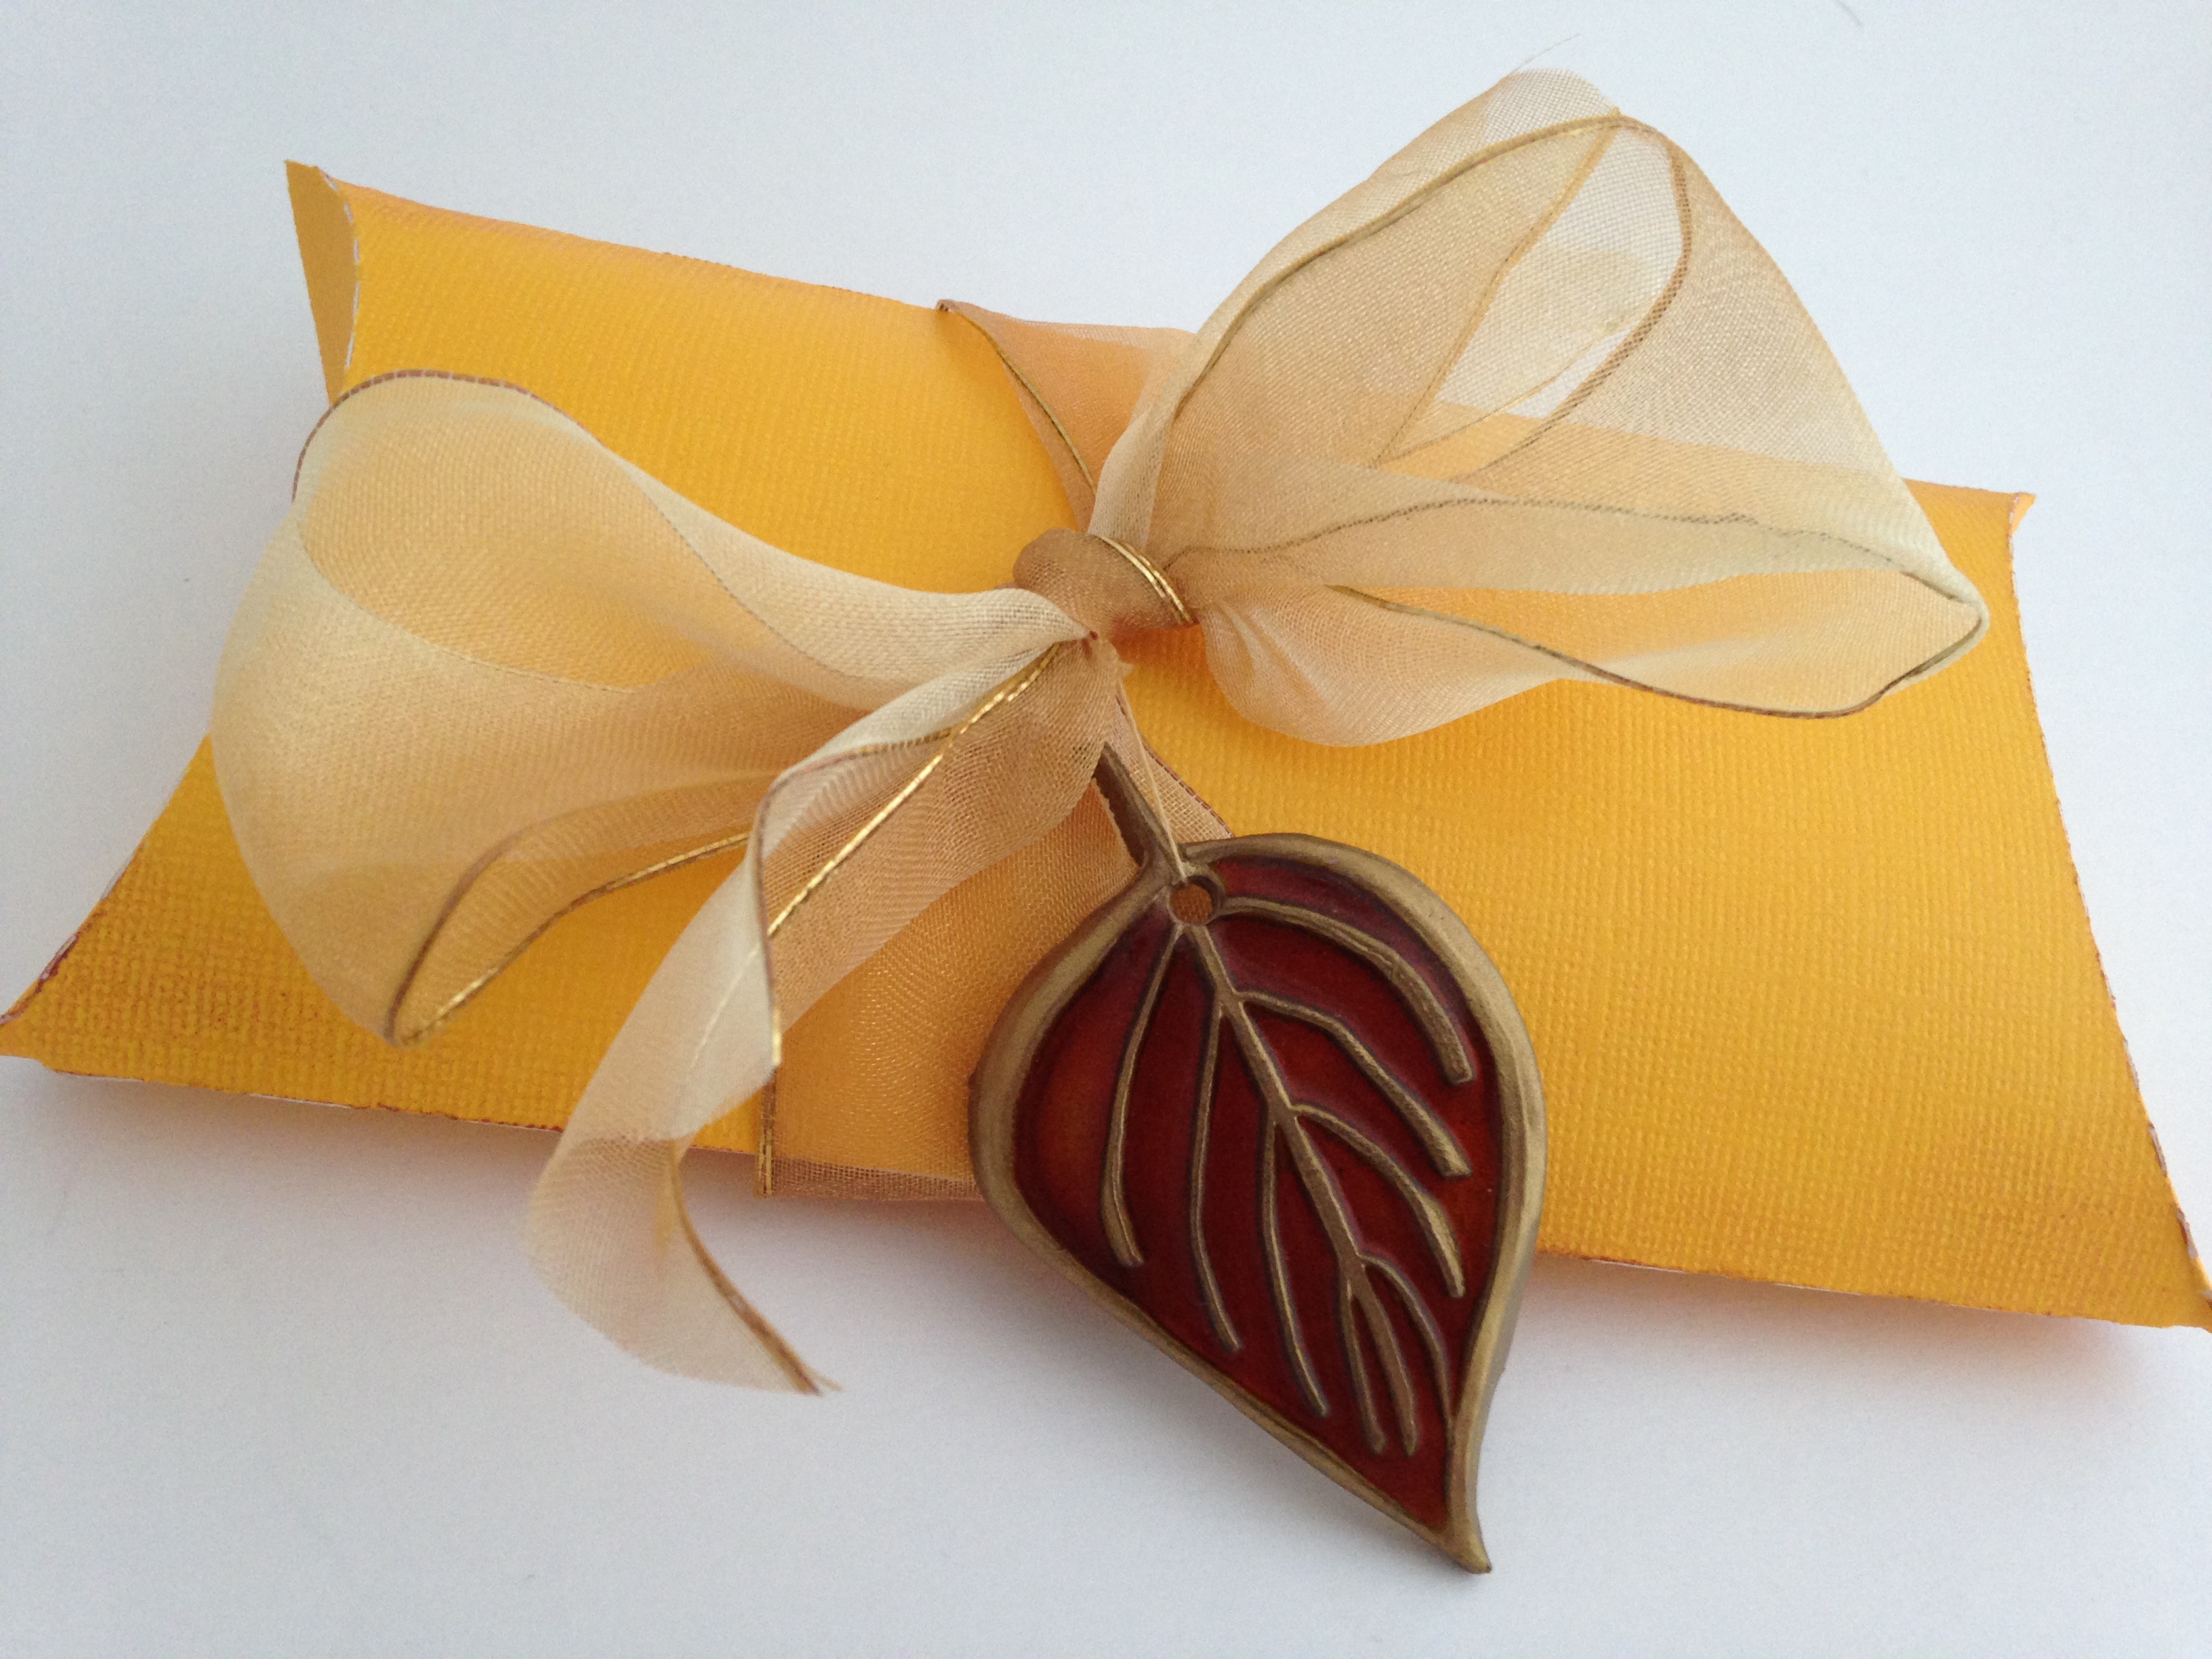
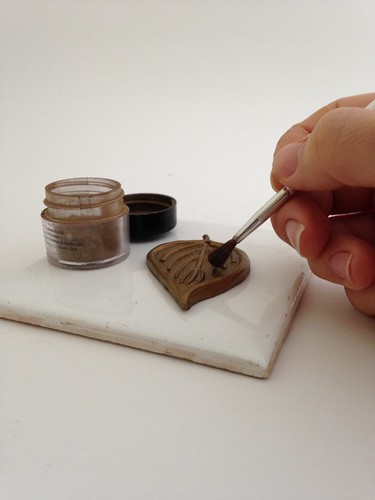
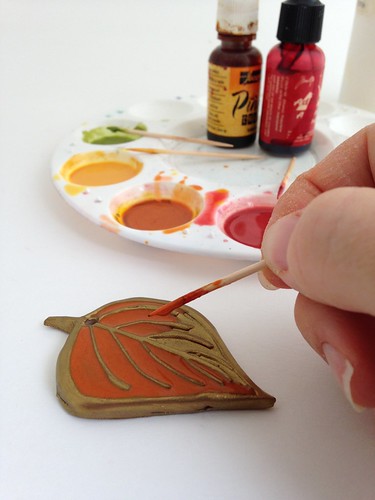
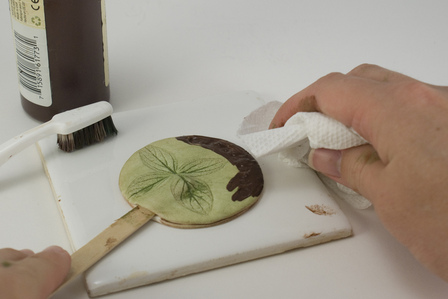
- Glazed leaf tiles
- Bead-embellished pod pendant
- Leaf & berry brooch/pendant
- Crysanthemum fan
- Mossy ring
- Tree person sculpture
- Tree mosaic
The instructions are pretty clear. I like the way she uses everyday objects for measurements, telling us to use a clay "wad about the size of a hard-boiled egg yolk" or cut cane slices about as thick as a dime.
There are lots of photos on the project pages, though they don't exactly illustrate every step. Neither the written instructions nor the photos have numbered steps, and the layout of the photos is pretty fluid, so it's occasionally hard to match up the photo with the step it's illustrating. This, plus the fact that some steps aren't pictured, might make the book a little less ideal for a beginner who wants more step-by-step guidance.
My Results
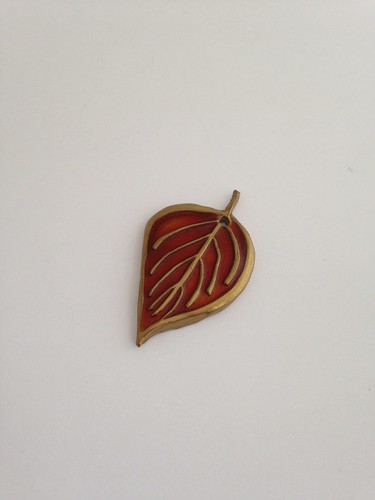
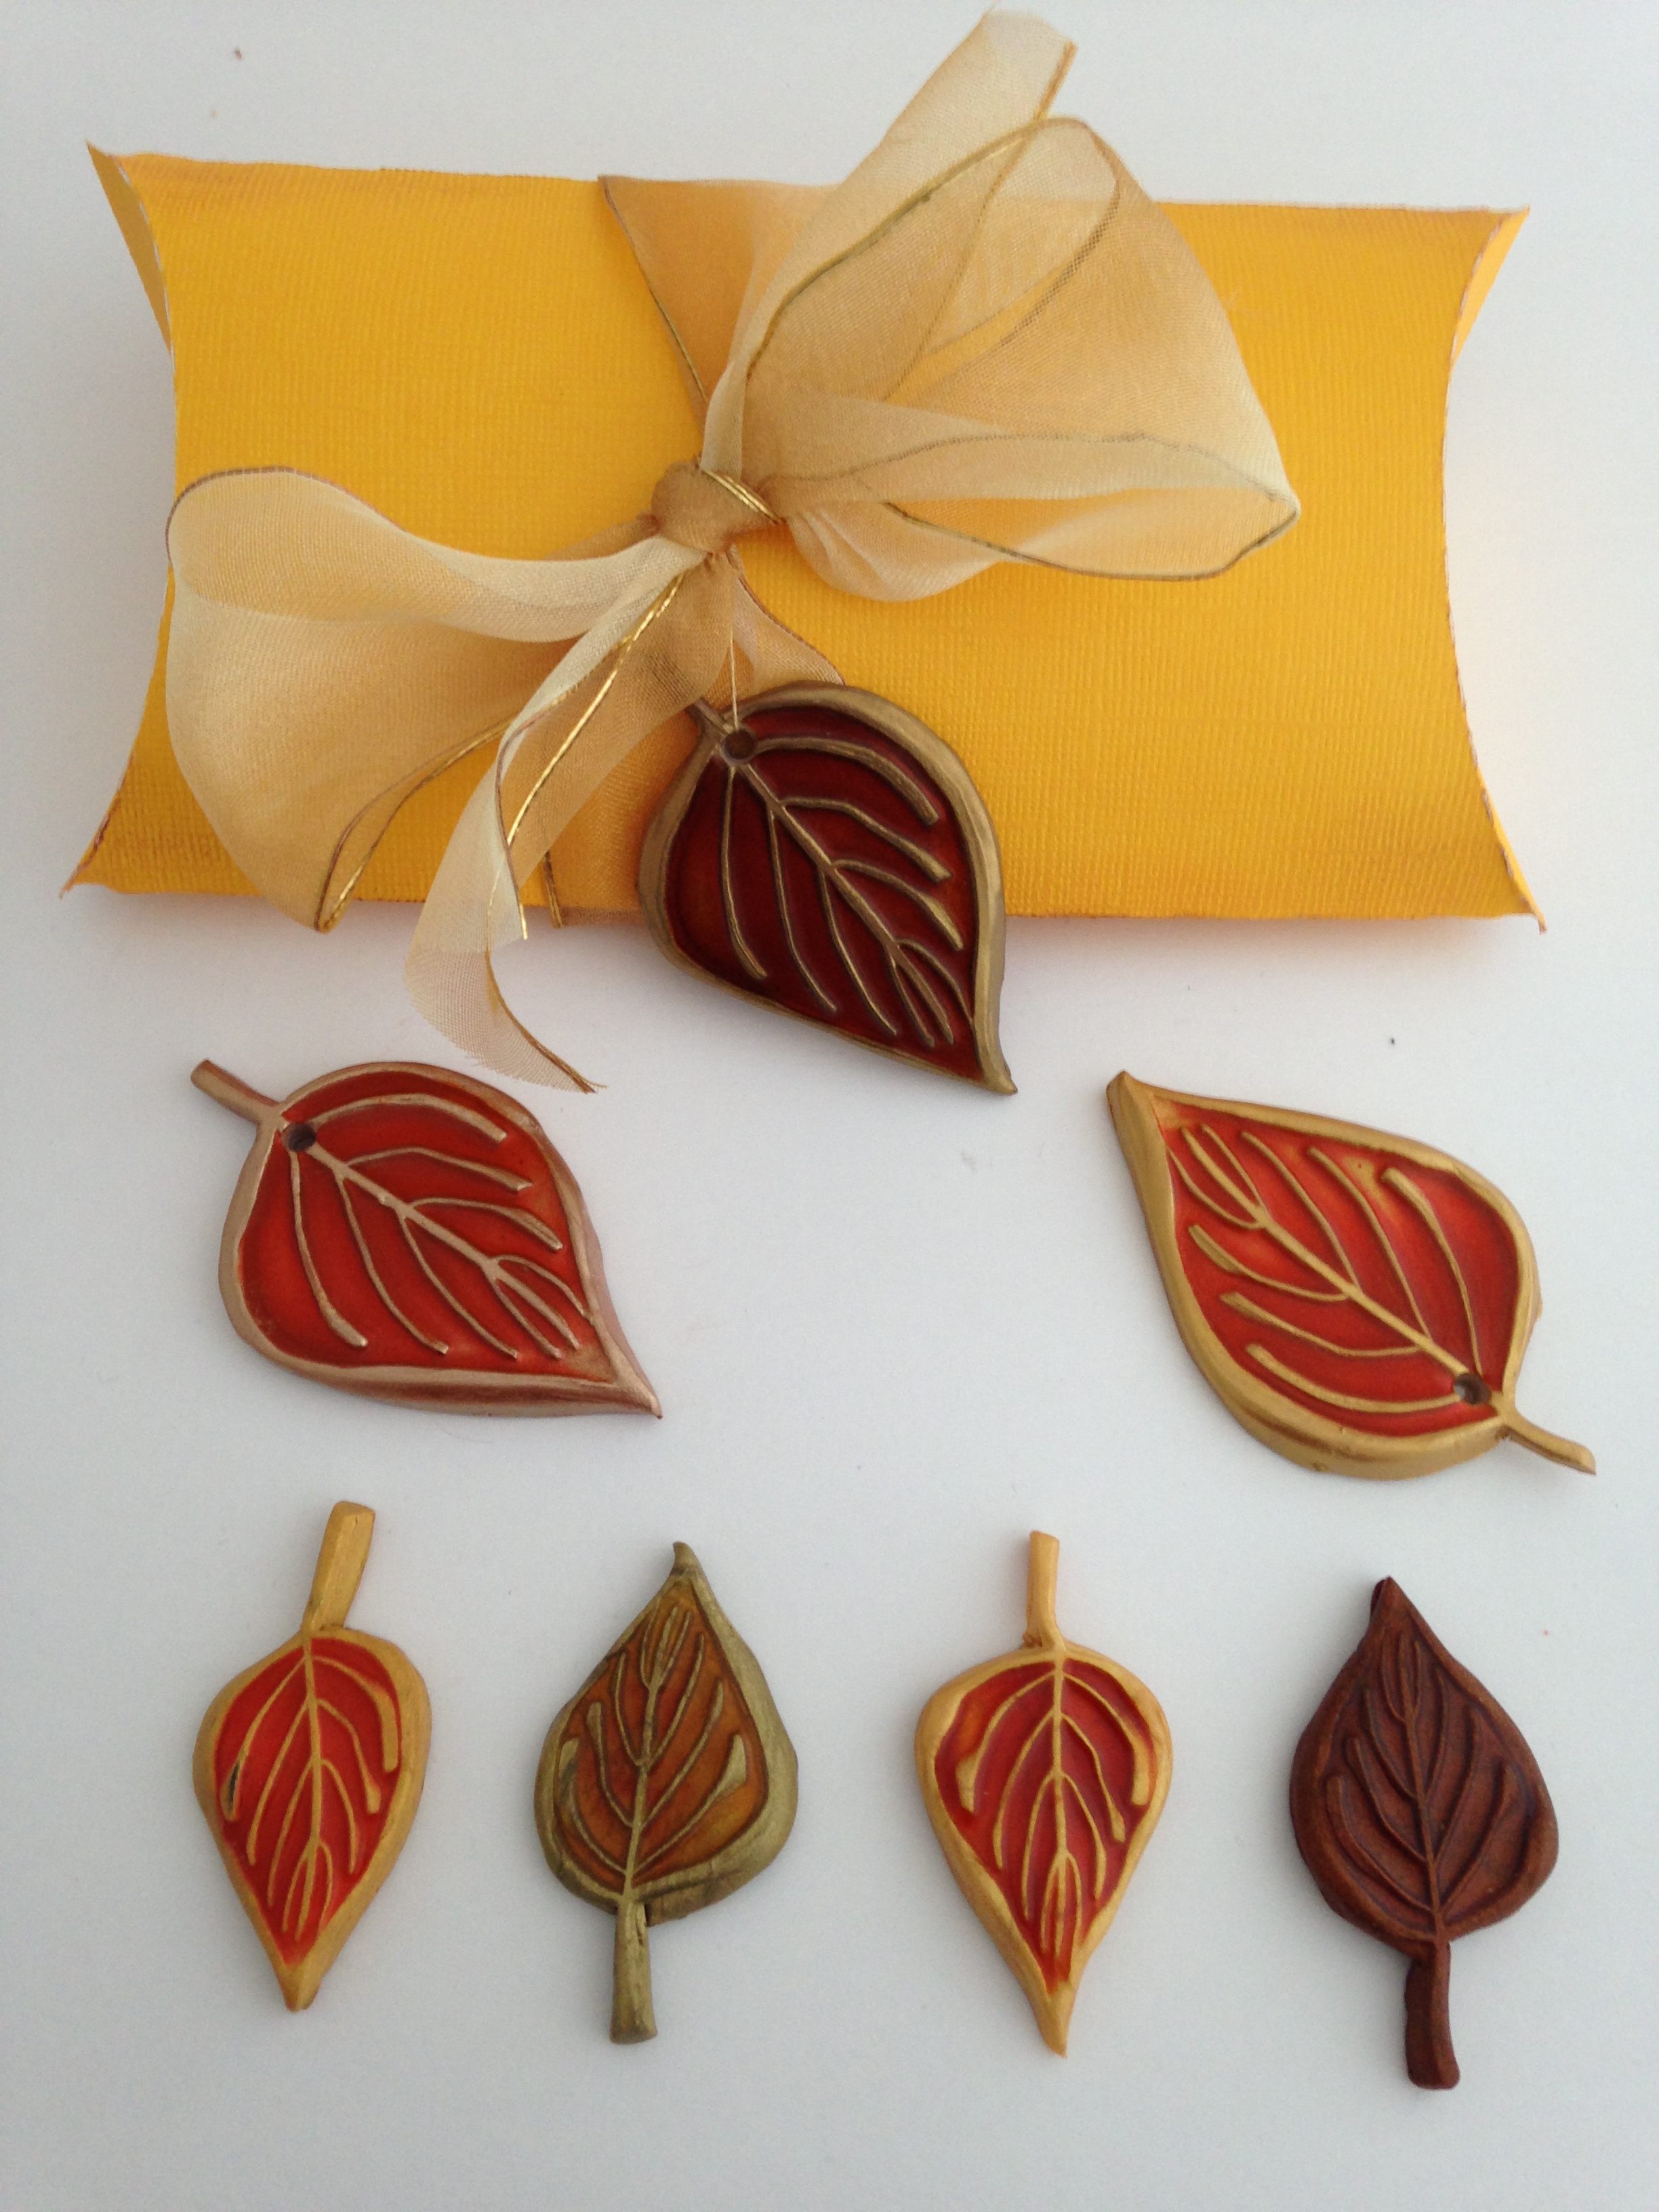
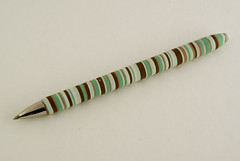
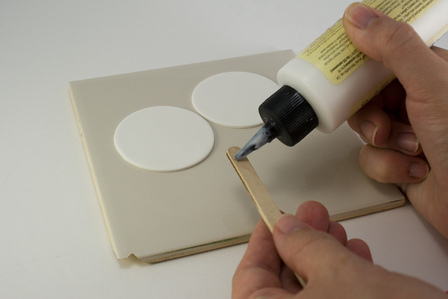
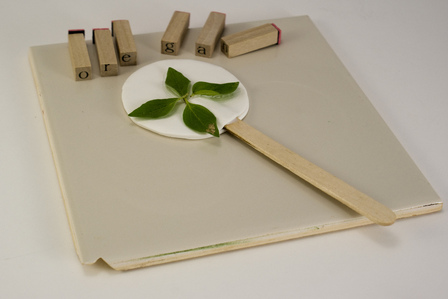
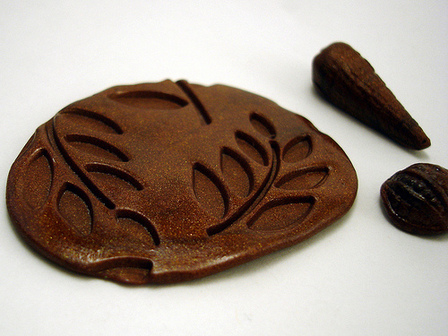
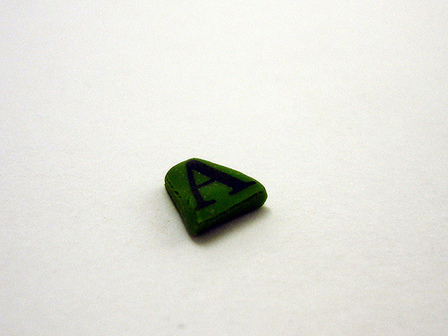
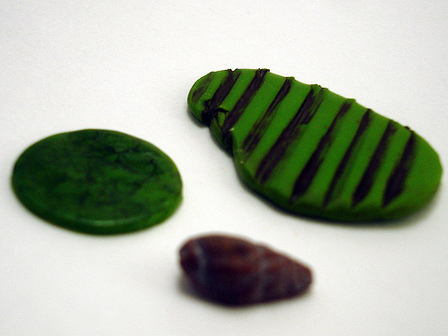
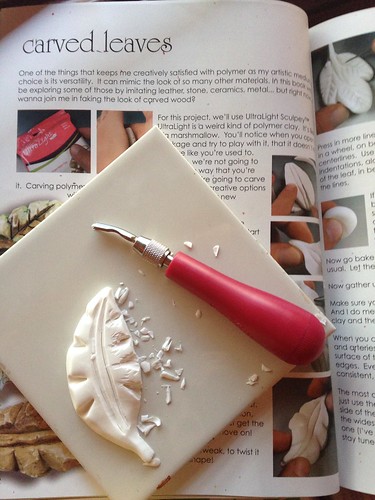
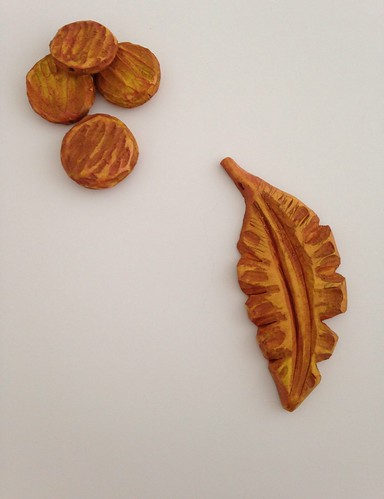
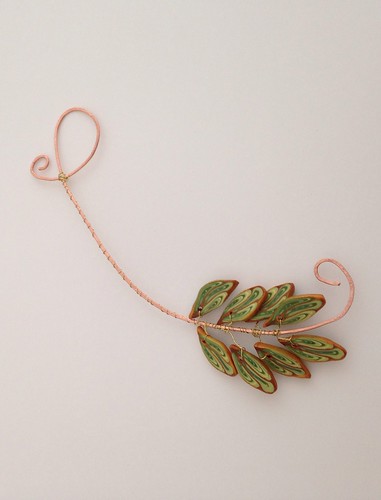
I really had a difficult time deciding which two projects to try, because several of them sounded so fun. I finally settled on the Carved Leaves (p. 22) and the Ferny Leaves (p. 25).
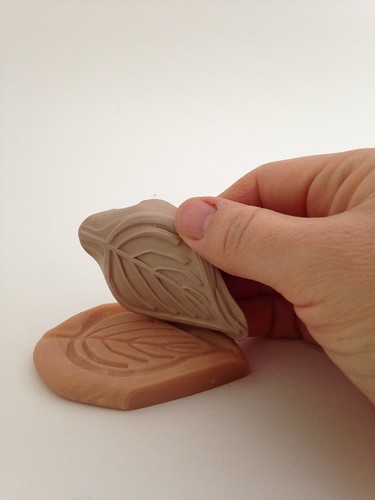
I chose the carved leaves project because I love carving polymer clay, but it had never occurred to me to try carving UltraLight Sculpey. Christi says you can use your linoleum carving tool or a new craft knife blade for this project. I chose to use my lino tool, which claimed to (but didn't) have safety tips and carving tricks in the back of the book. Really, both methods should've had more safety tips — especially for carving the smaller beads. (It dawned on me after my second bandaid that taping the bead to the table with double stick tape would help keep my fingers out of harm's way. It would have been nice if that kind of tip was included.) Still, I loved the results of the carved leaf project, and I found the instructions easy to follow.
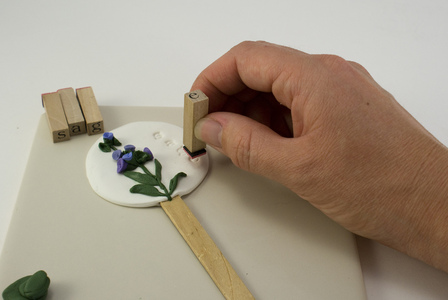
After the carved leaves project, I tackled the ferny leaves project, which I chose specifically because I'm a little less comfortable with canes and wire-work. I wanted to see if I could follow her instructions on something I needed more help with. The leaf instructions could have used a little more detail: "Rip the resulting sheet of clay in half. Stack the halves, rip this again and stack again." Which direction should I stack them? Does it matter? (My previous experience with Christi tells me that it probably doesn't, but a beginner might be a little more worried, and there are no pictures to give extra hints.) And she tells us to wrap the cane with a thin sheet of clay, a technique which might not be self-explanatory for a beginner. (She steps out this technique later in the book (p. 65), so just a cross-reference here would have done the trick.) I did feel like she gave me all the instructions I needed to get through the part I was worried about, the wire-working part. I was pleased enough with my results, even though they were a tad sloppy.
Overall, I'd say the instructions that are missing from the back of the book, plus the not-quite-step-by-step photos and instructions on many projects may make this book a tad difficult for a polymer clay first-timer. But I think it has plenty of projects, techniques, and wonderful inspiration for everyone else. This, like that first Christi Friesen book I reviewed long ago, is a book I want to have on my shelf for future reference and inspiration.
Summary
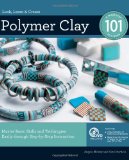
- Title: Flourish: Projects, Techniques, and Creative Nudgings for Polymer Clay and Mixed Media: Book One: Flora: Leaf, Flower and Plant Designs
- Price: $16.35 + shipping
- Pros:
- The "artist sketchbook" approach is useful for artists learning to go from raw inspiration to finished project.
- The different leaf and flower instructions make this a handy reference book for any polymer clay library.
- The wide variety of techniques means there's something in there for just about everyone.
- This book is the next best thing to actually taking a Christi Friesen class. It's filled with the same kind of fun and inspiration.
- Cons:
- The Back O' the Book section is missing a fair bit of the info that was supposed to be there.
- Some photos are unclear or too small to show the details referenced in the text.
- Polyclay beginners may find themselves a little lost without true step-by-step instructions/photos (and without that missing Back O' the Book stuff).
- Who It's Good For:
- Christi Friesen fans, obviously.
- Just about any clayer who already has the basics down will enjoy it thoroughly. Even advanced clayers will likely learn a new trick or two!