When my colleague, Ryan Welcher, told me that his work on the Icon block would be included in WordPress 7.0, I was ecstatic. We’d had many conversations about the direction of the block in the previous months. There was a lot of work that few people will ever realize to get it over the finish line and into a finished product, and even some other new developer features that resulted from that work.
The original code came from the Icon Block by Nick Diego, who was also formerly on our team. As Developer Advocates, our primary job is typically teaching others about WordPress features, not developing them. So this was a big win for our team.
Unfortunately, we were limited in what sub-features were allowed in WordPress 7.0. Namely, the ability to register custom icons. There’s a public registration API under development and is expected to ship with 7.1. It will likely be useful beyond just the Icon block.
I joked with Ryan a couple of months back that I’d figure out a way to register custom icons anyway. I didn’t think I’d seriously even attempt it. That is, until I had a need for it.
That’s what this tutorial is about. It will teach you how to register custom icons in WordPress 7.0 for use with the Icon block.
But I want to strongly urge you not to do this on production sites (Nick’s Icon Block plugin is still available for custom icons, or even the built-in HTML block). It’s more of a cool showcase of Reflection in PHP.
The Icon API
The Icons API is handled by the WP_Icons_Registry class in WordPress. If you look closely at the code, you’ll see that its register() method is currently protected, which means that it’s not a part of the public API, and is not normally accessible in PHP.
Let’s take a look at this method’s signature:
WP_Icons_Registry::register(string $icon_name, array $icon_properties): bool
There are two parameters that the method accepts:
-
$icon_name: The name/slug of the icon, which should be vendor-prefixed (e.g.,vendor-name/slug). -
$icon_properties: An array of properties:-
label: An internationalized, human-readable label for the icon. -
content: The SVG markup for the icon. -
filePath: A file path to the SVG markup for the icon.
-
Of course, either content or filePath must be defined to actually register the icon. I prefer the latter since I generally already ship icons as individual SVG files in my themes.
Again, this method is not a part of the public API, so you’re not supposed to be using it at all. This post is for educational purposes only, well…and because it’s fun to tinker.
Registering Custom Icons
To register custom icons, let’s walk through this one step at a time. It doesn’t require much code.
Bundling Icons in the Theme
First, you need to decide where to put your icons in your theme. For me, that’s in my theme’s public/media/svg folder, which is what the following code will use. Feel free to change that.
For A Boy in the Wild, a recent theme project, I needed to register a Sealed Key icon (and several other icons):
I saved it as public/media/svg/sealed-key.svg in my theme:
<svg xmlns="http://www.w3.org/2000/svg" viewBox="0 0 24 24" width="24" height="24" aria-hidden="true" focusable="false">
	<path fill="currentColor" fill-rule="evenodd" d="M 1.25,12 A 6.75,6.75 0 1,0 14.75,12 A 6.75,6.75 0 1,0 1.25,12 Z M 2.75,12 A 5.25,5.25 0 1,0 13.25,12 A 5.25,5.25 0 1,0 2.75,12 Z M 4.75,12 A 3.25,3.25 0 1,0 11.25,12 A 3.25,3.25 0 1,0 4.75,12 Z M 6.25,12 A 1.75,1.75 0 1,0 9.75,12 A 1.75,1.75 0 1,0 6.25,12 Z"/>
	<path fill="currentColor" d="M 14.75,11.25 L 23.75,11.25 L 23.75,12.75 L 14.75,12.75 Z M 16.25,11.25 L 17.75,11.25 L 17.75,16.75 L 16.25,16.75 Z M 19.25,11.25 L 20.75,11.25 L 20.75,15.75 L 19.25,15.75 Z M 22.25,11.25 L 23.75,11.25 L 23.75,14.75 L 22.25,14.75 Z"/>
</svg>
Of course, feel free to bundle as many icons as you’d like to use for your own project.
It’s worth noting that only the <svg>, <path>, and <polygon> tags are currently allowed by the icon sanitizer in WordPress 7.0. So things like <circle> will be stripped out. There is a ticket to expand allowed tags for future versions.
Icons Enum
For my project, it made sense to register a custom Icon enum (enumeration) to house my icons. This is because I’d need to reference their names/slugs throughout the theme, such as in patterns. And I didn’t want magic strings scattered throughout the codebase.
So let’s do the same here. Register your custom enum:
<?php

declare(strict_types=1);

namespace ThemeSlug\Icon;

/**
 * Enum of icons registered with and used throughout the theme.
 */
enum Icon: string
{
	/**
	 * Sealed Key case (add other cases as needed).
	 */
	case SEALED_KEY = 'theme-slug/sealed-key';

	/**
	 * Namespace prefix for all registered icon names.
	 */
	private const NAMESPACE = 'theme-slug';

	/**
	 * Path to the icons folder relative to the theme root.
	 */
	private const ICONS_PATH = 'public/media/svg';

	/**
	 * Returns the icon's translated label.
	 */
	public function label(): string
	{
		return match ($this) {
			self::SEALED_KEY => __('Sealed Key', 'theme-slug')
		};
	}

	/**
	 * Returns the icon's slug, derived from its value by stripping the
	 * namespace prefix.
	 */
	public function slug(): string
	{
		return substr($this->value, strlen(self::NAMESPACE . '/'));
	}

	/**
	 * Returns the absolute file path to the icon's SVG file.
	 */
	public function filePath(): string
	{
		return get_parent_theme_file_path(self::ICONS_PATH . '/' . $this->slug() . '.svg');
	}
}
This enum has a single case (SEALED_KEY) for our single icon. You can also see that it handles the internationalized label and file path if needed through custom methods.
Of course, if you’re just registering one or two custom icons, this may be overengineered. But if you build a larger collection, using the enum will make it much easier to manage in the long term.
Icon Registrar
Now let’s build a custom IconRegistrar class. This will take the cases from the Icon enum and register each:
<?php

declare(strict_types=1);

namespace ThemeSlug\Icon;

use ReflectionException;
use ReflectionMethod;
use WP_Icons_Registry;

final class IconRegistrar
{
	/**
	 * Bootstraps the class.
	 */
	public function boot(): void
	{
		add_action('init', $this->register(...));
	}

	/**
	 * Registers custom icons with the WordPress icon registry.
	 *
	 * @throws ReflectionException
	 */
	private function register(): void
	{
		$registry = WP_Icons_Registry::get_instance();

		try {
			$method = new ReflectionMethod($registry, 'register');
		} catch (ReflectionException) {
			return;
		}

		foreach (Icon::cases() as $icon) {
			$method->invoke($registry, $icon->value, [
				'label'    => $icon->label(),
				'filePath' => $icon->filePath()
			]);
		}
	}
}
This is where the PHP ReflectionMethod class comes in handy. Essentially, it lets you inspect and interact with a class method at runtime (even if it’s protected, as is the case with the WP_Icons_Registry::register() method). You can even get a copy of the class method and invoke it since reflection lets you bypass normal visibility rules, which is what this code is doing.
It also includes a try/catch just in case the protected API changes in the future (we wouldn’t want to break things).
You would call this in your theme via the boot() method. Feel free to hook this up to your system, whether it’s a DI container or something else. Or, just call directly in functions.php:
\ThemeSlug\Icon\IconRegistrar->boot();
With this code in place, you should be able to insert an Icon block in your post and search for the Sealed Key icon:
You can also insert the icon in block patterns:
<?php
use ThemeSlug\Icon\Icon;
?>

<!-- wp:icon {"icon":"<?= Icon::SEALED_KEY->value; ?>"} /-->
Now have fun tinkering with custom icons in WordPress!
As I’ve said a few times already, I don’t recommend doing this in production. Use the Icon Block plugin for that instead. Reflection is just a neat little feature in PHP that I thought I’d share. Use this as a learning experience and wait for the public API to land in WordPress 7.1.🤞
]]>
42:The answer to life, the universe, and everything.
Or something like that.
I’ve waited a lot of years to be able to reference The Hitchhiker’s Guide to the Galaxy for a birthday post. I’d first read it in my early twenties during college. Now…it is done. I’m officially 42. I don’t know that I know any more of the answers than I did yesterday or the day before that or even a year ago.
But I do know that it’s been a good year so far. A big year, really. So big that I haven’t had the time to sit down and update my blog here with any of my latest adventures.
For starters, I guess it’s time to officially announce that I married Ashley. Technically, we tied the knot on December 31, 2025. And we’ve spent the last four months building our lives and our new home together. So…yep…a busy year thus far.
We started a new orchard and planted new garden beds. We have been discovering native plant species on the property. We even built a chicken yard for our now-growing flock (actually, we just picked up three new pullets today, bringing us up to eight). We have thousands of honeybees, a single dog, and six cats in total.
Yeah, I’d say life is pretty good. The new adventure is just getting started.
I have a few ideas that I want to begin exploring for the young homestead this year that I hope will set us up for the long term. But I’ll save those thoughts for another day.
Otherwise, most of my normal goals are still on track. Health is good. I still have all ten fingers and toes. And I’m still striving to improve every day.
I don’t know that I really sat down today to write anything in particular today. I just wanted to mark the occasion. Another trip around the sun. And, as I told my cousin a few months back: one year closer to wearing velcro shoes.
]]>
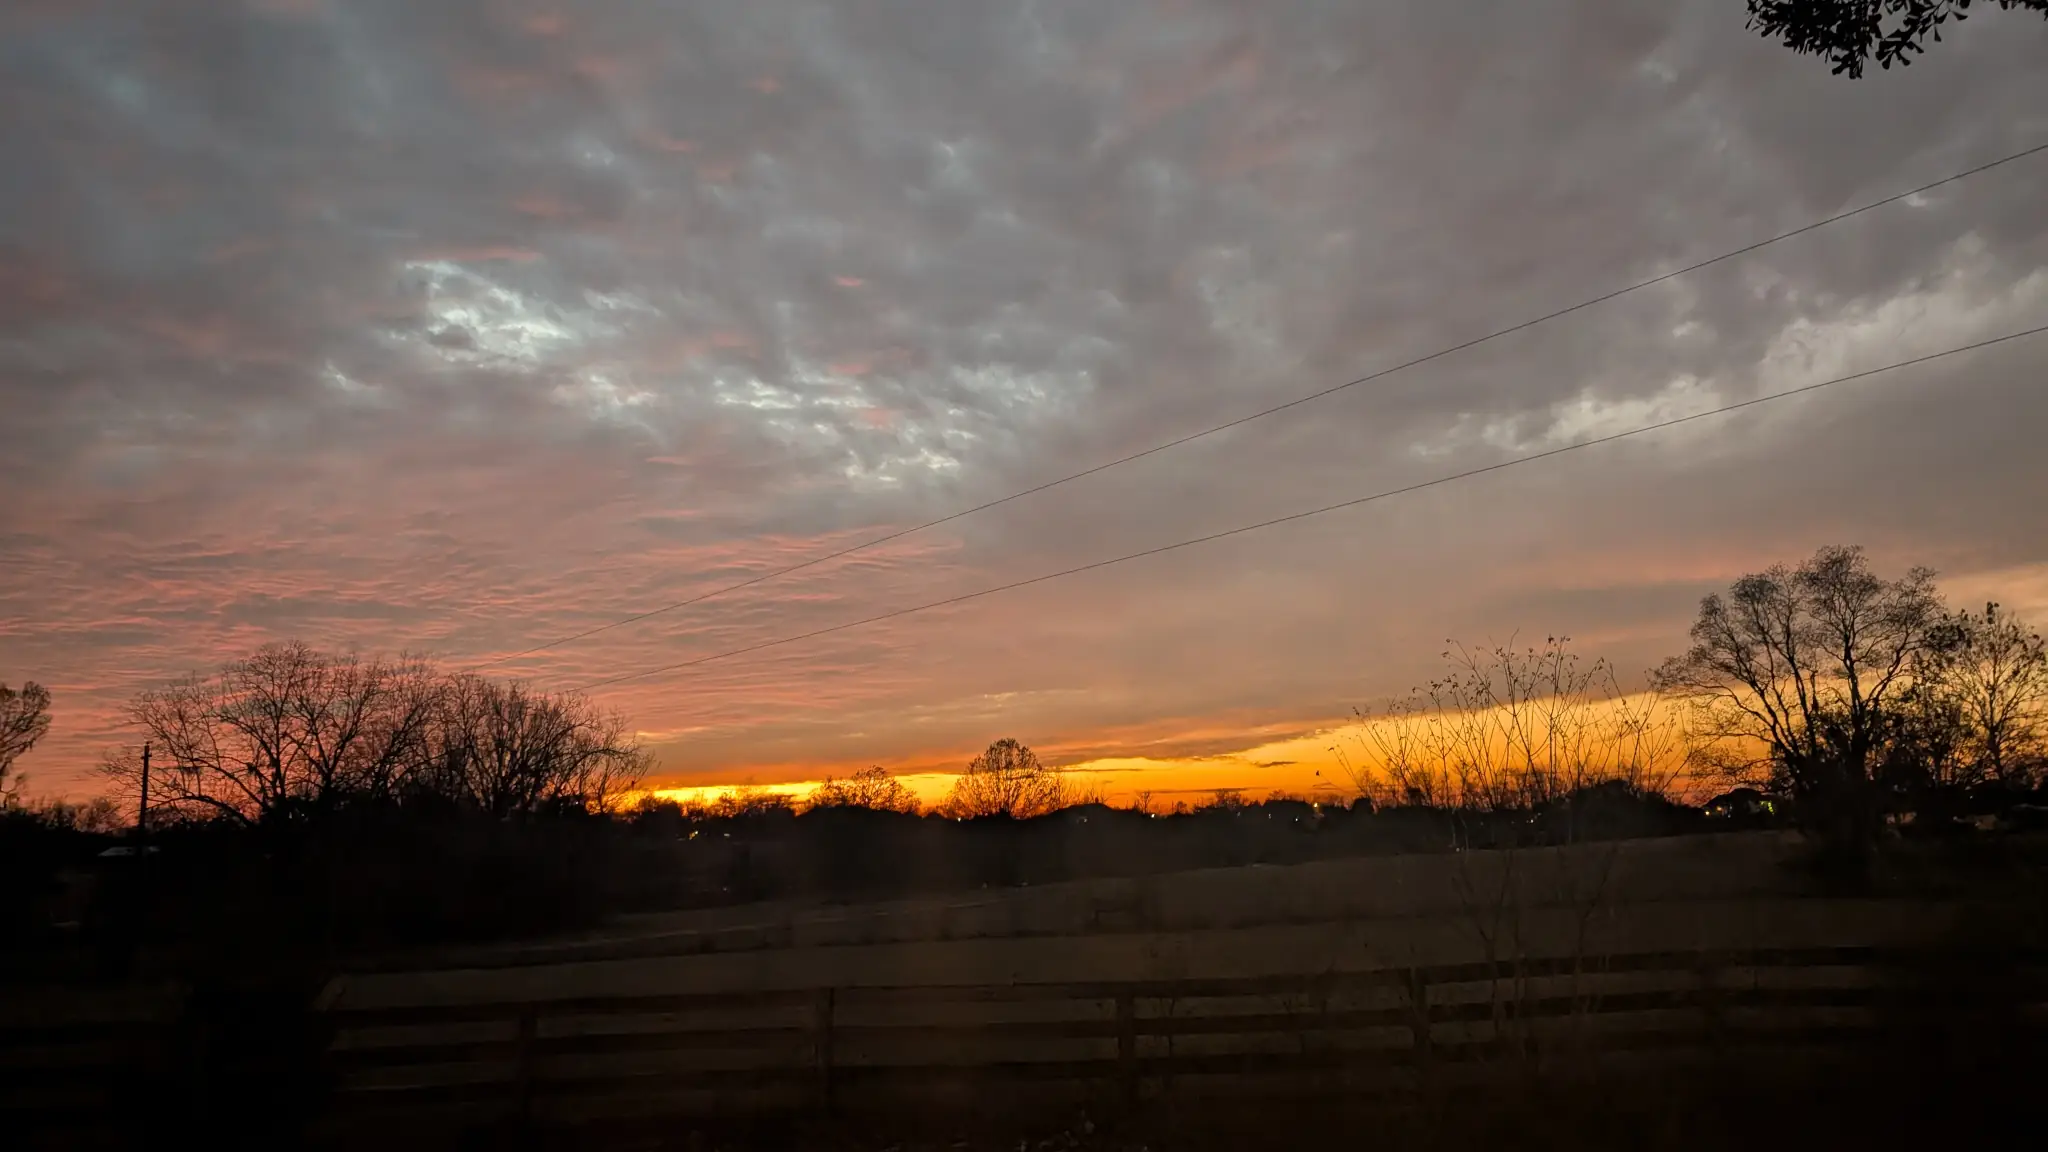
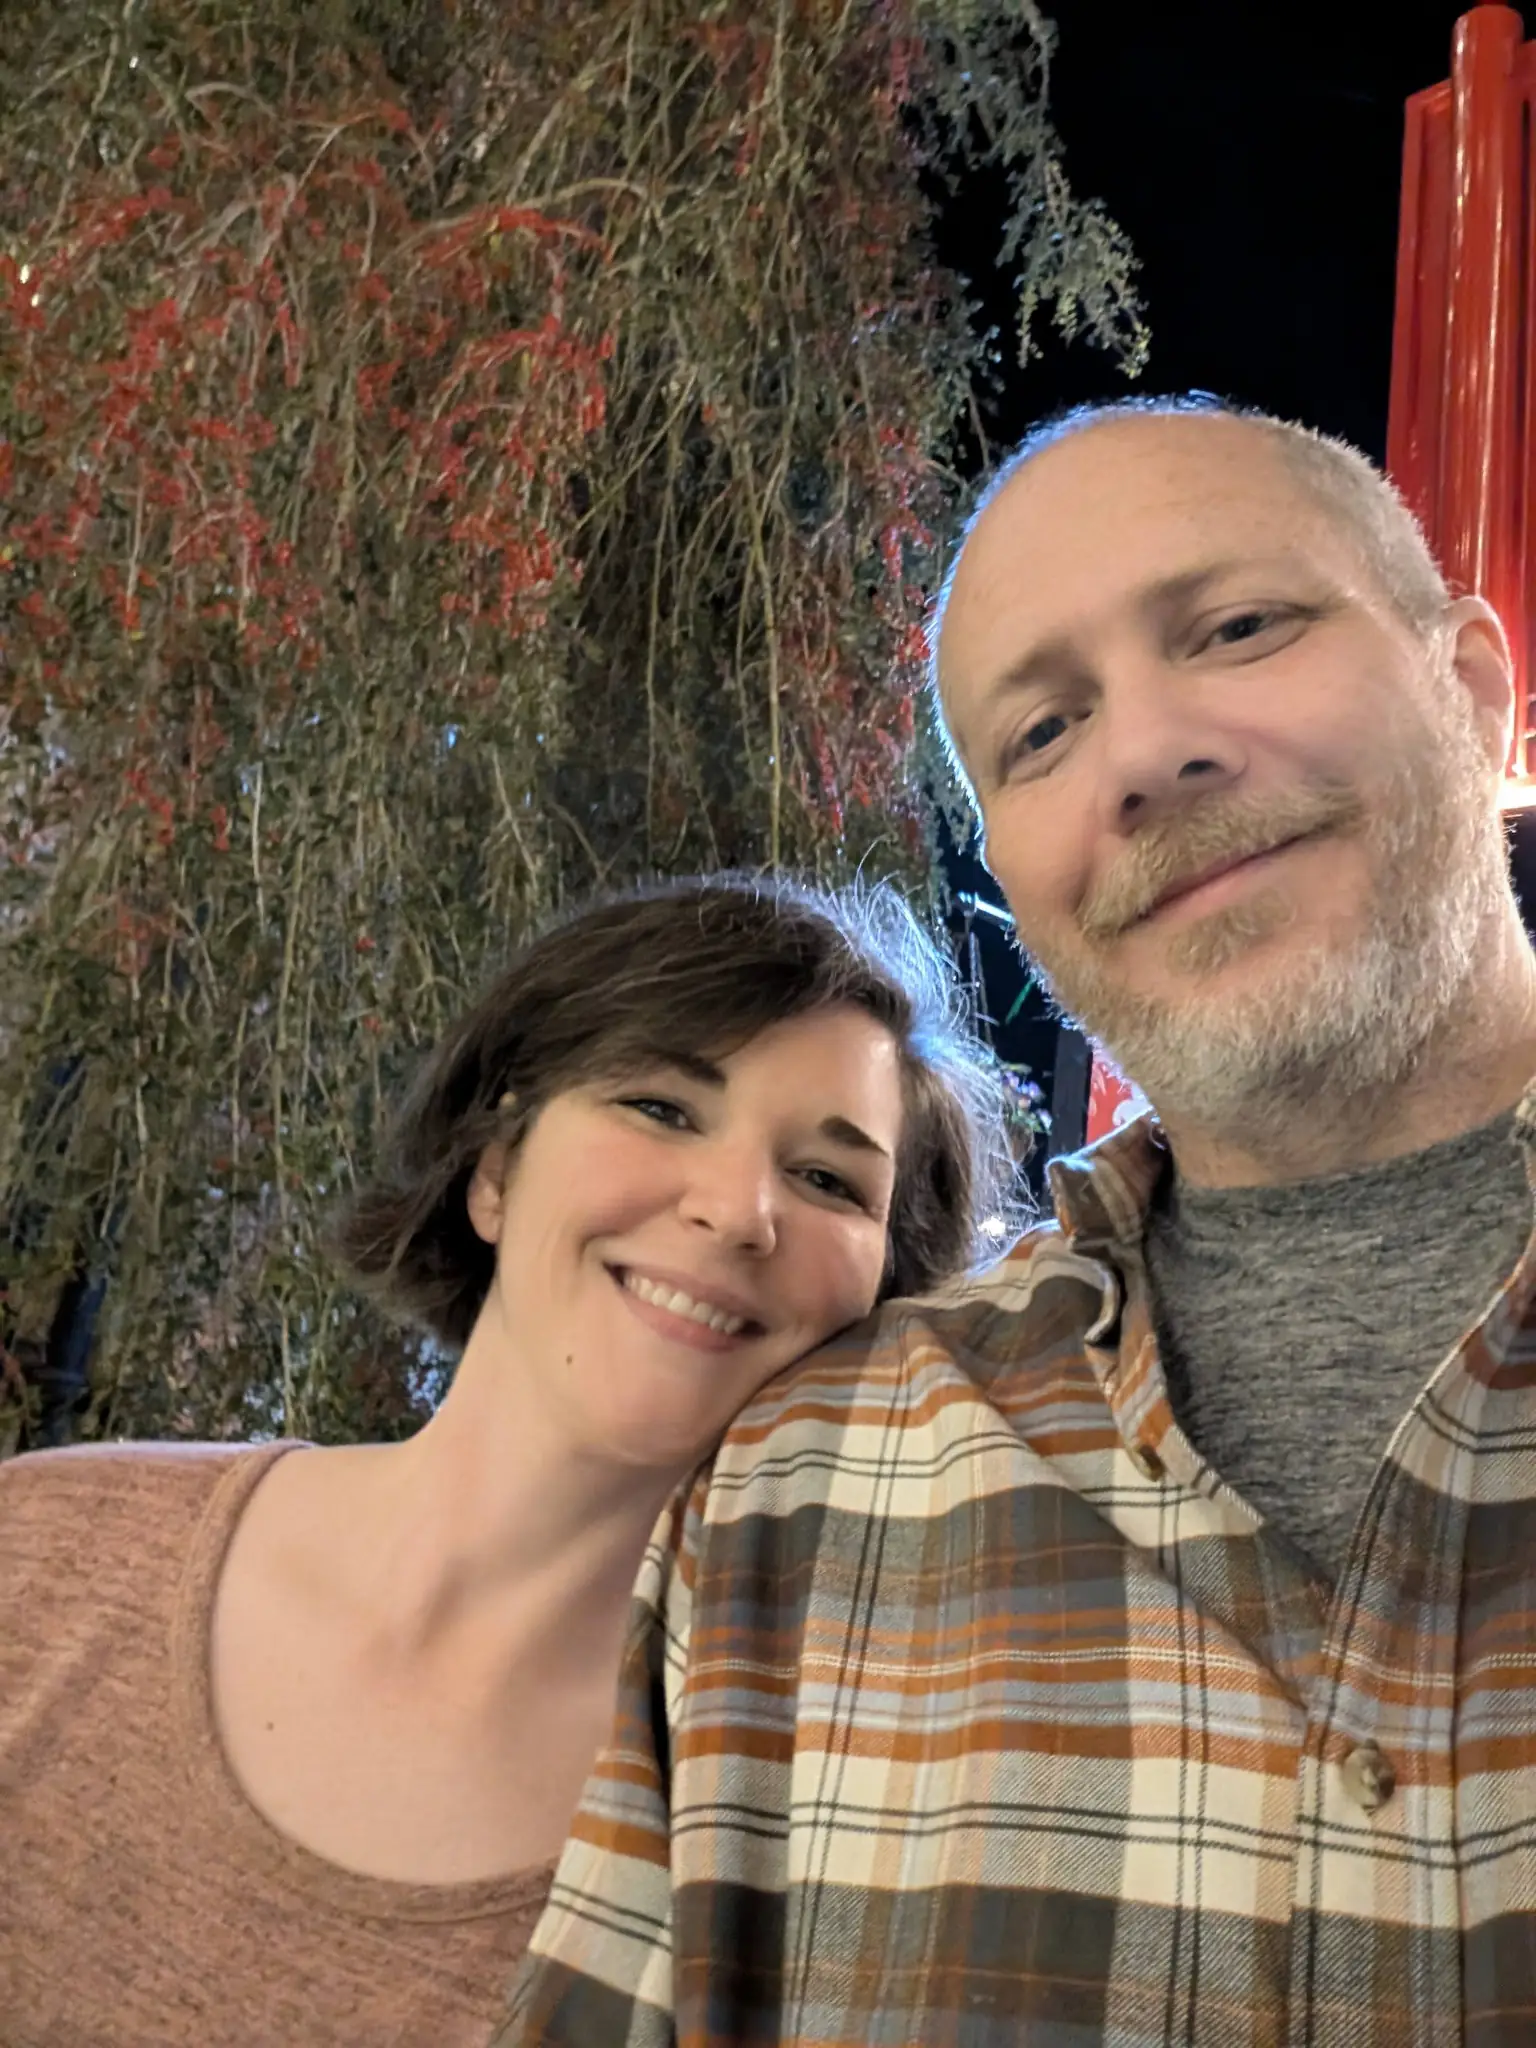
I thought it fitting to end the year with a photo of a December sunset at Pleasant Grove, my home of the past five years. In the last month, I’ve moved on to a new city and new home with someone special.
Yep, it’s been another adventurous year in the life of Justin Tadlock.
I did a whole heck of a lot of stuff in 2025. I traveled to Portugal and met awesome people within the WordPress community. I attended my nephew’s wedding. And I started building a new life with Ashley. Of course, that’s barely scratching the surface.
It’d be impossible to recap the entire year—I’d be sitting here for a couple of weeks attempting to write this post. But I’ll attempt to at least cover some 2025 highlights and see how well I hit the goals that I set for myself.
Love or Something Like It
At the beginning of 2025, I created a new goal category for myself named “Love or Something Like It.” I wasn’t quite sure where this road was going to lead, but it’s been one heck of a trek into the unknown.
Ashley and I met via the online dating app Hinge on December 21, 2024, and I was fully in the swing of the online dating world at the time. I hadn’t quite found my other half at that point, but I was out there putting in the time and effort.
But it wasn’t until I met her for our first date a few weeks later on January 6 that I started to leave the online dating scene behind. After a few dates, we felt like we had something real that we could build upon. And it’s been a whirlwind ever since. We’ve had a big year together, taking multiple trolley/train rides, gardening, watching shows at the theater, trips, concerts, and much more.
We even bought a house, got engaged, and hosted our first Christmas together. Below includes some snapshots of some of our year. Stay tuned for the next chapter.
-
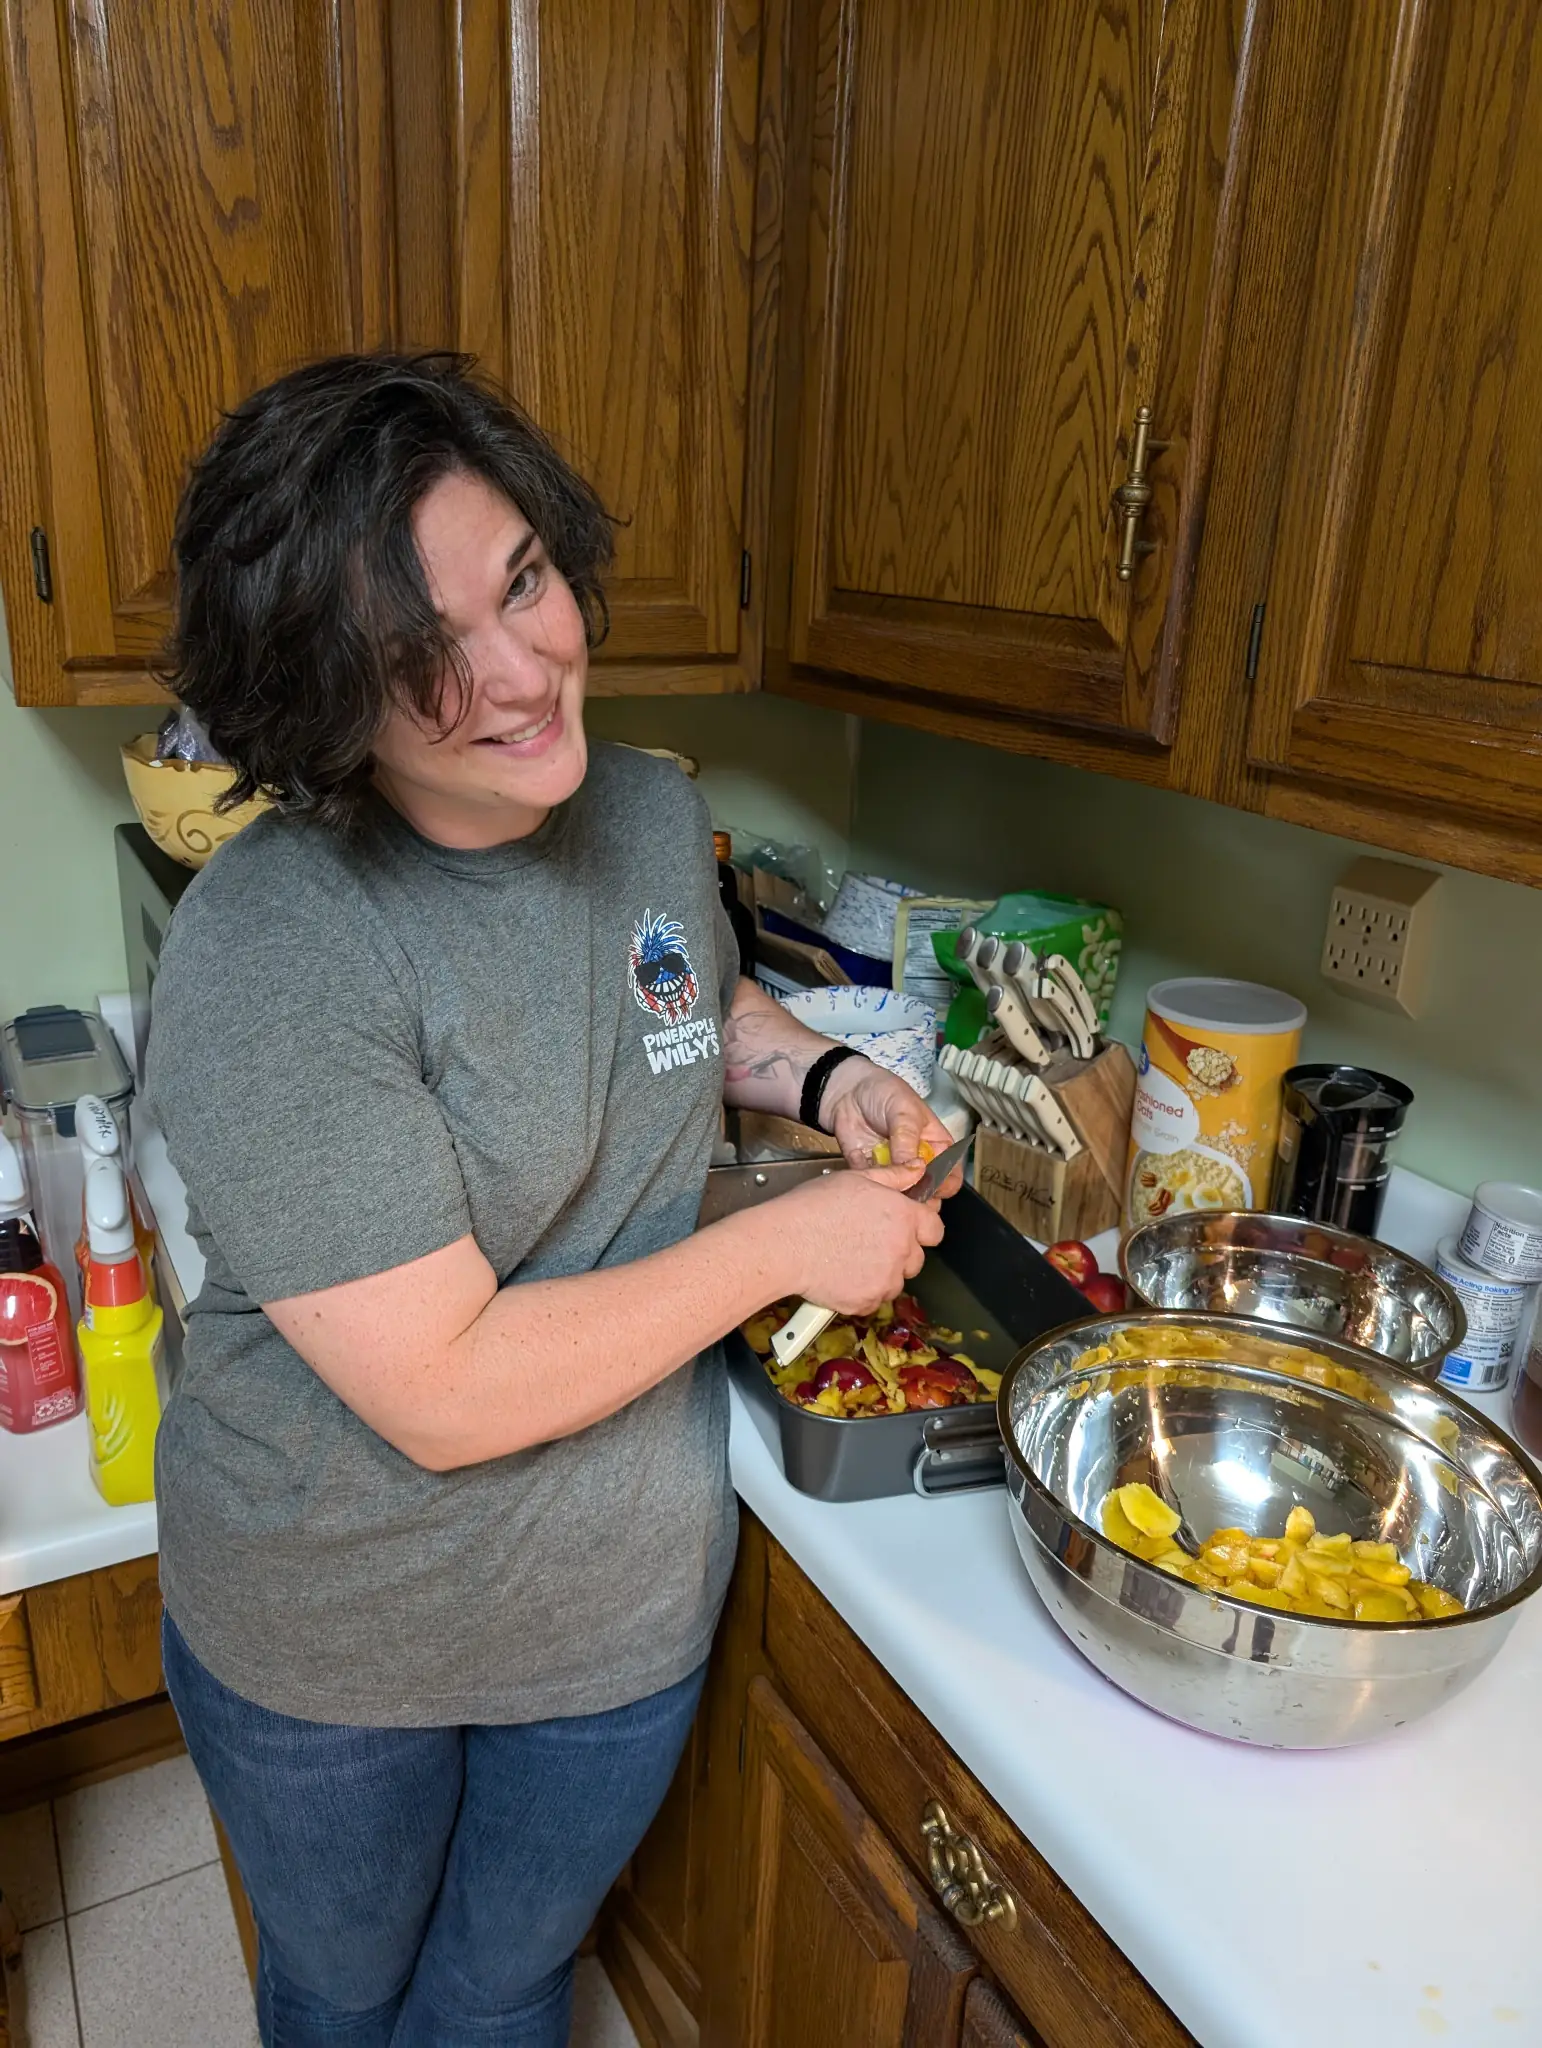
Prepping Nectarine Jam -
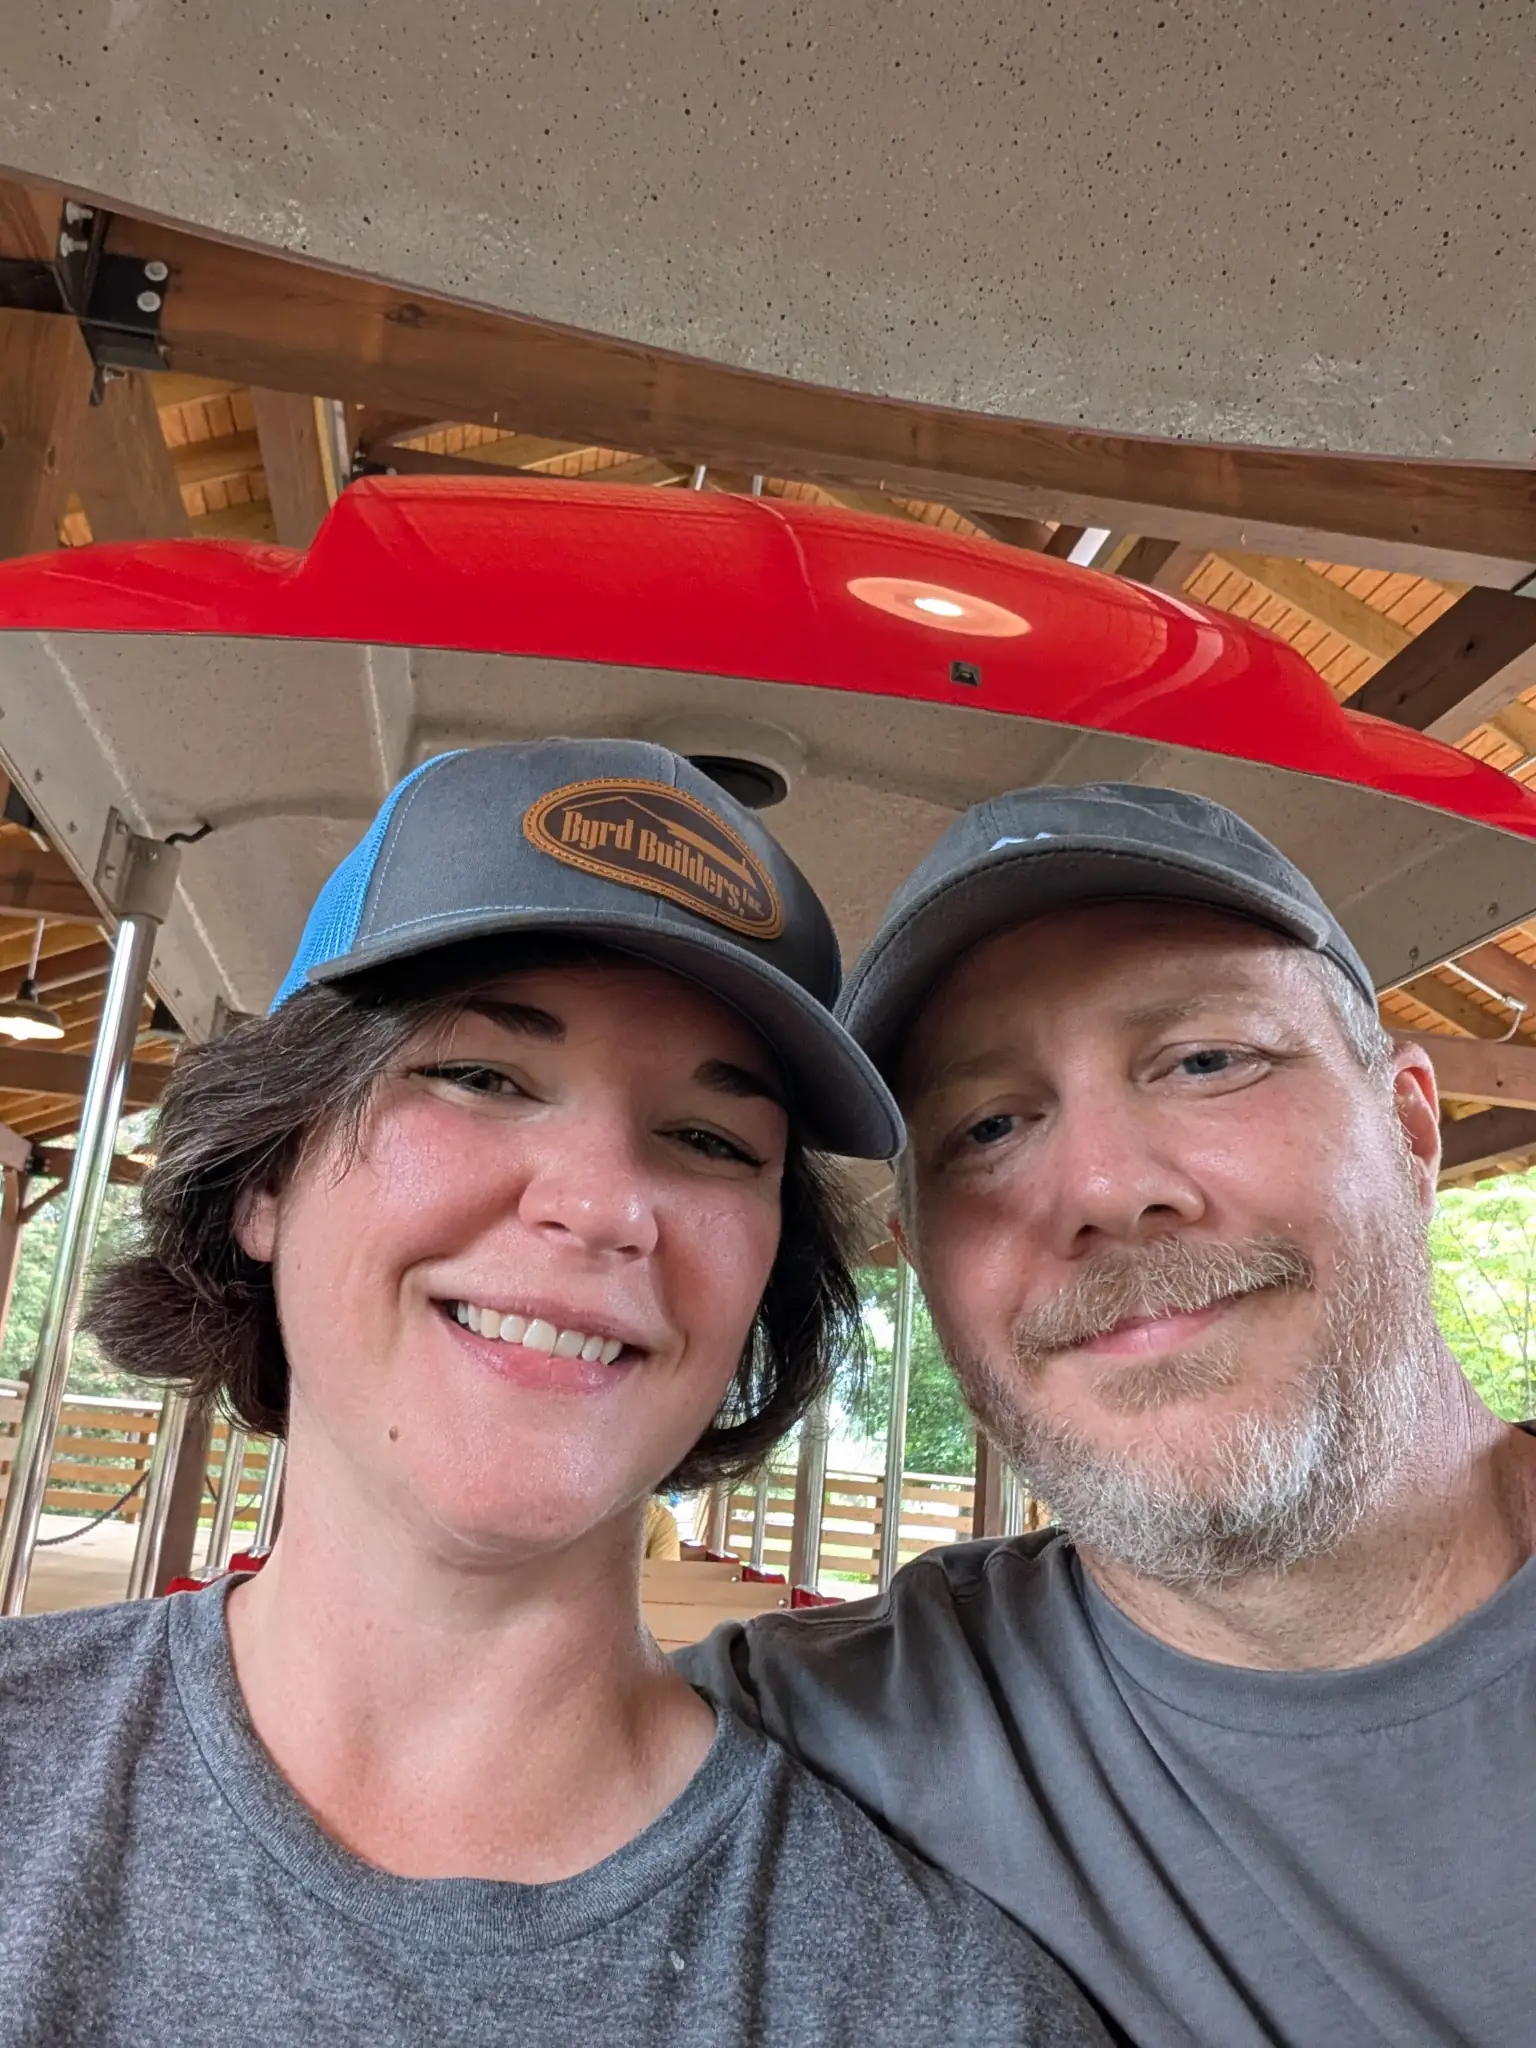
Our First Train Ride -
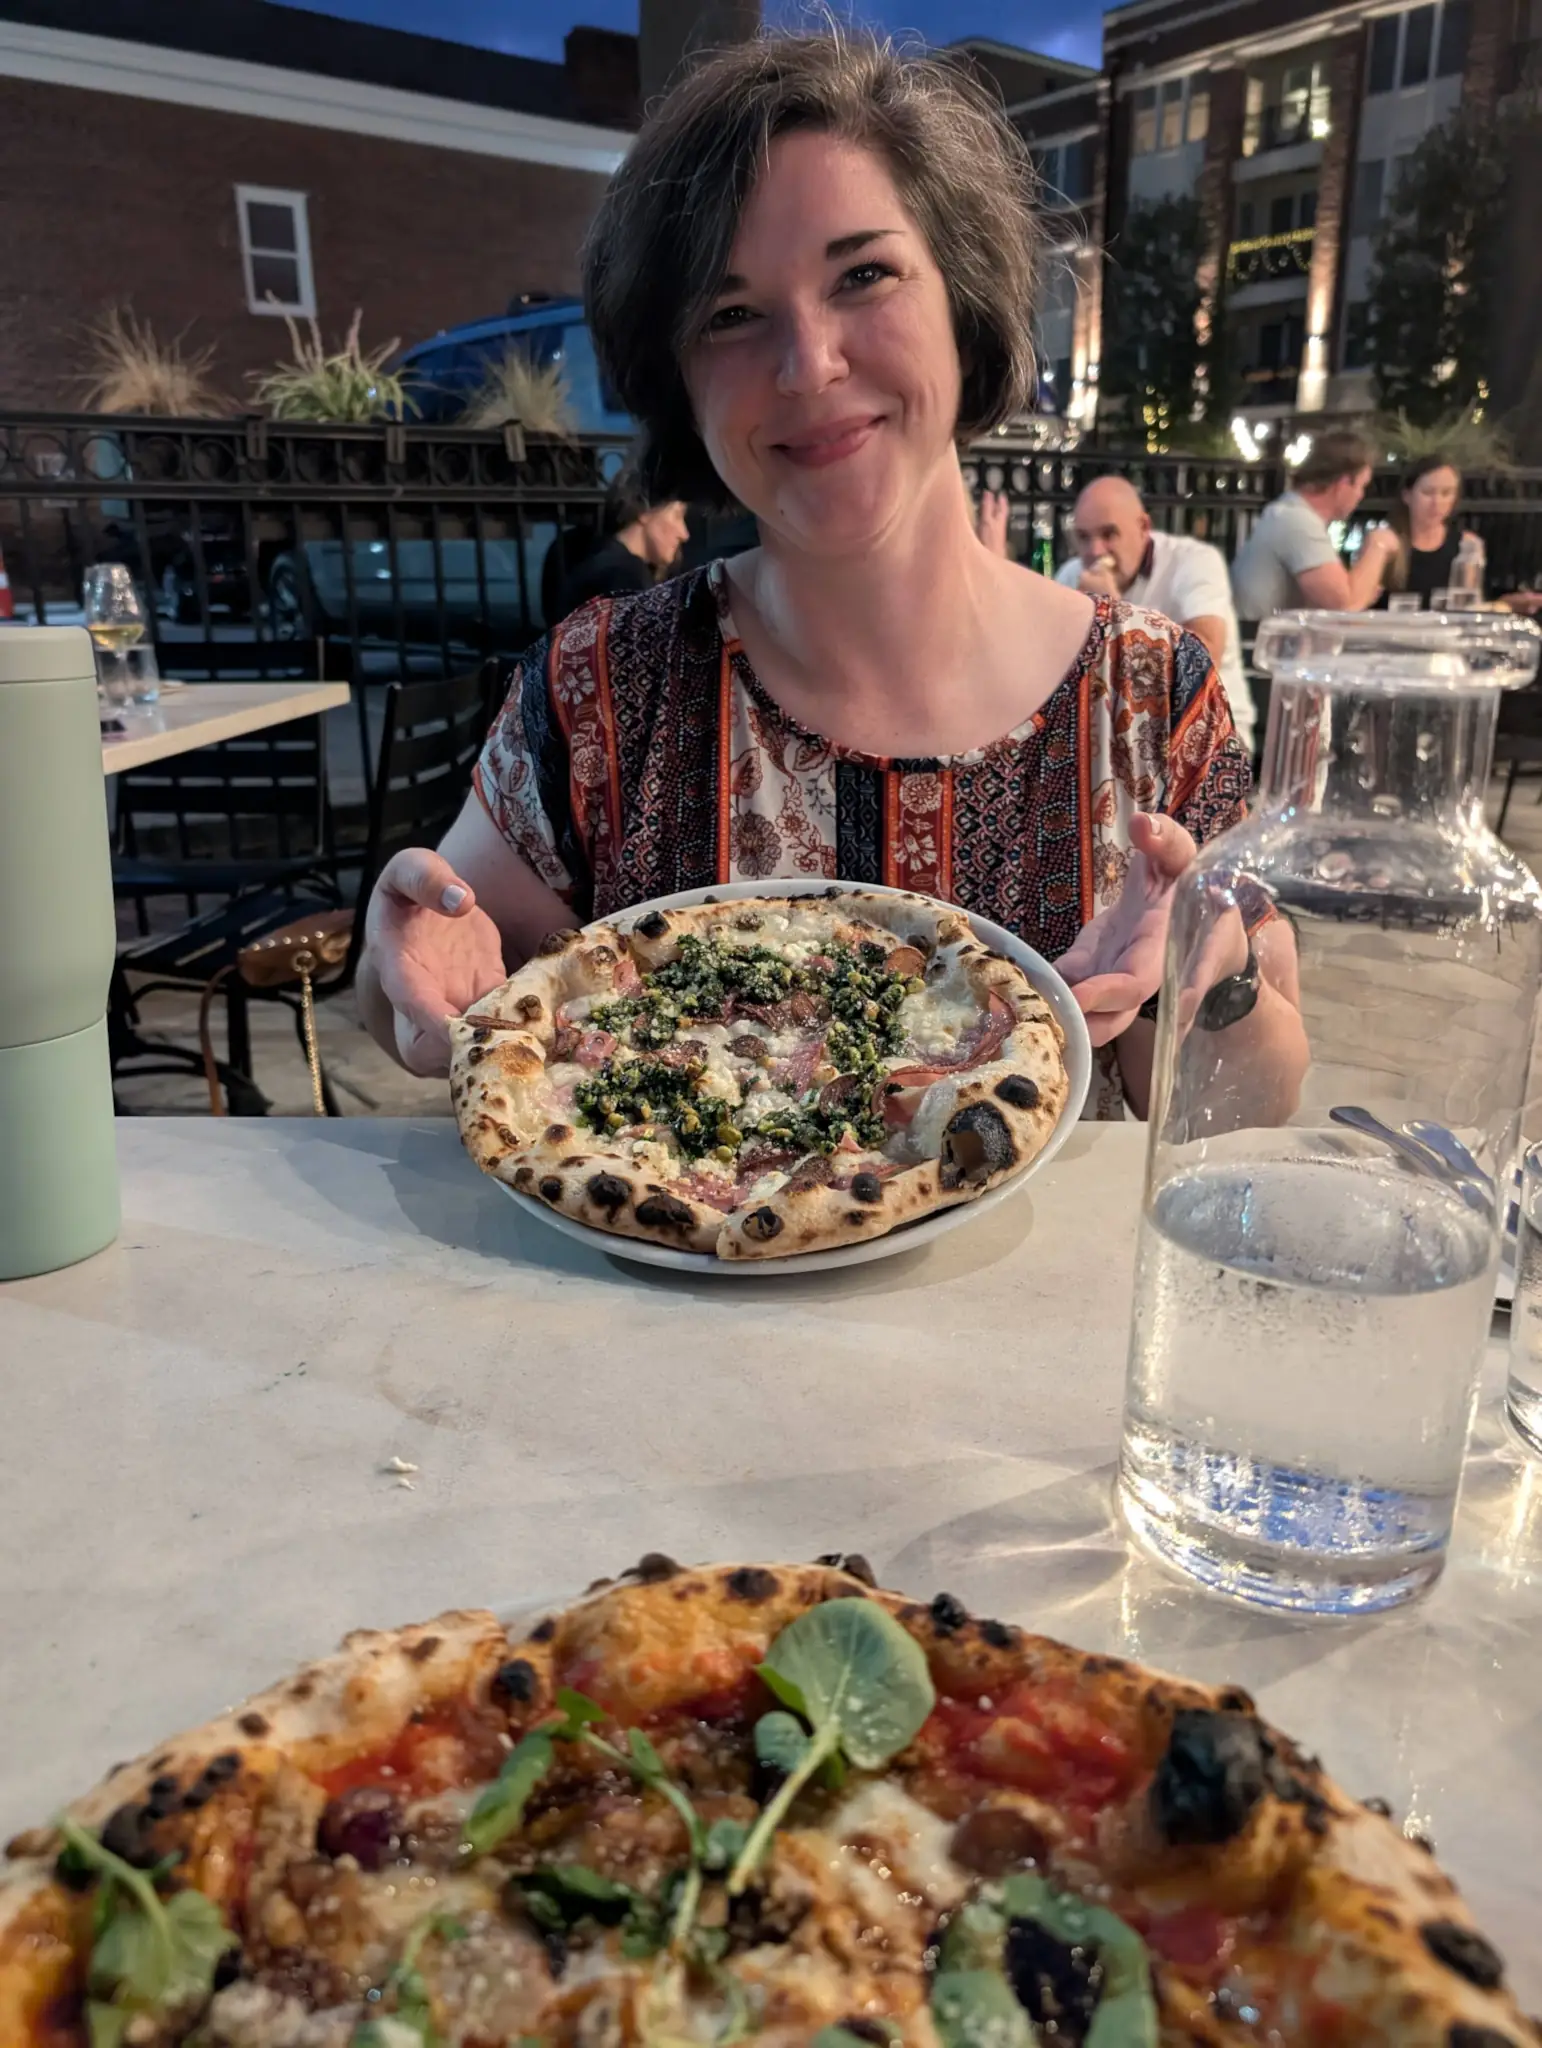
Fine Italian Dining -
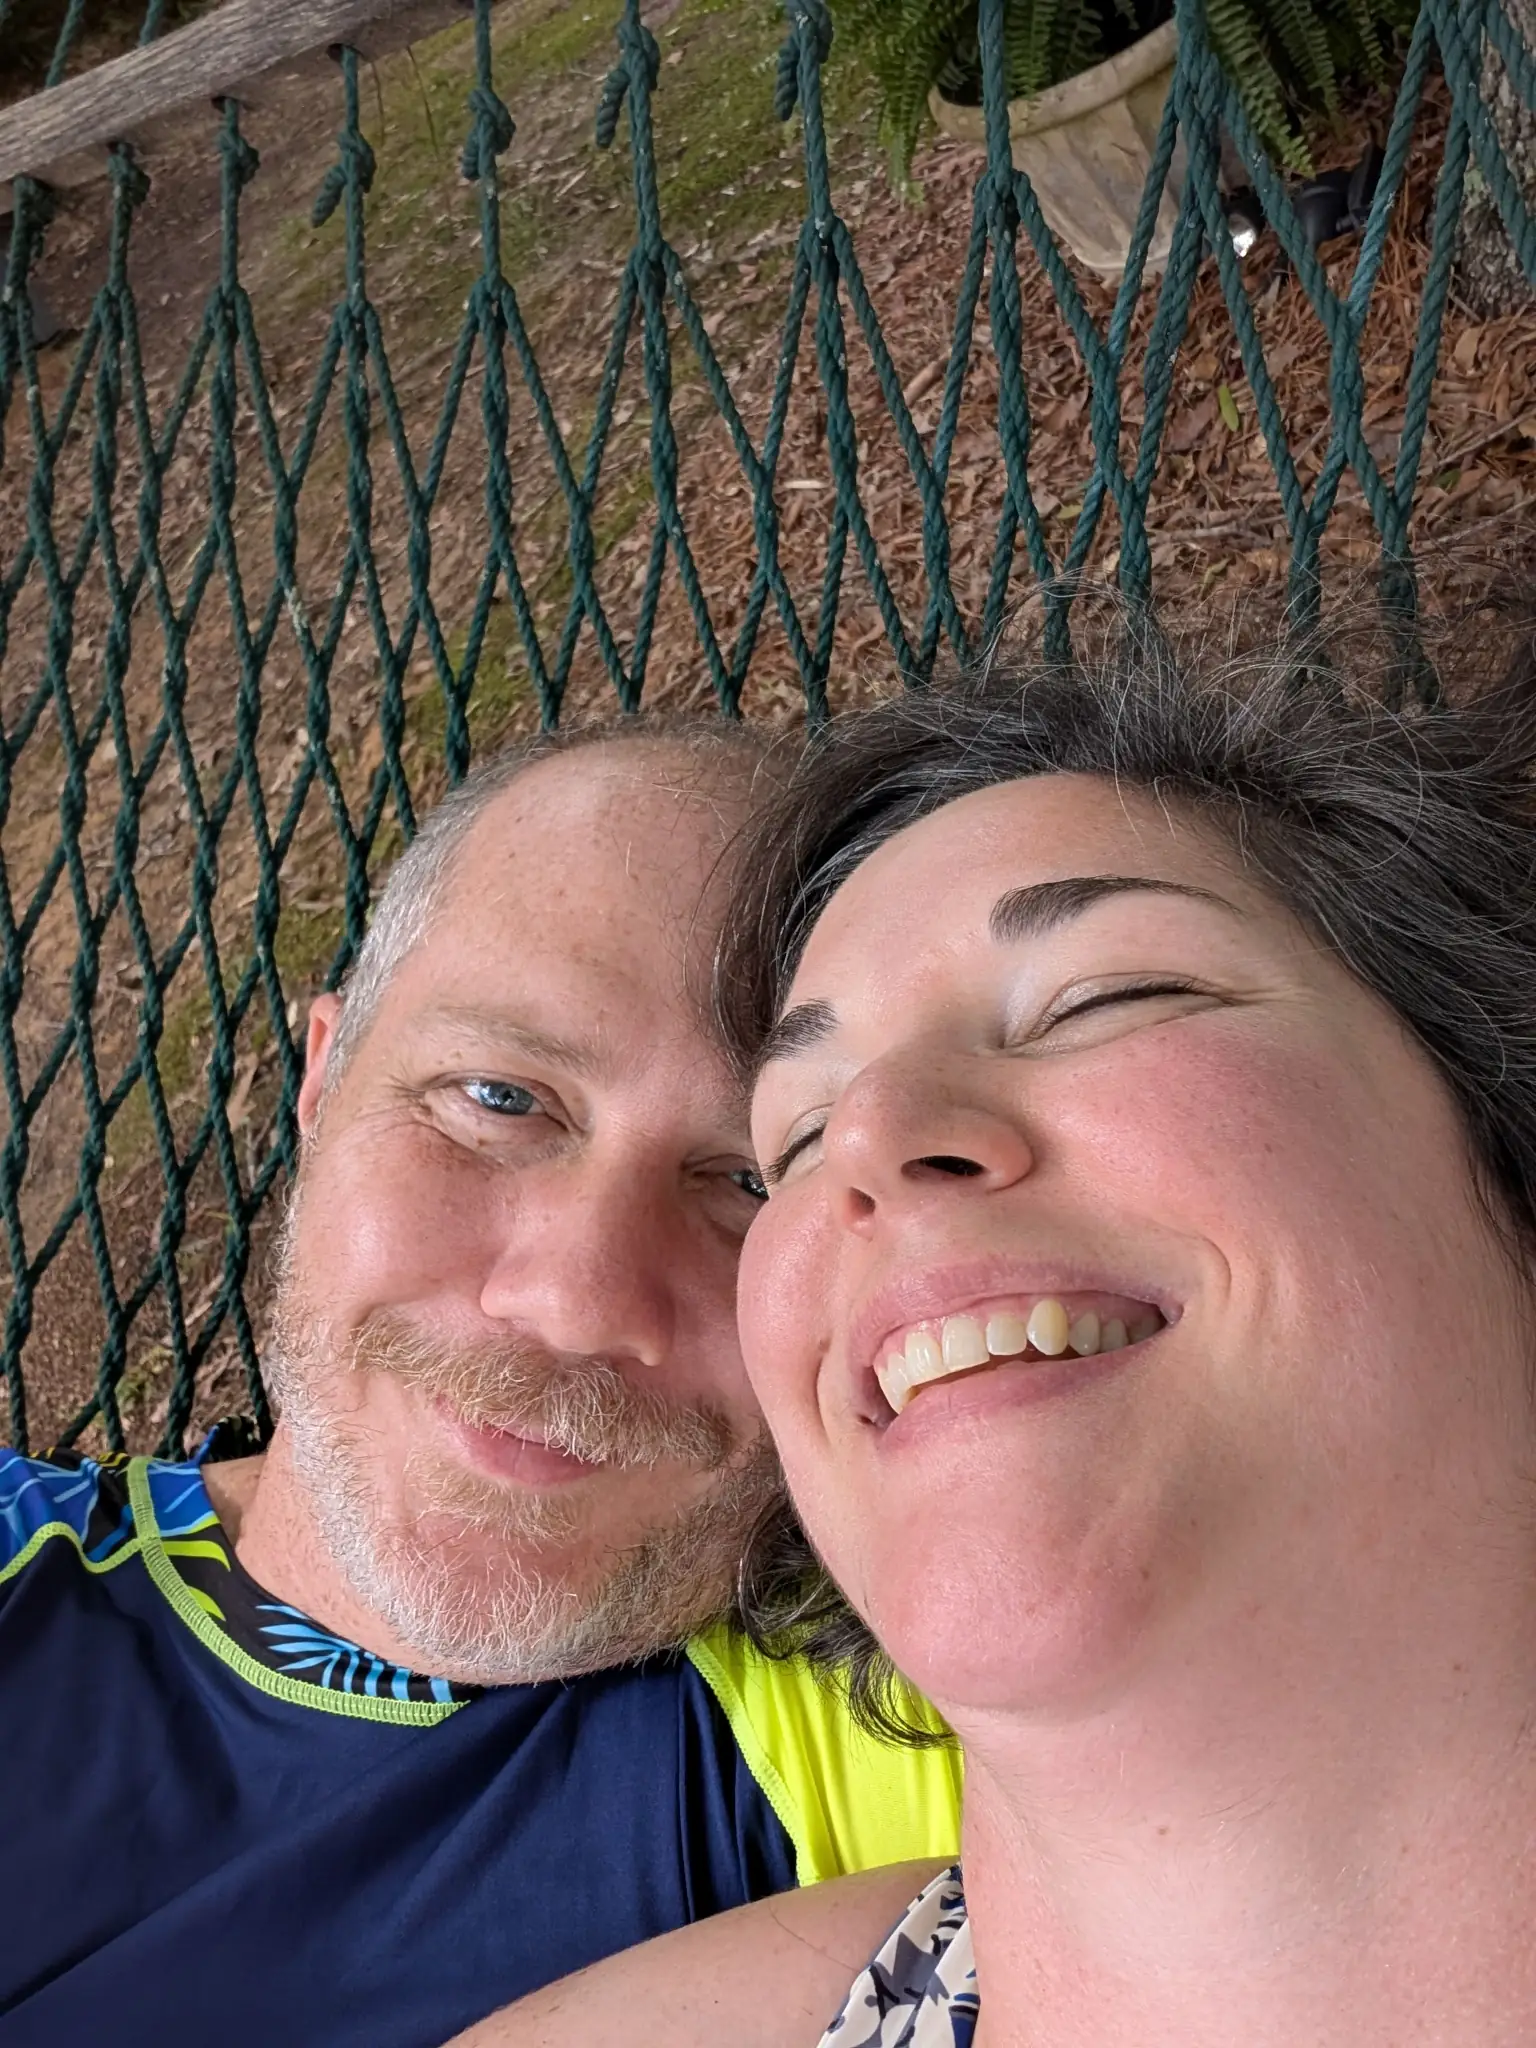
Relaxing in Ashville, Ala. -
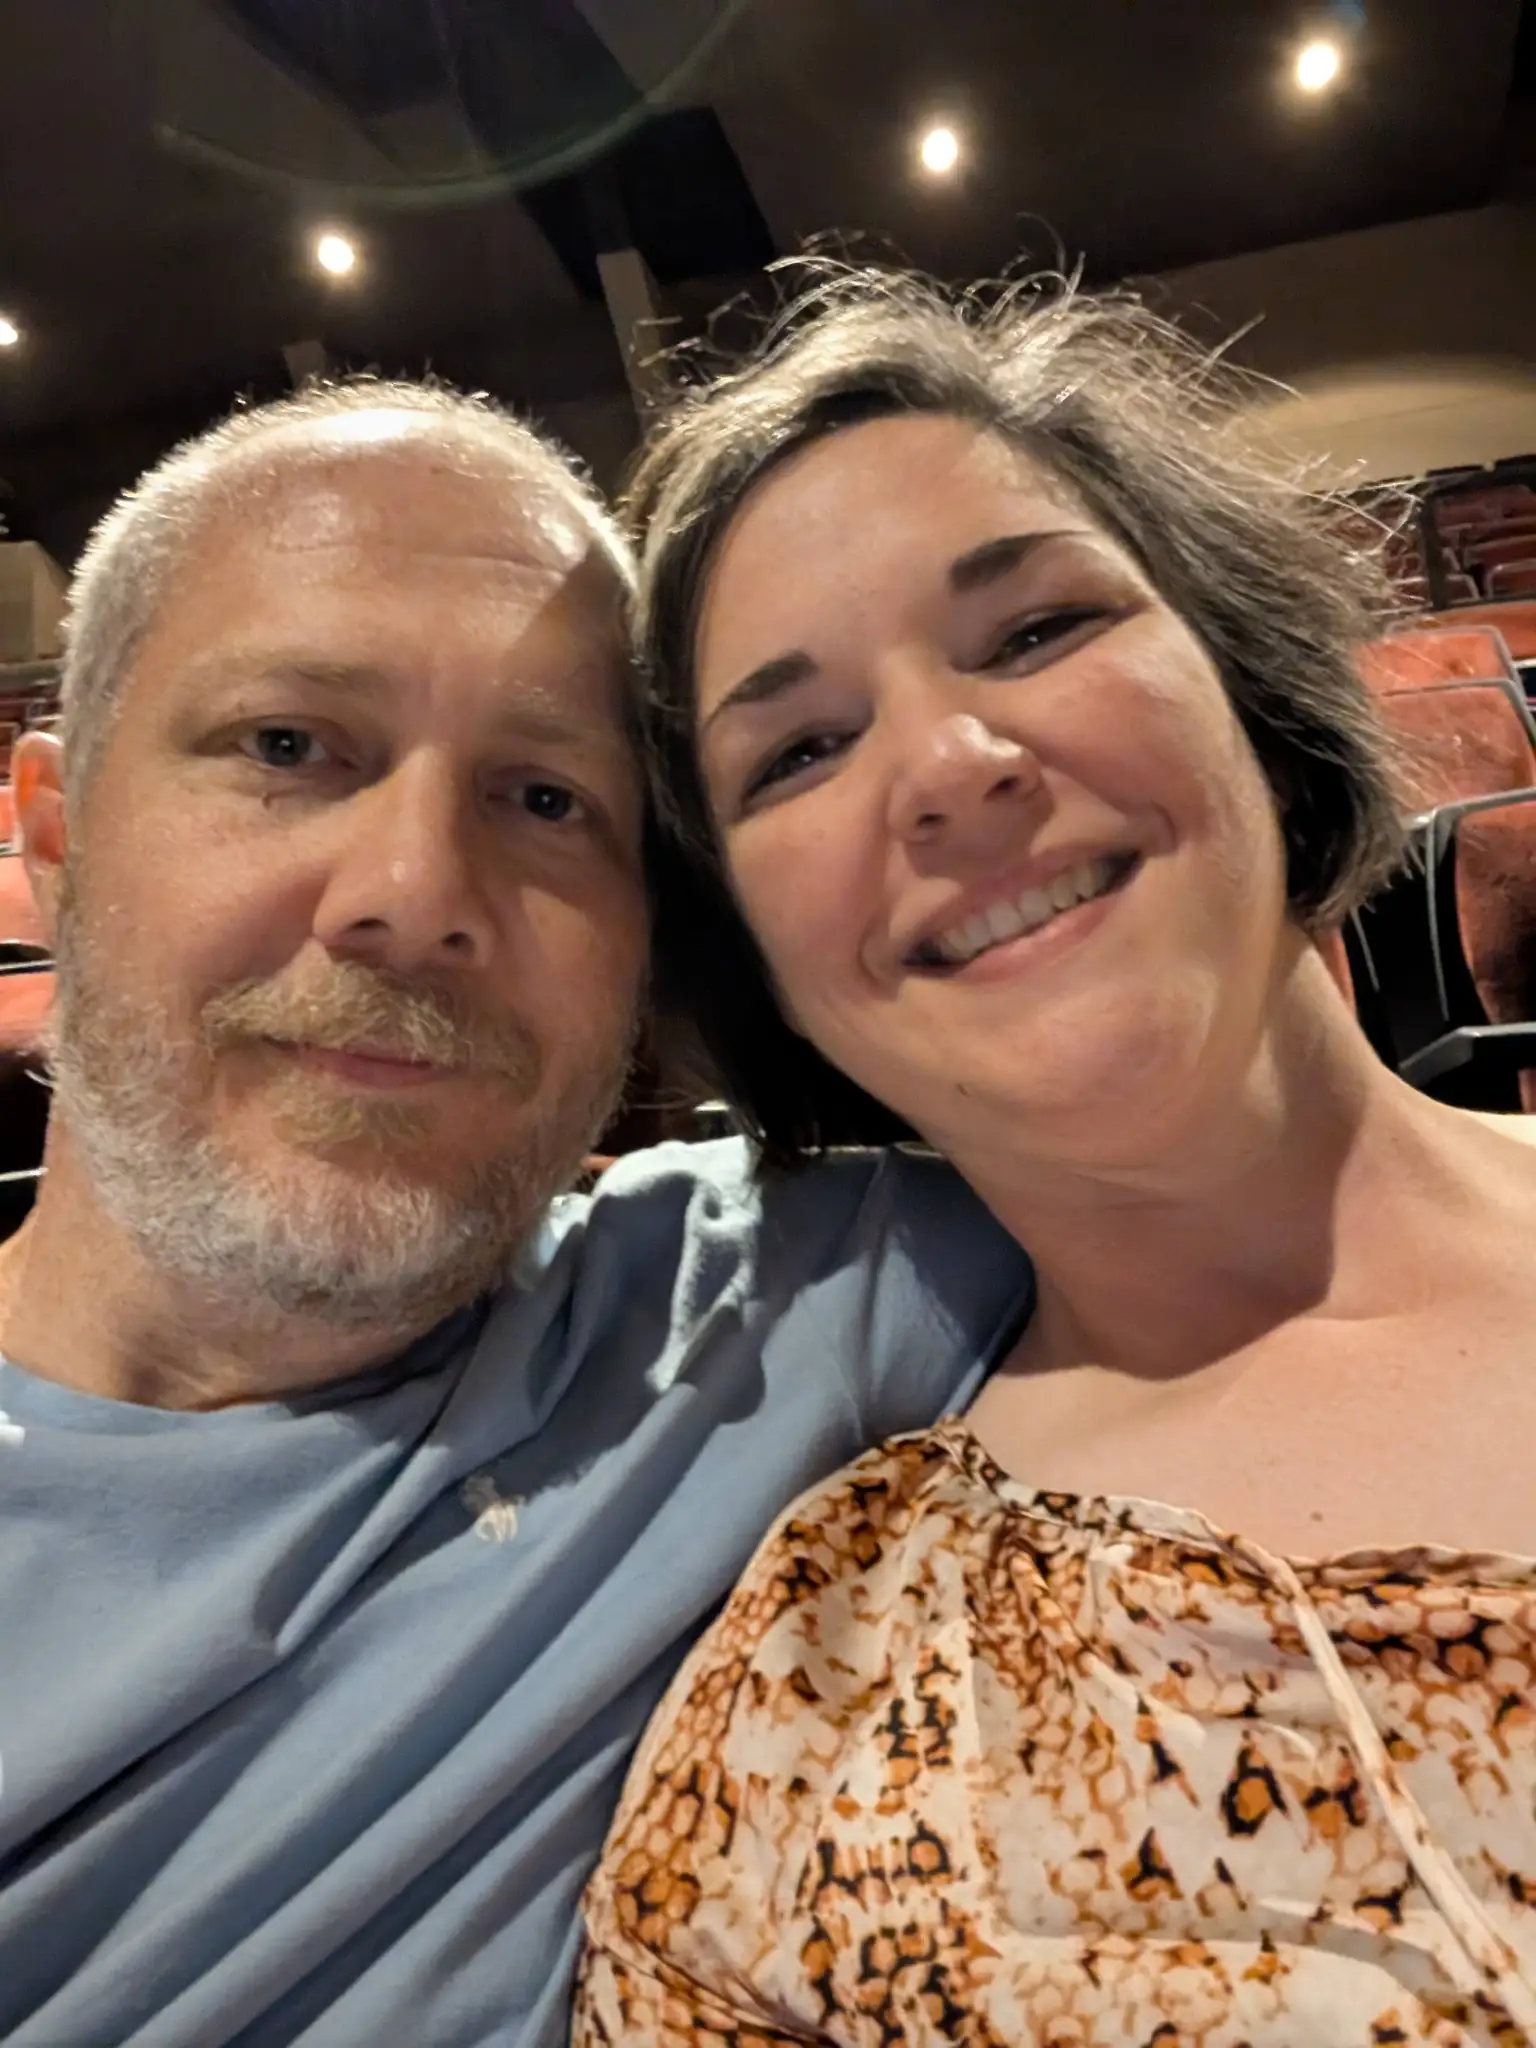
Shakespeare Festival -
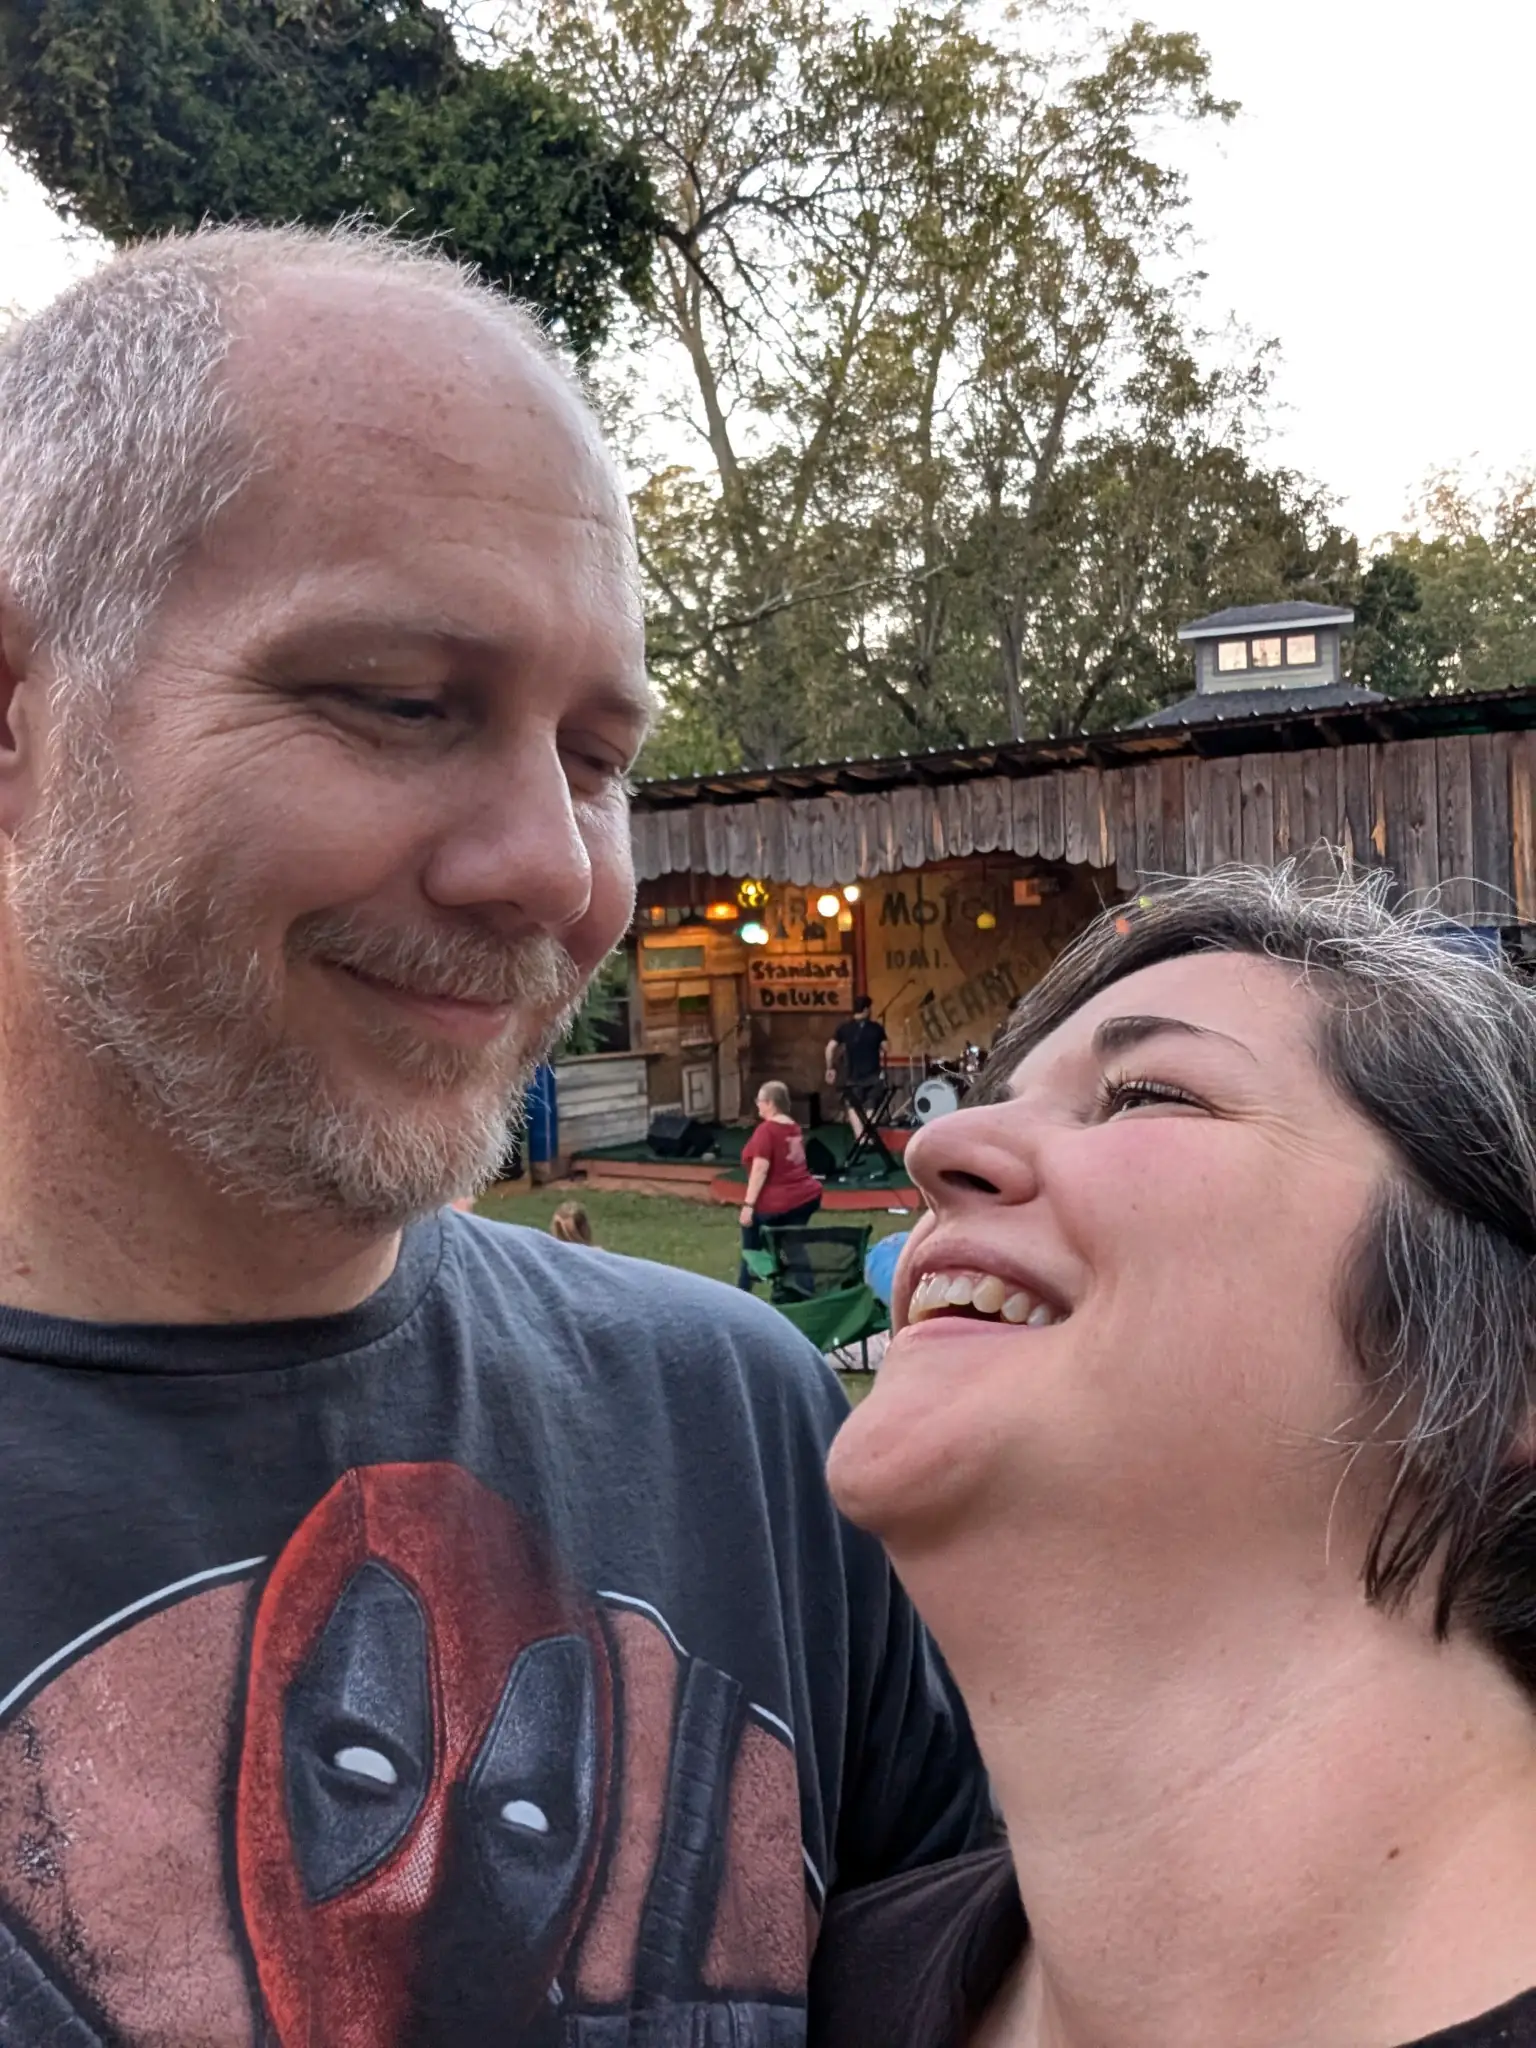
Shinyribs Concert -
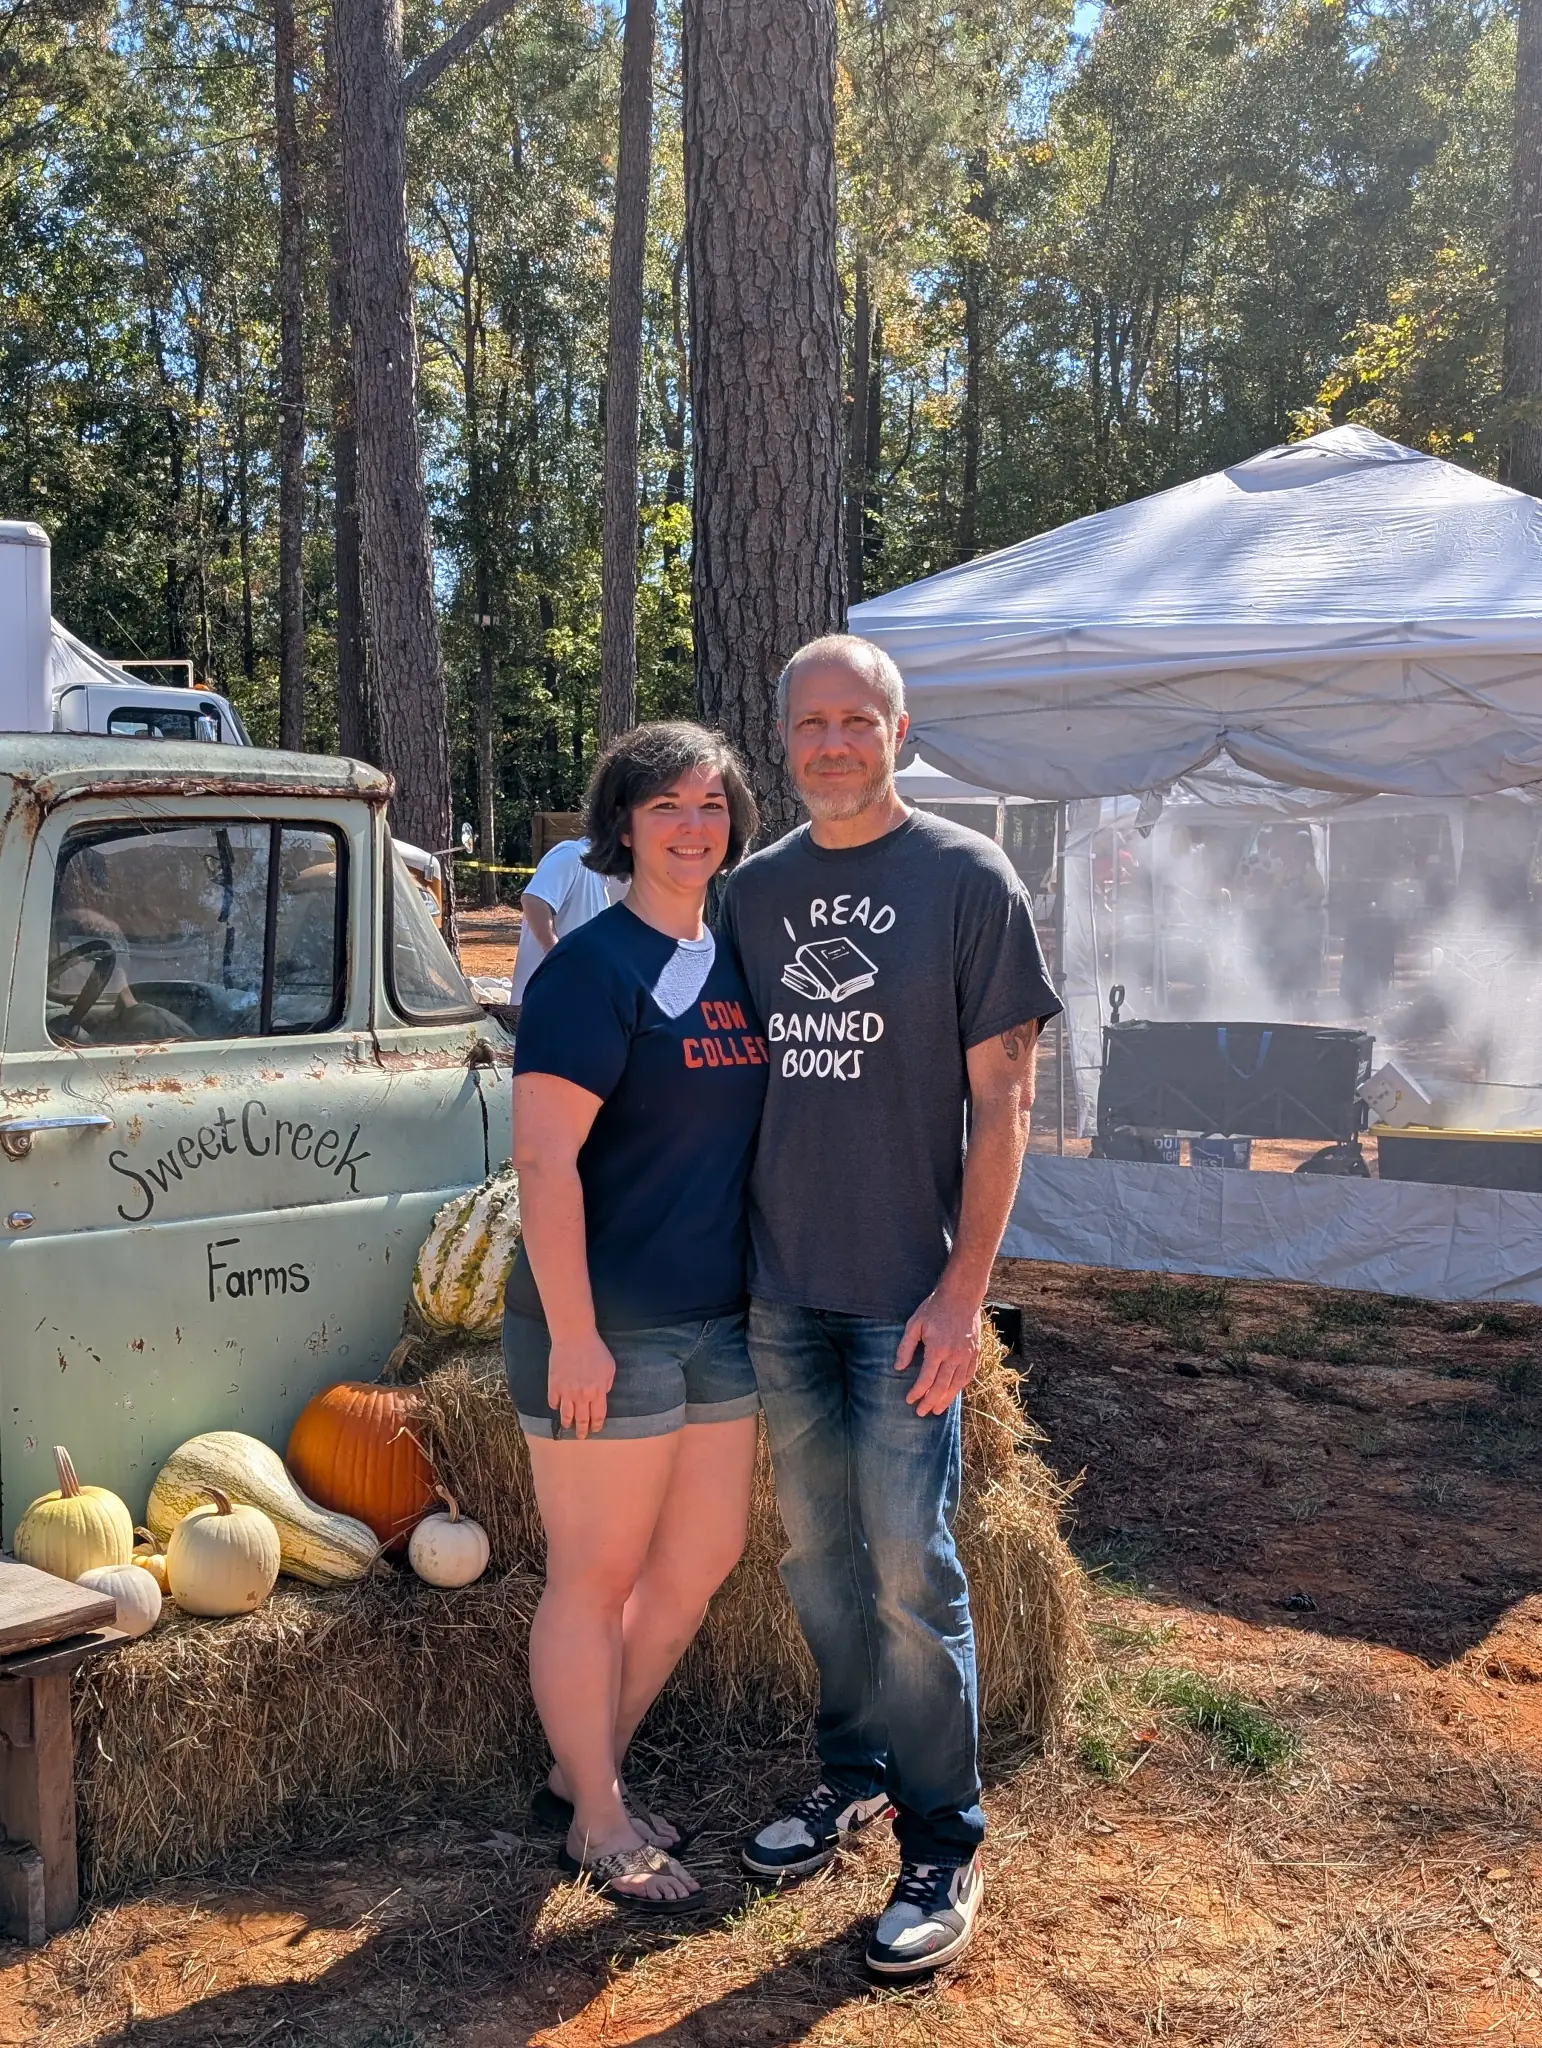
Sweet Creek Fall Festival -
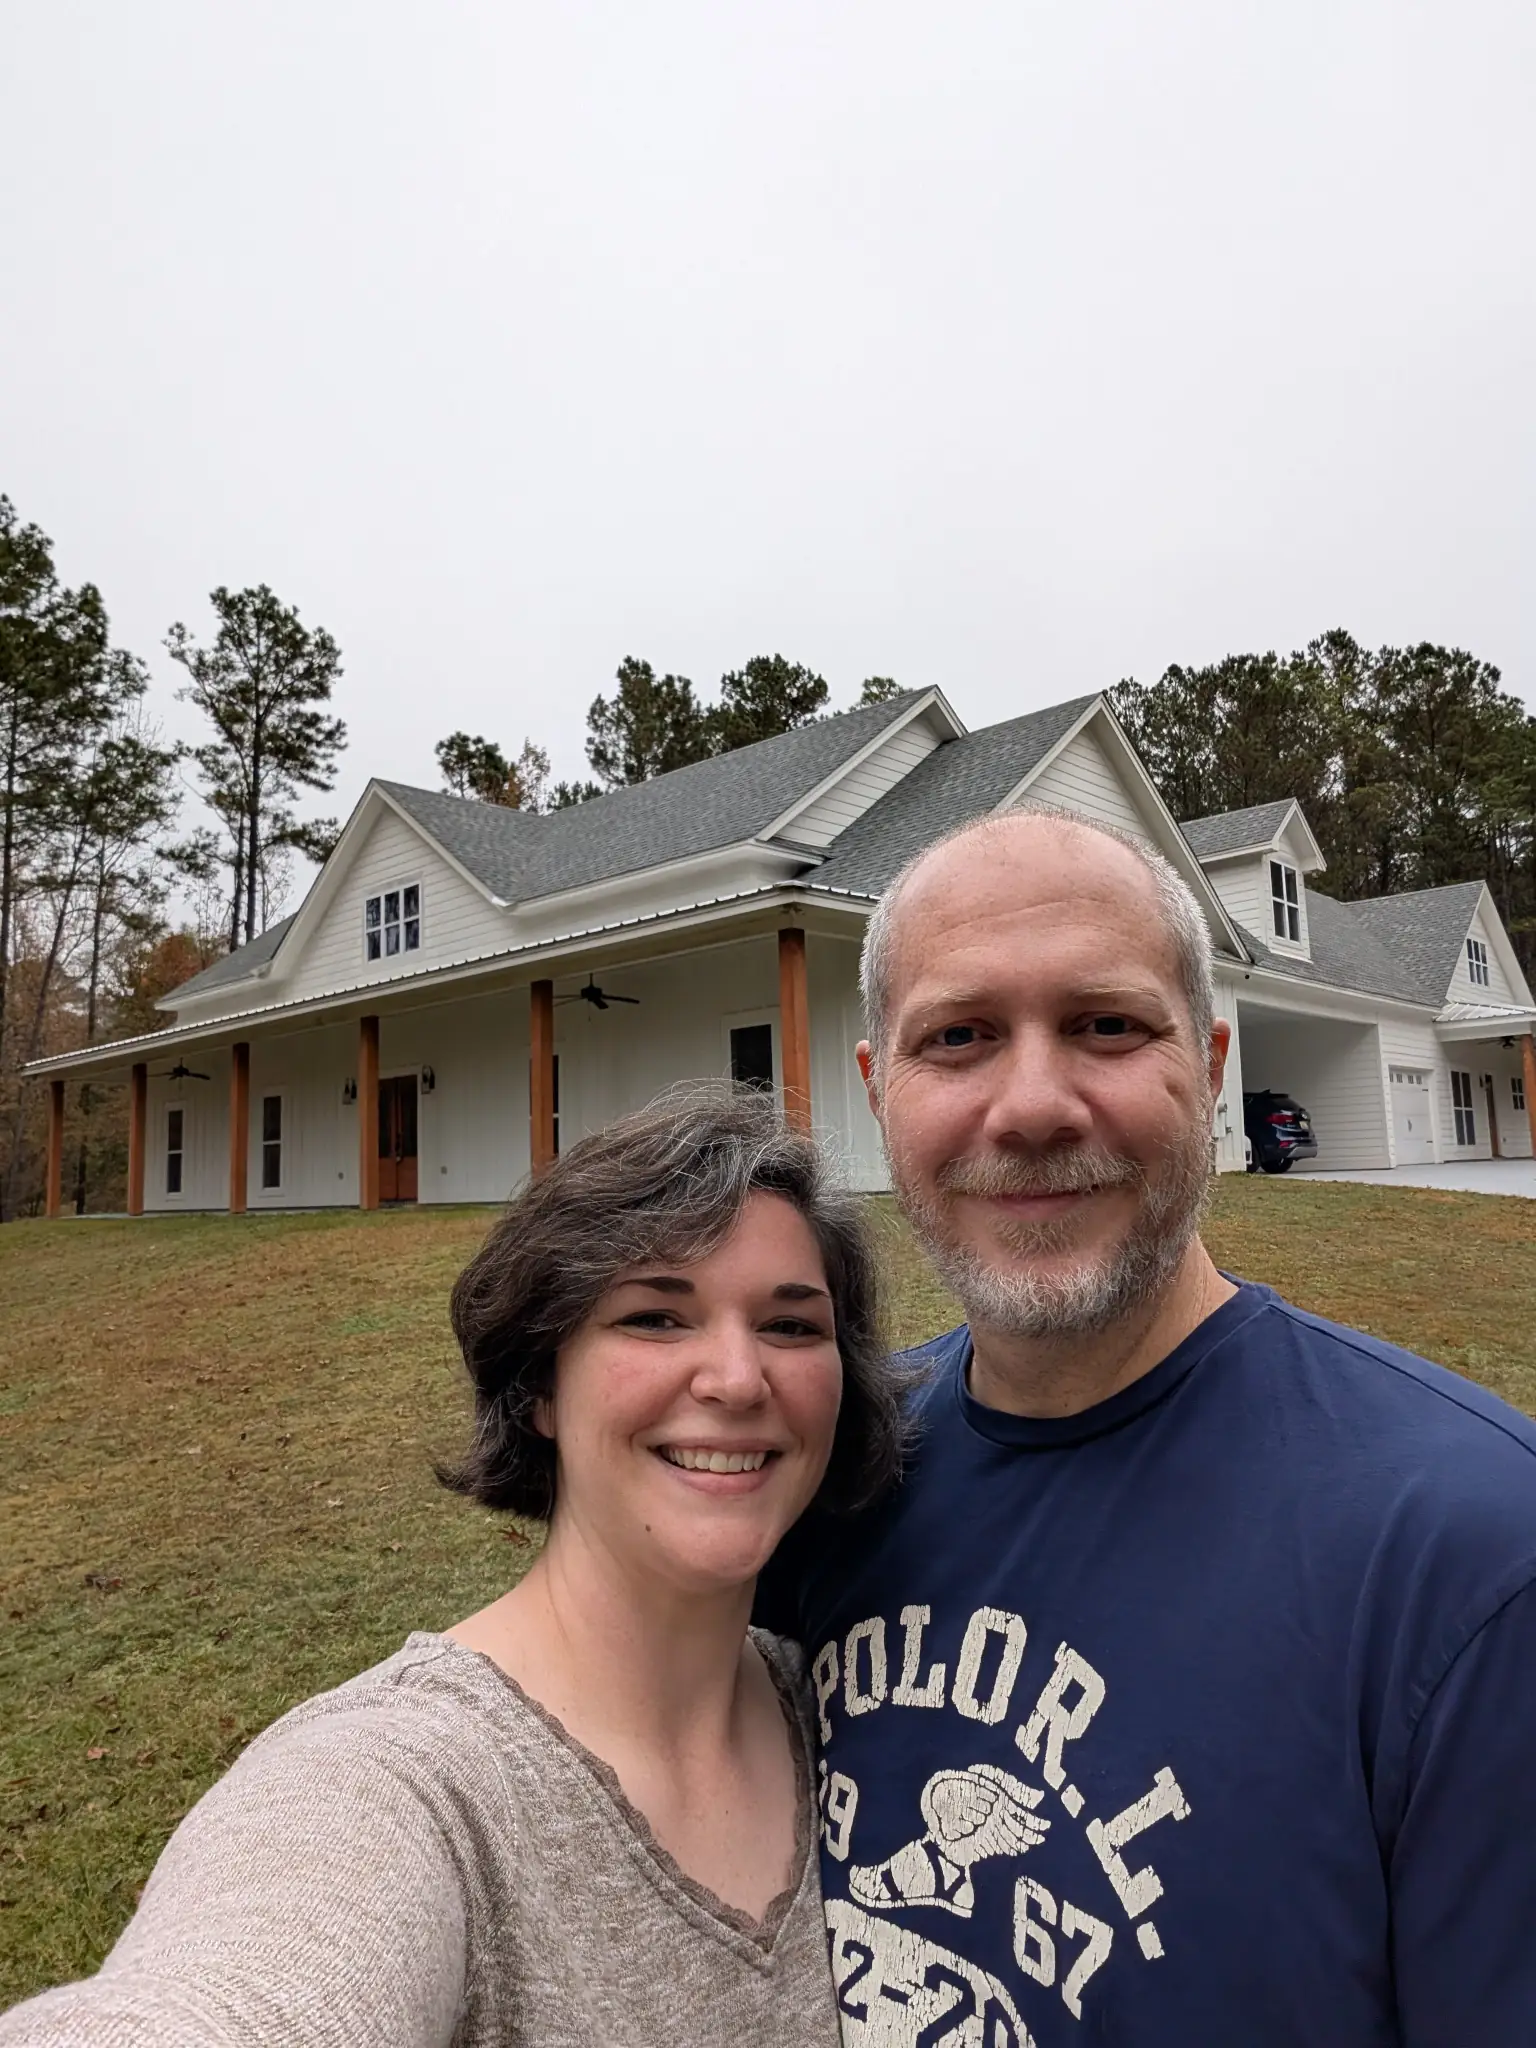
New home -
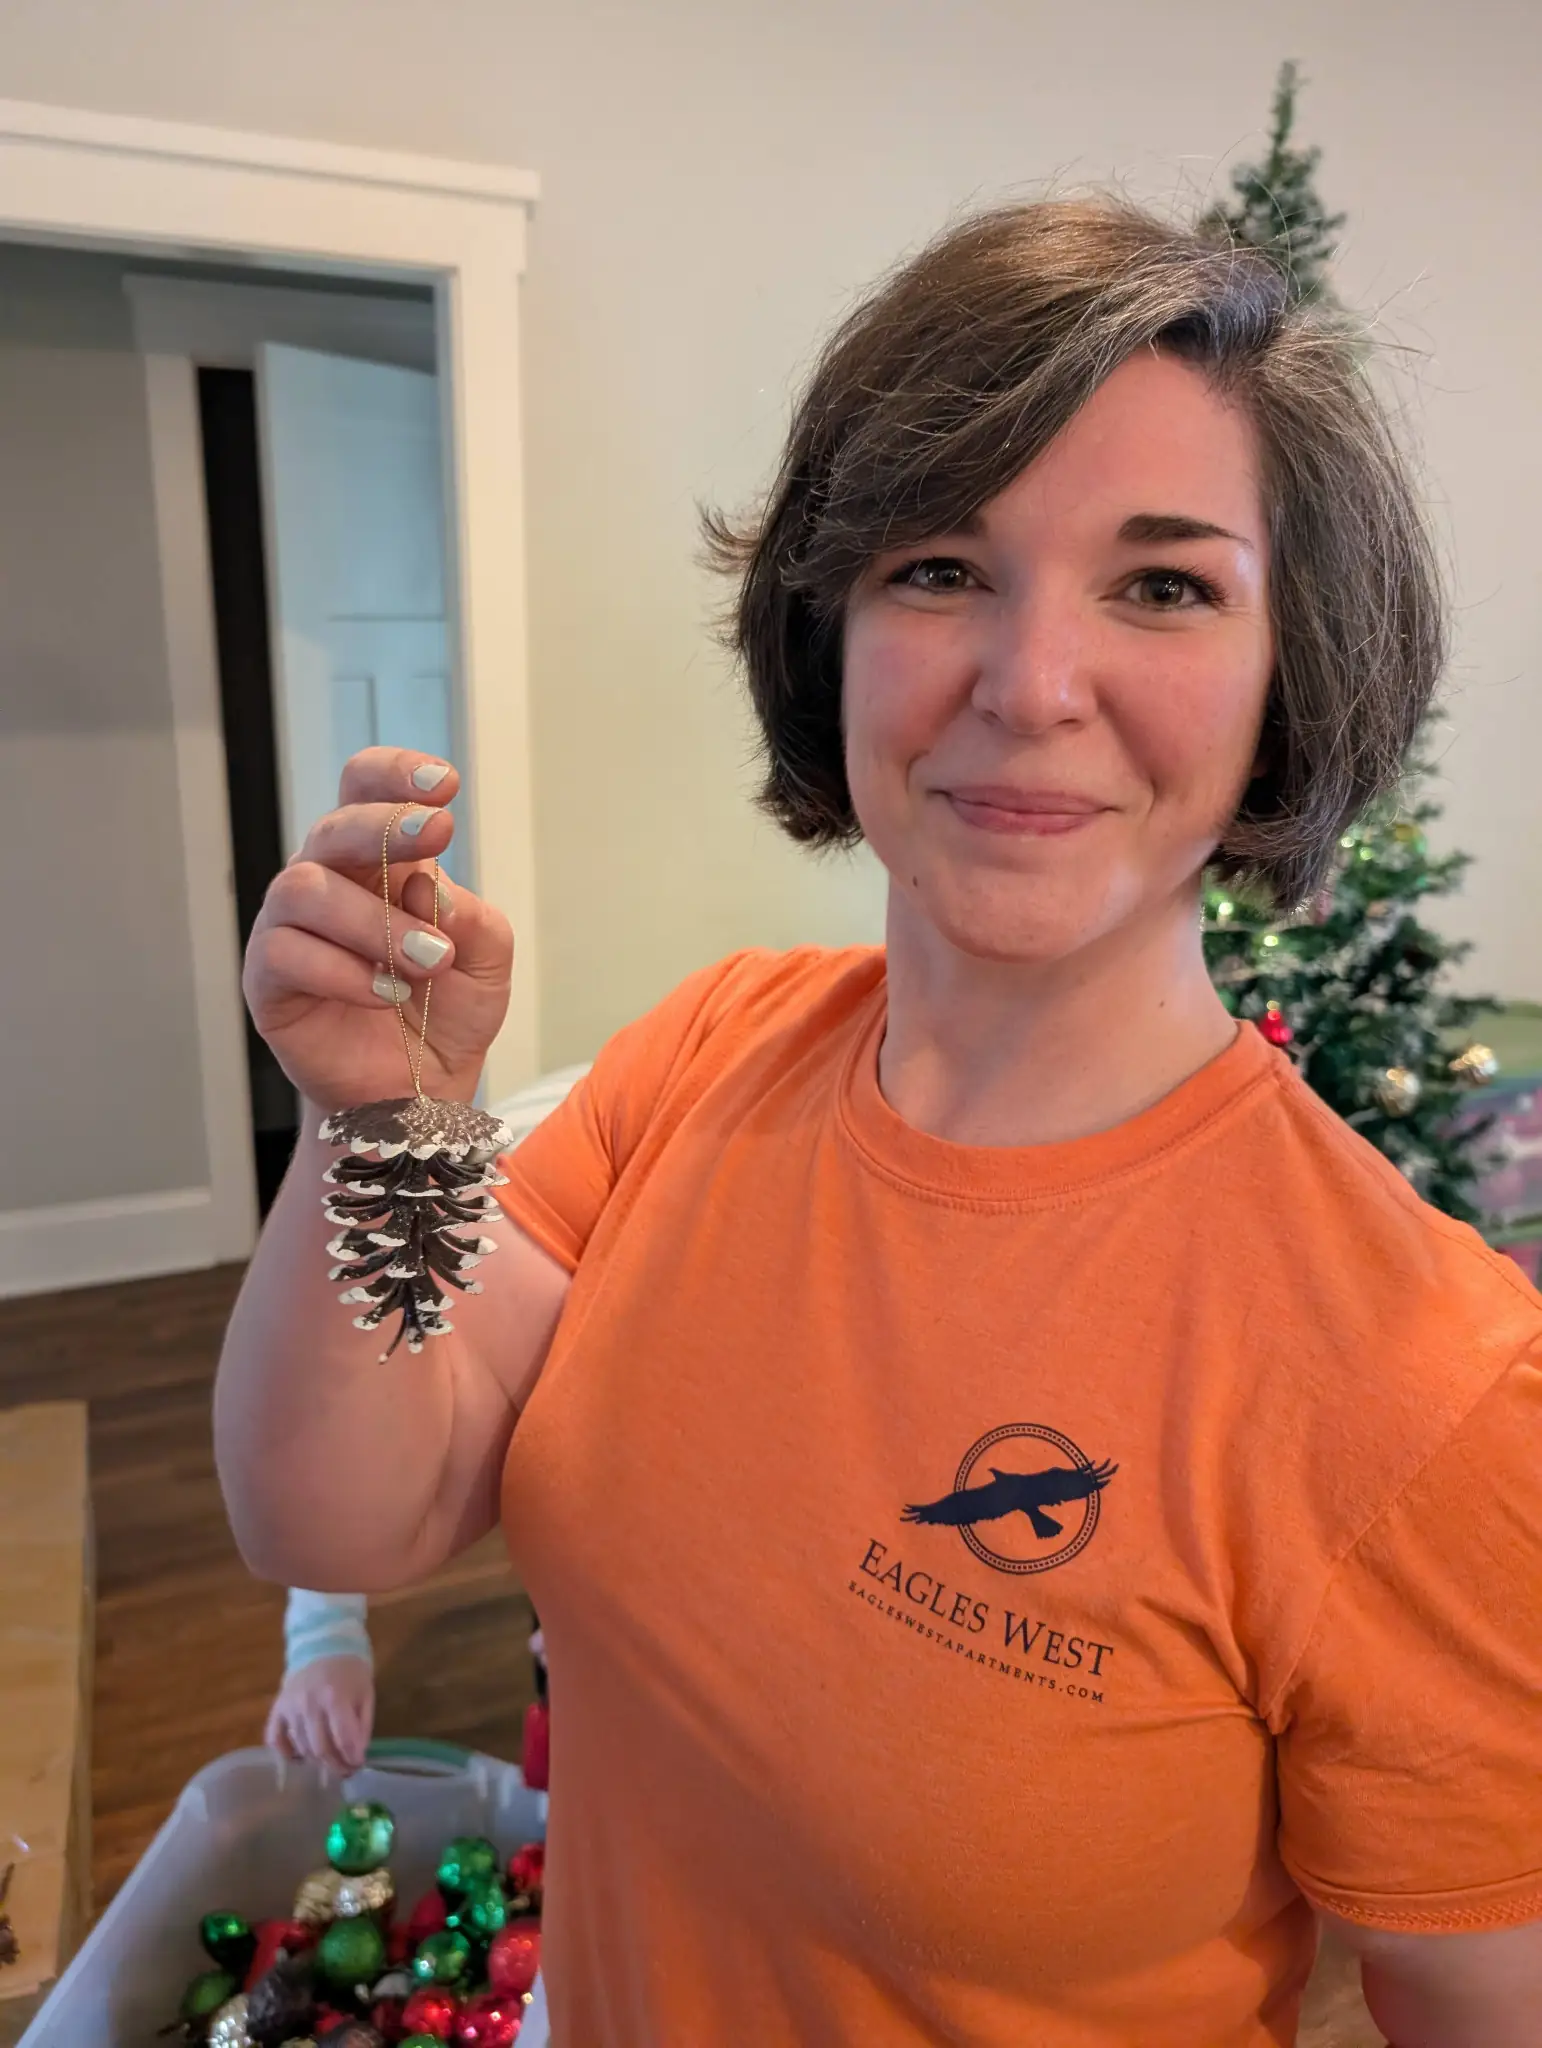
Hanging Ornaments -
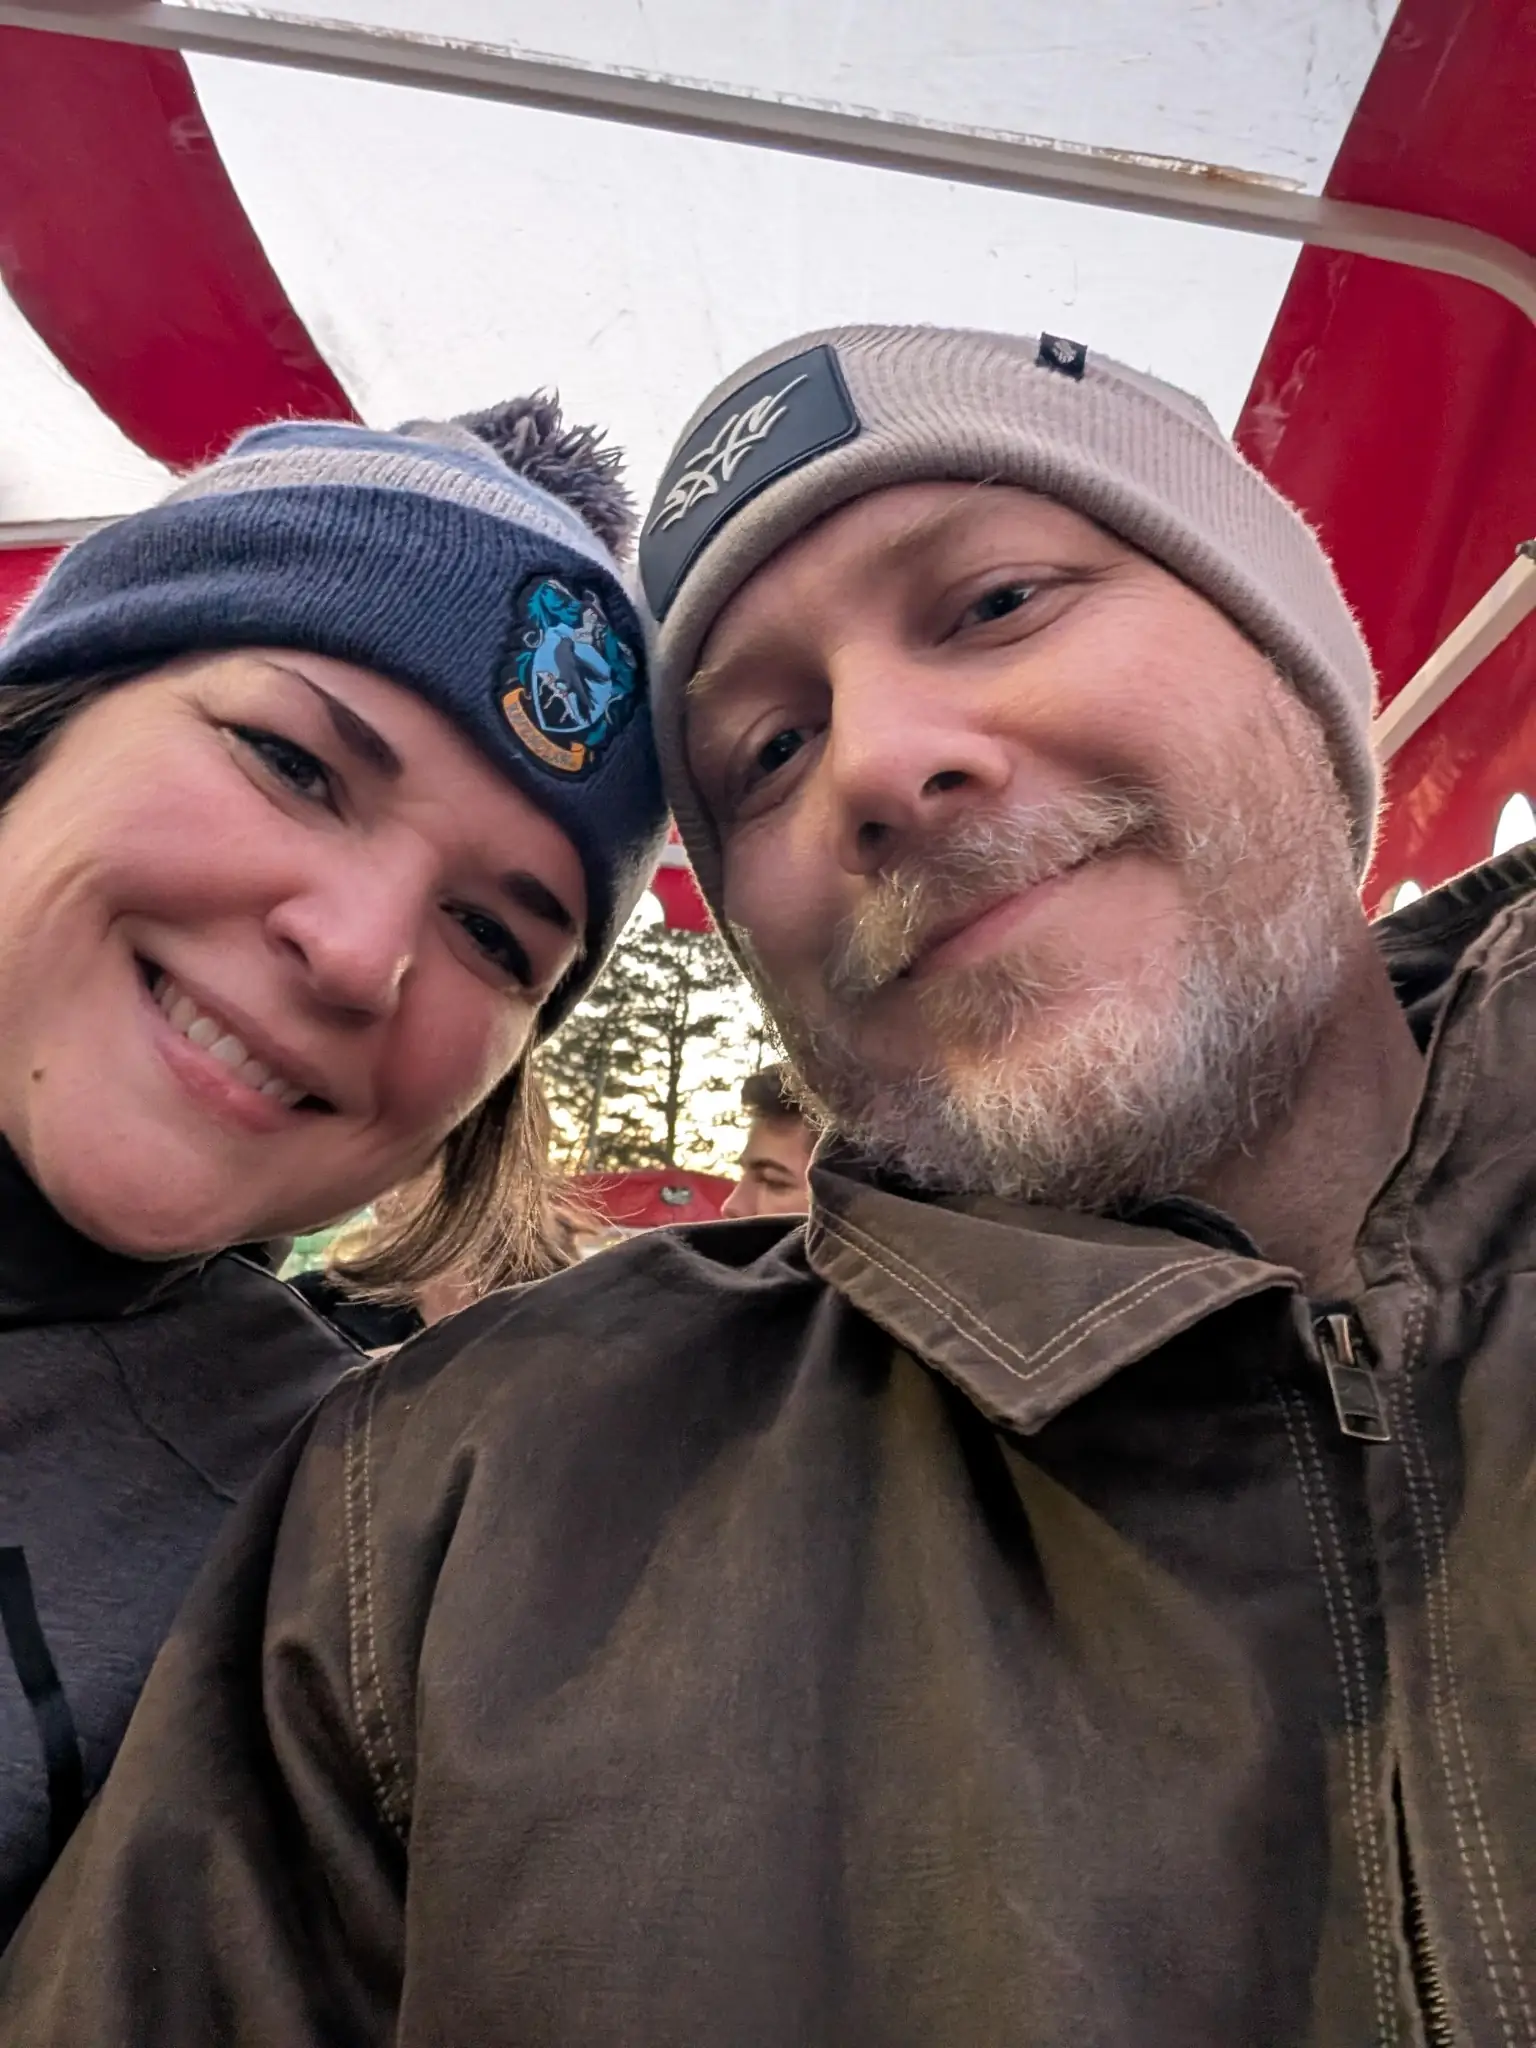
Prattville Christmas Lights -
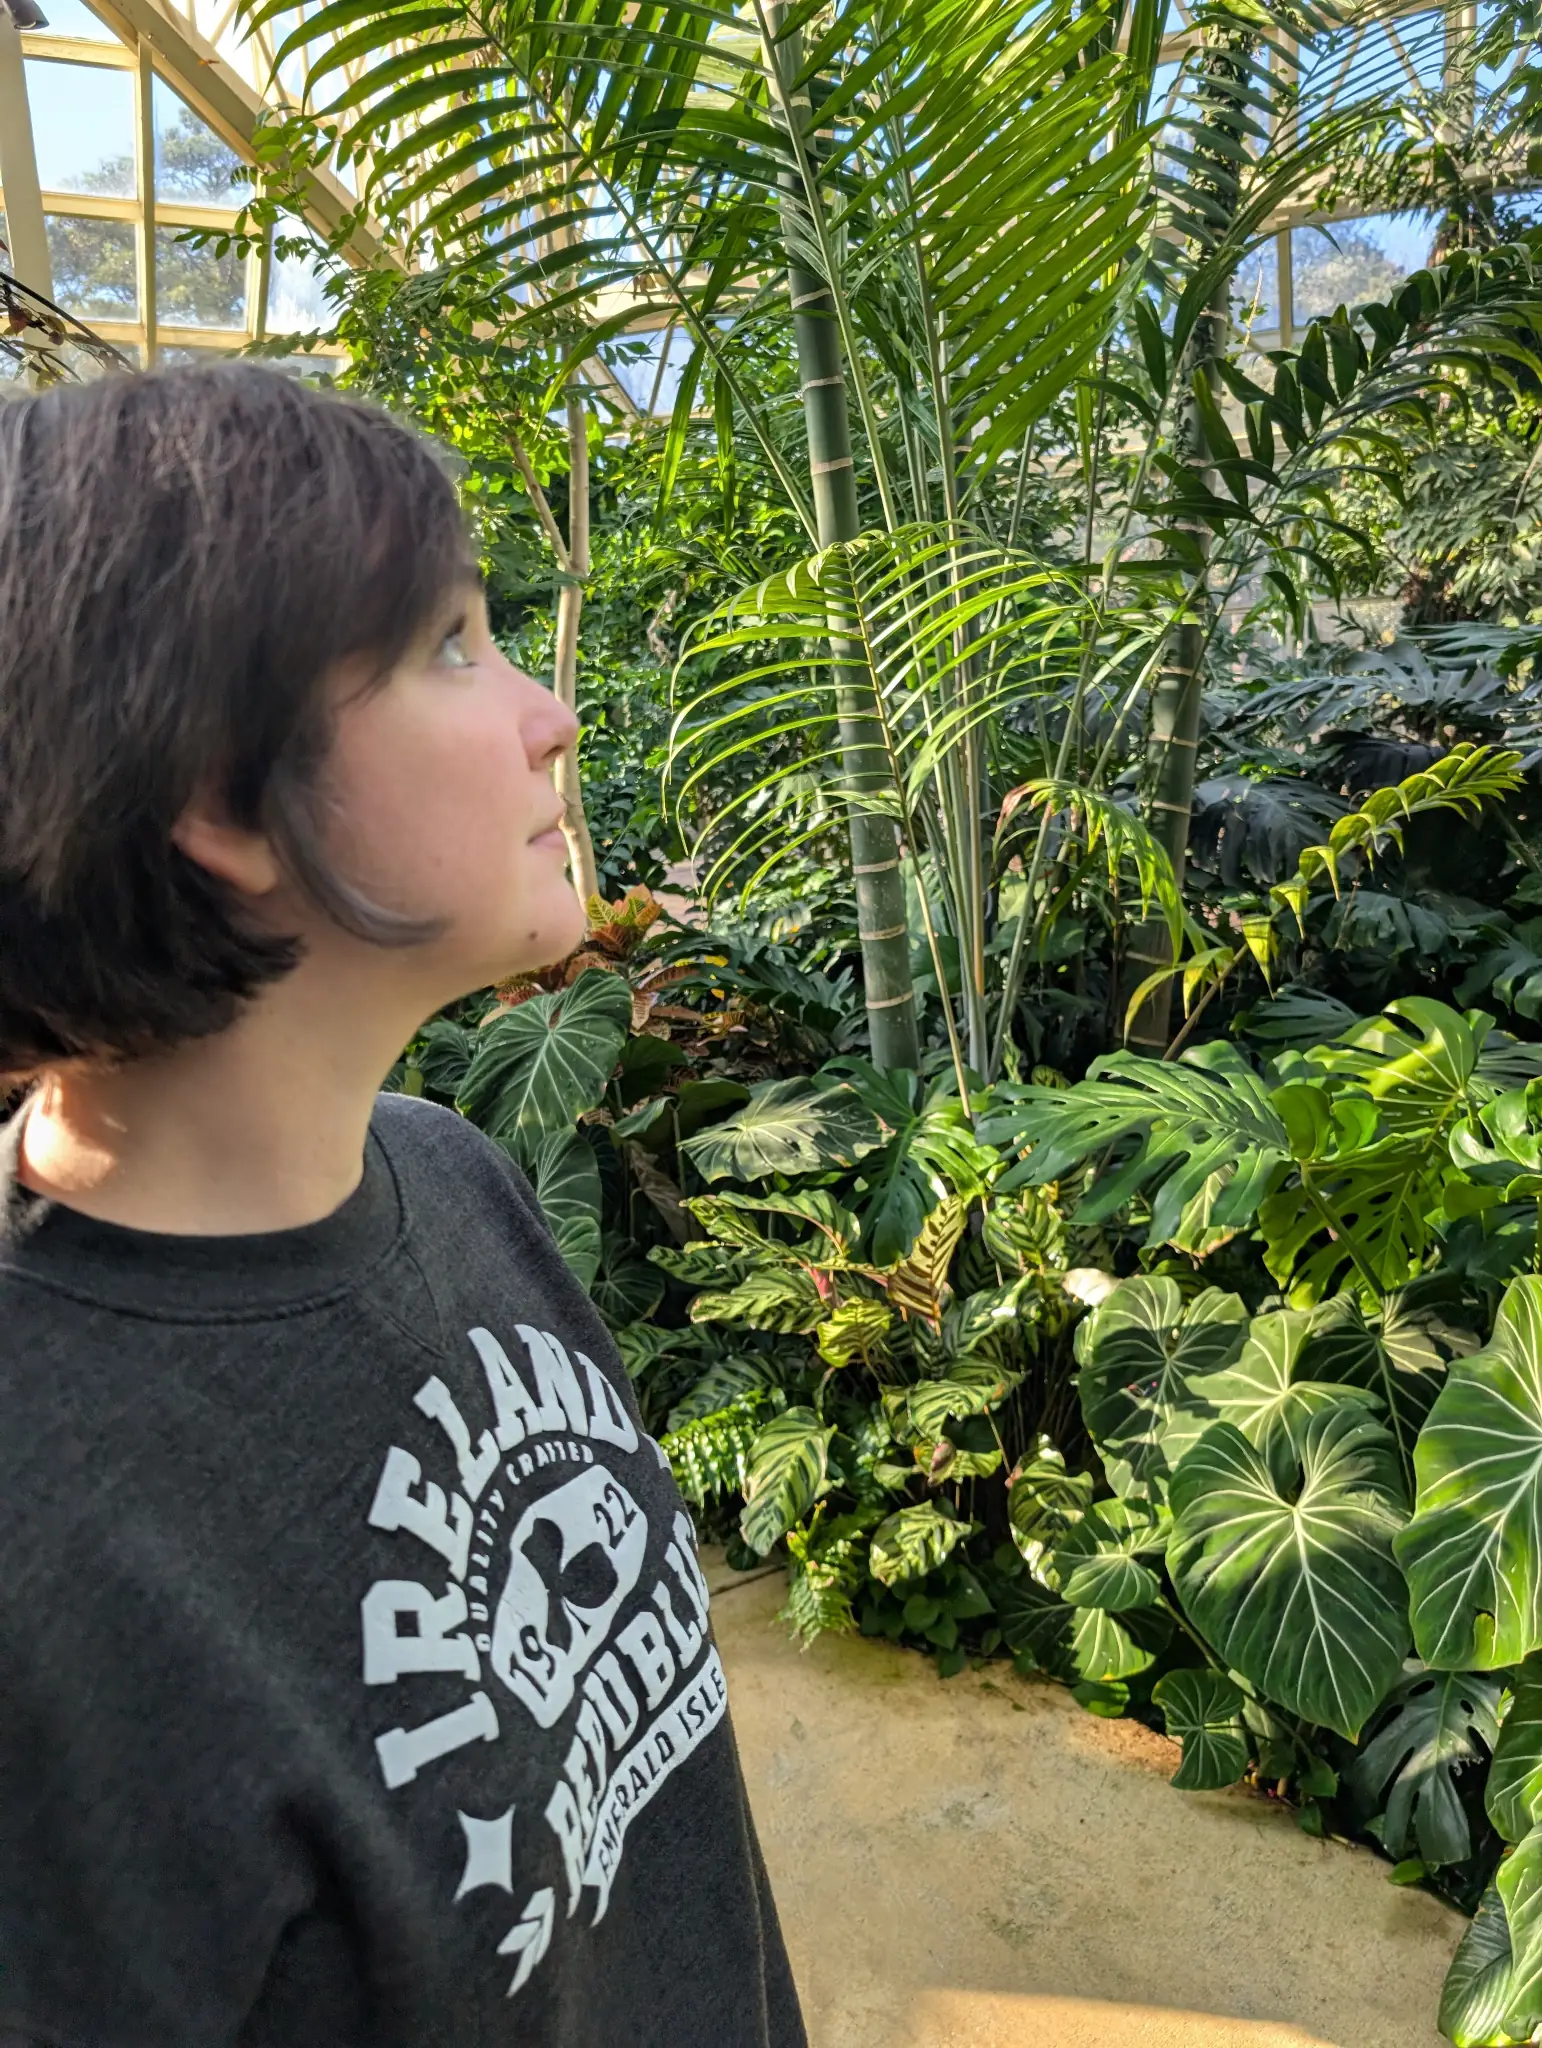
Butterfly Conservatory -
Callaway Gardens Trolley
Health and Fitness
I set out to accomplish several health and fitness goals for the year. Here’s how I fared:
- ❌ Weight Loss: I had a goal of cutting to 185 lbs. I’ve kept a maintenance weight between 200 and 205. Honestly, I didn’t focus heavily on this goal. Rather, I kept trying to live a healthy lifestyle.
- ✅ Vitals: My last blood pressure reading was 128/74 and my A1C was 5.2. My goal was to keep my numbers in check, and I’ve managed to accomplish this. All other health markers have been in range as well.
- 🤷 Daily Walks: For most of the year, I kept up pretty consistent walking, but I’ve also slacked off in the last few months as I’ve had other responsibilities.
- 🤷 Exercise Routine: I’ve made progress but haven’t 100% stuck with anything at this point. But I’ve mostly kept up with some form of exercise. I just haven’t nailed down a routine for myself.
- 🤷 Eat More Veggies: I don’t think I’ve increased these numbers on the whole (nor decreased them). But I could’ve made more of an effort.
- 🤷 Body Positivity: I’d still like to feel better about my physical shape. I have days when I do and days when I don’t.
I don’t feel like that tells the whole story. I’ve experimented a lot over the year. I’ve reintroduced foods back into my regular diet (like milk). I’ve focused even more heavily on whole foods. And Ashley has certainly changed aspects of my lifestyle for the better.
I spent a lot of time outdoors, moving my body in the garden. I played basketball regularly for a while. And I tried some different bodyweight routines.
On the whole, I feel like this was a successful year, even if it didn’t go 100% according to the plan that I wrote down on January 1.
Reading
I had a goal of reading 35 books for the year. I fell just shy of that number, reading a total of 33. Again, this is one of those goals that I can’t exactly say that I failed (besides, it’s tough to finish the year strong in the middle of a house-buying process).
It was a solid year, and I read a lot of awesome books. The most important thing is my pursuit of reading every single day, and I hit my seventh year straight earlier in December.
Creative Pursuits
Offline, I completely failed to really dive into any big creative pursuits. It was just another down year.
Online, I actually did build some pretty cool stuff. Here are some new WordPress plugins as well as those with major updates:
- Authors List Block (new)
- Breadcrumbs Block (update)
- Media Data Block (new)
- Progress Bar Block (update)
I really enjoyed just getting back into the groove of building cool stuff for the web, and I’m certainly looking forward to doing more of it in 2026.
Learning Spanish
To be honest, I grew a bored with my pursuit of learning Spanish. I kept up daily Duolingo lessons until about a month or so ago. Then, I just dropped off. Well…I continued Duolingo to keep my streak alive, but I switched over to chess lessons—it still counts if I switched subjects, right? Right?
Despite a solid year of lessons, I failed to read a book in Spanish. Let’s see if I get motivated again in the new year.
Personal Finance
I had several specific personal finance goals. Here’s how 2025 went:
- ✅ Max Out 401K and HSA: No problem here. Just solid contributing each month.
- ➖ Extra Mortgage Payments: I made additional principal payments until the end of August, which is when Ashley and I began seriously discussing our own home. I then switched to savings mode.
- ❌ Kitchen Remodel: Technically, I saved the cash for a kitchen remodel. However, that money was moved to our new house.
- ✅ Double Monthly Investments: My goal was to double my monthly investments into my personal brokerage account. I actually tripled that amount and only missed a single month.
- ❌ Extra 3 Months Emergency Fund: Throughout the year, I actually saved an additional 6 months worth of emergency fund, surpassing my initial goal. However, that money was reallocated.
I also had an unwritten goal of hitting $400K personal net worth with a written stretch goal of $500K. While I did manage the first, the second was too far out of reach since I bought a new home.
I pretty much hit all of my financial goals for 2025. Some of those goals simply changed by the end of the year. On the whole, it was a very successful year. Plus, I have a small chunk of equity in a new property. 2026 will certainly hold new challenges.
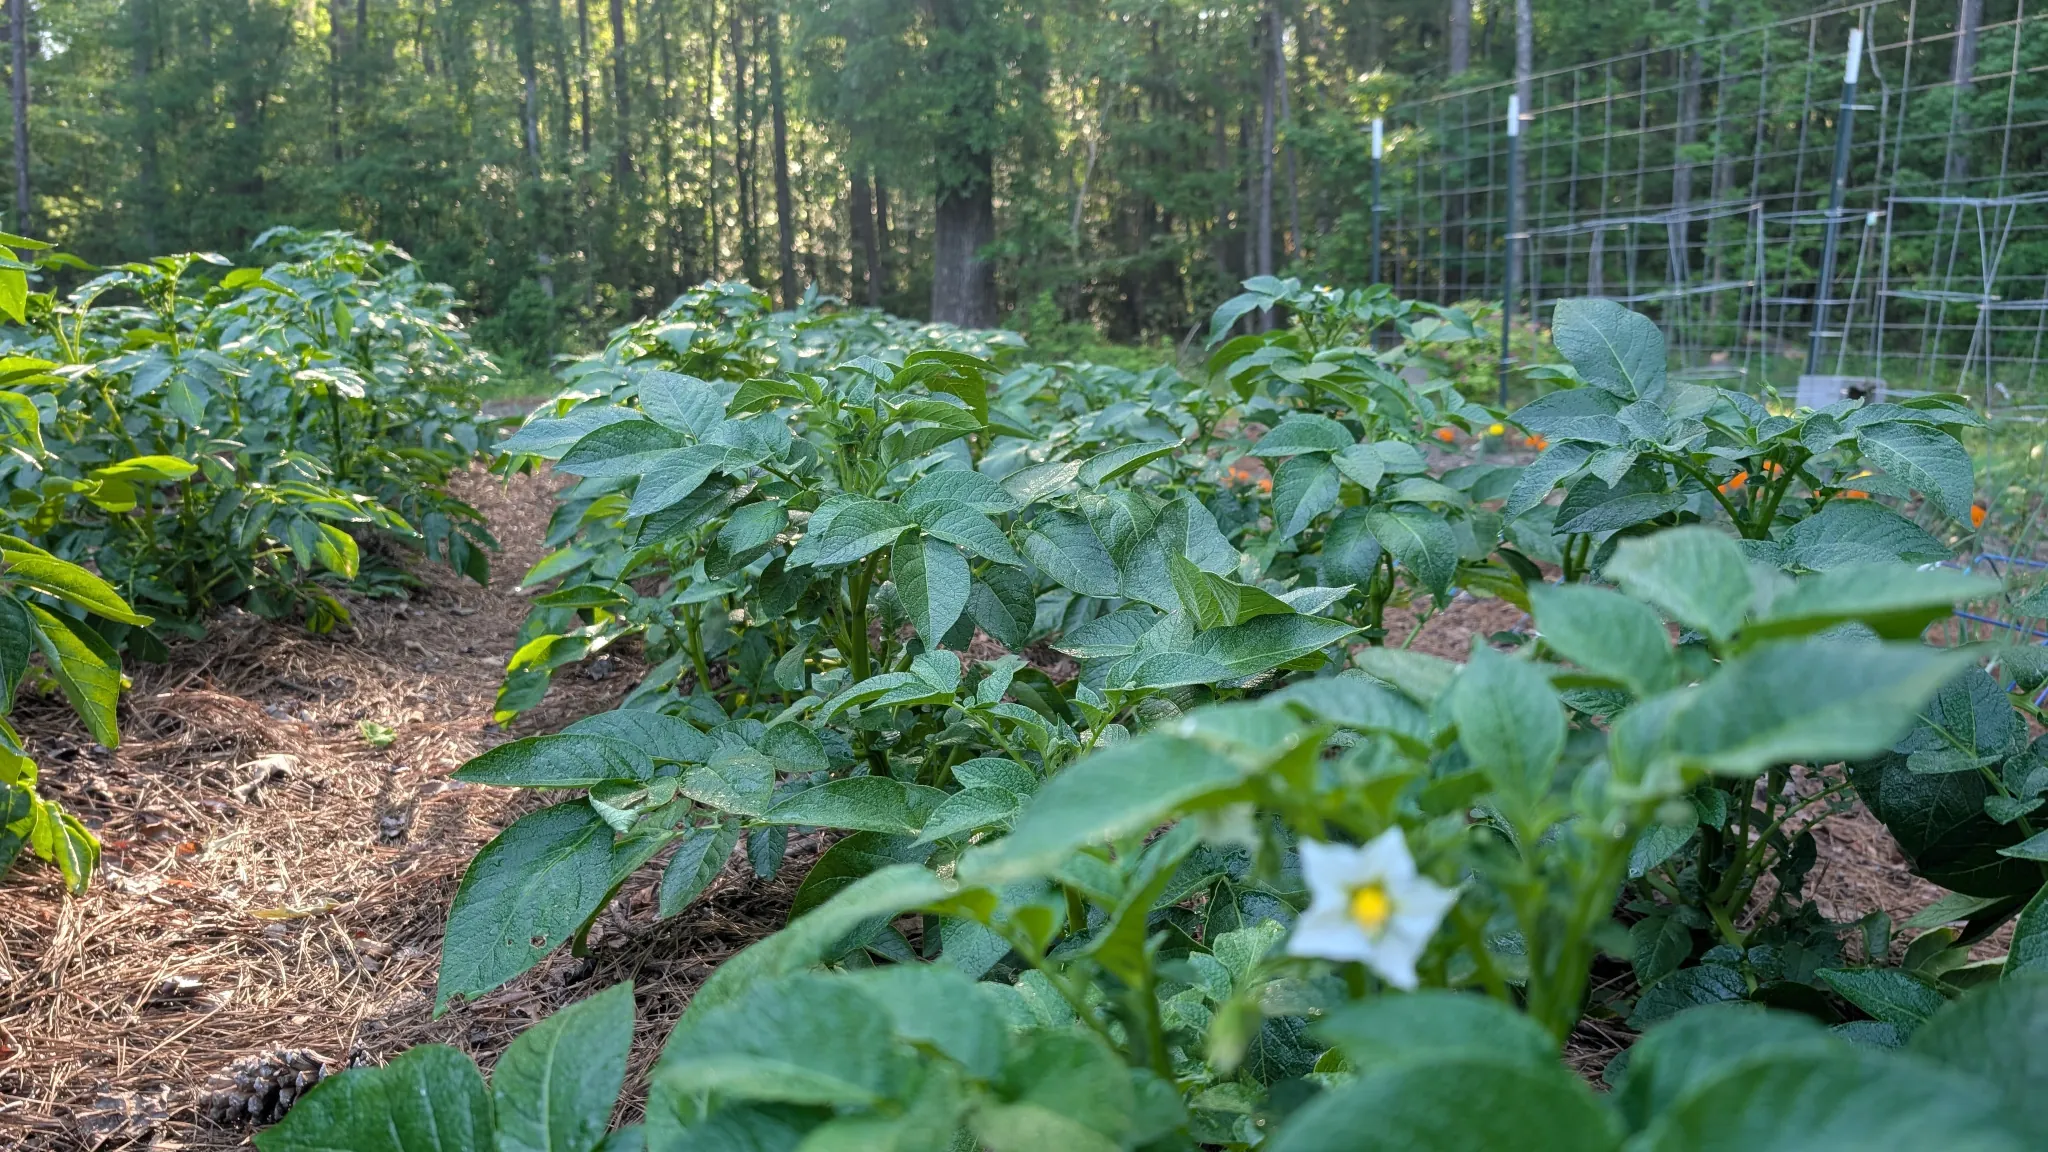
Garden and Food Forest
The garden was a huge success. I rekindled my love of annual veggie and fruit growing that I wasn’t quite as motivated to do in previous years. The latter part of the season was a two-month drought, so the late summer and early fall didn’t produce much. But I ate and preserved a bounty like I hadn’t in a long while.
The food forest continued on. I believe I planted around two dozen new trees and fruit-producing bushes in the late winter. And many of the existing trees produced well, at least those mature enough to do so.
But I’ll likely be saying goodbye to my young food forest as I begin a new adventure on a new property. I still own the previous place but plan to sell it in the coming year.
Honestly, it is the hardest thing to leave behind. I spent half a decade of my life building it. There’s a Greek proverb that I’m reminded of:
A society grows great when old men plant trees whose shade they know they shall never sit in.
I hope that a new owner will pick up the project and enjoy the fruits of the dozens of trees on the land. As for me, Ashley and I will start over. It’s an opportunity to approach growing a food forest anew while learning from my past mistakes. And with a partner, I’m certain we can get things up and running even faster than I did on my own at the last place. While I’m sad let the old project go, I’m excited for what the future holds.
Here are some photos to bookend the year and celebrate some of what I grew in 2025:
-
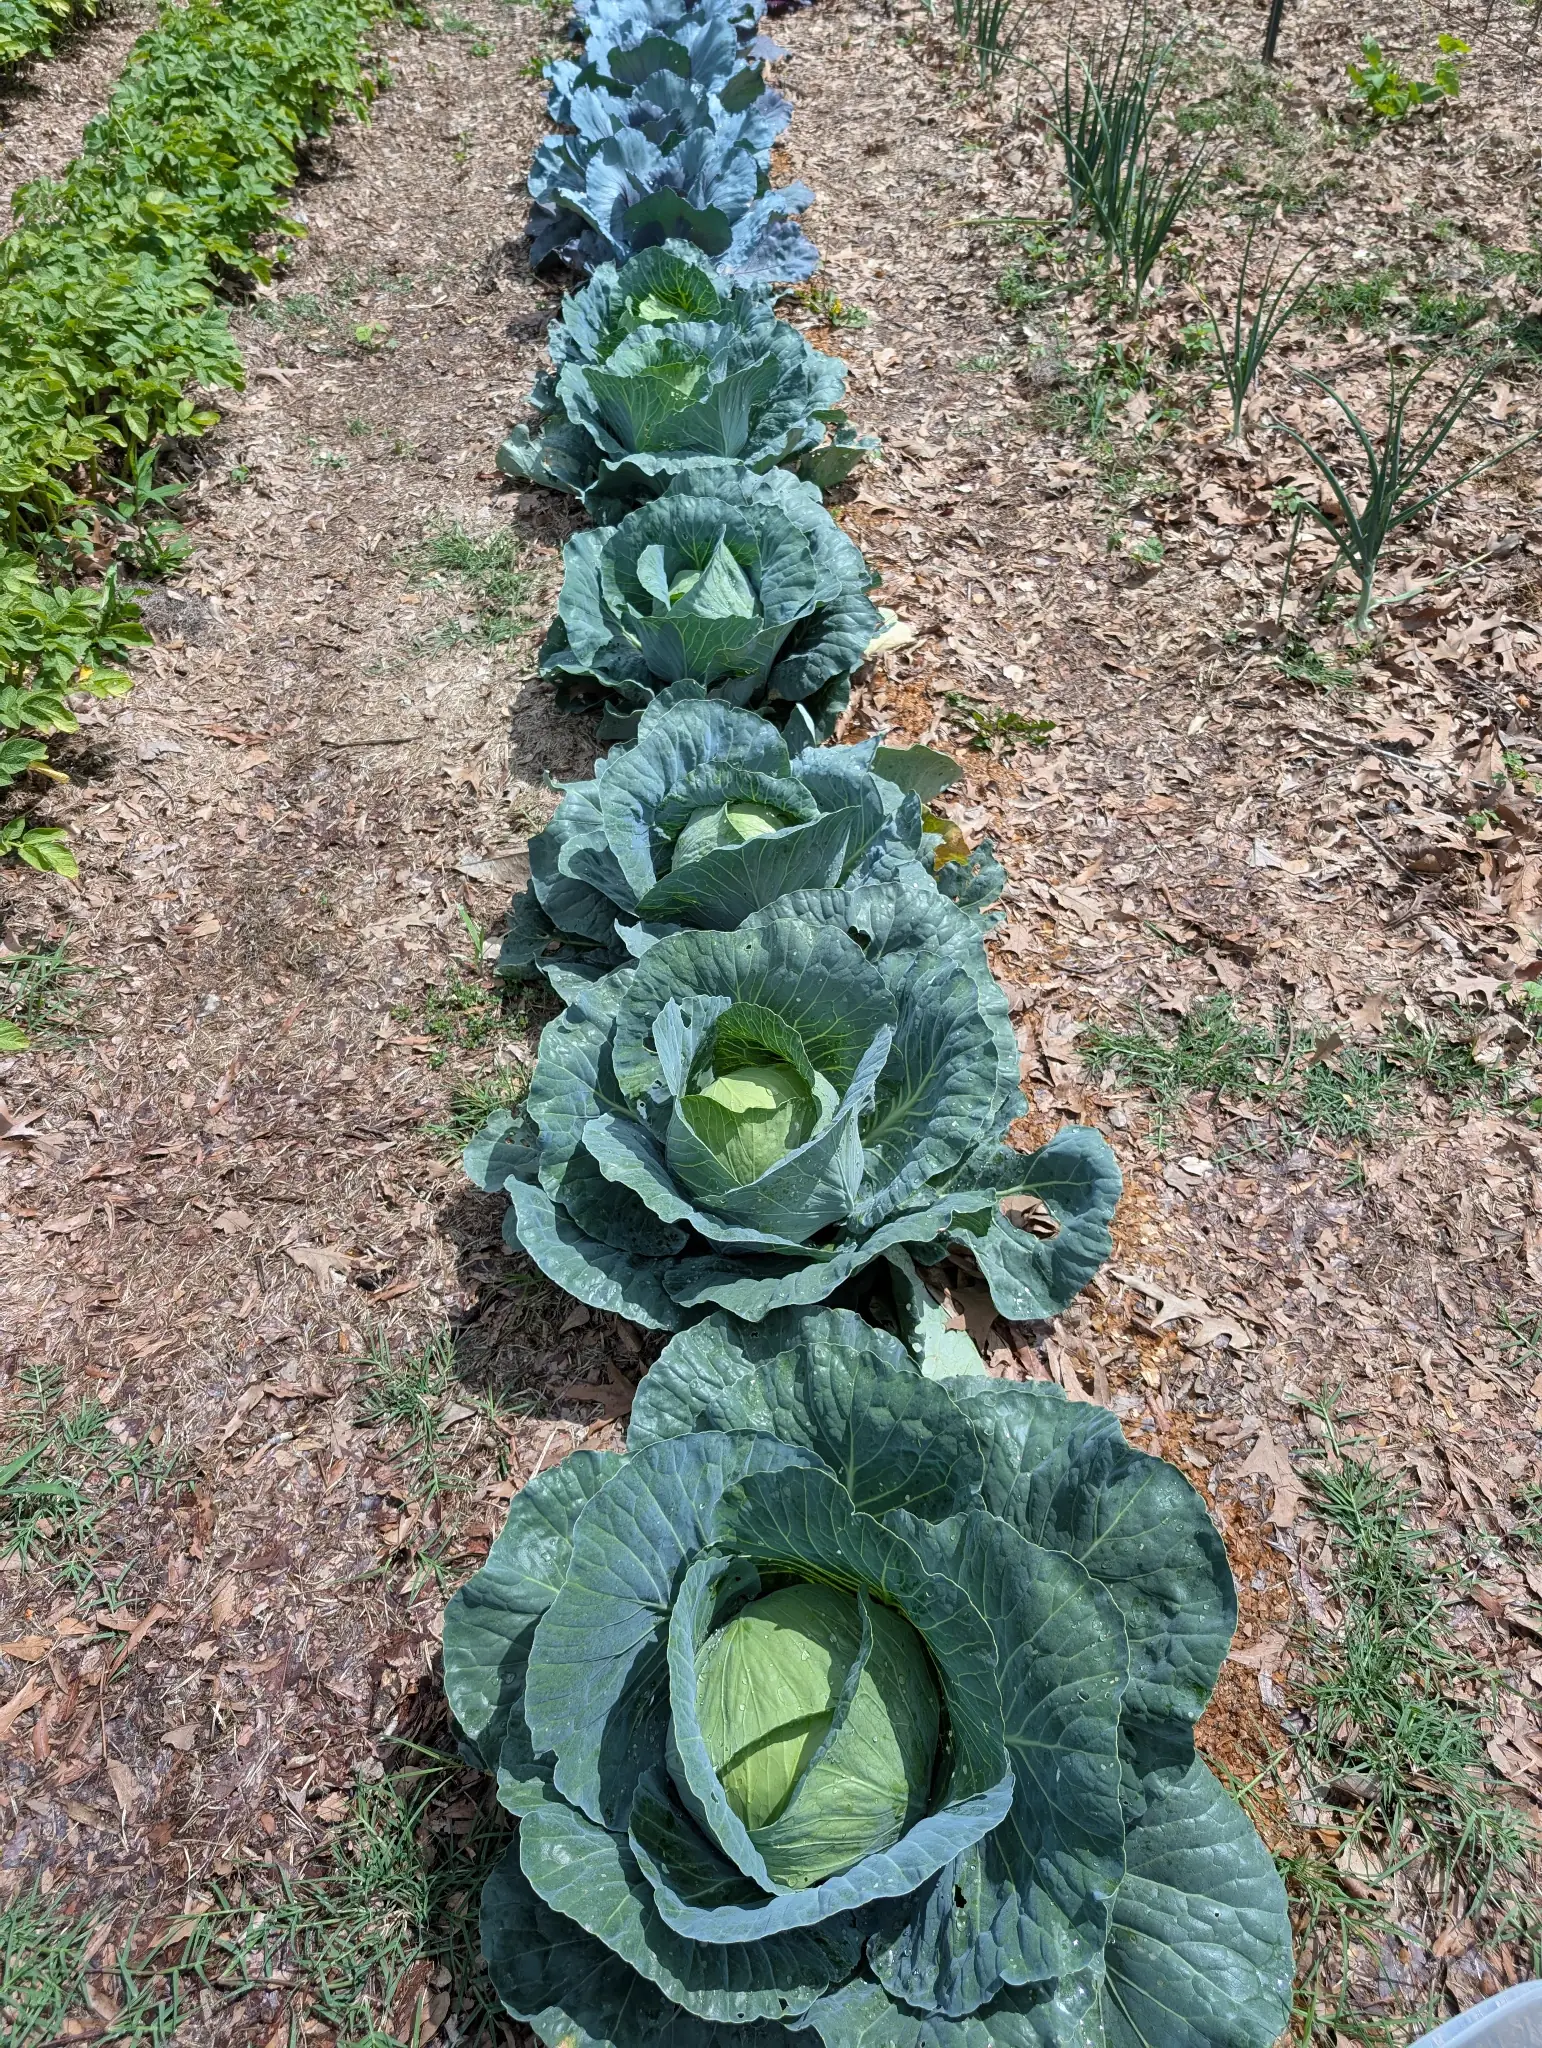
Cabbage -

Yellow Plum -
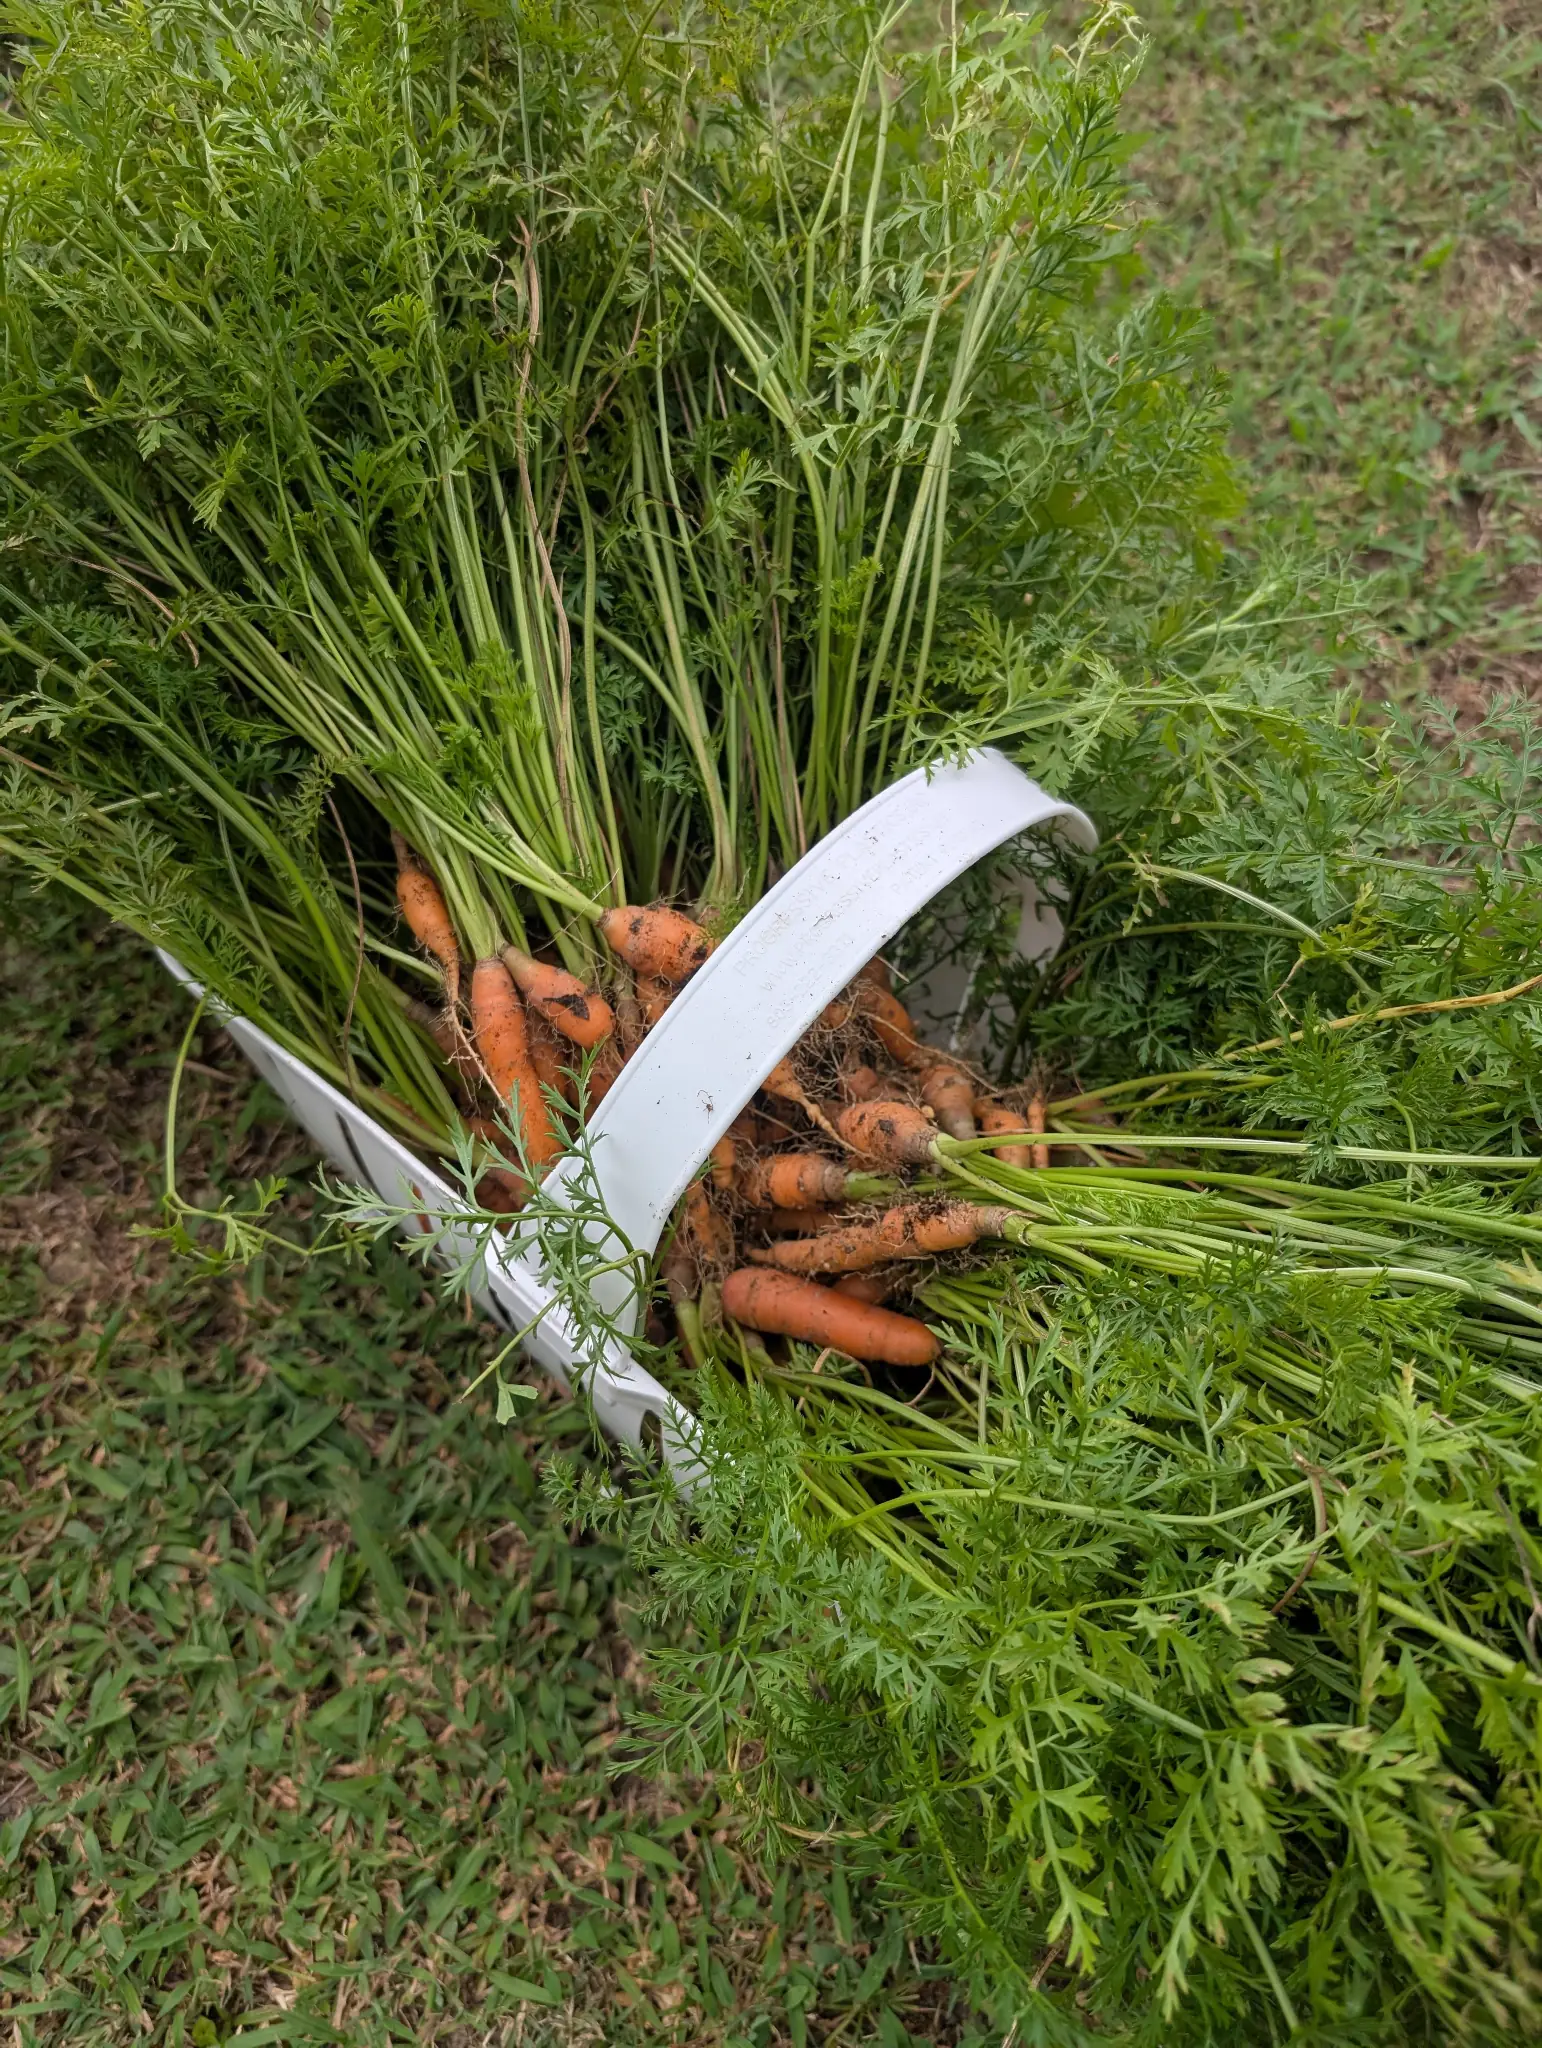
Carrots -
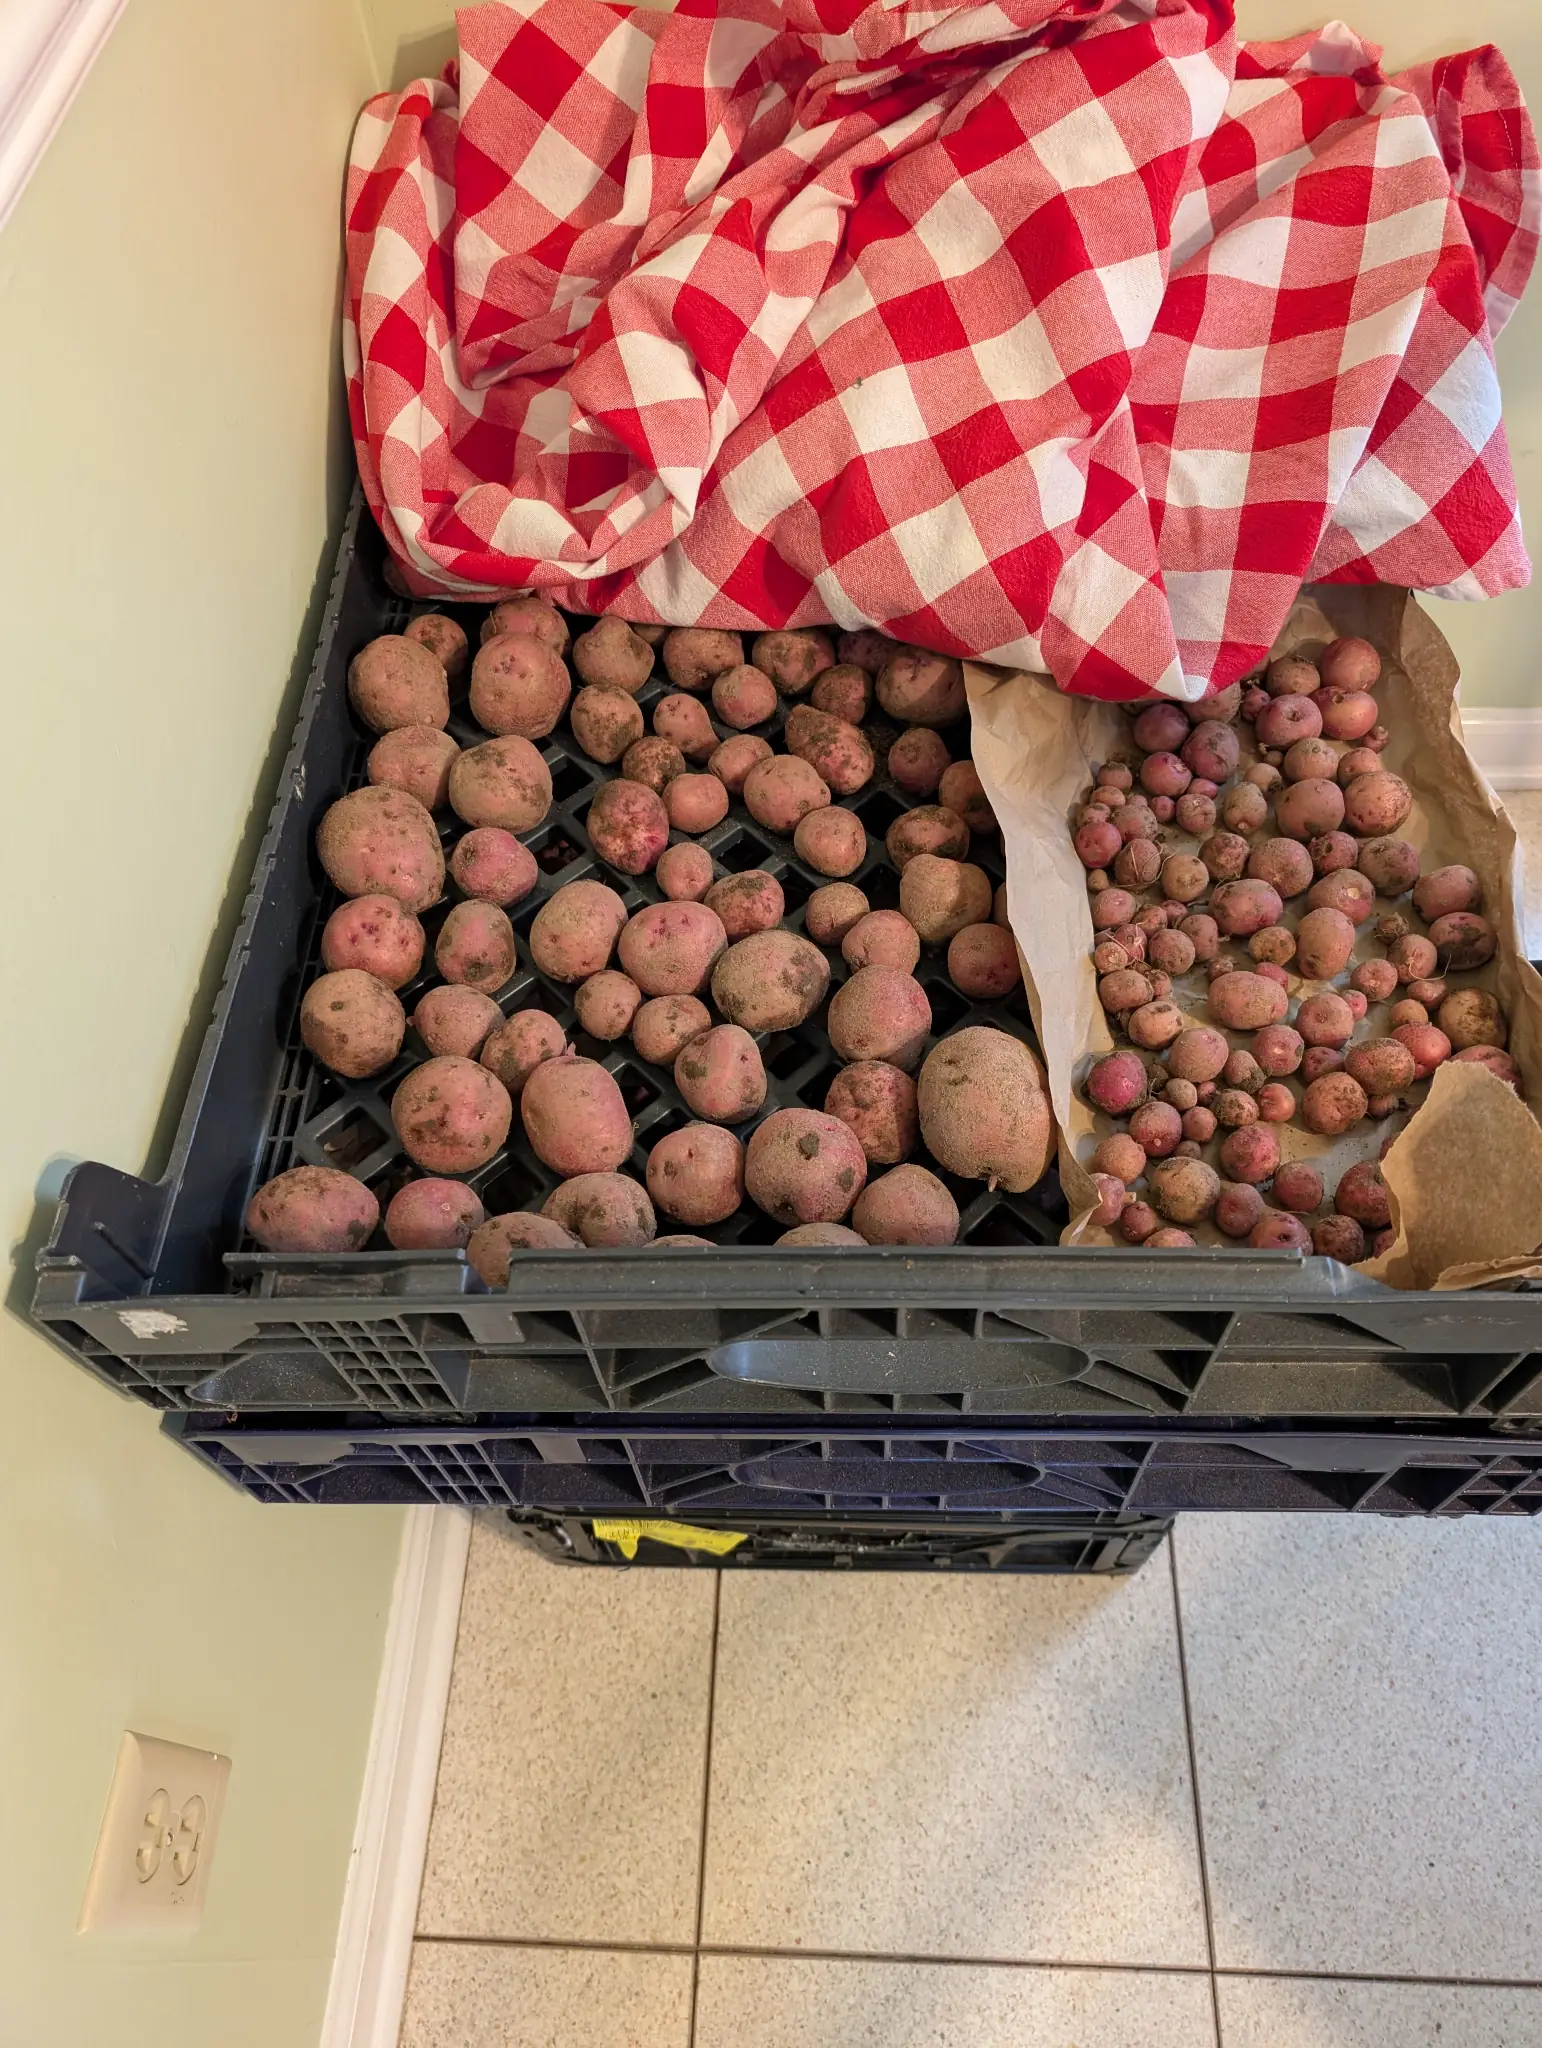
Red Potatoes -
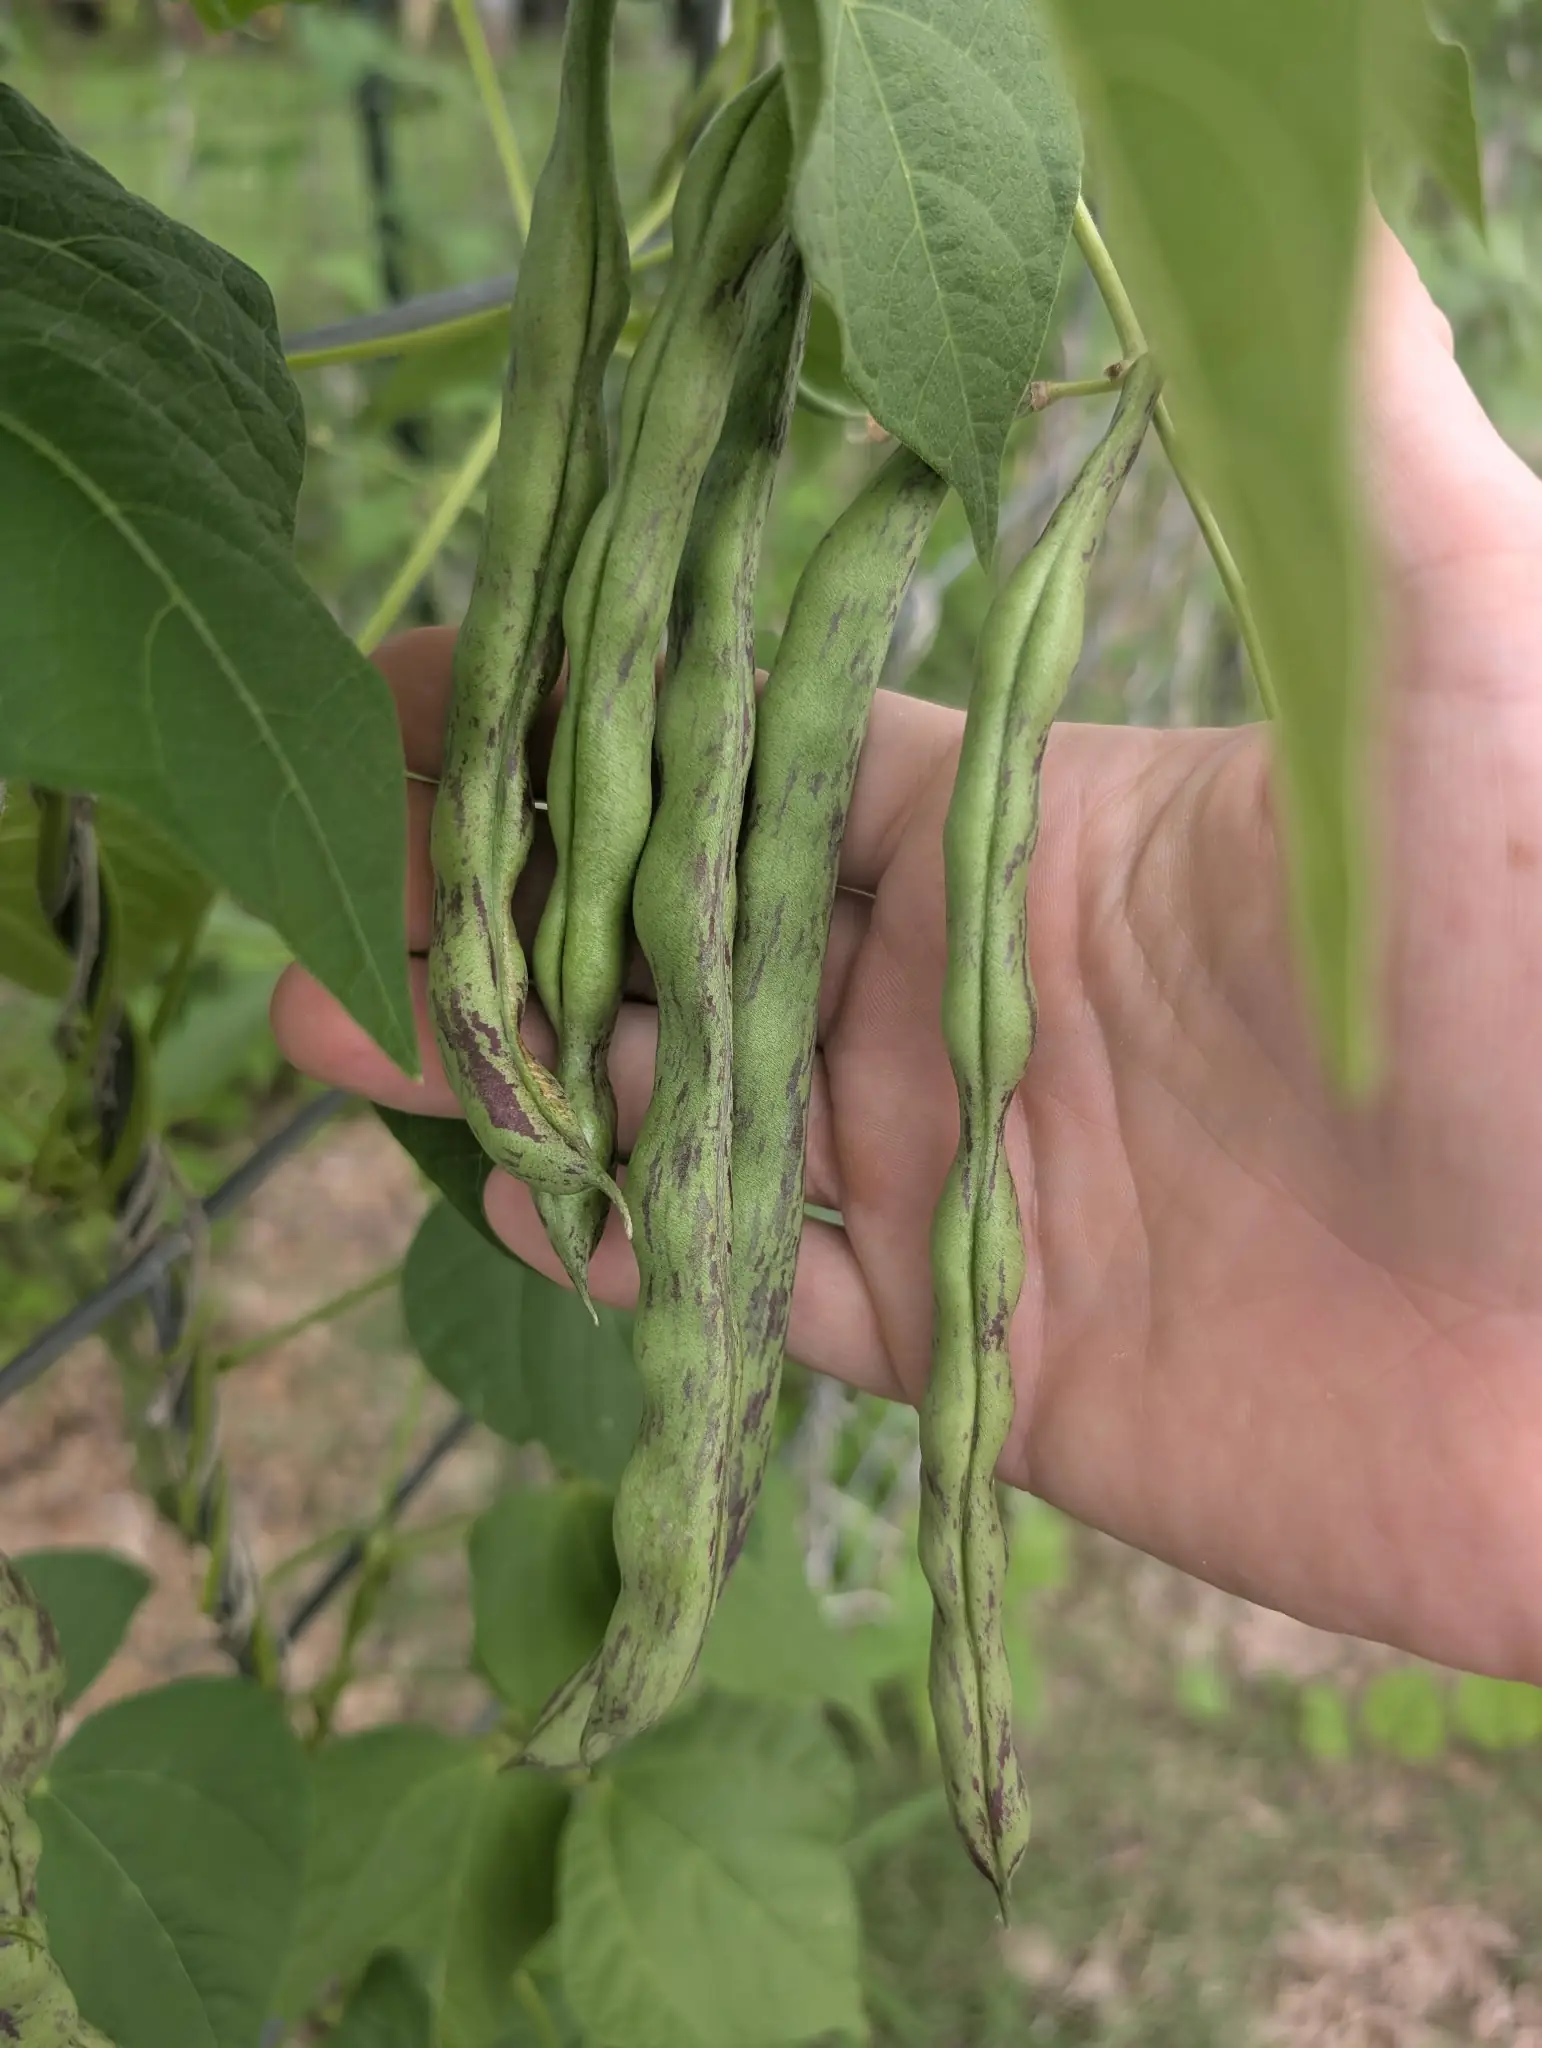
Rattlesnake Beans -
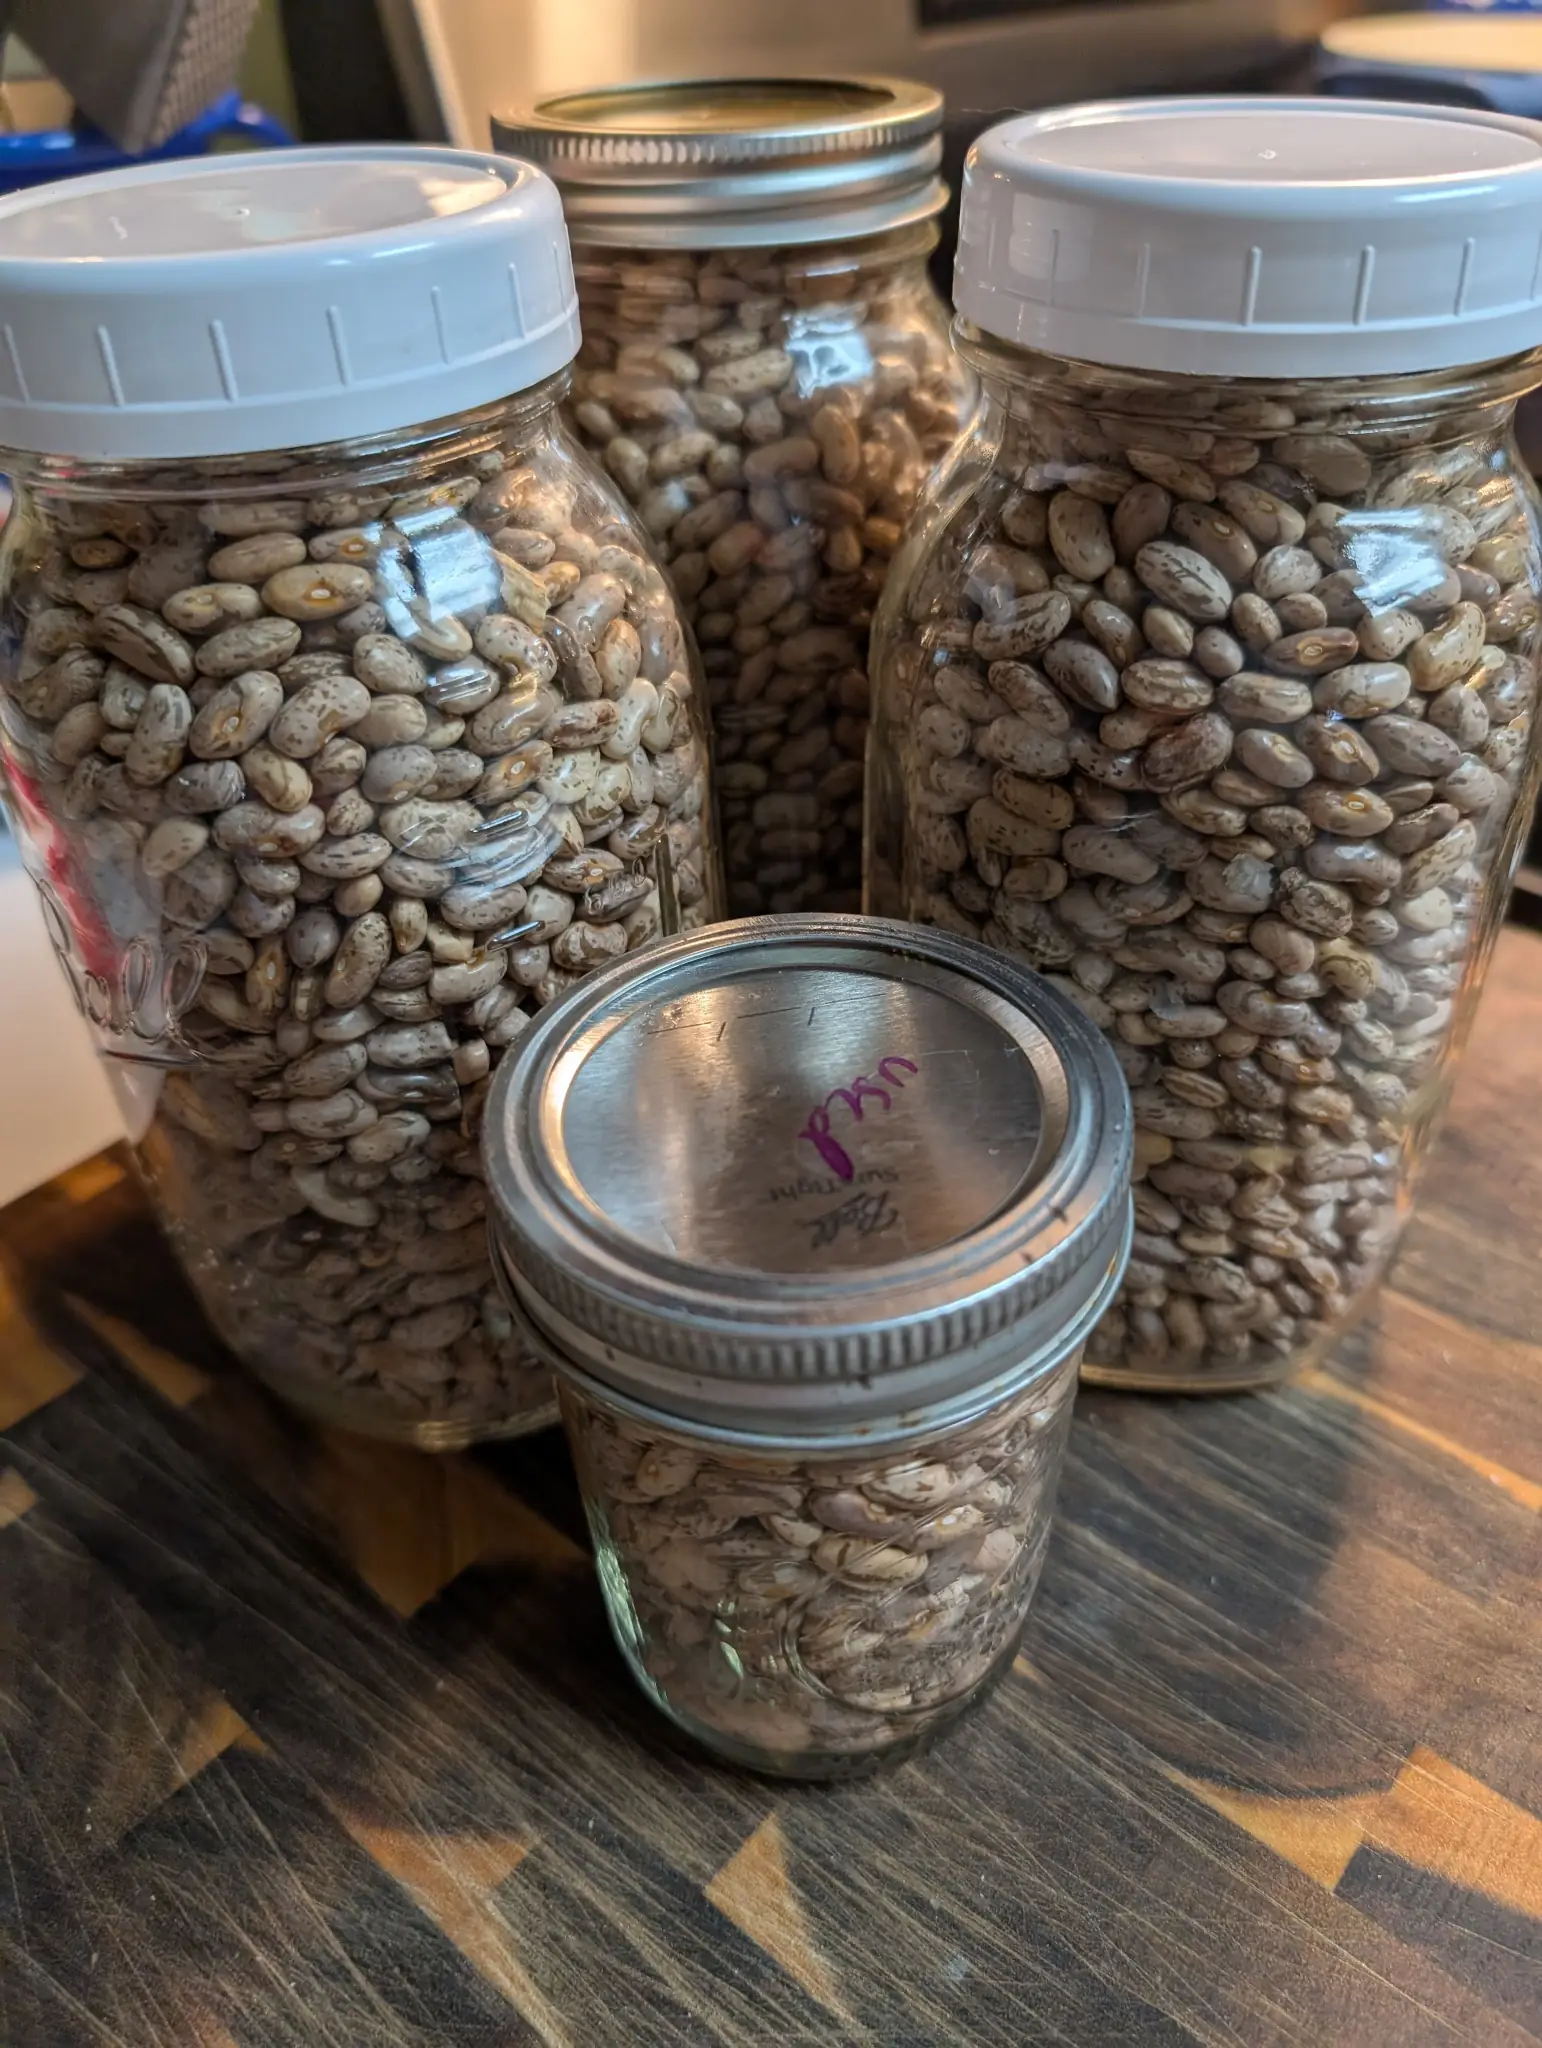
Dry Rattlesnake Beans -
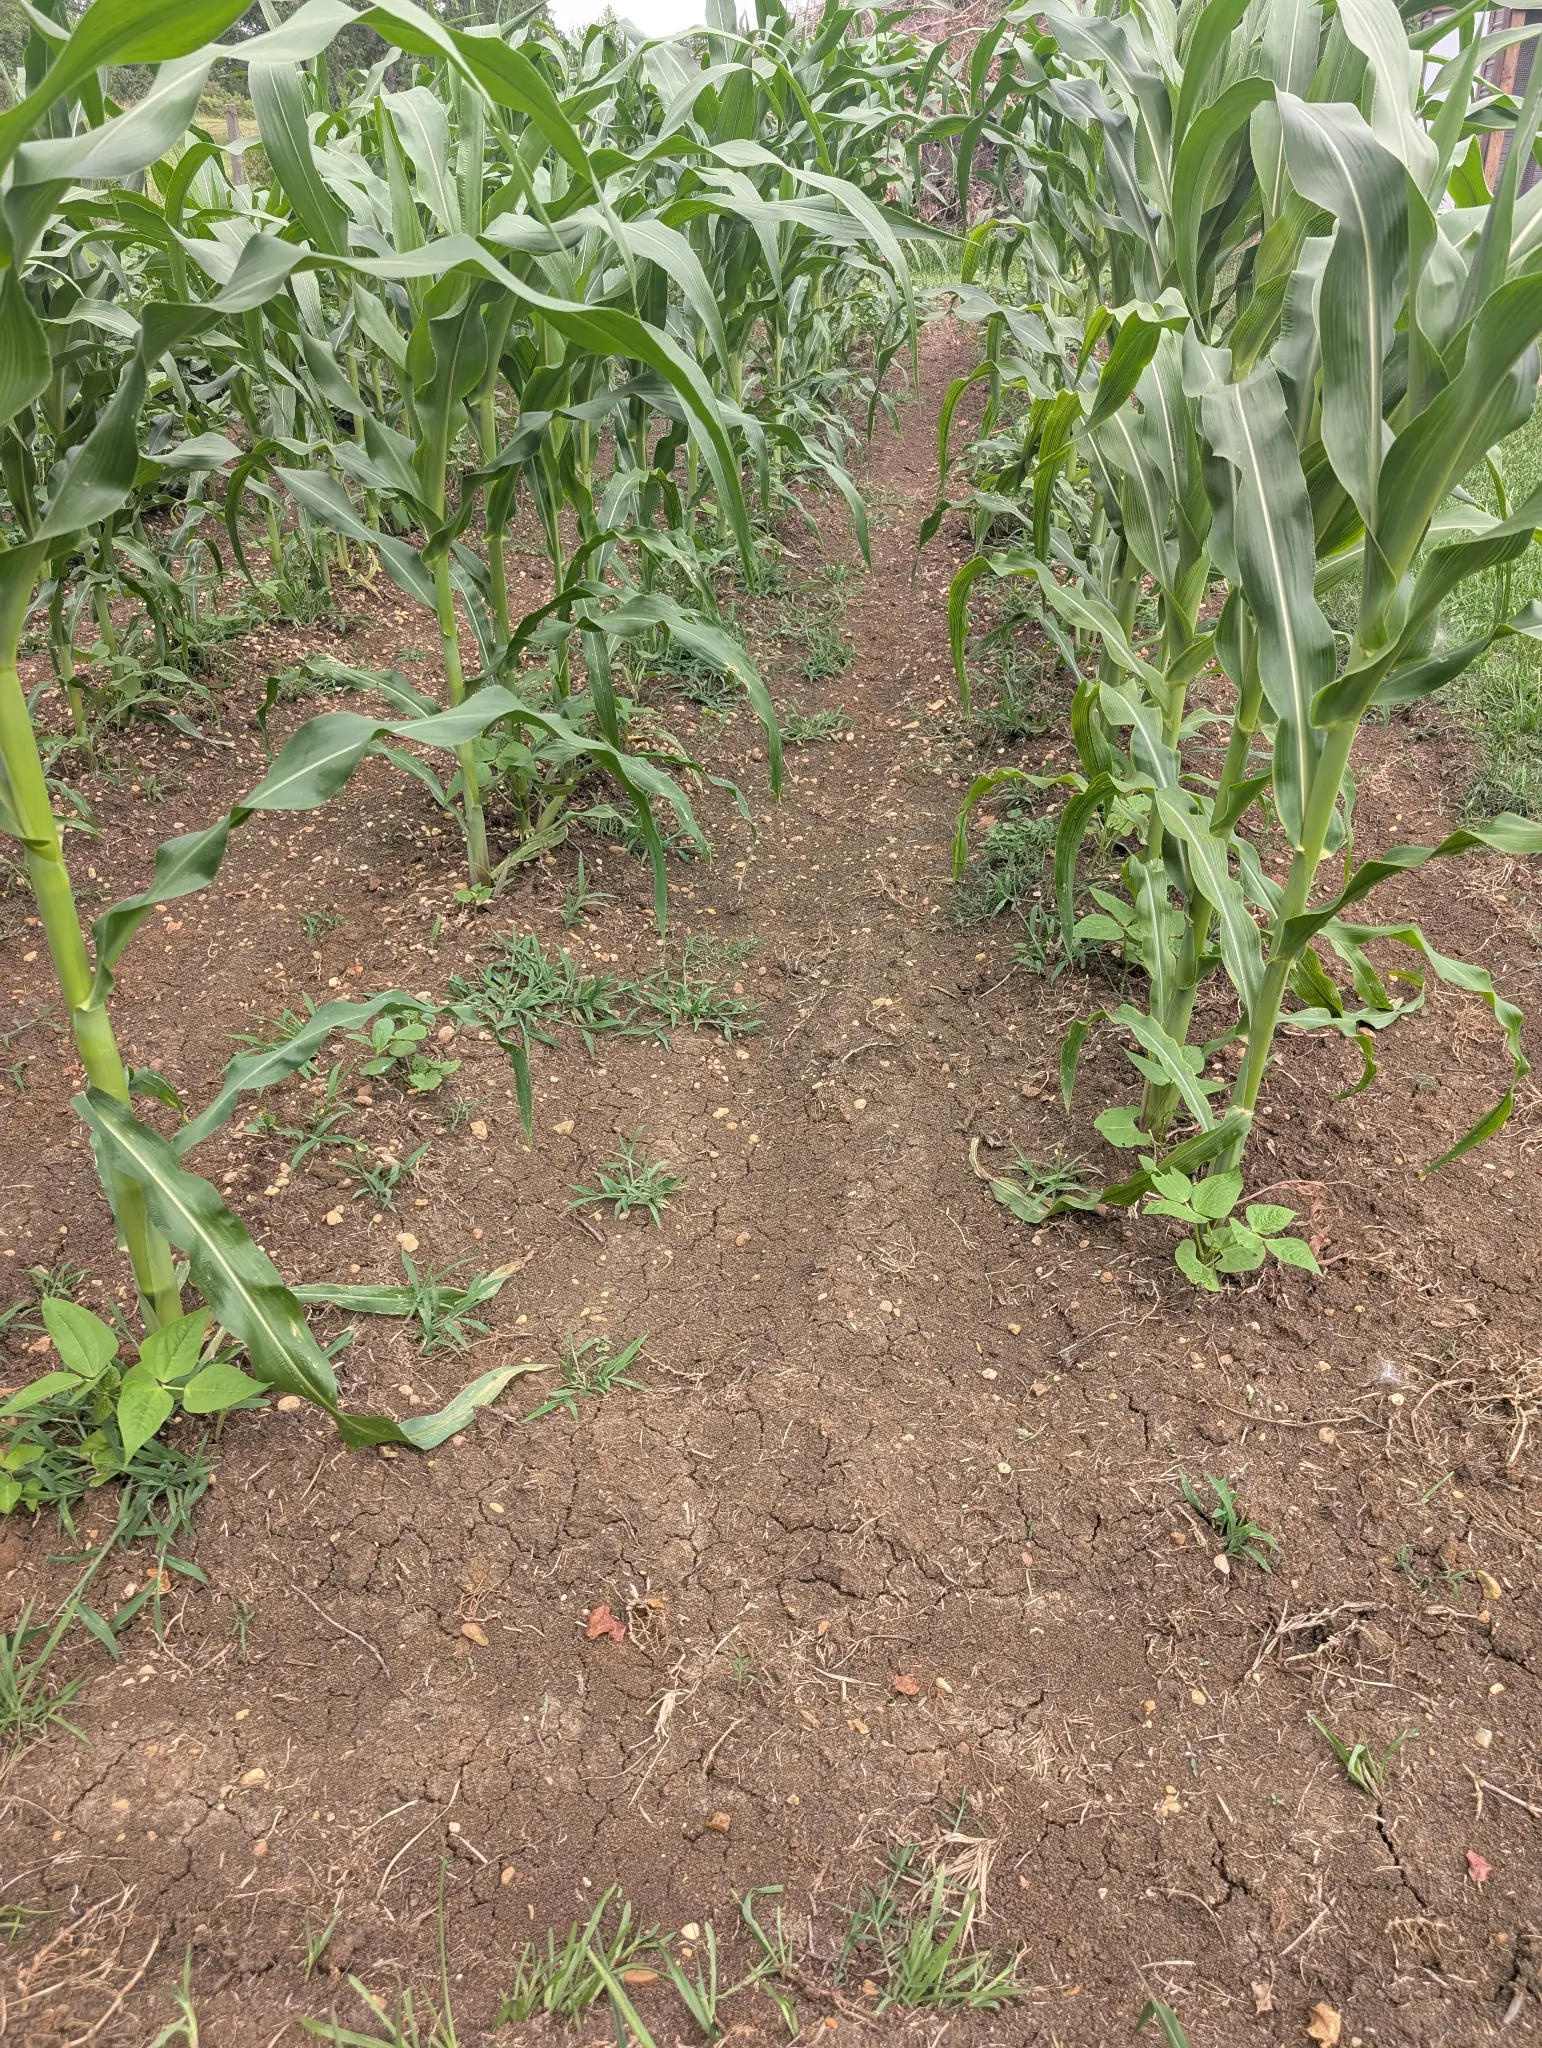
Corn Field -
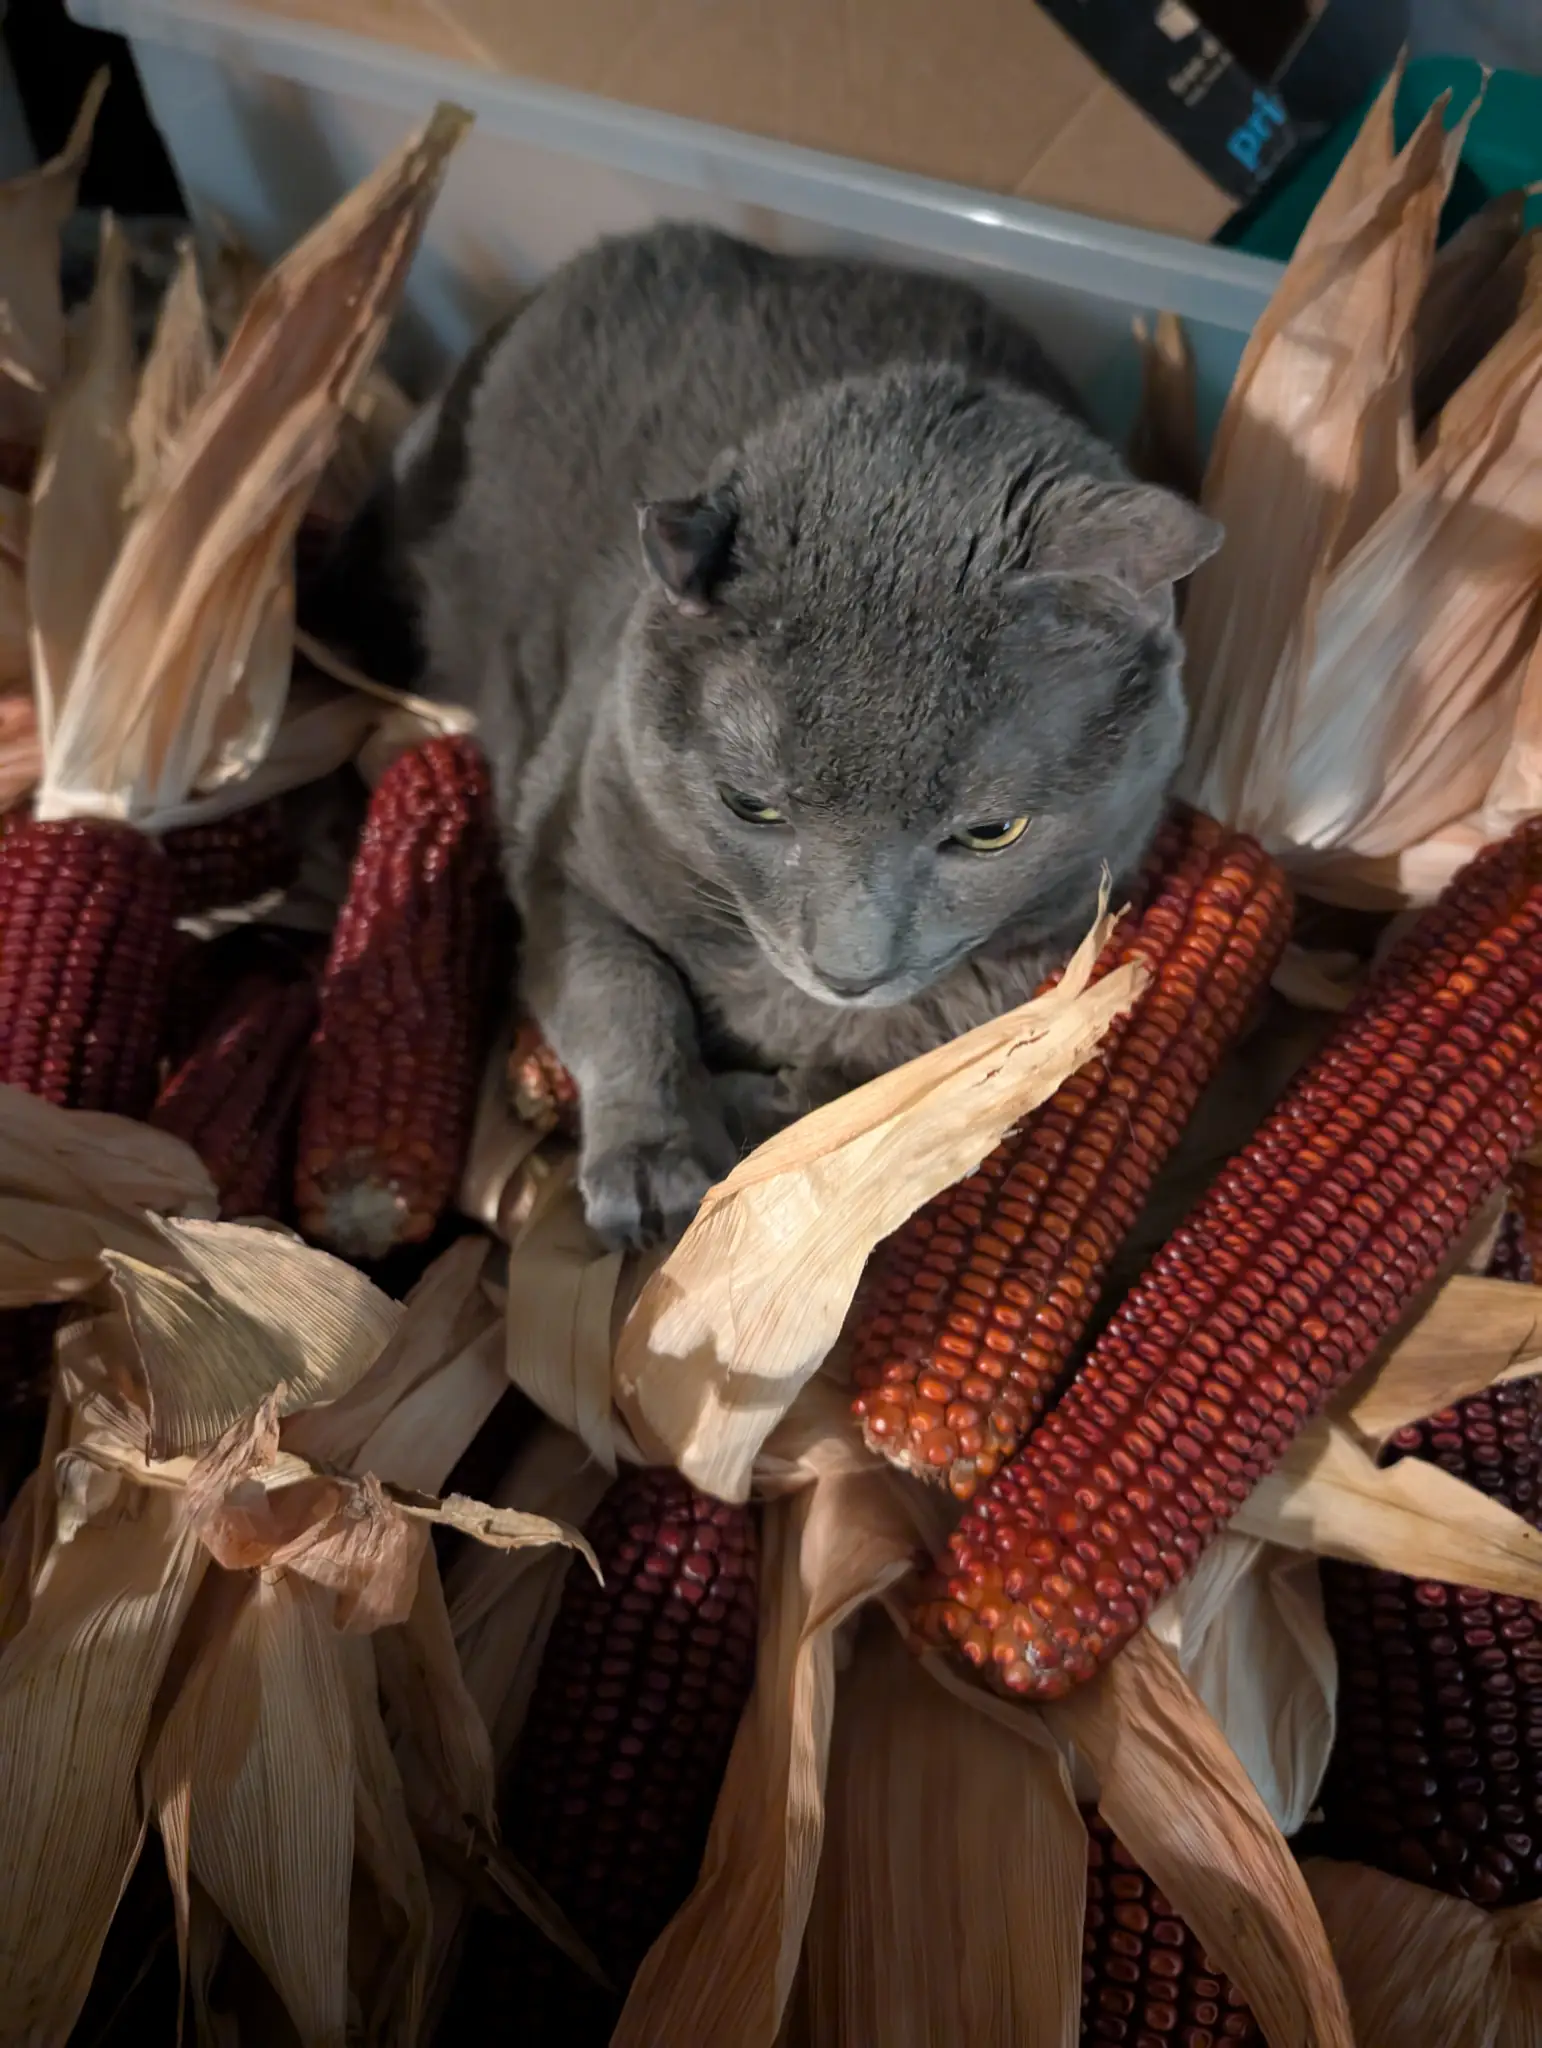
Panther and Dry Corn -
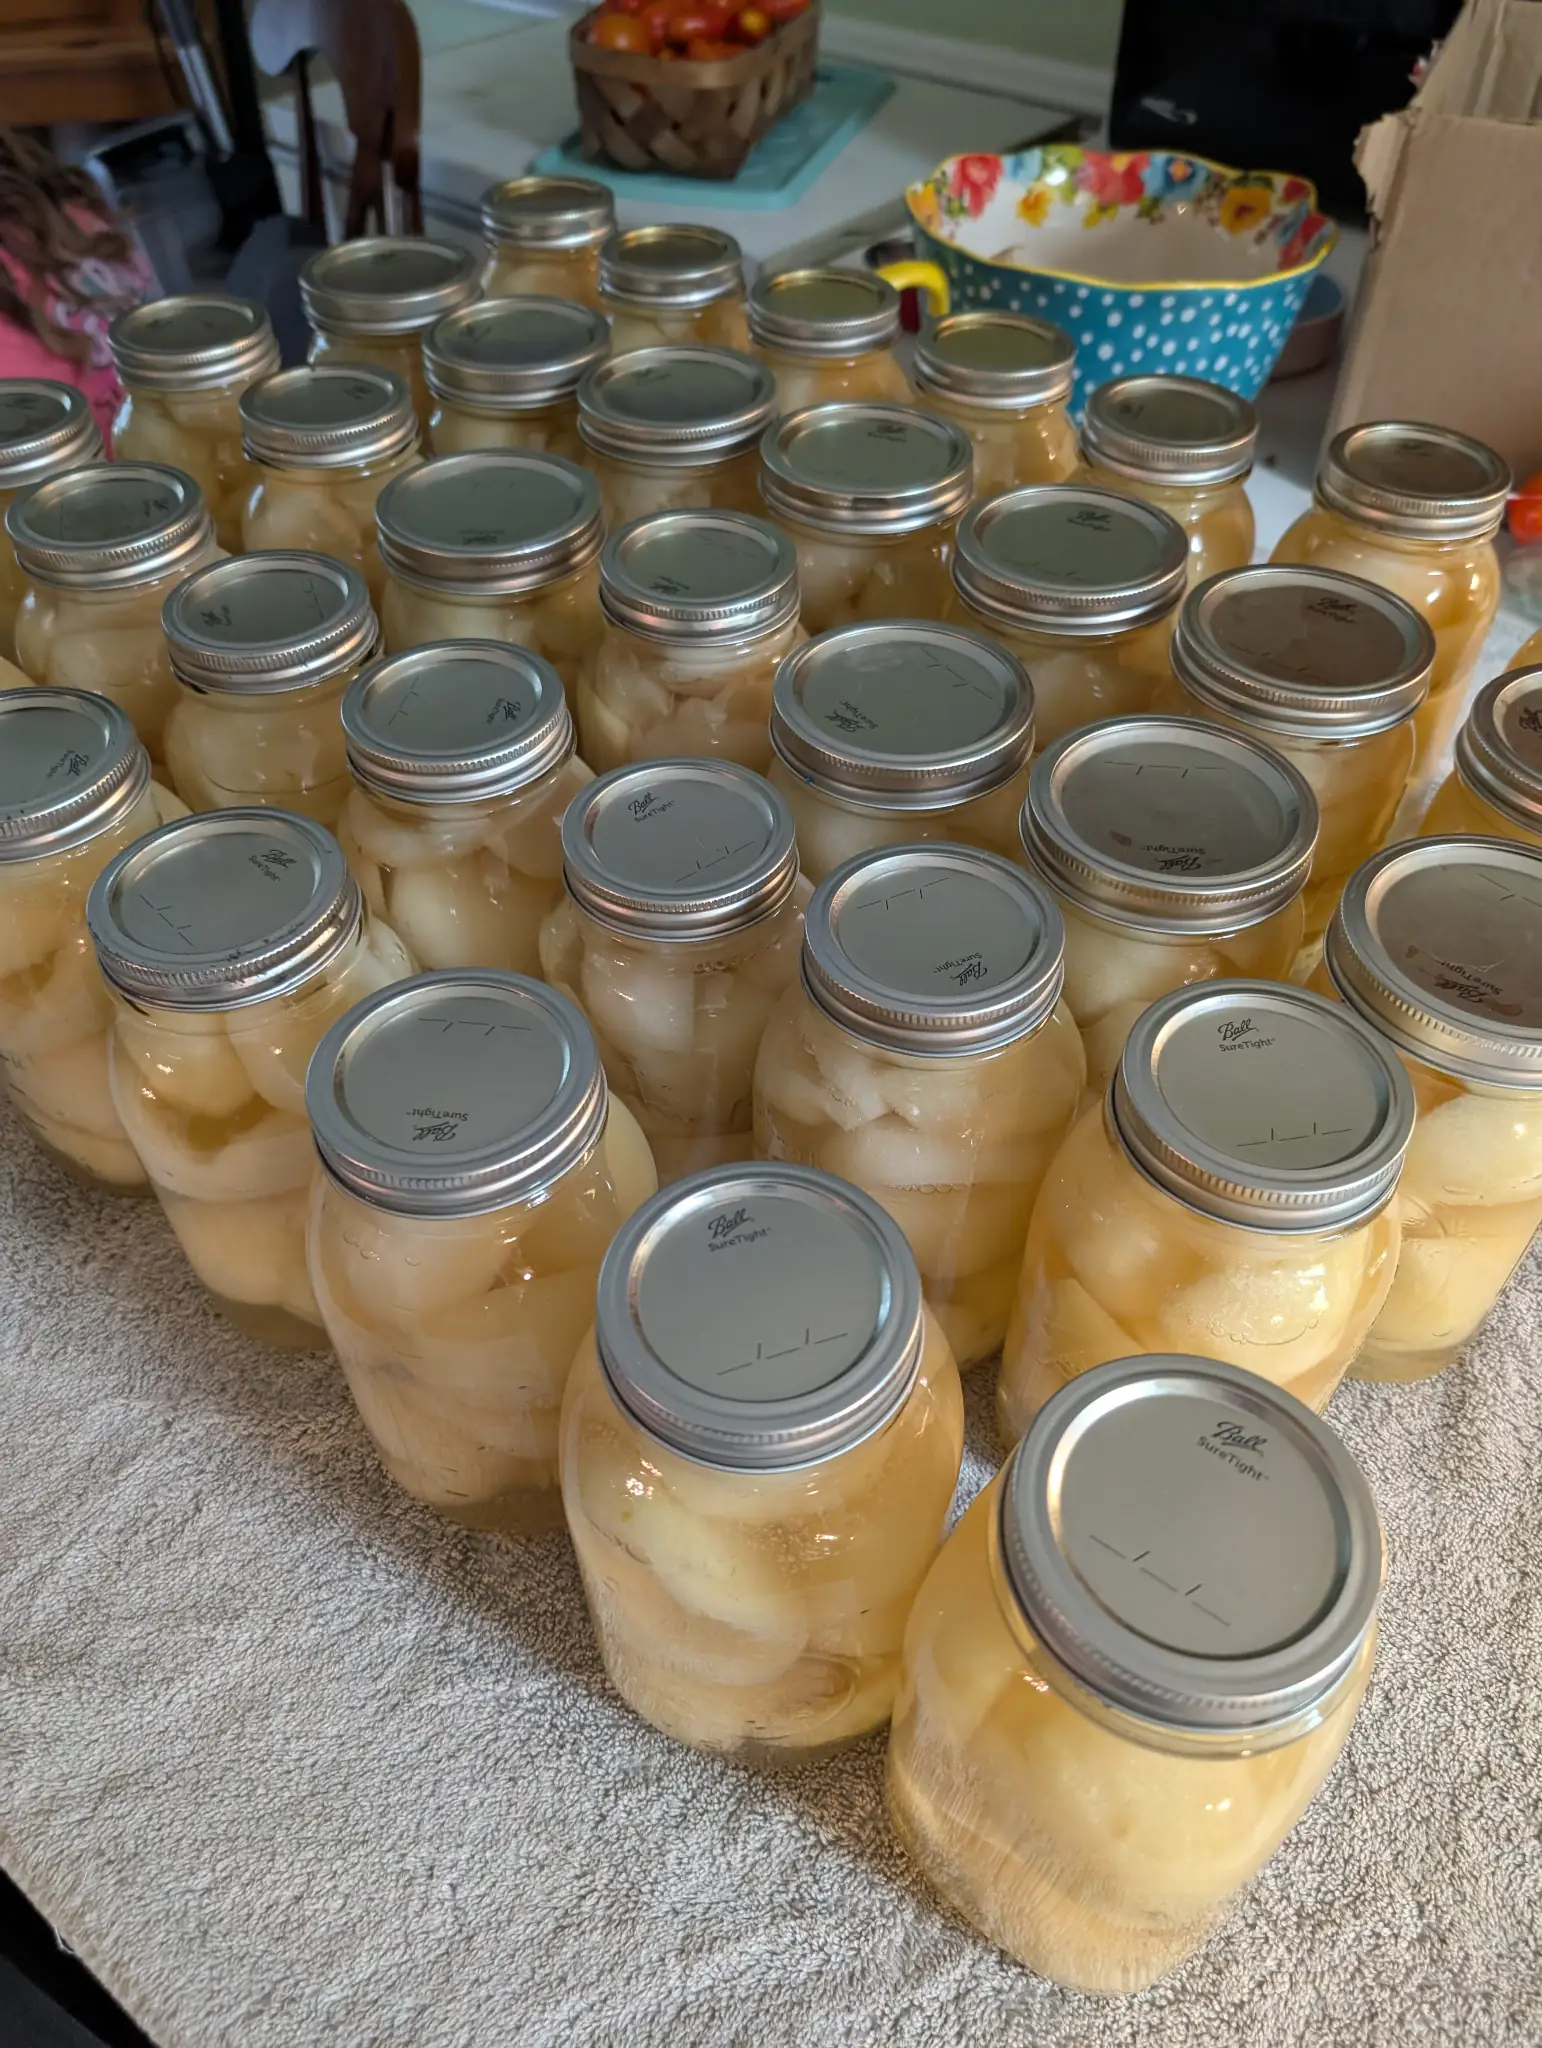
Pear-Canning Day -
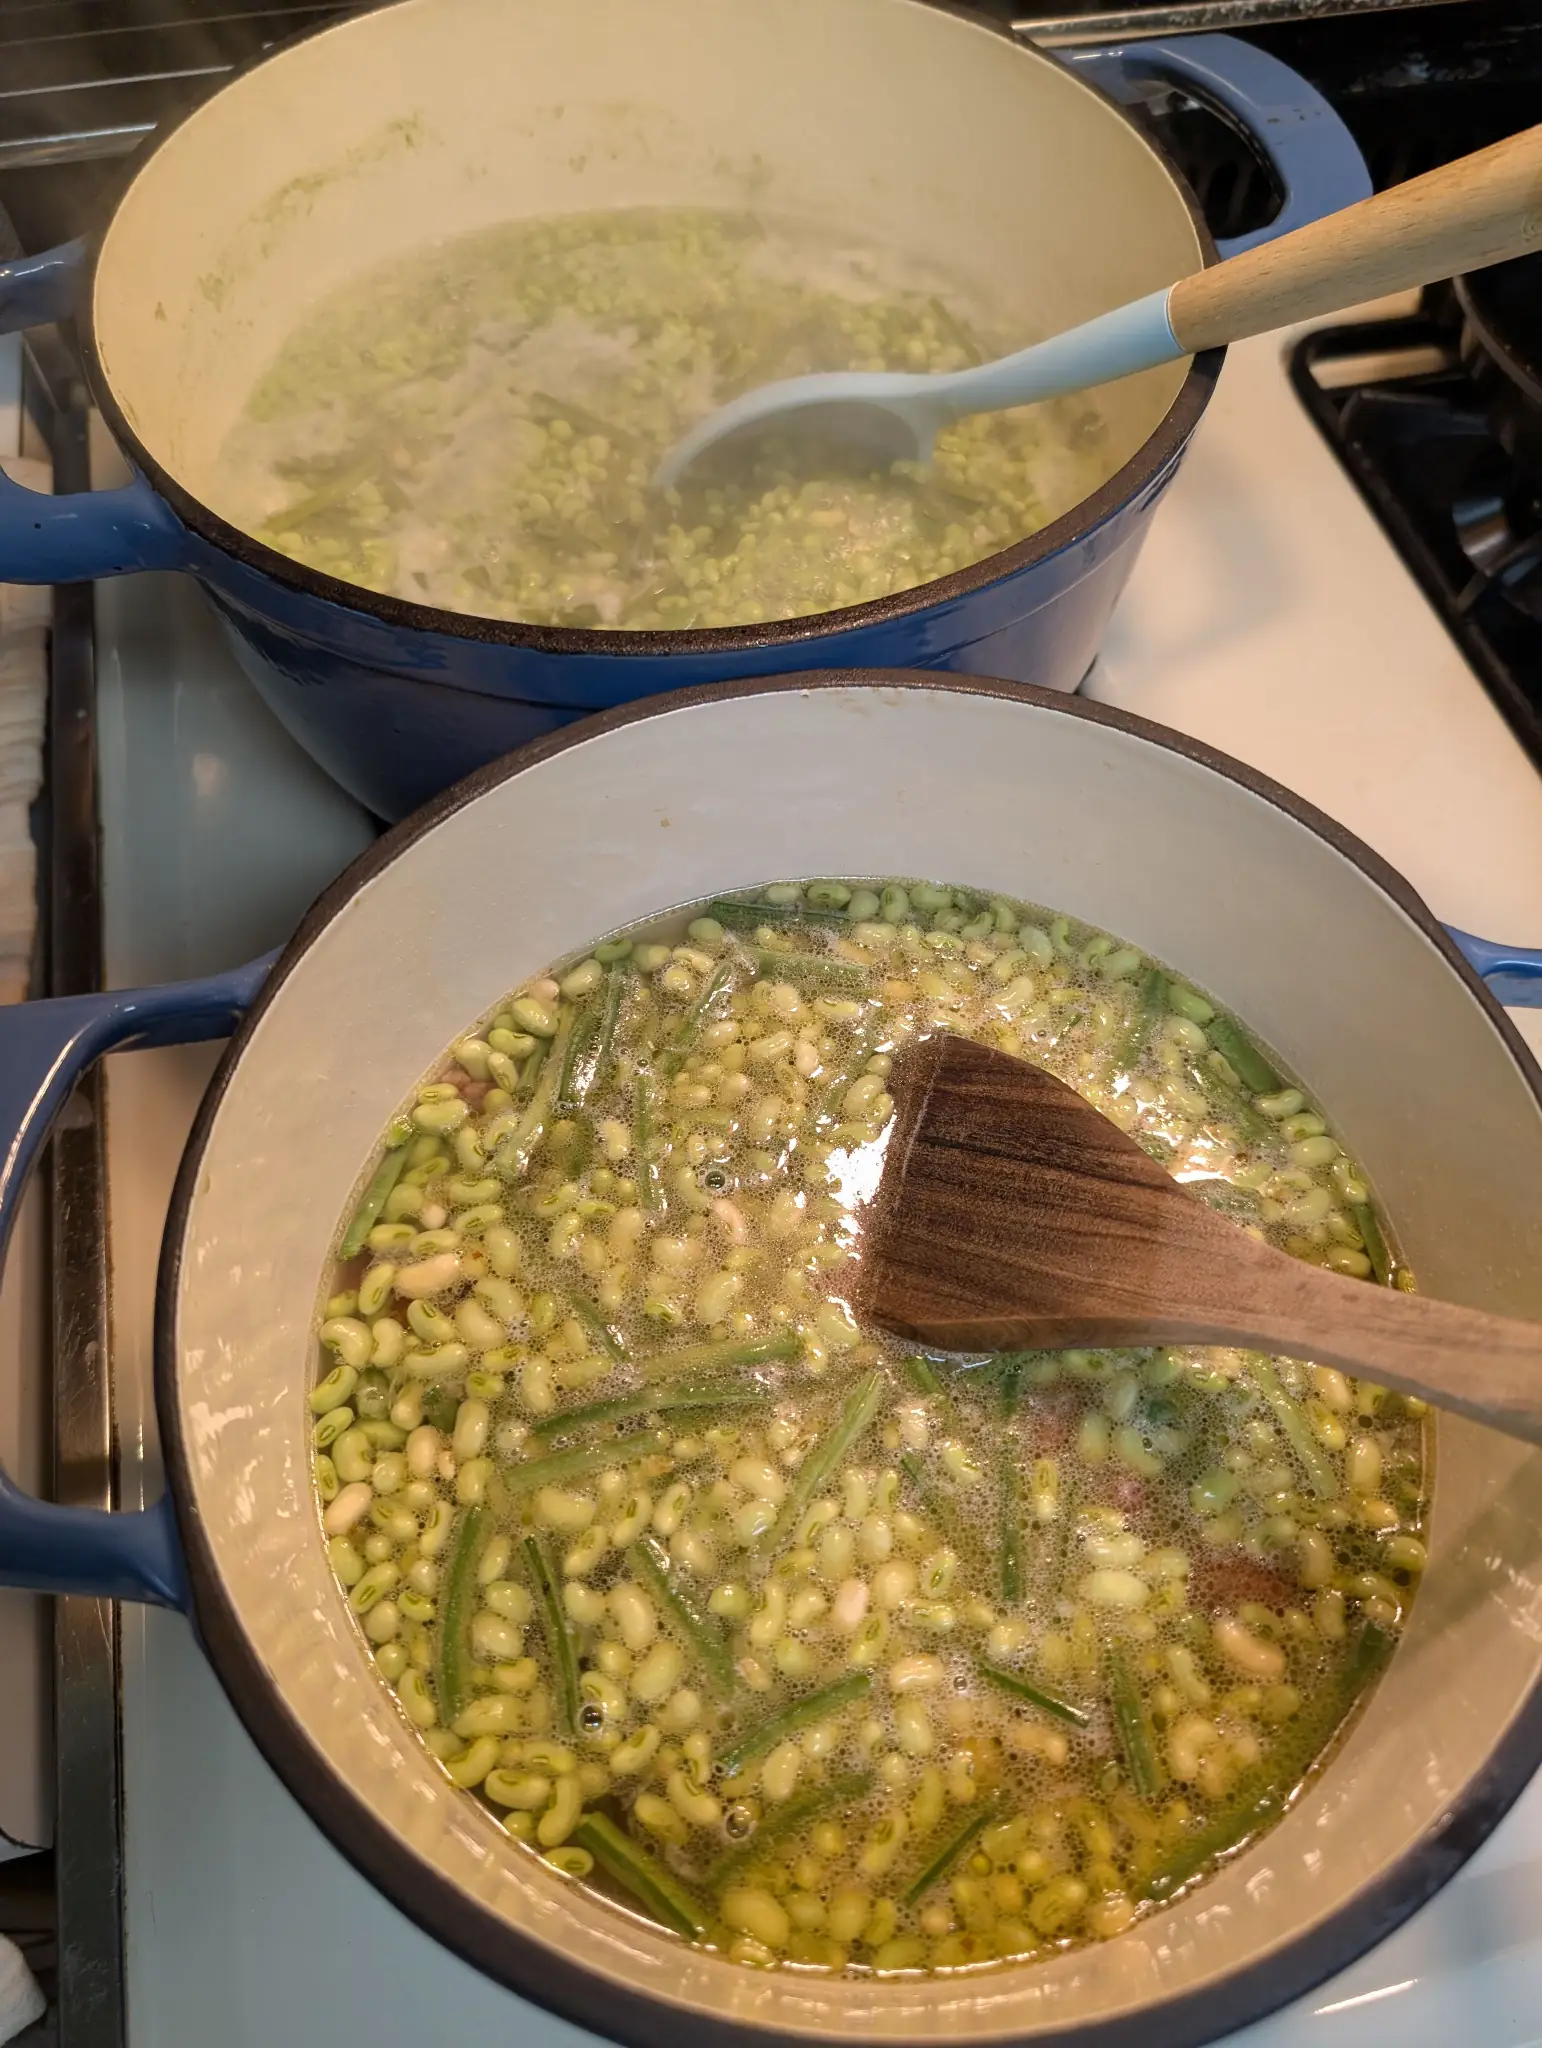
Cream 40 Peas -
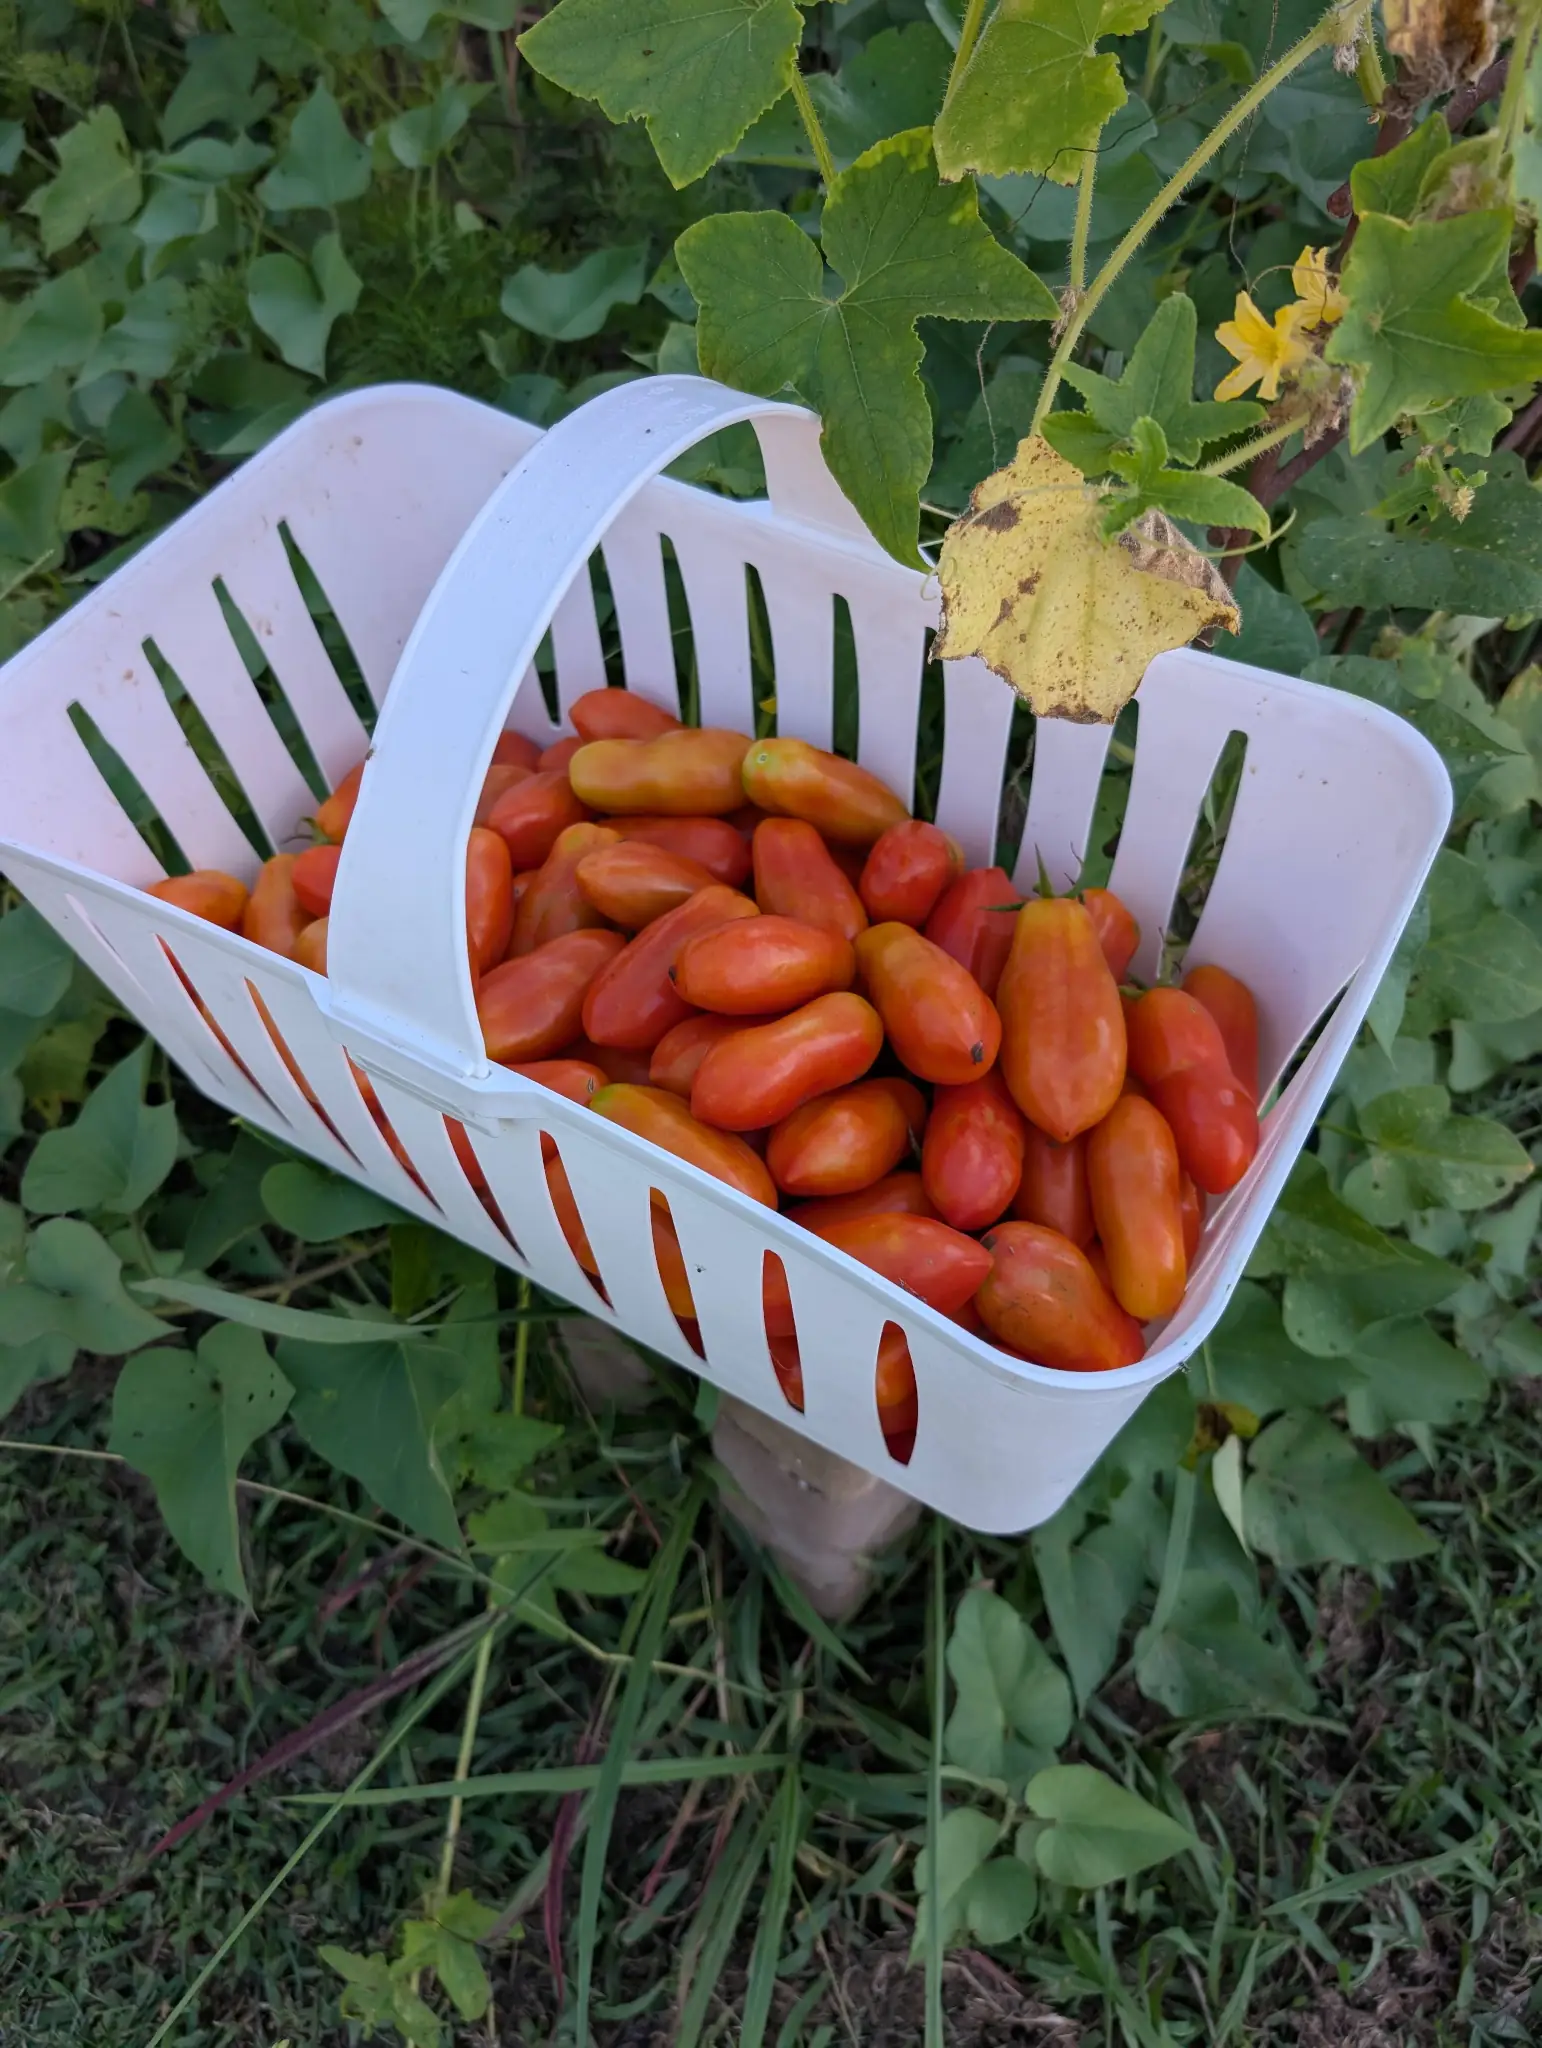
San Marzano Tomatoes -
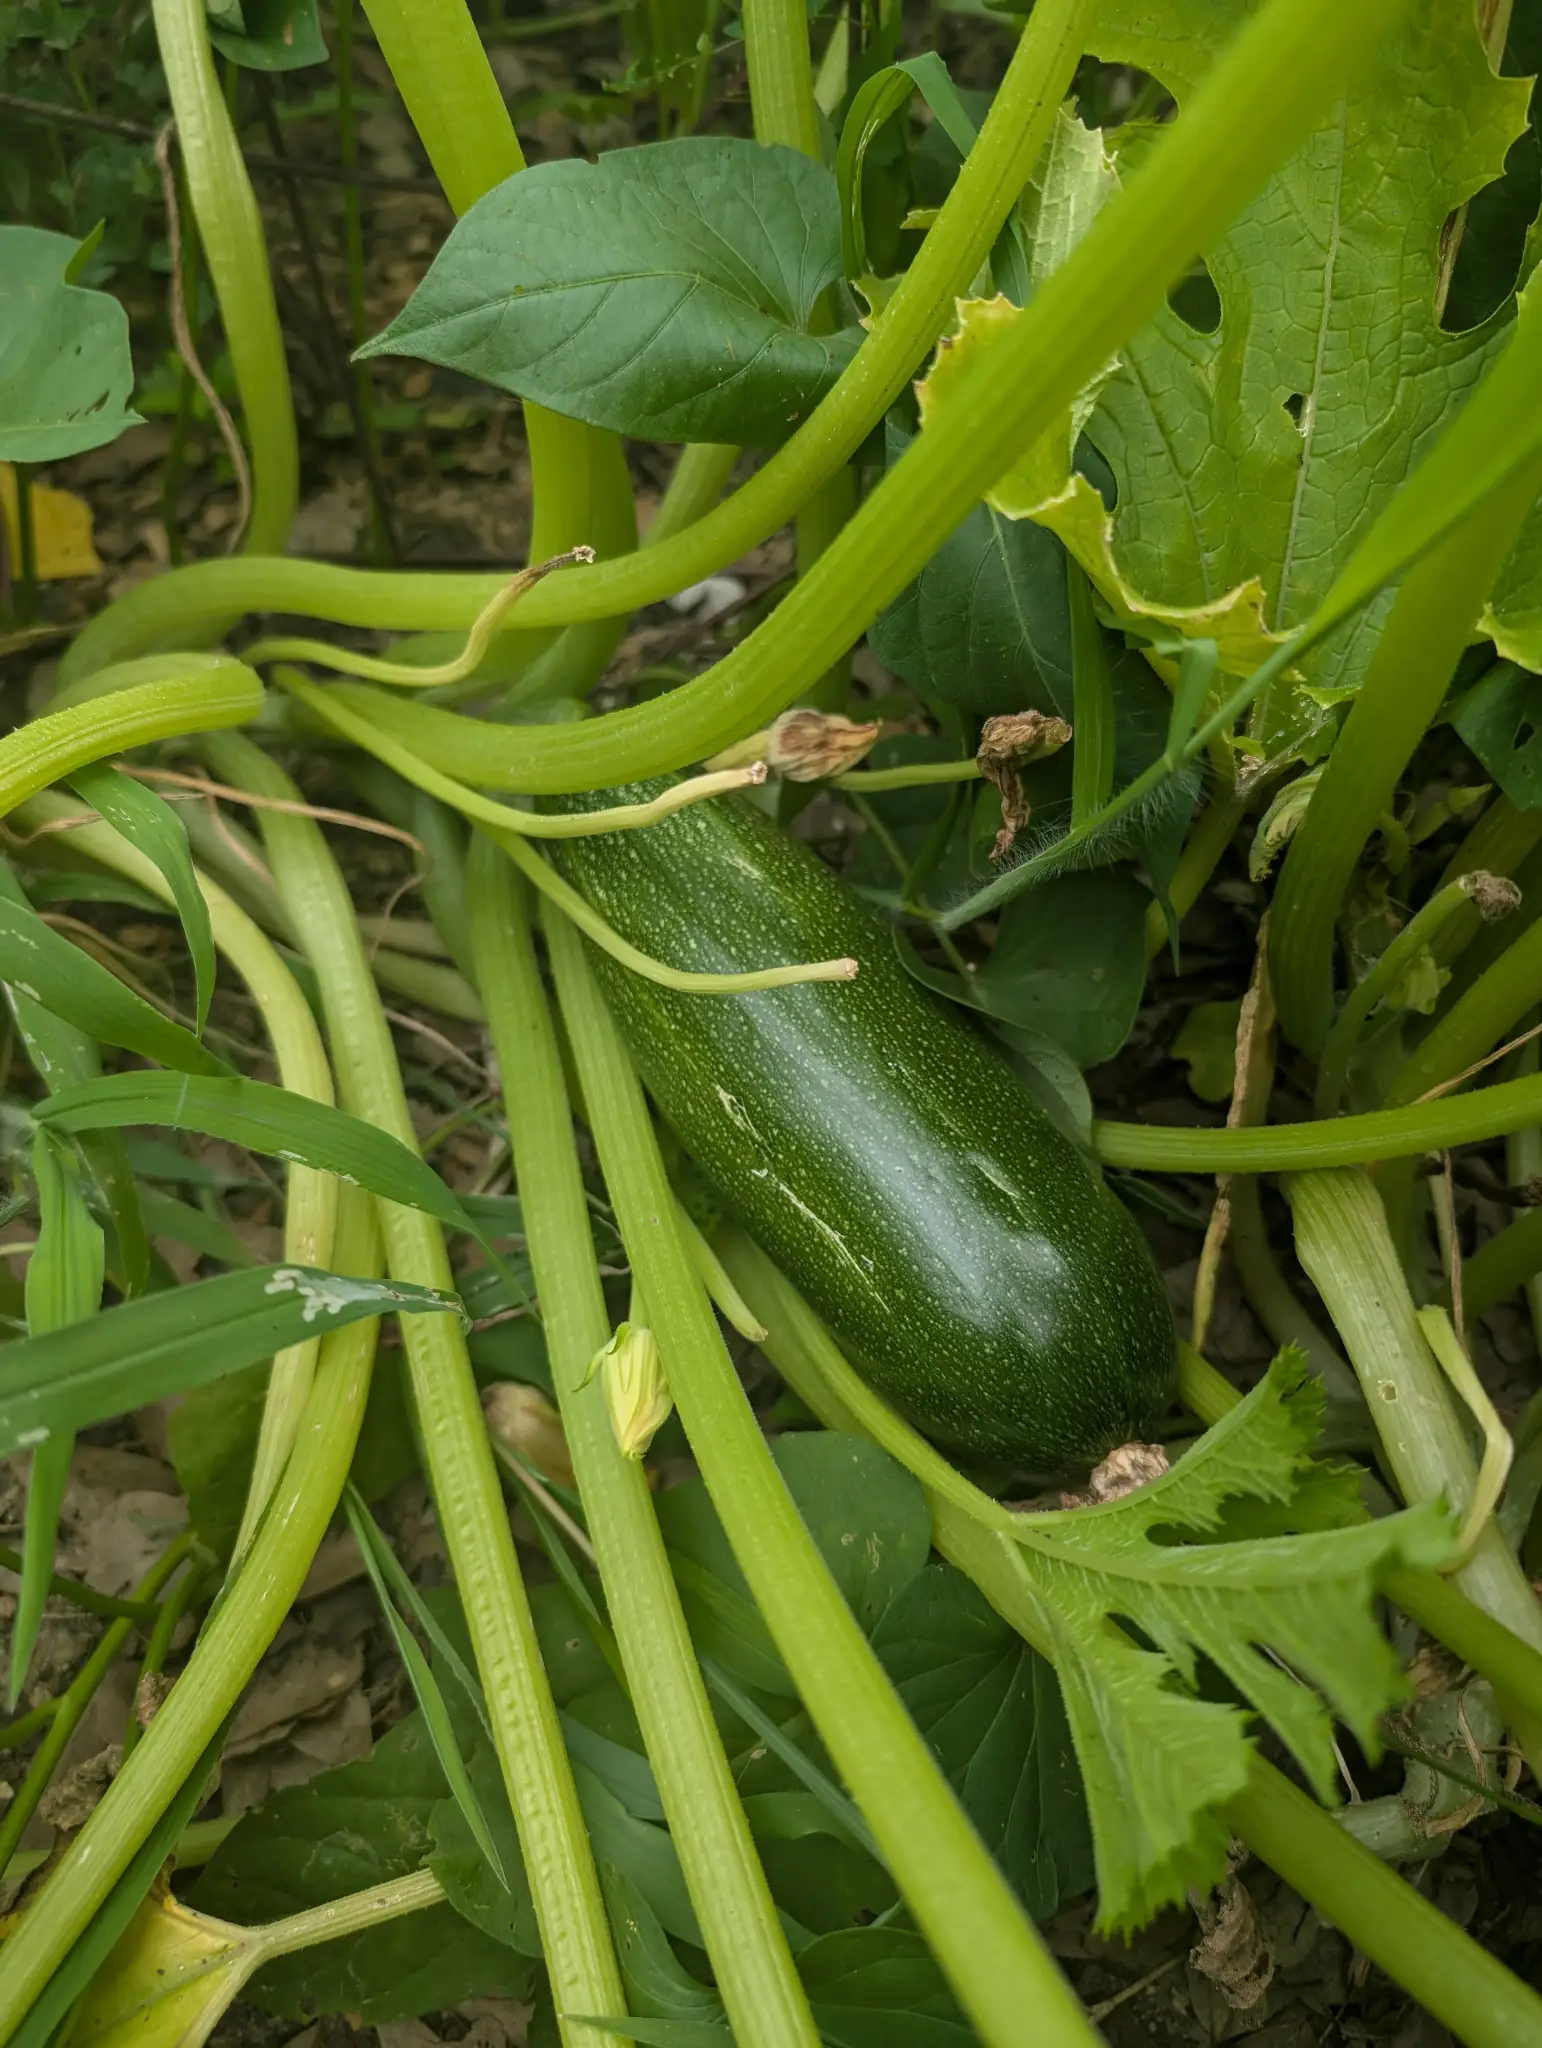
Zucchini
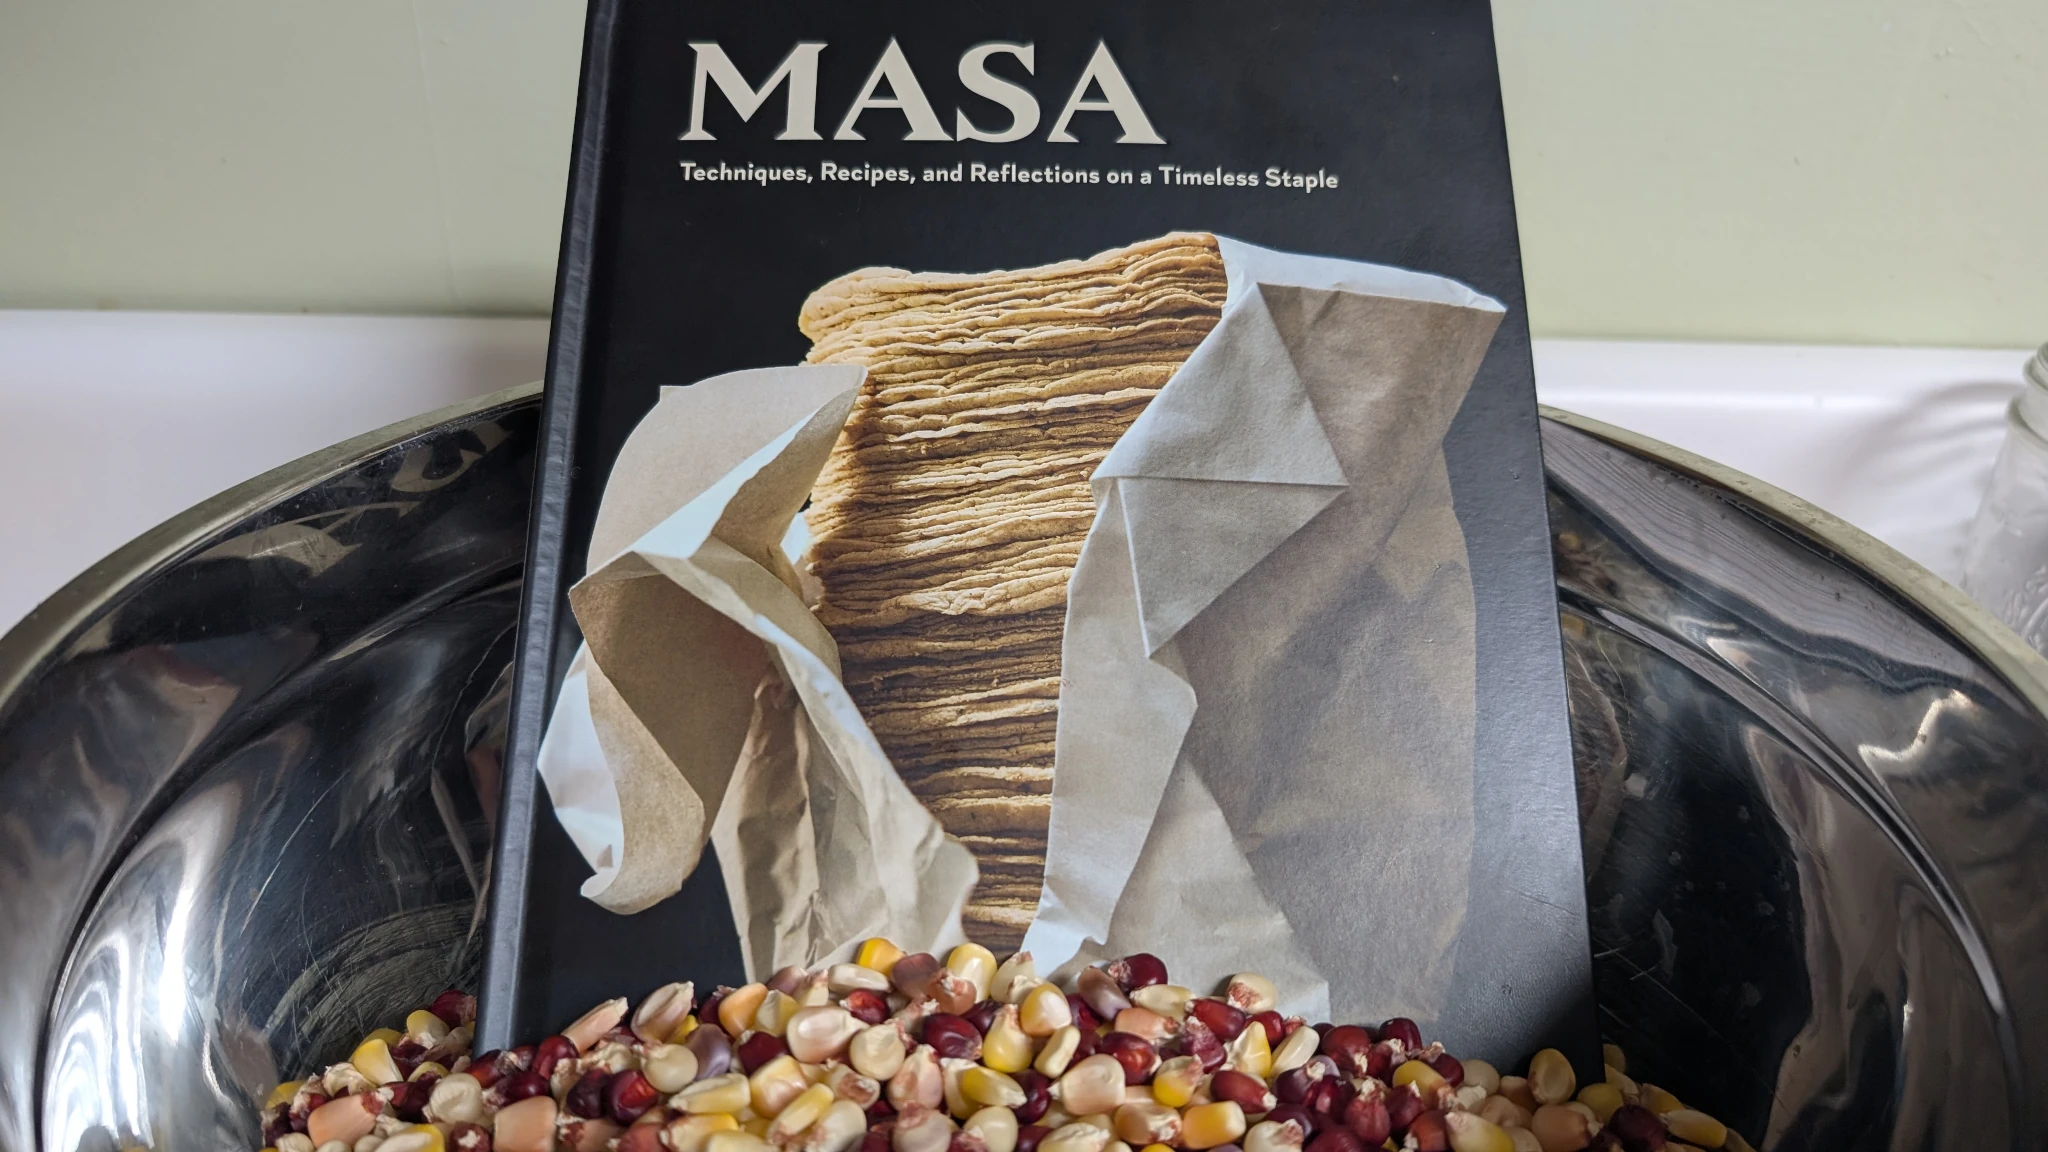
It seemed only fitting that I shell the last of the Bloody Butcher dent corn from this summer’s garden as I was reading Masa: Techniques, Recipes, and Reflections on a Timeless Staple.
Masa is a culinary expedition through the history of turning corn into nixtamal and nixtamal into masa, with lots of great tips and recipes along the way. It’s one of the latest books to further my own study of traditional and natural food preparation.
I’ve previously written about my journey as a diabetic and how I fight it without medication while using natural foods. I feel like this one will expand my repertoire in the kitchen. Plus, I have gallons of dry dent corn from the summer garden that must be put to good use.
But this is not a post about diet or food. It’s about completing my seventh year in a row of reading every day. 🥳 📚
So far, I’ve finished 29 of the 35 books for the 2025 Goodreads reading challenge, which is exactly the same spot I was in last year. With less than a month left, I don’t know that I’ll hit my 35-book goal, at least not without just diving into my manga TBR. And I’m not above doing that to best a challenge.
The biggest barrier to reading the remaining six books is one of my own making: I just got engaged and bought a new house. I’ll dive into the details of that in another post, but suffice it to say, it’s going to be a busy month moving to the new place and with the holidays in the mix.
Whether I complete the Goodreads challenge is largely irrelevant. The goal is to continue reading something—anything—every day for the remainder of my days. I’m a firm believer in reading being one of the most enriching activities that anyone can partake in. It opens us to new viewpoints and expands our scope of knowledge.
So I’ll keep on reading, and I hope you do too, dear reader.
Of the 29 books I’ve completed this year, it’s been a literary feast that would satisfy many tastes. I’ve read up on everything from keeping chickens to science fiction to fantasy—and quite a bit in between. I’ve certainly enjoyed each morsel along the way.
While it’s tough to pick a favorite, I’d probably give that crown to The Farseer Trilogy by Robin Hobb. And with that, I’ll leave you with a quote from one of her books:
]]>He shook his head pityingly. “This, more than anything else, is what I have never understood about your people. You can roll dice, and understand that the whole game may hinge on one turn of a die. You deal out cards, and say that all a man’s fortune for the night may turn upon one hand. But a man’s whole life, you sniff at, and say, what, this naught of a human, this fisherman, this carpenter, this thief, this cook, why, what can they do in the great wide world? And so you putter and sputter your lives away, like candles burning in a draft.”
“Not all men are destined for greatness,” I reminded him.
“Are you sure, Fitz? Are you sure? What good is a life lived as if it made no difference at all to the great life of the world? A sadder thing I cannot imagine. Why should not a mother say to herself, if I raise this child aright, if I love and care for her, she shall live a life that brings joy to those about her, and thus I have changed the world? Why should not the farmer that plants a seed say to his neighbor, this seed I plant today will feed someone, and that is how I change the world today?”
“This is philosophy, Fool. I have never had time to study such things.”
“No, Fitz, this is life. And no one has time not to think of such things. Each creature in the world should consider this thing, every moment of the heart’s beating. Otherwise, what is the point of arising each day?”
Robin Hobb, Royal Assassin

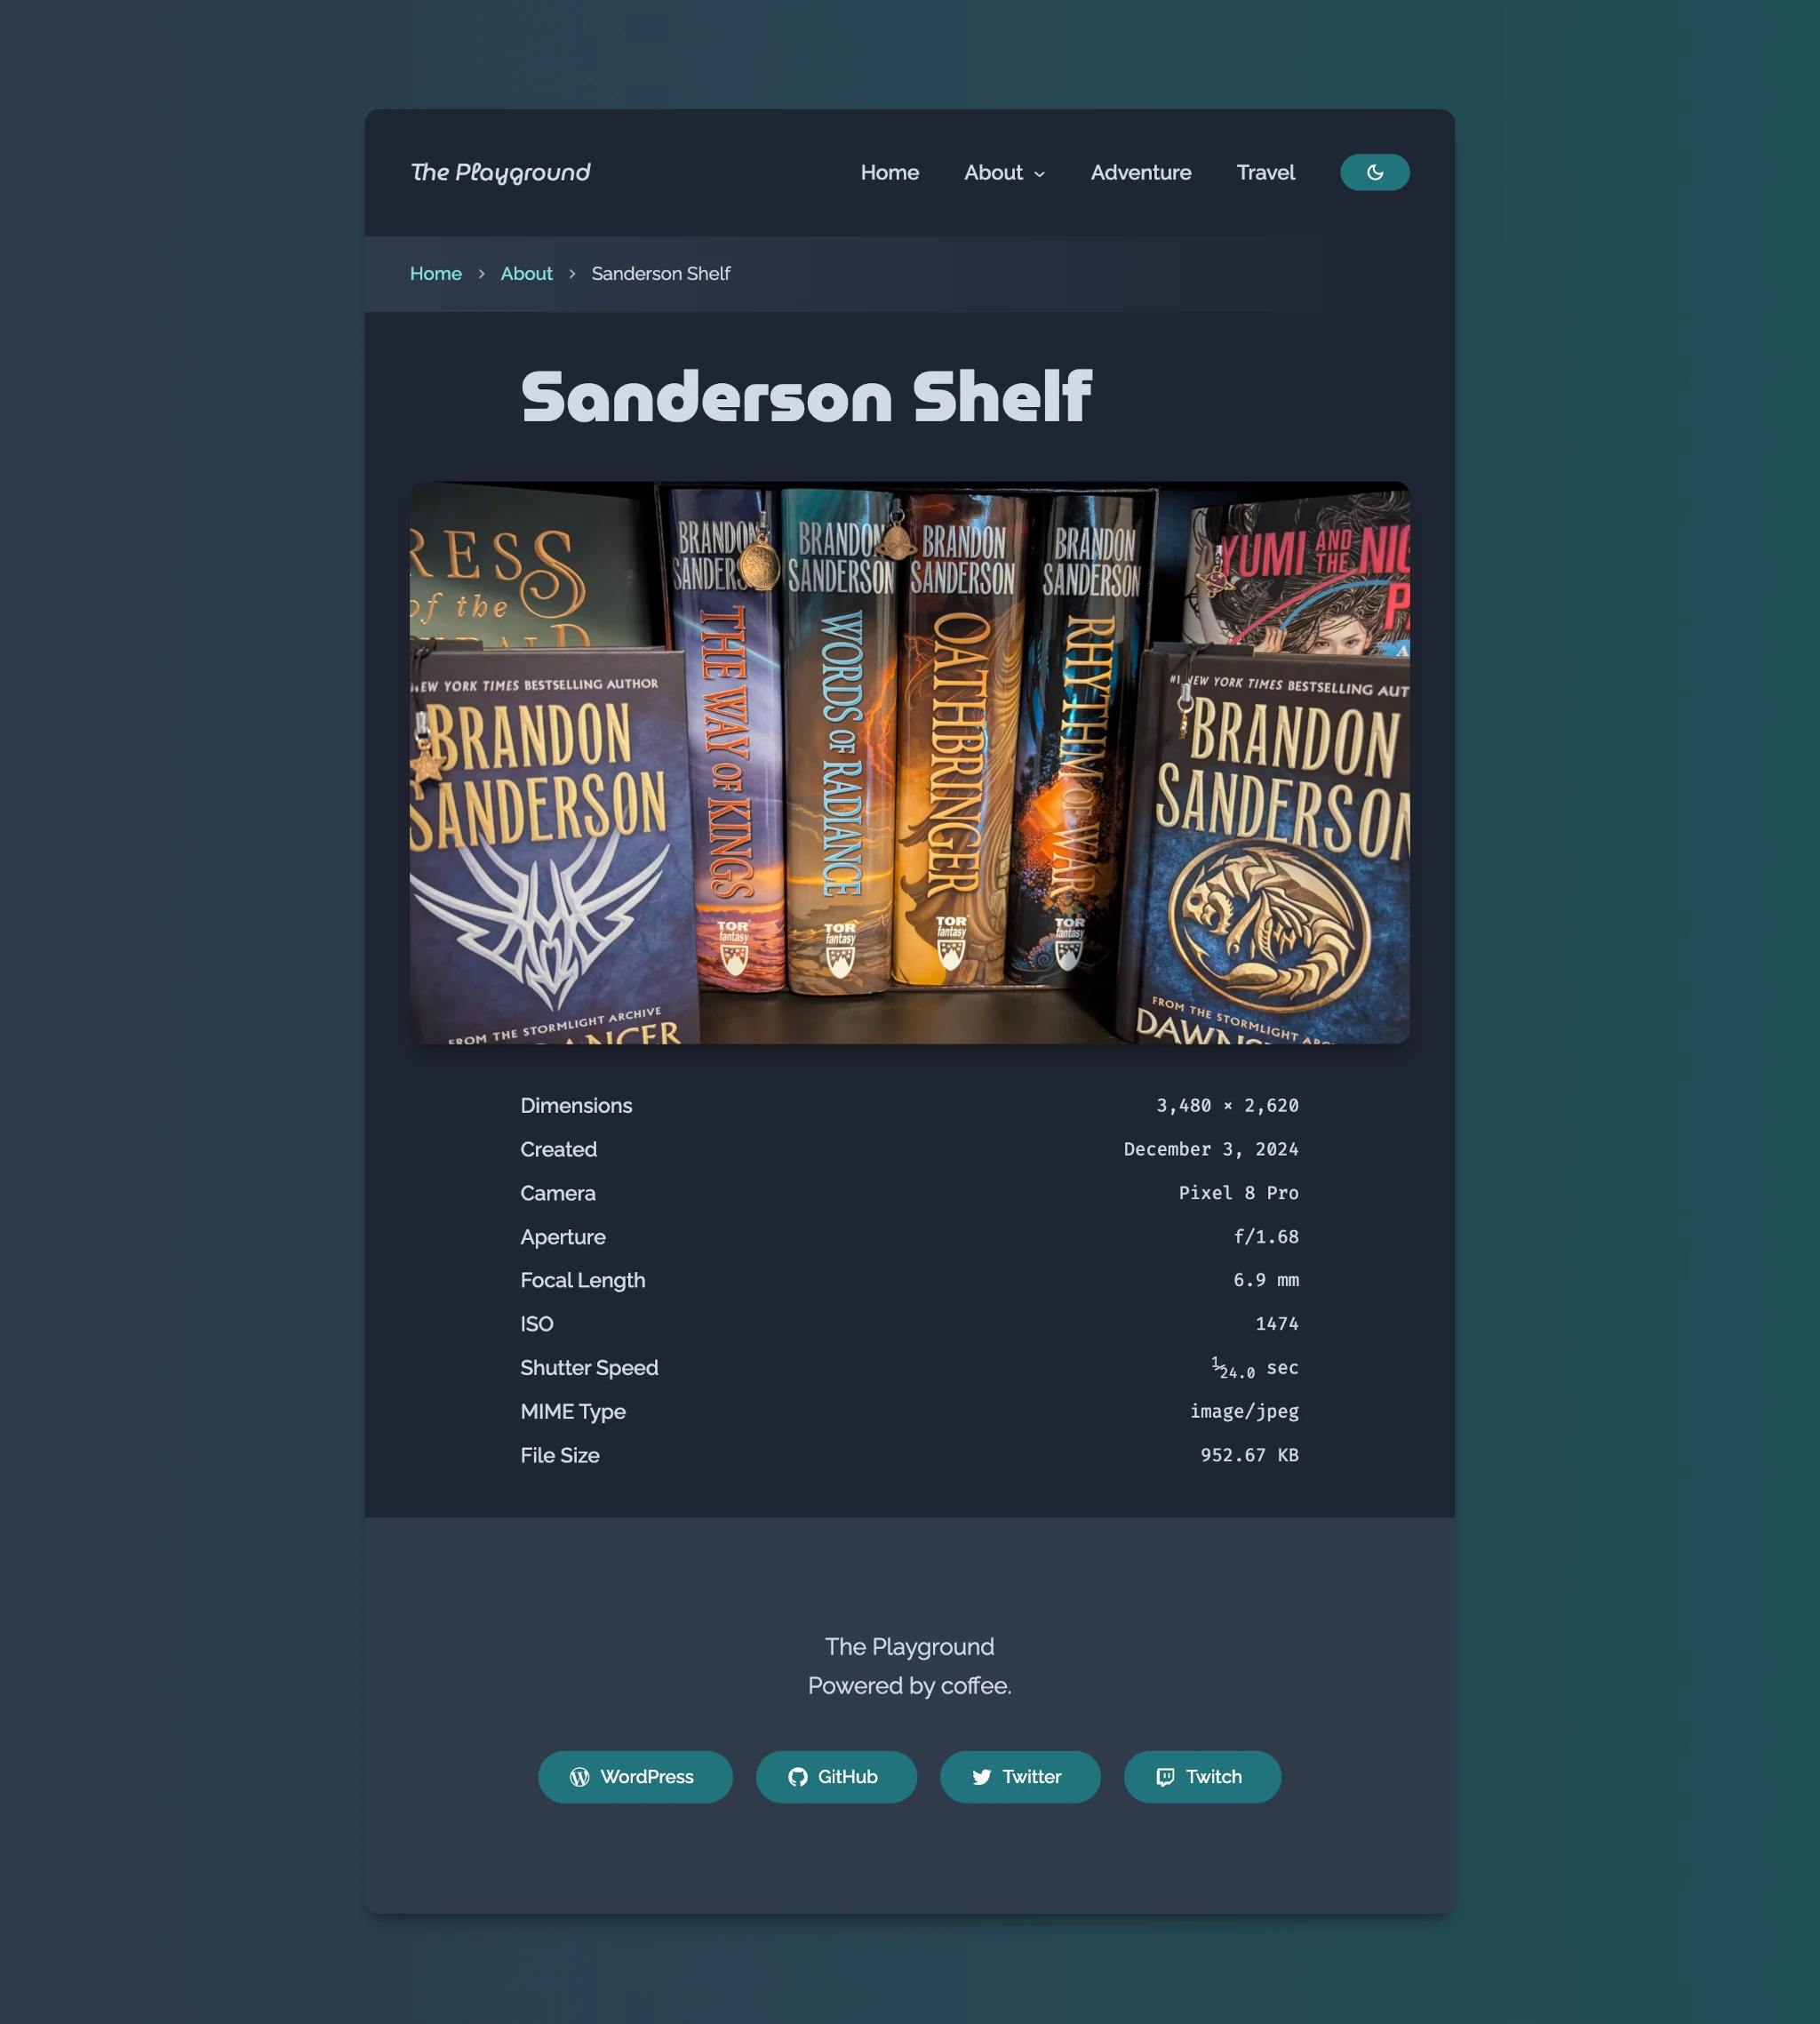
Your photos, songs, and videos hold more information than you might think—camera settings, recording details, dimensions, and more. WordPress actually saves all of that data when you upload a file but doesn’t make it easy to showcase it. The Media Data plugin changes that.
Over the weekend, I quietly tagged version 1.0 of X3P0: Media Data, my latest WordPress plugin. It does just what it says on the tin: it showcases media data.
Typically, I’d wait until my plugins are in the WordPress plugin directory to announce them for public release, but my submission was behind 400+ other plugins in the queue. In the meantime, you can always grab a downloadable ZIP from the plugin’s GitHub Releases page.
This is a project that’s near and dear to my heart. I’ve included some version of the original script in my themes for well over a decade, primarily for displaying metadata about audio, video, and image files on their respective attachment pages. Until the block editor came along, there really wasn’t a good way to let users configure it without diving into code.
In the last couple of months, I’ve worked to “blockify” it, making the functionality available to anyone. I’ve also overhauled the original code to use modern, object-oriented PHP and made it extensible for other developers.
What Does Media Data Do?
The plugin is actually made of two blocks:
- Media Data: A container block for assigning a media ID and wrapping Media Data Field blocks.
- Media Data Field: A block that displays a particular piece of data or metadata about the media. This block has a nearly two dozen variations, such as Title, Camera, Duration, Orientation, and more.
In a nutshell, you can insert a Media Data block, select a media file from the Media Library or upload a new file. The block will then automatically insert some default Media Data Field variations (Title, File Name, MIME Type, and File Size). From there, you can add more fields or edit/remove the defaults.
Here’s an example of what it could look like placed alongside an Audio block in the editor:

WordPress 6.9 Block Bindings Support
WordPress 6.9 will also make it possible for custom blocks to support bound attributes. This Media Data block supports this for its media ID attribute out of the box.
What this means is that developers can connect a custom block binding source and showcase any fields about that media file. Here’s a screenshot of a working example from my theme’s image attachment template:
Showcase Your Media Data
This plugin works with any media file that you upload directly to WordPress, using data that WordPress extracts from the file itself, including EXIF fields and ID3 tags.
Note that the data can only be displayed if it’s not removed before you upload to WordPress. For example, many image editors have options for removing EXIF data from photos. So keep that in mind if you do any pre-processing of your media files.
Otherwise, have fun with the plugin and leave feedback or requests on GitHub.
]]>
I feel like I’ve been writing some of the best code of my life lately. At least a few times a year, I have moments where I’m bursting with creativity. And I feel like I must work non-stop to let it all free. It’s quite addicting, taking over almost all other aspects of my life, which is not always the best thing.
But when it does happen, I get to build cool things like version 4.0 of my breadcrumbs plugin for WordPress.
With over 200 commits since v3.1.0, I’ve completely overhauled X3P0: Breadcrumbs to be the most robust breadcrumb trail solution for WordPress. And for the first time since I released the original script in 2009, “regular” users will have access to nearly every advanced setting without diving into code.
Block Updates
Version 4.0 exposes what were previously developer-only features via the WordPress block editor. There are still a few more options I’d like to include in the future, but iteration is the name of the game. Plus, I thought I’d get the new feature-set out to you all sooner rather than later.
Customize Labels
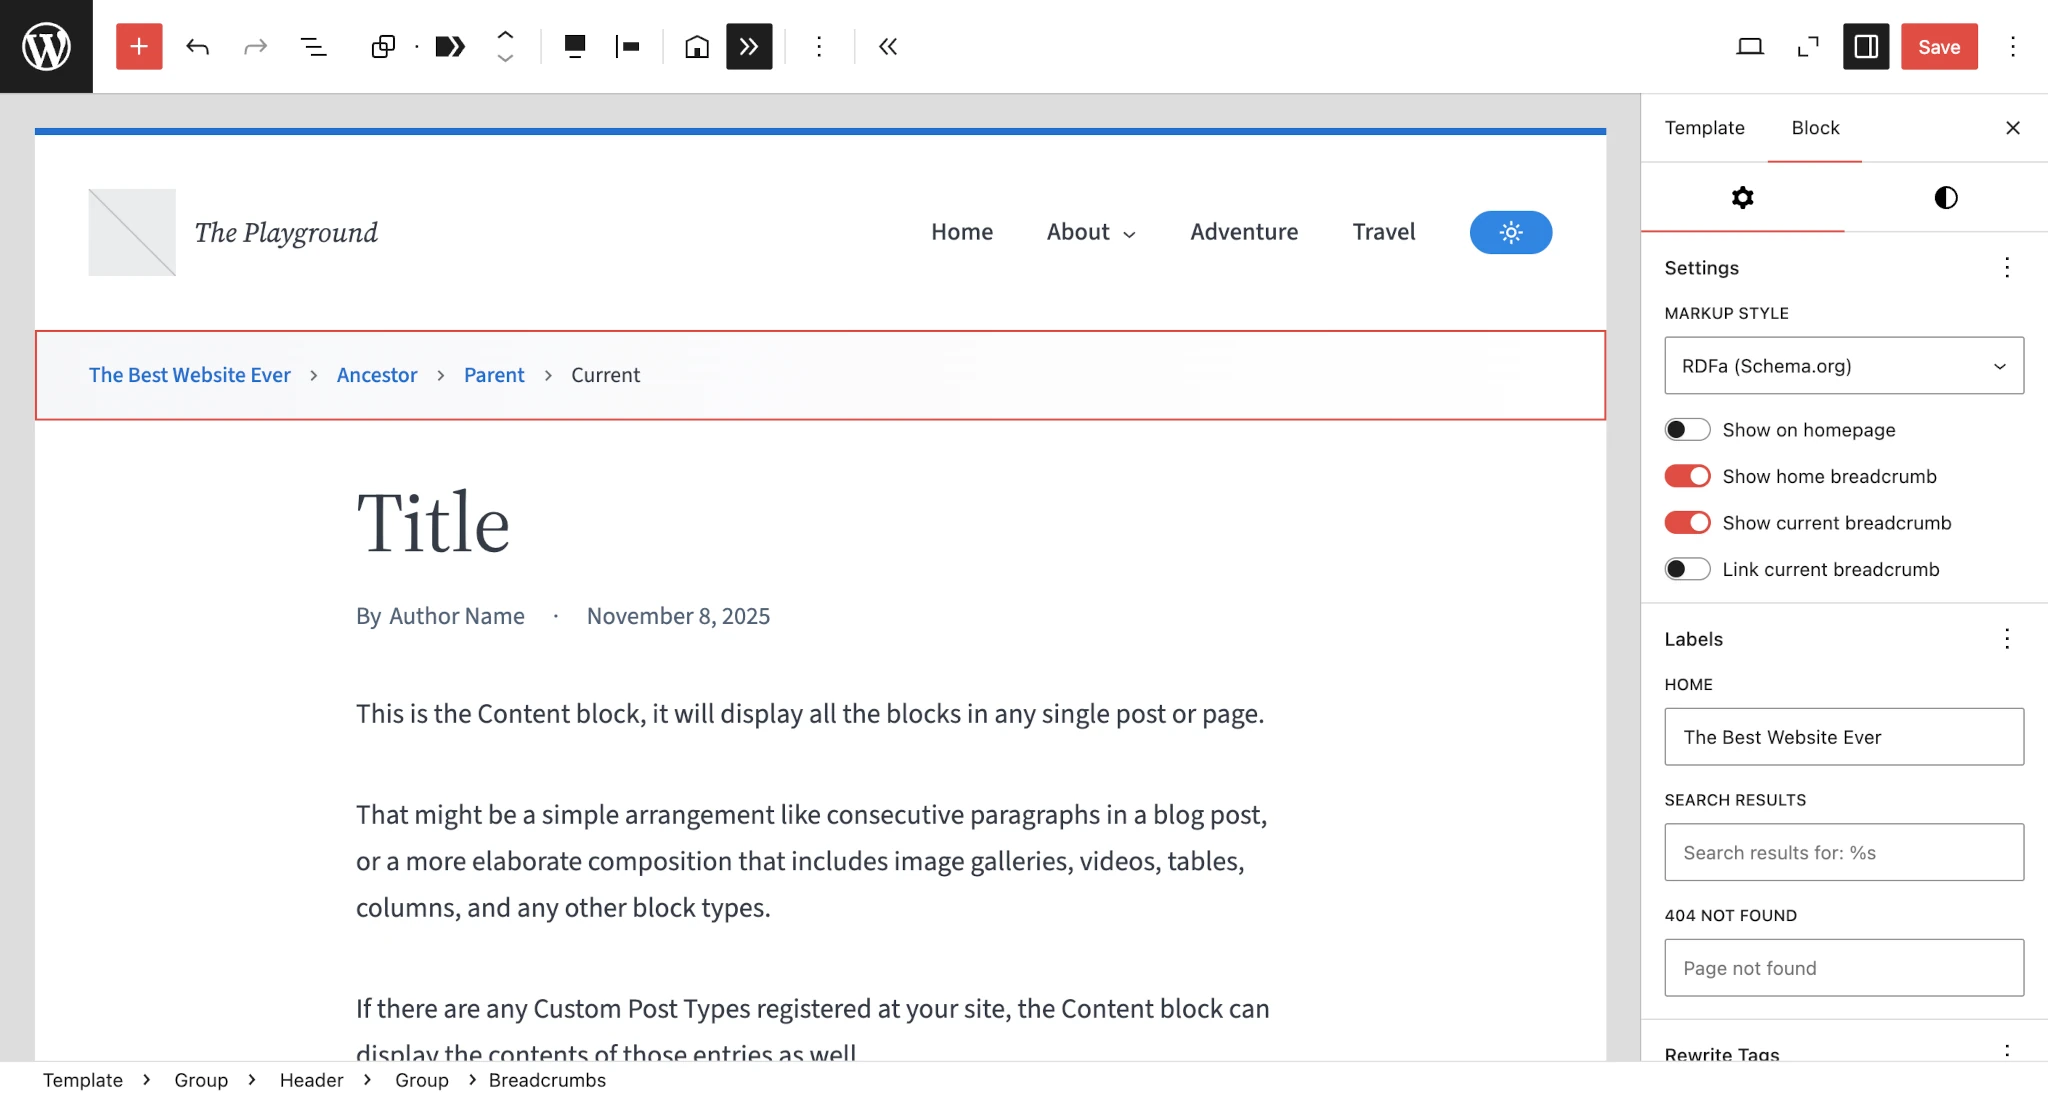
In this version, you can customize up to three common labels:
- Home
- Search Results
- 404/Page Not Found
The Home label is customizable from both the content canvas and via the inspector panel in the sidebar. This means that you can change it even while in content-only editing mode.
There are many other labels, particularly around date archives, that are not exposed in this version. Honestly, I don’t know how useful they are as block settings and whether they’ll just clutter the UI. Let me know if you’d like to see more options here.
Post Options
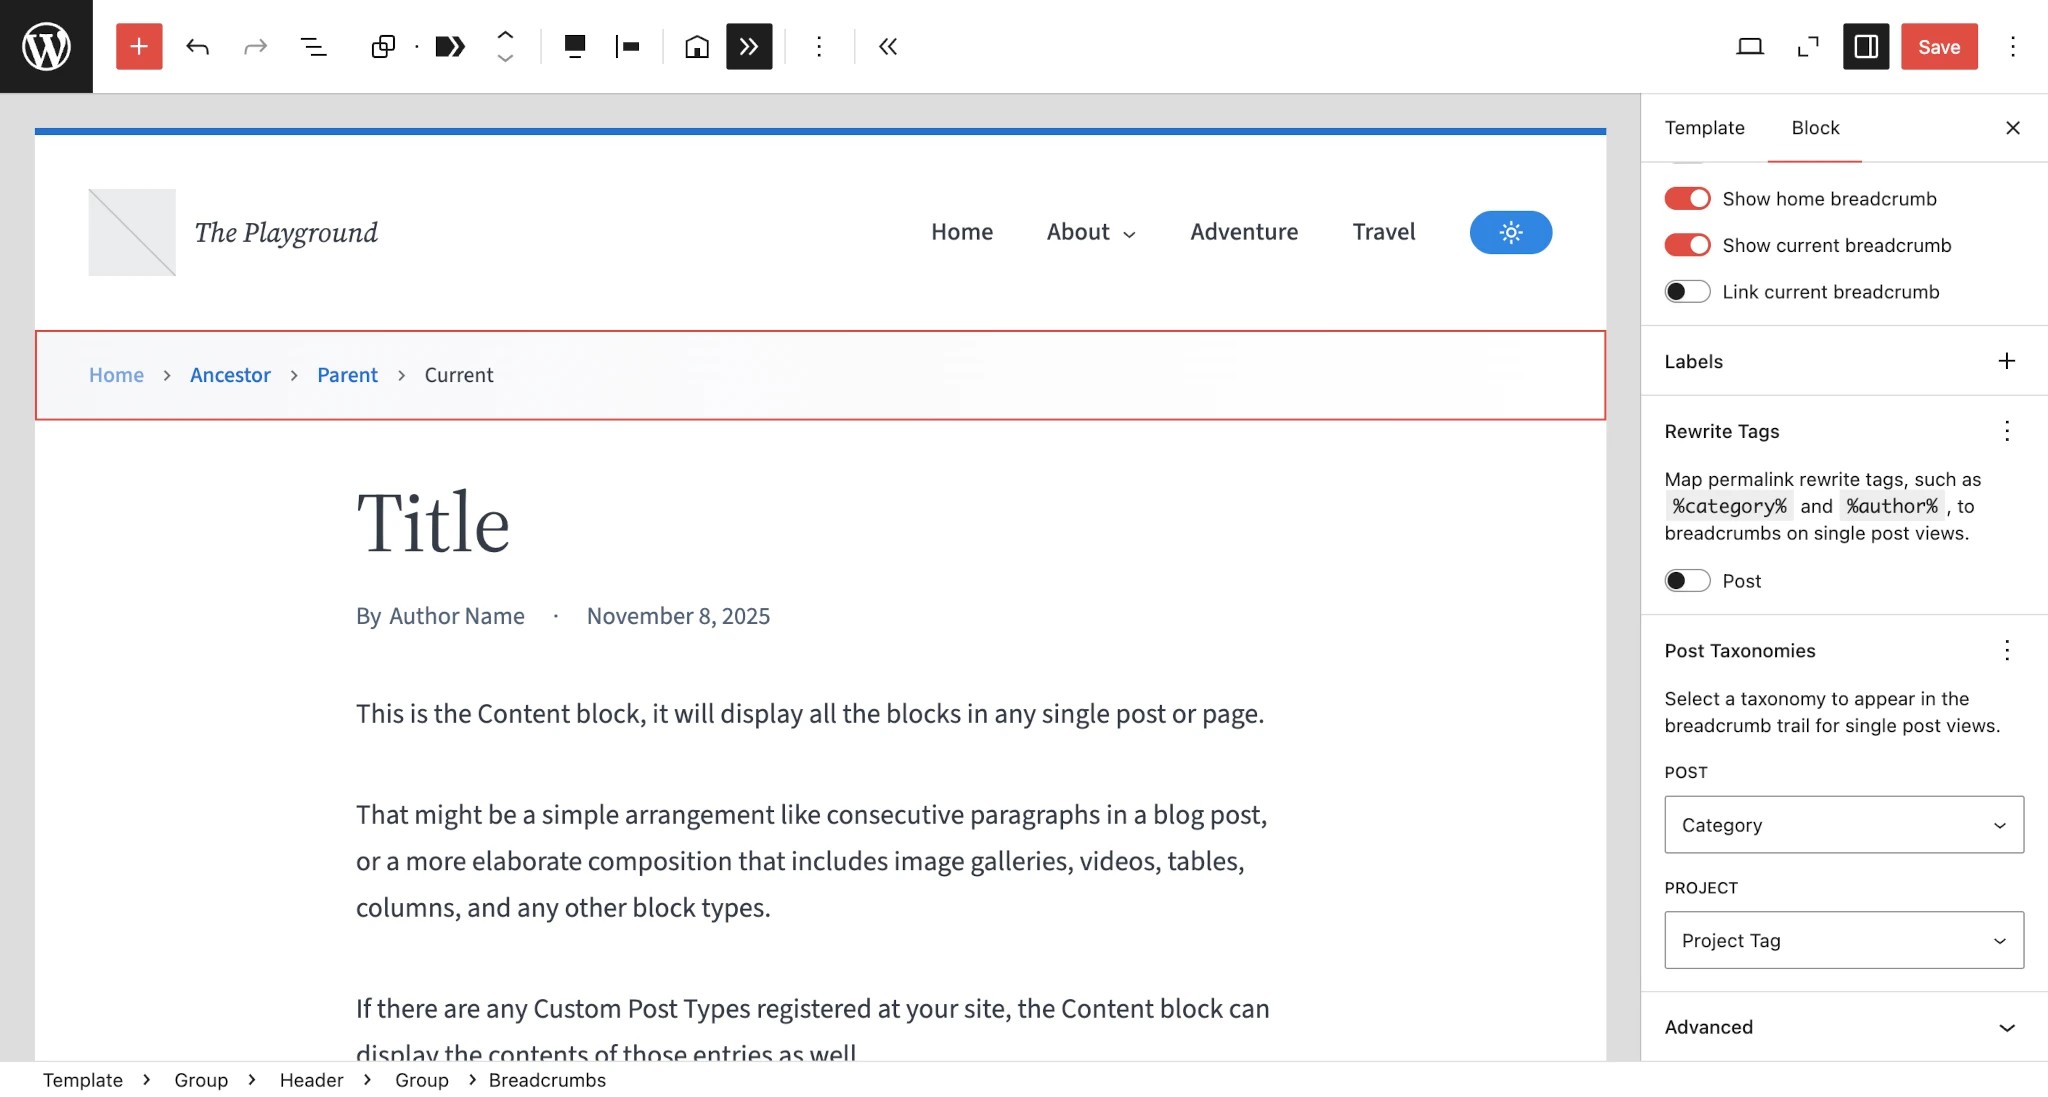
The two major additions to the block include panels for:
-
Rewrite Tags: Lets you decide whether to show breadcrumbs based on your permalink structure’s rewrite tags (e.g.,
%category%,%author%,%year%, etc.). - Post Taxonomies: Gives you the ability to display the primary term from a particular taxonomy (e.g., category, tag, etc.) on single post views.
Both options have their usefulness, depending on what type of website you have (and they’ll even work together).
The downside is that this addition is a breaking change for some users. In version 3.0 and earlier, the block automatically output the category for posts. In version 4.0, this defaults to use rewrite tags and no category. To expose these new block options, this change was necessary. Essentially, I needed to reset to factory settings, so to speak.
It’s a bit more involved than what I’ve explained here, but trust me when I say that it was unavoidable. And I’ll do my best not to break back compat in future versions of the block.
Other Block Upgrades
A few other noteworthy additions include:
- All the settings panels use the WordPress Tools Panel component, bringing them inline with other Core blocks.
- A new toggle option lets you enable the link for the last breadcrumb.
- The block now supports the Shadow design tool.
Public API Overhaul
If you didn’t know, the plugin isn’t just a block. It’s a full-featured OOP script for displaying breadcrumbs, even in classic themes. Developers can build their own implementations, extending what’s already there.
Simplified Function Call
Previous versions of the plugin didn’t have a middle ground between the easy-to-use block and working with more complex PHP objects. This version changes that with some nice syntactic sugar in the form of the new breadcrumbs() helper function.
Here’s an example of configuring a few optional parameters to output a breadcrumb trail:
use function X3P0\Breadcrumbs\breadcrumbs;

echo breadcrumbs()->render(
	breadcrumbsConfig: [
		'mapRewriteTags' => ['post' => false],
		'postTaxonomy'   => ['post' => 'category']
	],
	markupConfig: [
		'showFirstCrumb' => false,
		'linkLastCrumb'  => true
	],
	markupType: 'rdfa'
);
This is much easier than creating new objects and nesting them correctly. Of course, this is just a wrapper around a more powerful set of tools for advanced use cases.
JSON-LD Support
A nice little add-on that I wanted to point out was the addition of a built-in JSON-LD markup implementation. The plugin itself doesn’t output this in your site <head>, but it does give you the option for quickly adding it yourself.
Dropping this code snippet into a custom plugin or your theme’s functions.php will make the magic happen:
use function X3P0\Breadcrumbs\breadcrumbs;

add_action('wp_head', function() {
	echo breadcrumbs()->render(markupType: 'json-ld');
});
I decided against including an option in the plugin for automatically outputting this in version 4.0. Primarily, I didn’t want there to be any surprises for users with SEO plugins that exposed the same functionality. I need some time to let the idea simmer and decide the best path forward. What do you think?
More Developer Features Available
I won’t rehash everything that already exists in the documentation. There’s a ton of flexibility for folks who want to dive into advanced breadcrumbs configuration and extension. If you’re one of those people, feel free to review the full README.
What’s Next?
I’m hoping to go into a bit of maintenance mode as far as development goes over the holidays, but you never know when the next bout of inspiration will strike.
There’s already a request for a shortcode version of the block, which I think is worth including. I’d also like to explore adding an admin page to enable JSON-LD breadcrumbs in the site head. But feel free to open feature requests via the plugin’s GitHub repository.
Until next time, I hope y’all enjoy this release.
]]>
When I was a teenager, I’d stayed over at one of my buddy’s house for the first time. He was the new kid in town, and we’d become fast friends. I don’t remember what all we did that night. Probably played some N64 video games and jammed to whatever the latest “gangsta rap” CD was out—keep in mind that we were two country boys from rural Alabama, so this would’ve been a sight to see.
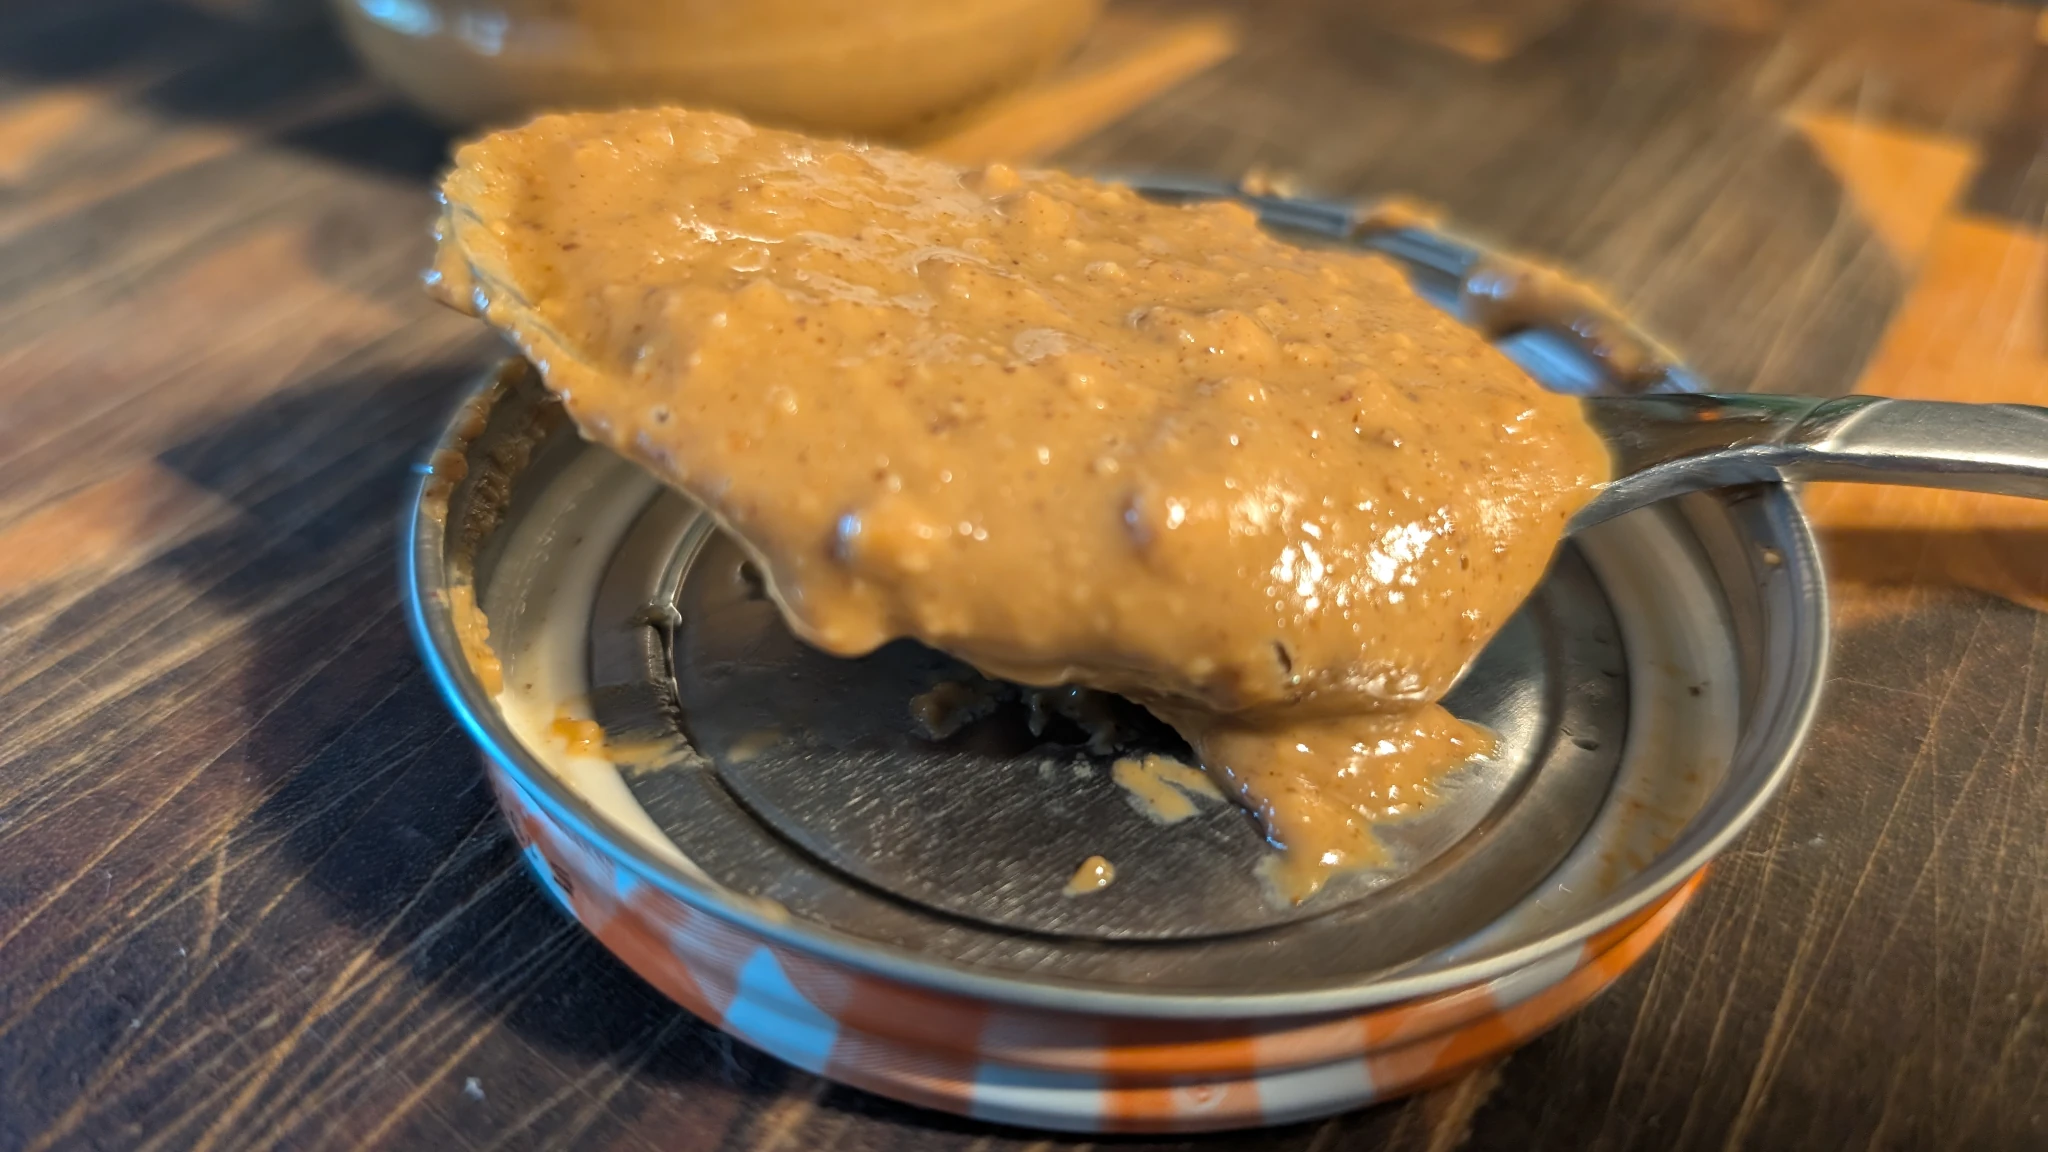
As I was making fresh granola this morning, a moment from that night flashed in mind, just as clear as it was the back then. In my own kitchen, I was stirring a fresh jar of peanut butter, preparing to put about a cup of it into my granola.
If you’ve never had the real stuff, you probably don’t know that the oil separates from the peanut solids. That means you must stir it well to have a smooth, creamy consistency. It’s a perfectly natural process.
Anyway, back to the night with my friend. I don’t remember that we had a proper supper or anything of the sort. His single mom was probably working, and the kids were left to fend for themselves (I know that idea is shocking to modern-day helicopter parents, but I also very much grew up in a similar situation at times and turned out just fine).
My buddy asked what I’d like to eat. I told him I’d be just fine with a good ol’ peanut butter sandwich.
He’d embarrassingly headed over to the pantry after trying to convince me to try a few other snacks. I wasn’t sure why at the time, until he pulled out a gallon-sized tin of peanut butter. It looked like the sort of thing you’d get from a 1950s-esque nuclear-preparedness cache or something of the sort.
Most kids our age were accustomed to the popular brands in the 90s like Jif, Peter Pan, and Skippy. He knew that. I knew that.
I don’t remember the brand on his tin of peanut butter. But it contained just two ingredients: peanuts and salt. I mostly recall it being a giant metal container and not the small plastic jars I was accustomed to seeing.
He slowly popped the plastic lid off the tin. As he was doing so, he began apologizing and explaining that we’d have to stir it before eating. He knew it was weird. But told me it was OK to eat once it all got mixed together.
I didn’t much care. It was an unusual thing for me, but I’ve never been a picky eater and was always up for trying something new. Besides, my stomach was telling me it was time to consume something. So, I was like, “Let’s do it!”
And I ate a tasty peanut butter sandwich, perhaps for the first time.
A big part of me wants to go back and tell that embarrassed kid that it’s OK to be the weird one in America when it comes to food. Normal is sick.
I’d want that kid to know that his mom, despite being financially strapped at the time, had chosen to feed him and his siblings real peanut butter. Real food. The products that we all ate as kids were nothing more than “peanut butter spread,” filled with added sugars and hydrogenated vegetable oils. Not the real thing.
Also, can someone explain to me why peanuts, which have natural oils of their own, would need hydrogenated vegetable oil added when making peanut butter?
I wish I could travel back in time to let that kid know that there wasn’t anything to be embarrassed about.
And I sure hope that he’s continued eating the real thing over the years.
I know that it’s a mainstay in my diet. As I write this,the taste of my granola cereal still lingers. Subtle hints of vanilla, cinnamon, and peanut butter dance along my taste buds. The thing I enjoy most of all is biting into a cluster of oats that have formed a pocket around a ball of peanut butter. 🤌

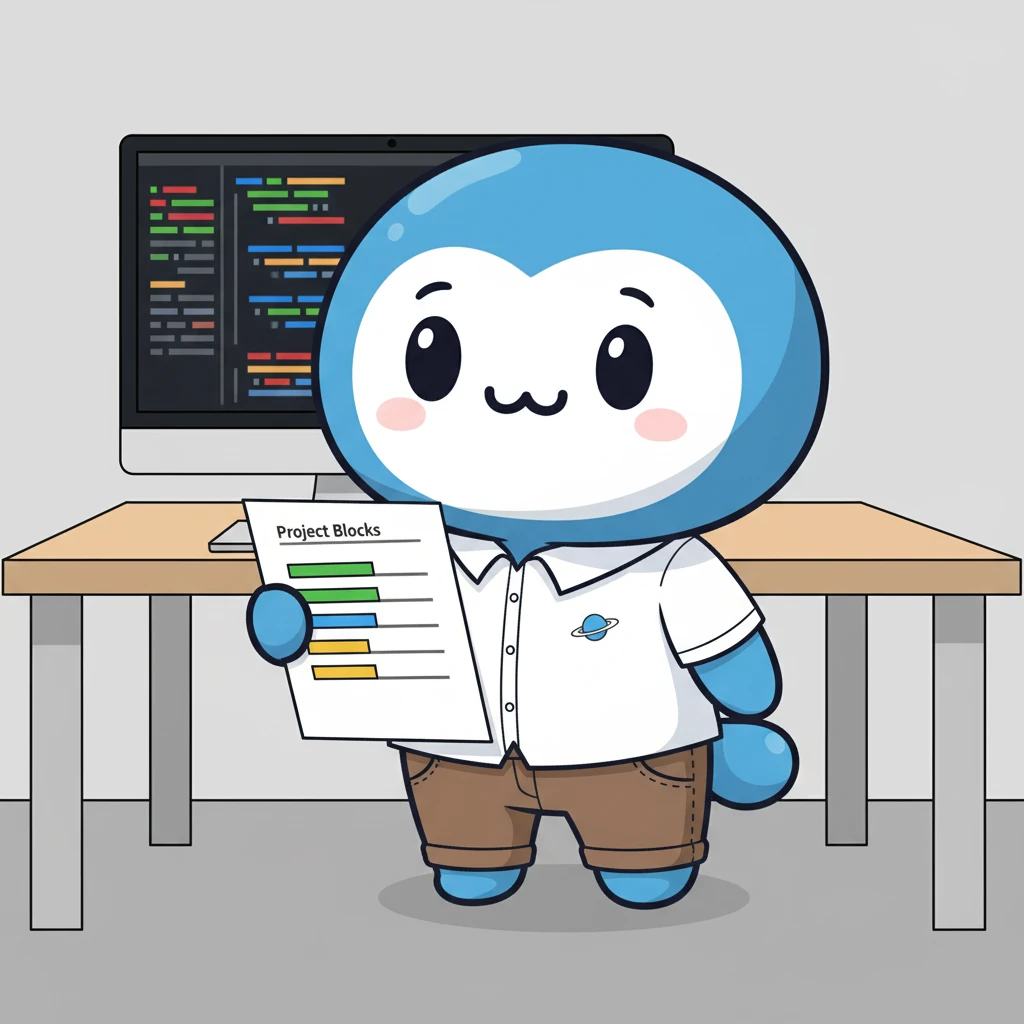
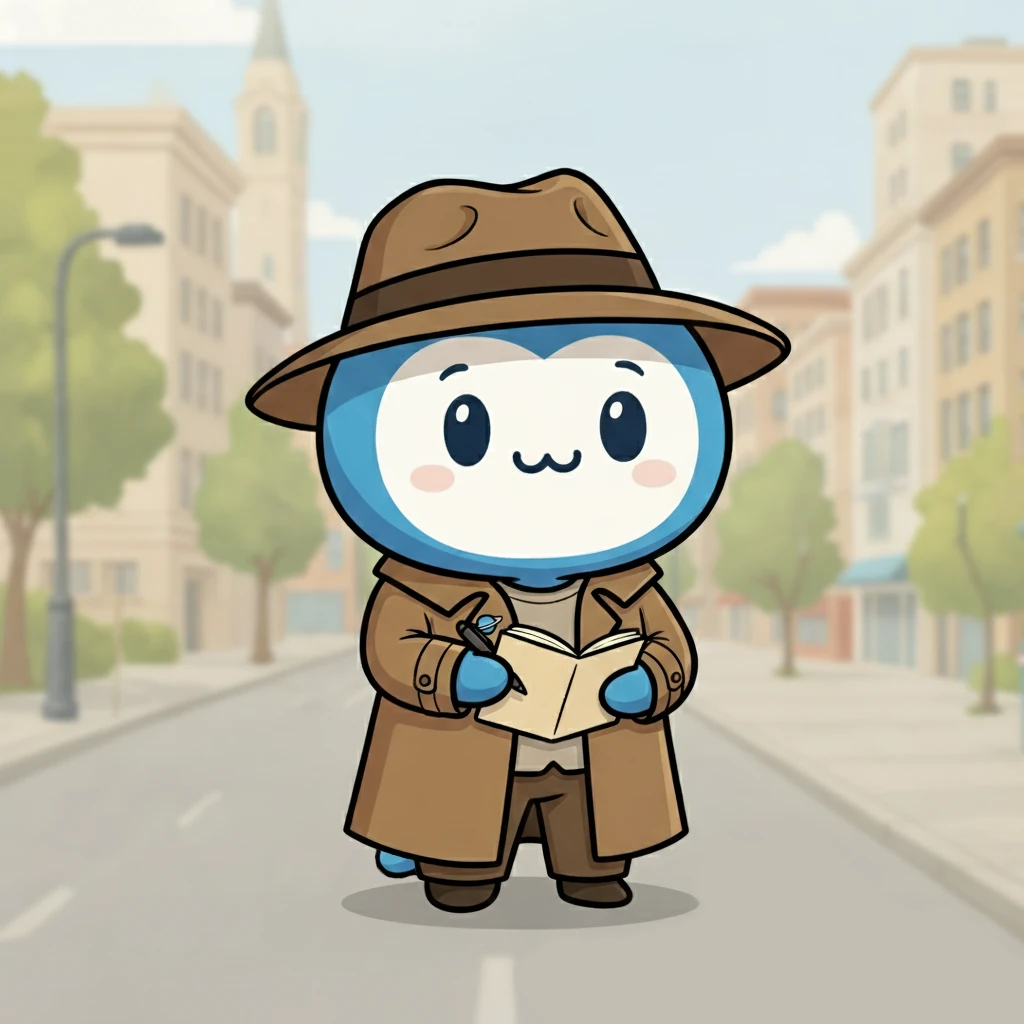
Nova is a space-faring, time-traveling creature from an unknown race who has ventured back to 2025 to build awesome WordPress plugins and themes. Or he’s possibly here to just cheer me along in the process.
He came here entirely by a random act of fate.
What I really means is that I accidentally created a brand new mascot along with some help from AI and #wpdrama.
The Backstory
An article on the Afteractive blog, Has Wapuu Outlived Its Usefulness? A Critique of WordPress’s Mascot and Community Decay, has been making the rounds in recent days. It argues for the retirement of Wapuu, WordPress’s own beloved mascot.
While I don’t agree with the conclusion, I’m not here to argue with it. I’d rather go on building cool stuff with WordPress and enjoying the fun Wapuus that others create.
Besides, if you want to read counterarguments, check out:
If I was still writing for WP Tavern, I probably would’ve written my own manifesto for Wapuu as a response. But those days are far behind me.
Instead, I wanted to do what my colleague Jonathan Bossenger described as “kill em with cuteness.” And that’s exactly what I set out to do.
I wanted a Wapuu for my X3P0-branded WordPress themes and plugins. I wanted to plaster my own little version of Wapuu all over my plugin and theme pages on WordPress.org. I wanted to share the pudgy little yellow creature across social media. Kill em with cuteness.
As much as I didn’t have time for a well-written rebuttal to the original article, I also didn’t have time to spend hand drawing my own version of Wapuu, bringing him back into Photoshop, and getting the details just right.
I turned to Google Gemini with an initial prompt: Can you create me a fun icon of a WordPress Wapuu that is holding a loaf of bread?
Gemini didn’t at all give me a Wapuu. It gave me the first version of Nova.
Nova wasn’t what I was looking for, but he was what I needed. I hadn’t expected to find this path, but some small part of my soul knew I had to follow where it led.
After some back-and-forth with Gemini and a some careful adjustments in Photoshop, I had a character that I was satisfied with. And I had a use case: I wanted his first public outing to be in my Breadcrumbs Block banner and icon:

I suppose I owe some gratitude to that Afteractive article. It sparked the flame that created Nova. Now there’s one more cute and cuddly mascot in the WordPress community.
Nova, the Mascot
I’ve always wanted a mascot for my development work, but I never properly sat down and created one. It’s hard to find the time with all the other things that climb atop the to-do list.
But we’re in the middle of the AI revolution.
And as much as I love doing things the old-fashioned way using the tools that I know, sometimes it doesn’t hurt to just get things done. AI is merely another tool to push ideas to life. And sometimes it helps you create magical things that you were not expecting.
Nova is now the official mascot for my projects under the X3P0 umbrella, which is basically my personal brand for block-era WordPress themes and plugins (click the images of Nova below to find cool blocks you might not have tried yet!).


I had a lot of fun designing dozens of variations of Nova with Gemini over the weekend (the girlfriend can attest to that since she received most of them via text). It’s rarely a perfect AI tool, but it gives me a running start before pulling everything into Photoshop and Figma for further manipulation—don’t even ask me how many times I had to cut and crop a new tail on Nova!
In a lot of ways, it reminds me of my early days of the web—just creating for the sake of creating and trying new ideas with new tools. AI has truly made the web fun again. I can’t wait to see what the future holds.
Whatever it is, I’m sure you’ll be seeing a lot more of Nova in the coming weeks, months, and years. I’ve officially adopted him.
Heck, he even has his own theme song, created using Suno, another AI tool (hat tip to Troy Chaplin for the suggestion):
Until next time, keep having fun with this wild and wacky thing we call the world wide web. Don’t let the haters keep you down.
]]>
As usual, I’m sitting behind my laptop on my birthday, attempting to think of something profound to write and share with the world. I don’t know if I have any particular life lessons this year, but I do have a story.
This story began primarily during my college years—perhaps even earlier. But the latest chapter began on October 4, 2023, and has been a significant part of my life over the past year. I’ve shared pieces here and on my social media accounts. It’s finally time to share it all—well, the important bits anyway.
It was a nice, warm day. Maybe a few degrees above the average for Alabama weather in early October. We hadn’t quite got into the good football playing temps yet. But the warm weather wasn’t too much on my mind because I was sitting in a icy room, nervously awaiting results from my primary care physician.
I already knew the news was going to be bad. I didn’t know how exactly many boxes I was going to tick on the “yeah, you’ve f’d up” chart, but I could think of a few.
Turned out I hit the big trifecta that, sadly, so many Americans can claim:
- ✅ Hypertension.
- ✅ Hyperlipidemia (that’s high cholesterol).
- ✅ Type II Diabetes.
Those three typically go hand in hand. They also lead to far worse issues if not addressed. I was driving along the fast track toward an early grave, likely by stroke or heart attack, whichever curve appeared first along the road.
I knew the blood pressure was up. I probably could’ve guessed the cholesterol wasn’t so great. But I could fix those.
The “D” word struck me the hardest. It was an issue that I’d never faced in the many years of yo-yo dieting and exercise regimens I’d gone through. And everyone I knew who had the disease was on some form of medication or insulin injections. Honestly, that didn’t sound like too much fun to me.
I’m going to stop here and just give you some good news: for all intents and purposes, I haven’t been diabetic for over a year. I suppose it would be correct to say that the condition is “in remission.”
This topic has been on my mind in the last month as I had my latest checkup with the doc. My blood sugar was in a good place after being entirely off medication for six months. It’s a good place to be at the ripe old young age of 41.
The question on so many people’s minds: how did you do it?
My Diabetic Journey
I did two things when I left my physician’s office that day.
The first was to make a quick trip by the Burger King drive-through. I snagged three cheap burgers for one final hurrah.
The second, and probably the most important thing, was to vow that I would deal with my diet and lifestyle issues once and for all. If I were diabetic that day, I wouldn’t be for long.
That meant making changes to my lifestyle. I needed more exercise and to eat healthier. Sounds simple enough. I’d been down this road a few times, and I know that it’s not always easy despite the simplicity.
My exercise routine is pretty boring. I make sure to move around some every day. In the winter, that’s mostly 30-60 minutes of walking. As the weather warms, I’m more likely to be in the garden or doing some sort of yard work. Exercise is such a small—but important—component that it’s hardly worth going into detail.
The biggest changes are through diet, so I’ll focus on that part of the journey.
So many people ask me if I avoid carbs or if I’m following a carnivore diet to address blood sugar issues through diet. And so many of them are surprised that I eat many carbs. They’ve actually played an integral role in my diet over the past year and a half.
I’ve completed a lot of diet programs throughout my life. I’ve done everything from Atkins to similar programs such as paleo, primal, and carnivore. Heck, 13 years ago on my birthday, I had what I called the Birthday Breakfast of Champions, which was a bacon omelet. I’ve had a stint with veganism (really more toward ovo-lacto vegetarianism) where I’d previously dropped my blood pressure. As far back as my college years in 2007, I participated in Body for Life. I even ran a 5K back in 2011 (this was during a second go with Body for Life).
Most of those diets are fads in one way or another. I’m not saying that they’re bad. Quite the opposite. Most have something to offer. There’s never been a diet that I’ve been on where I didn’t lose weight, correct health issues, and get into better physical shape. And I’ve tried others too.
So the real question is why I didn’t stick with any of them. I believe that’s because they all lacked something.
Some diets forgo delicious bread and fruit. Others ban beans and dairy. And, let’s be honest, I love a good steak as much as any other red-blooded American.
There is one thing that all the diets I followed had in common: getting rid of processed foods.
In practice, that means focusing on whole foods. I think most humans instinctively know what healthy, wholesome food is. And that’s not the stuff that comes out of a box.
When I think of an “ideal” diet, I always go back to two guidelines my stepmom always mentioned:
- Eat whole foods.
- Eat in moderation.
I wasn’t going to worry about whichever diet was the monthly flavor. I was getting back to the very basics—real food.
It was an exciting time. I love food. I’ve had a passion for cooking even as far back as my early college years when I was originally on track—believe or not—to earn a Hotel and Restaurant Management degree. Plus, I like a good challenge.
So when folks ask me how I got off medication and control my blood sugar entirely through diet, I tell them that I focus on eating real food. If they dig deeper, I walk them through some of my guidelines. I suppose now is as good a time as any to share them. These are merely the things that I do that have kept me in a good place:
- Eat three main meals each day: breakfast, lunch, and supper.
- Switch to eating from a 9-inch plate. Less food means I avoid overeating (and never going for seconds).
- Include at least one serving of proteins, carbs, and veggies on the plate.
- Eat two or three snacks each day. These are almost always a handful of nuts or nut butter on a slice of sourdough bread.
- Eat something fermented at least once a day. This is usually sauerkraut or another lacto-fermented veggie and often serves as the veggie part of my plate.
- Consume only whole or very minimally processed foods.
- Avoid things with multiple ingredients on the label like the plague.
- Make my own bread and bread-like products from whole grains. These days, I’m almost 100% on sourdough for grains with gluten, such as wheat (now wondering if sourdough pasta is possible…).
- Plenty of fat from a range of sources, which includes meats, butter, ghee, lard, olive oil, avocado oil, cheese, and nuts.
- Include potatoes of all kinds, corn, beans, and peas.
- Eat fresh fruit or berries for nearly every meal. Though I don’t drink fruit juices.
- Grow and eat as much food as possible from my backyard (exercise and whole foods combo).
- Cut out drinking milk almost completely. This mostly pertains to me as a milk addict. I consider whole milk pretty healthy, but there’s no reason to drink so many calories.
- Cook all my meals from scratch, except for 👇
- Once a week, eat out but don’t overindulge. This can be anything from a fast-food burger to a slice of greasy pizza.
I’m sure I left a few items off the list. Maybe one day I’ll formalize it all into a new diet book. 🤷♂️
I’m not 100% strict on everything. These are my guidelines, not set-in-stone rules. I think it’s important to realize that strictly following rigid diet rules can lead to burnout. It all goes back to those original words of wisdom: eat whole foods and in moderation. Those things have been the keys to my success.
As I celebrate my 41st birthday, I suppose I’m just happy that I’ve made the changes I’ve made. This is the longest I’ve ever stuck to a “diet.” I’m sure I’ll make some mistakes along the way, but it feels right.
There’s really no end to this story, at least until whatever day I die. Right now, I’m just enjoying the journey and the good food along the way.
]]>

I visited my father’s grave today, one year after his passing. I’ve never been one to go to the cemetery to see lost loved ones. For me, it’s merely a final resting place, and there’s little of the person left there. If I wanted to have a conversation with my dad, I would have a better chance of getting a response out in the garden or working on something around the house.
I feel like my dad would appreciate that. He was a practical man for the most part, but he was also a dreamer. In many ways, I suppose that I am like him. I can walk around the yard in my own head while also getting some work done.
I’m sure I’ll visit again in the future, but this was something I needed to do today. In part, to be there with my sister. Also to see the headstone since it has been laid.
More importantly, I needed today to do the thing I’d been telling myself I’d do for a year: say goodbye in the only way that I know to say goodbye. By writing about it.
To Be a Man
Over the years, I’ve given a lot of thought to what it means to be a man. What does it mean to be a father? A grandfather? How do you know when you’ve truly reached manhood?
You can vote or go to war in my country at 18. You can legally purchase booze and smokes in my home state at 21. You can even drive at 16—that thought is a lot more frightening at 40.
I suppose that like most men you never really feel like you’re anything more than an 18-year-old kid fumbling through life. You just have different responsibilities. And no matter how well your parents prepared you for adulthood, it’s never truly enough. Most things, those are things you must figure out all on your own. And if you’re lucky, have a partner who walks that journey hand in hand with you.
That’s what I think I’ve figured out at this point. Life is a journey of lessons. You can learn from them and grow, becoming the person you are meant to be, or remain stuck in the past. But ask me again in another 40 years; I may have a different answer.
And regardless of how well your parents prepared you for life, there’s no preparation for a life without them.
My father, Jesse Edmond Tadlock, passed away on April 16, 2024. And just over a month later on May 22, 2024, I lost my maternal grandfather, Robert Lee Frazier (“Papa”).
These two men were the primary male role models throughout my life. So when I ask myself what it means to be a man, it’s tough to answer without their input. But I was fortunate to have 40 years of lessons from each of them. It’s a lot of years but somehow, it feels like it’s not enough—it’s never enough.
So if you ask me if I feel like a man now, I’d say I still feel like that 18-year-old kid who still needs Daddy and Papa around when I fall short. Yeah, I’m OK forging my own path and always have been, but for the past year, I’ve had to succeed or fail on my own without the safety net. The journey and the lessons have been mine alone.
Around the time of my father’s death, I first heard Dax’s “To Be a Man.” It was a song that resonated with me as a man, a son, and a grandson.
It puts into words what it’s like to be a man in modern times and—I suspect—throughout history. As a son and grandson, I wish I’d appreciated the men in my life more through my formative and teen years. But those days were gone so quickly, as I was always looking toward some distant future where I would be in full control of my destiny.
I certainly appreciated them more as I grew older. I just wished I could’ve slowed down when I was younger and listened more. But the downside of youth is that you don’t yet have the wisdom to do the things you should. And I guess I wouldn’t be who I am if I had slowed down.
So what did I learn about being a man from two of the best? Quite I bit. I won’t share everything, but the lesson that struck me the hardest was one of sacrifice. A man sacrifices so much of himself for those he loves.
He shows up to ball games when he just wants to relax after a day of work.
He moves the kids from apartment to apartment as they figure out this whole adulting thing because, you know, he’s the one with the truck.
He disciplines even though it hurts him more than he can show.
He compromises on his dreams for his family, providing what he must.
He drives the tractor over to dig up a burst pipe in your yard.
And so much more.
And Superman Bleeds
Most boys grow up seeing their father as Superman. He’s the strongest guy they’ve ever known (for what it’s worth, I never actually beat my dad at arm wrestling). He’s the guy who’s always there to save the day. He’s more capable than any other human—he’s Superman.
I was around 37 years old (assuming I’m getting my years right) when that boyhood worldview shattered. For the first time, I saw my father as anything less than superhuman. He looked broken, weak compared to all the years I’d known him. He’d just suffered a heart attack and was lying in a hospital bed, unable to control his movements completely. His always-strong arms were wobbly as he struggled to hold himself awake. I could see him fighting it every moment. I often wonder if part of that struggle was to avoid appearing less than superhuman in front of his family more so than the trauma he’d experienced.
In many ways, I’ve been writing this post since that day. It was the first time it dawned on me that I’d have to carve my own path one day without the man who had always been there.
When I saw him the next day, he was almost back to his old self and flirting with every nurse who walked into the room.
It took me a few years since that day to realize that I was wrong. Superman bleeds too. James Gunn’s recent trailer for the upcoming Superman trailer reminded me of that.
In the opening scene, we see Superman broken and bleeding, beaten down. The trailer showed the humanity of Superman and what he could be despite being knocked down.
What made my dad Superman was never his strength or the appearance of it. He kept going even when he could’ve easily given up. From his early days, until his final days, he faced life head-on, and that’s the man I remember.
Conversations
In his final months, I was able to go with my dad to a few of his chemo appointments. For the first time in my life, our father and son roles were reversed. It was my turn to be superhuman for his sake. I know he’d never entirely share his fears, but I had to be strong enough, to be by his side when he needed it.
I know some people may look back on such trips as the bad moments, wishing to forget them, but they were special to me. For us, it was more moments in our limited time here on earth, conversations that were about nothing and everything at the same time. Each trip was just another drive around town with my dad. The circumstances didn’t matter.
A song that came into my life at the time I most needed it was James Blunt’s “Monsters.” I realized that it was my time to chase the monsters away.
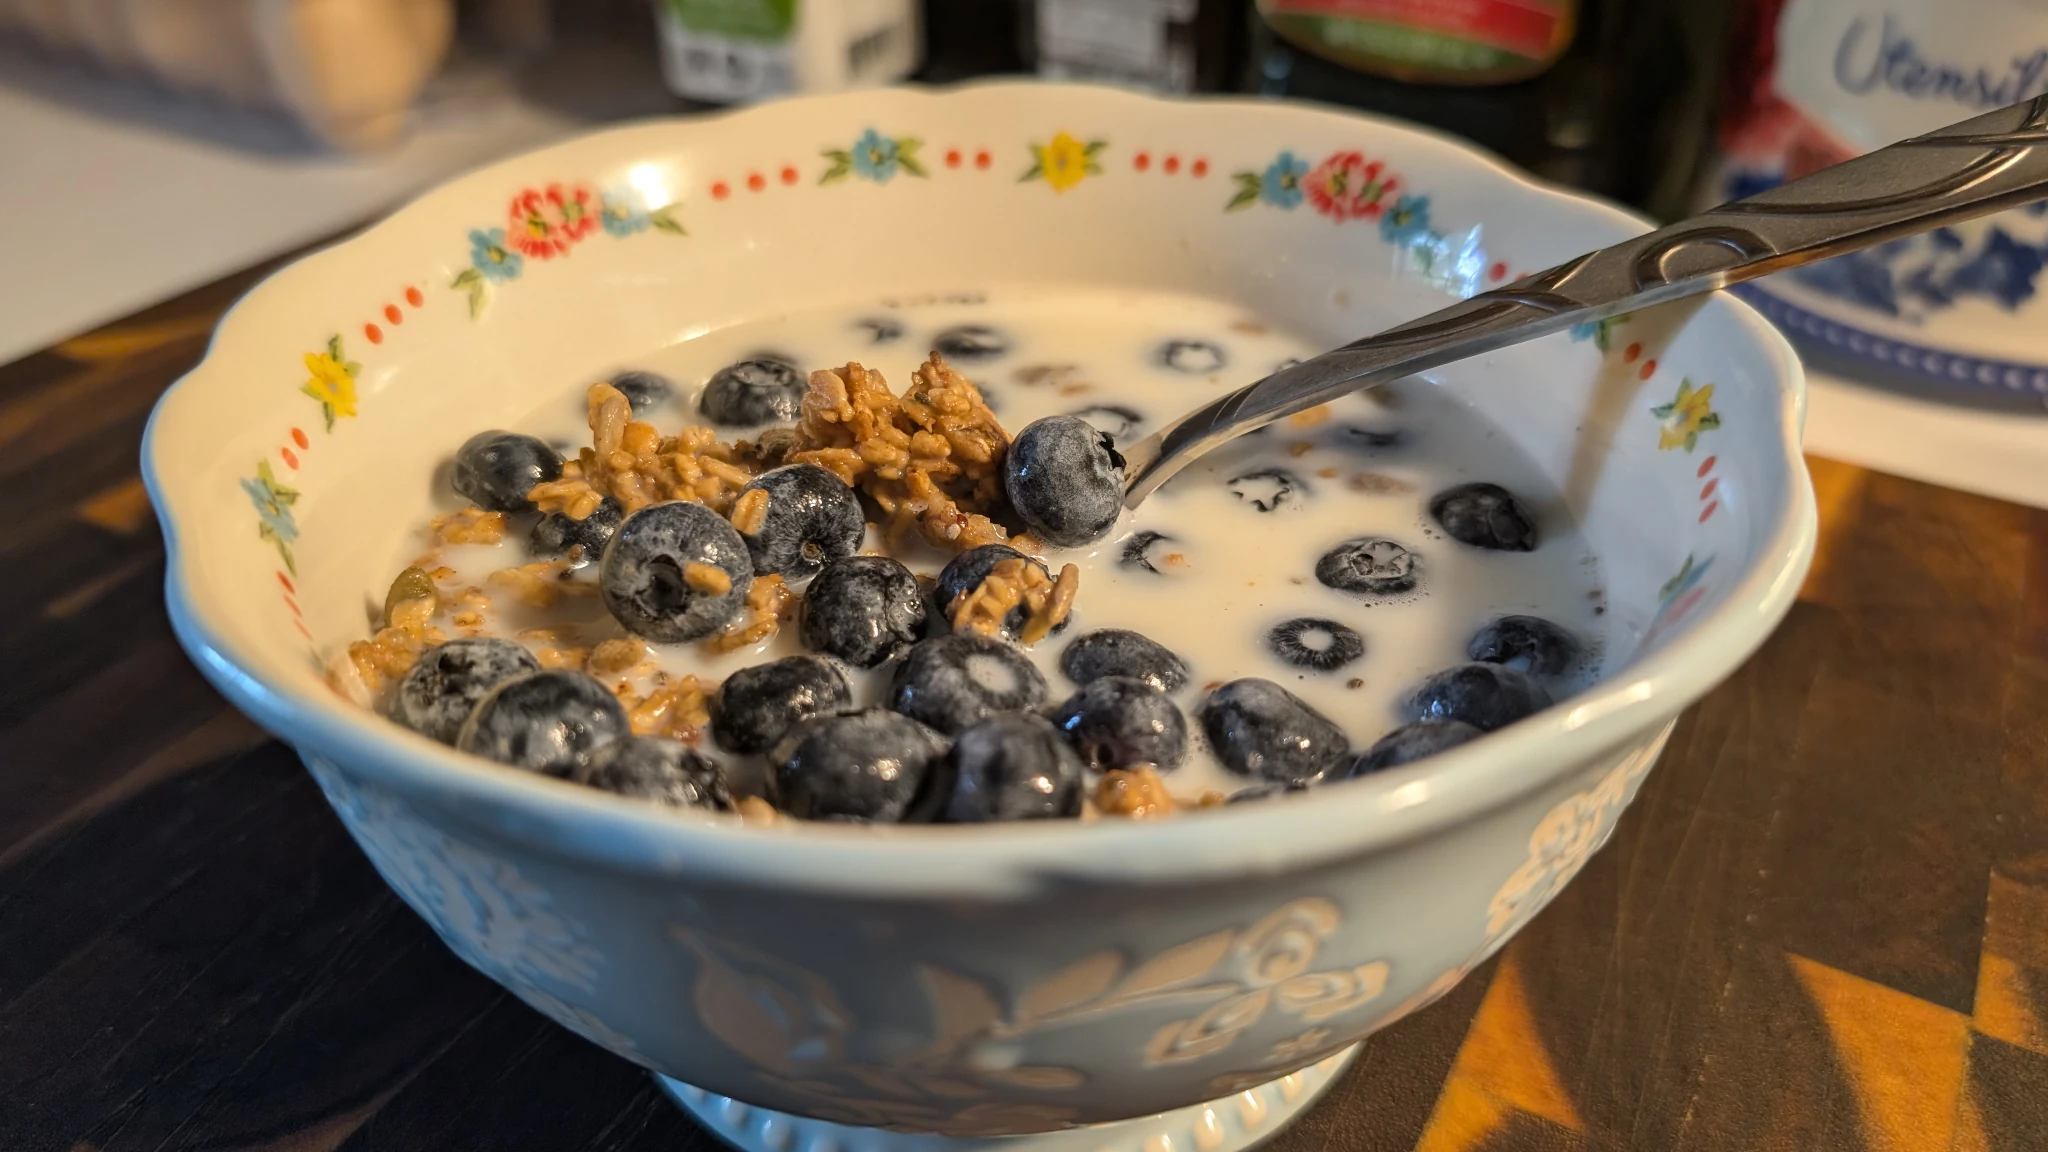
On his last day, I sat with him and told him it was OK if he needed to let go. That I’d keep going and figure out this whole life thing. That I’d make him proud. I told him about the promotion I’d just been offered at work the previous day. I chatted with him about my first blueberry that had ripened on that day.
I talked about some of the important things but mostly about the mundane. Those were what most of our conversations were about anyway, and if it was going to be my last day with my father, I figured we ought to treat it like any other day.
We’d already said all the things that truly needed to be said.
I suppose that’s what I miss the most. It’s not the big life lessons. It’s those moments in between. I still grab my phone to text my dad a photo of my latest culinary experiment. I still want to call for advice when I’m trying to fix something. Or just chat about things I can’t recall today.
If I were having a conversation with my dad today, I’d have plenty to share. I’d tell him everything about the woman I’ve been dating and how well she treats me. I’d tell him about the jalapeno-cheddar sourdough I made earlier this week. I’d mention the 40+ fruit trees I now have growing. I’d ask his advice on converting an old shed into a chicken coop.
Dad, if you’re reading, a lot has happened. We’ve got some catching up to do.
]]>