Visual studio code has built-in support for Node.js, JavaScript and Typescript. It also has extensions support for other languages like C#, C++, Python, PHP and much more. It has advanced features like syntax highlighting, debugging, code refactoring, embedded Git and snippets. Visual studio code is an open source you can use it for free.
Install Visual Studio Code on ubuntu 20.04
Basically we can use below methods to install on ubuntu 20.04.
1. Using snap
2. Using apt repository
3. Manual method
Using snap
Installing software using snap is very easy so this method is useful for beginners.
Step 1. Most of the packages are available in snap repository so it is easy to install just typing below command
sudo snap install --classic code
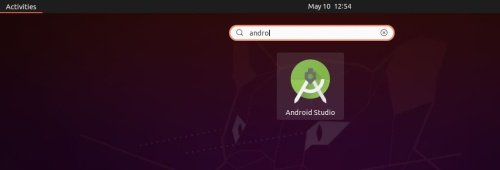
Step 2. After installation, you can launch Visual studio code using application launcher.

Using apt repository
In this method, We can install using apt repository. Apt repository will be having most of the packages, however we have to add new repository for vs code.
Step 1. Firstly, add repository key using below command.
wget -q https://packages.microsoft.com/keys/microsoft.asc -O- | sudo apt-key add -
Step 2. Now add the repository by typing below command.
sudo add-apt-repository "deb [arch=amd64] https://packages.microsoft.com/repos/vscode stable main"
Step 3. Finally install the package.
sudo apt install code
Step 4. After installation you can launch using application launcher.
Install Visual Studio Code using Manual method
In this method, we are going to download the package from official website and install using apt.
Step 1. You can go to the following location https://code.visualstudio.com/docs/?dv=linux64_deb to download the package to your local folder.
Step 2. Once downloaded you can go to the downloaded location and type the below command to install.
sudo apt install ./code_1.47.3-1595520028_amd64.deb
Here we are going to use regular apt command however it will install the local package along with dependencies.
Step 3. Finally after installation, you can launch Visual studio code using application launcher.
Also see.
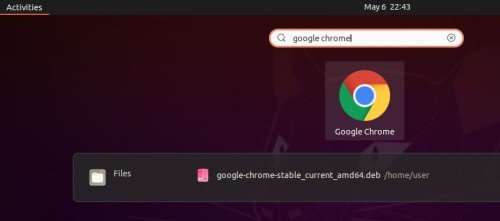
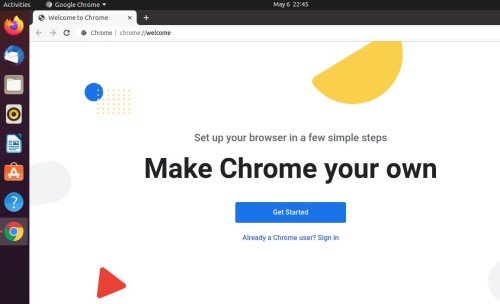
How to install google chrome on ubuntu 20.04
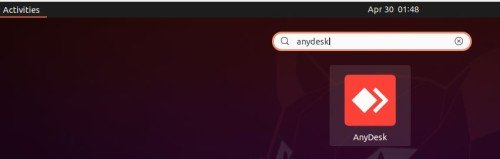
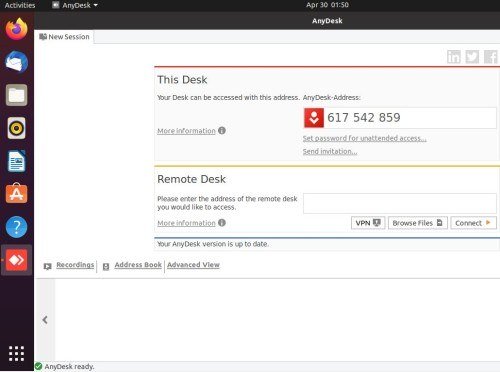
How to install Anydesk on ubuntu 20.04