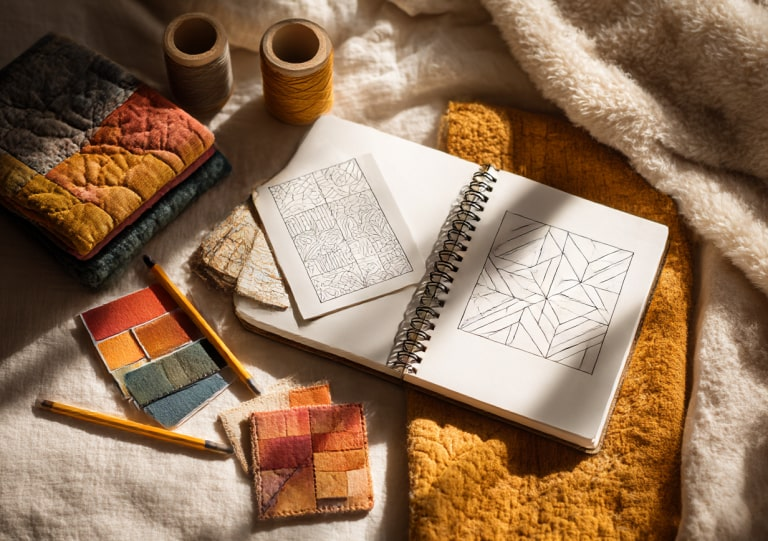


“I’ve been quilting for over ten years, and this is the first AI tool that actually understands how we plan, match fabrics, and price our work. It saved me hours on my latest project.”
— Linda M., Patchwork Quilter


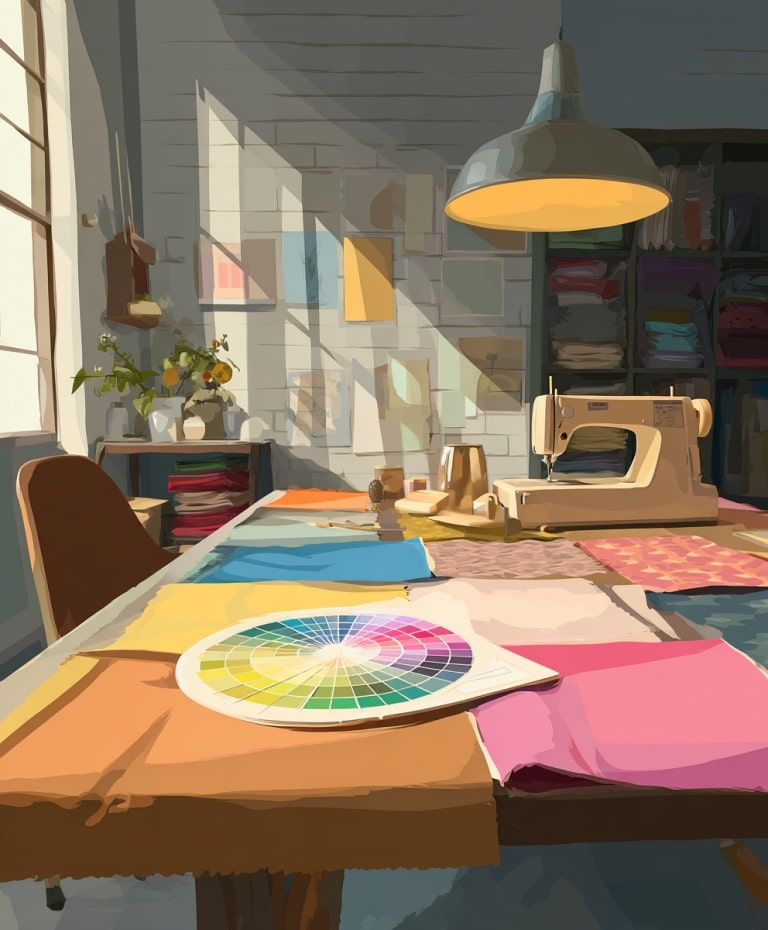
Who We Serve
- 1
Quilters & Patchwork Enthusiasts
- 2
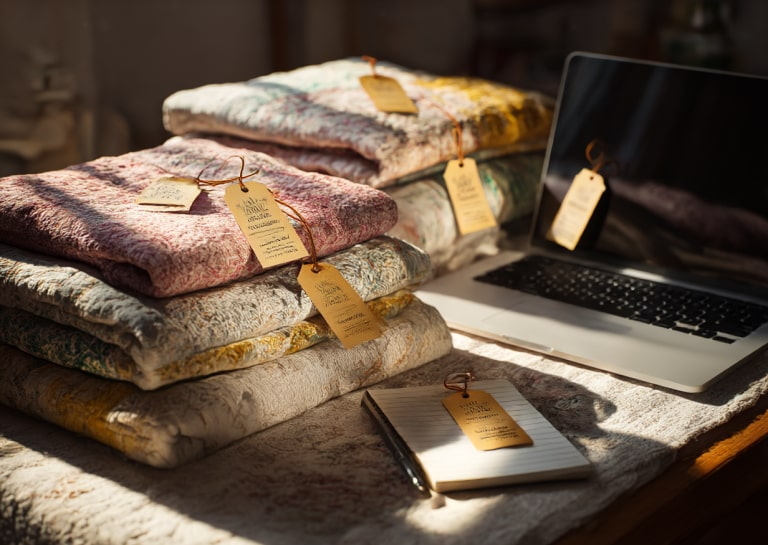
Handmade Business Owners
- 3
Etsy & Craft Sellers
- 4
Sewing Teachers & Workshop Hosts
Quilt Pattern Generator✳️Fabric & Color Matcher✳️Quilt Pattern Generator✳️Fabric & Color Matcher✳️
Quilt Tutorial Builder✳️Product Copy & Pricing Helper✳️Quilt Tutorial Builder✳️Product Copy & Pricing Helper✳️