The bottom line is, the more email you send, the more you want to rely on a 3rd party to take that burden from your hands.
Sendgrid Reporting
Sendgrid comes with pretty comprehensive reporting, where you can drill down on your email performance in detail over time. It has a concept of email categories where you can group your communication types and report on those.
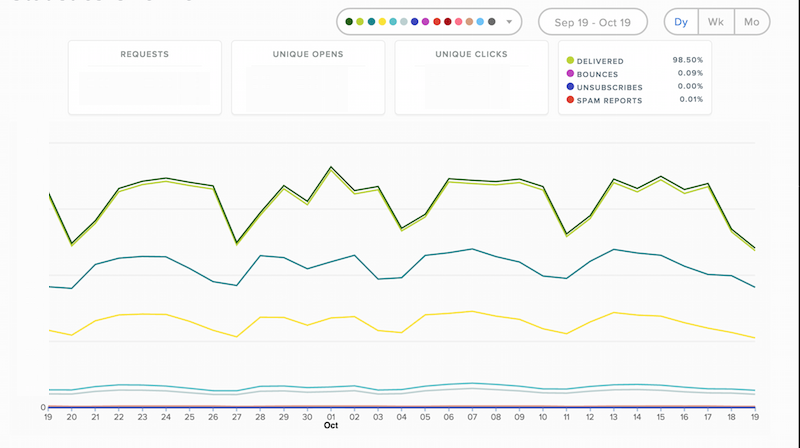
It builds reports based on geo location of the users, email ISP and device type. However, what if you want a little bit more?
Building more detailed reporting
One of the things we always missed was URL click reports - looking at what each user has clicked. We also pass specific meta-data along with the message that we would need to report on - things such as user country for the user or their specific id.
Sendgrid webhooks
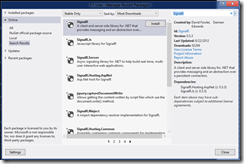
Sendgrid is more than ready for this scenario, providing their customers with webhooks functionality. This is triggered on every action (processed, send, open, click, spam report etc). There are a few libraries that will help you along when developing in the Sendgrid library index. Our endpoint was for various reasons in C# so we ended up adding to the library index :-)
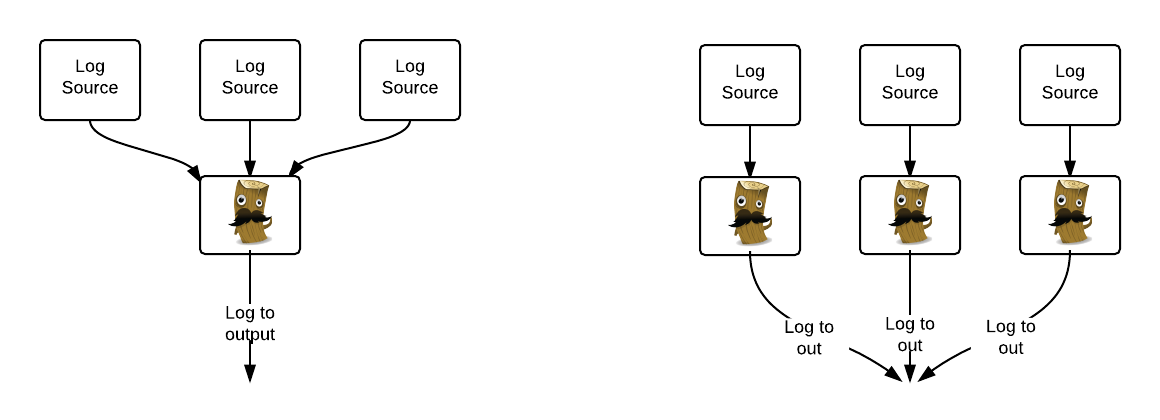
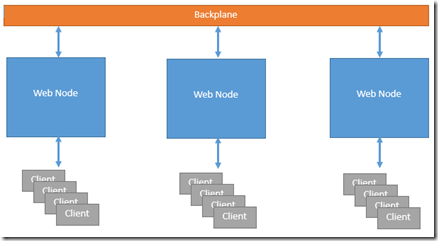
Data flows
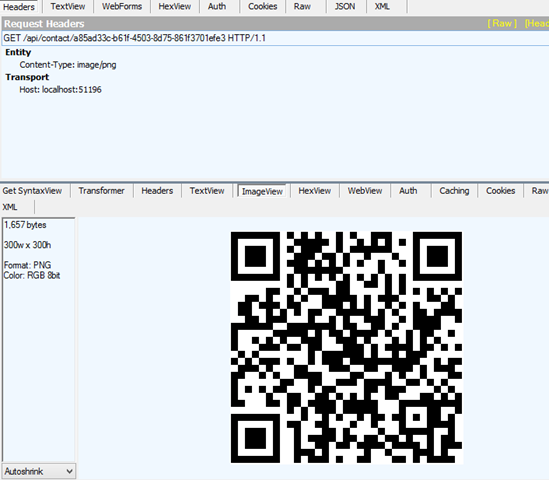
The quick diagram shows the data flows when dealing with webhooks.
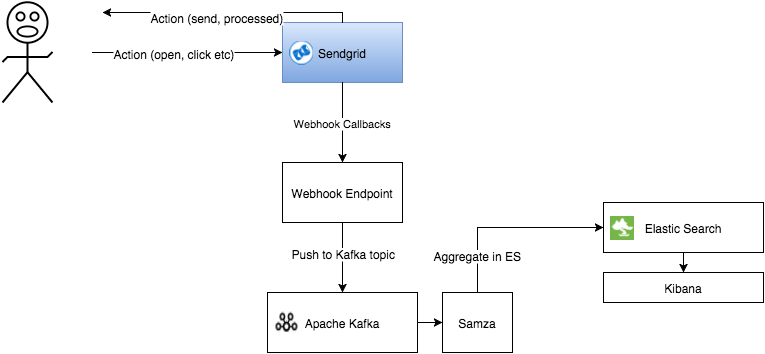
Elastic Search with Kibana seemed like an ideal candidate for storage for the use-case - time-series data that does not change over time and that we need to visualise and query easily. It also gives us advantage when curating the data - we can index based on months and remove indexes as they become obsolete. On top of it, utilising existing tools and parts of infx, it let us deliver this end-to-end with less than 2k lines of code including tests and cloudformation scripts for AWS.
If you don’t need to expose the callback data within the organisation as a stream, you can simplify the architecture by going directly from the endpoint to Elastic Search. However, you would miss the opportunity for your entire organisation to benefit from the data-set!
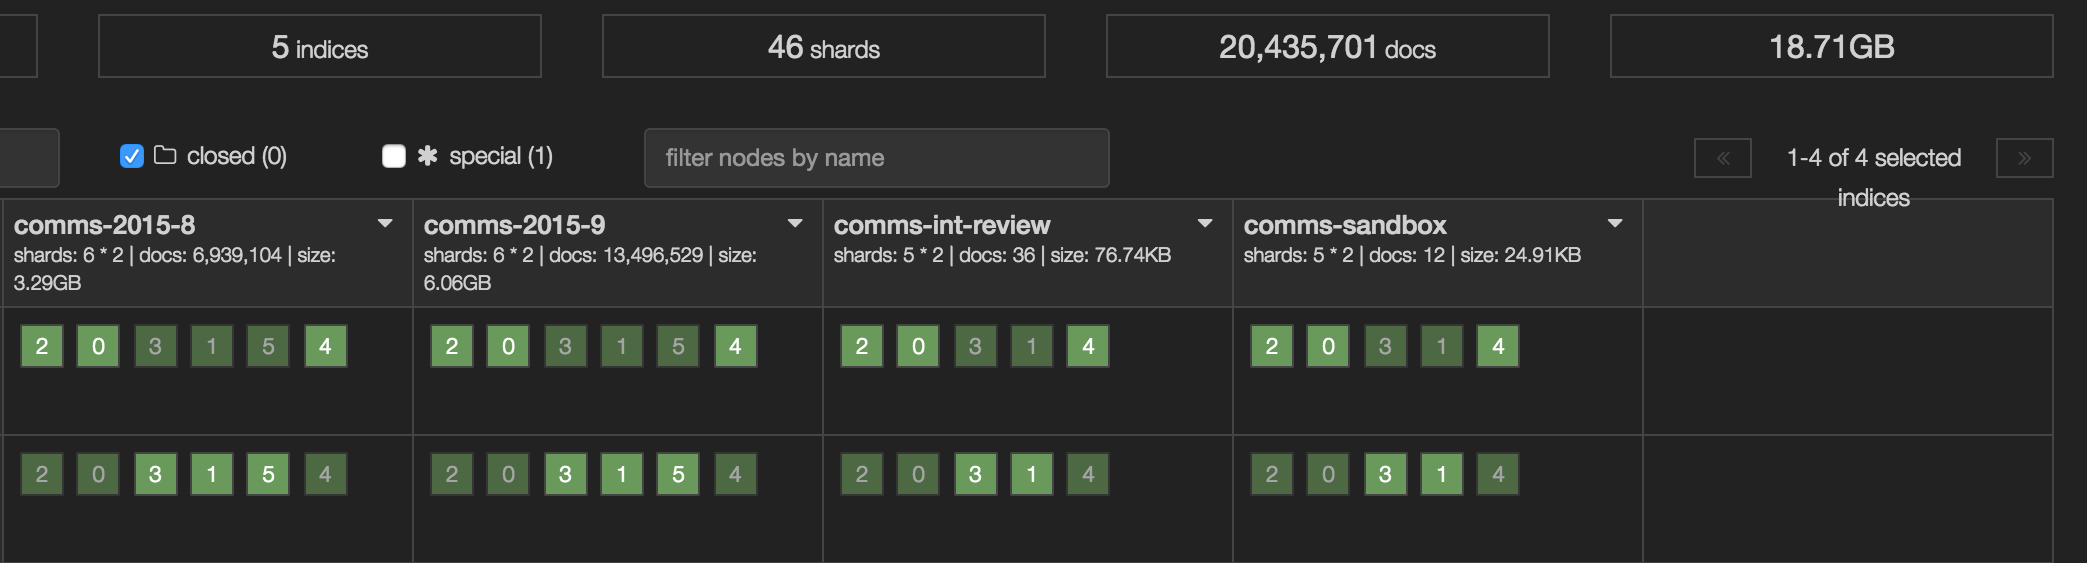
Aggregate your callbacks in Elastic Search
If you haven’t used Elastic Search or Lucene before, find more about it here.
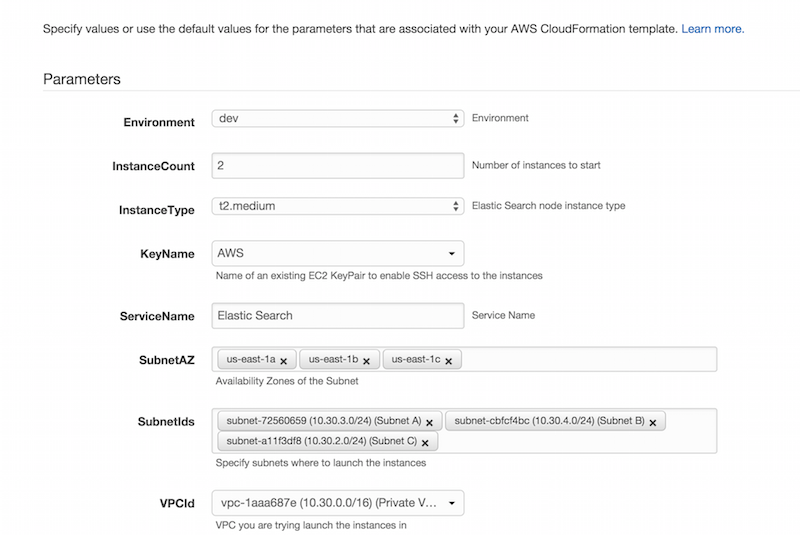
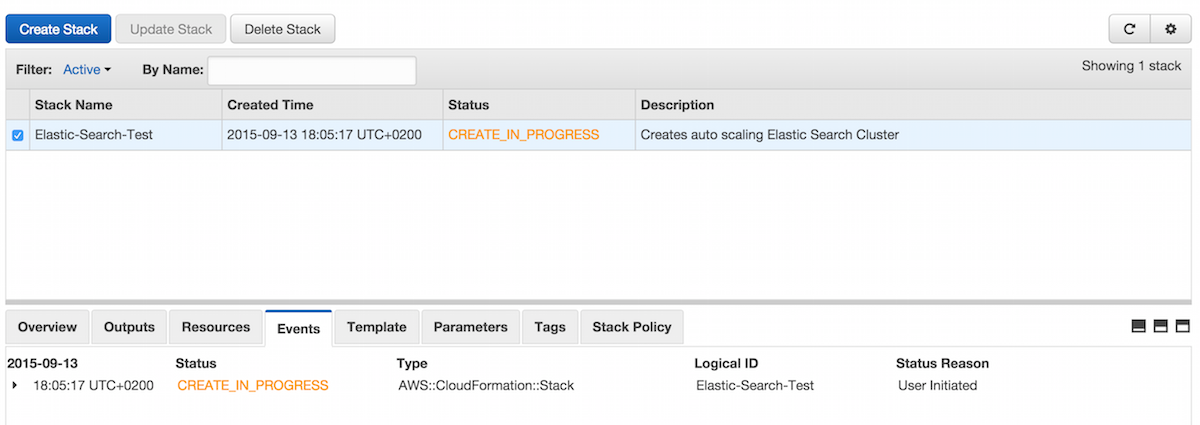
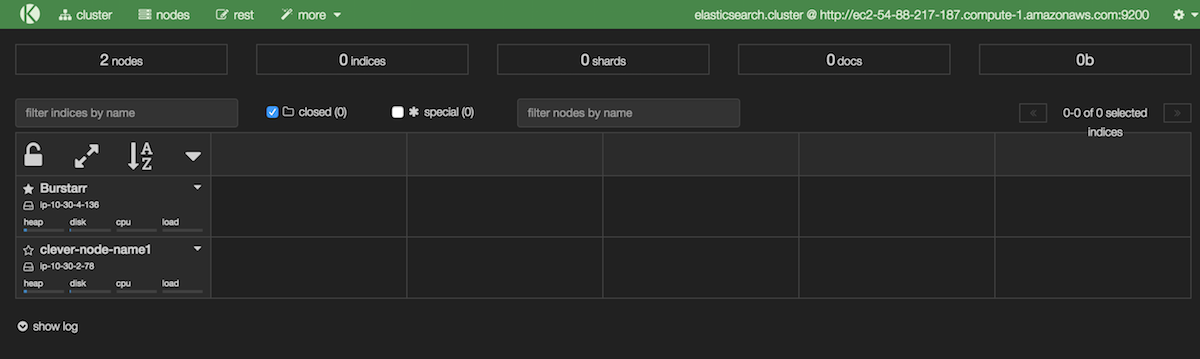
Effectively, it’s a real-time distributed search and analytics engine based on Lucene. I’ve talked more around what ES is and how you can deploy it on AWS using cloudformation and ansible.
Visualise using Kibana
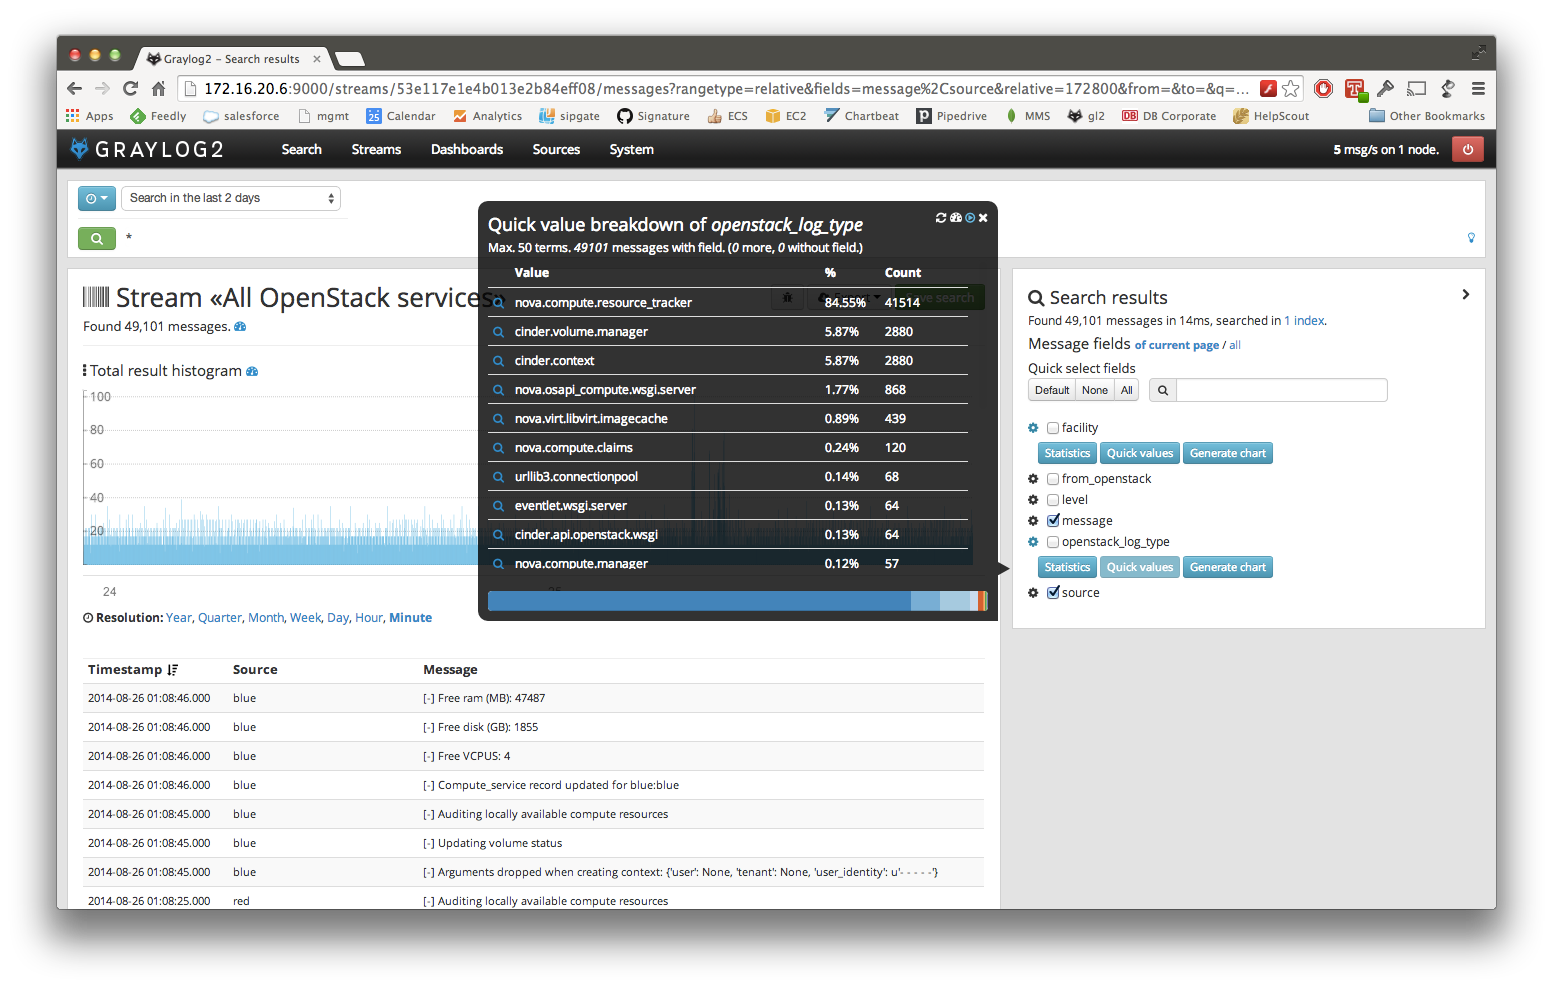
Kibana is a great way of visualising your data and the release of v4 earlier this year has brought a whole bunch of new features.
If you need to visualise your Elastic Search data, Kibana is what you use. Let’s you create visualisations, searches and dashboards. You can use bar charts, line charts, pie charts, tables - everything that you’d expect from a grown up visualisation framework. It has filters that you can pin and ad-hoc queries that you can then filter your messages by.
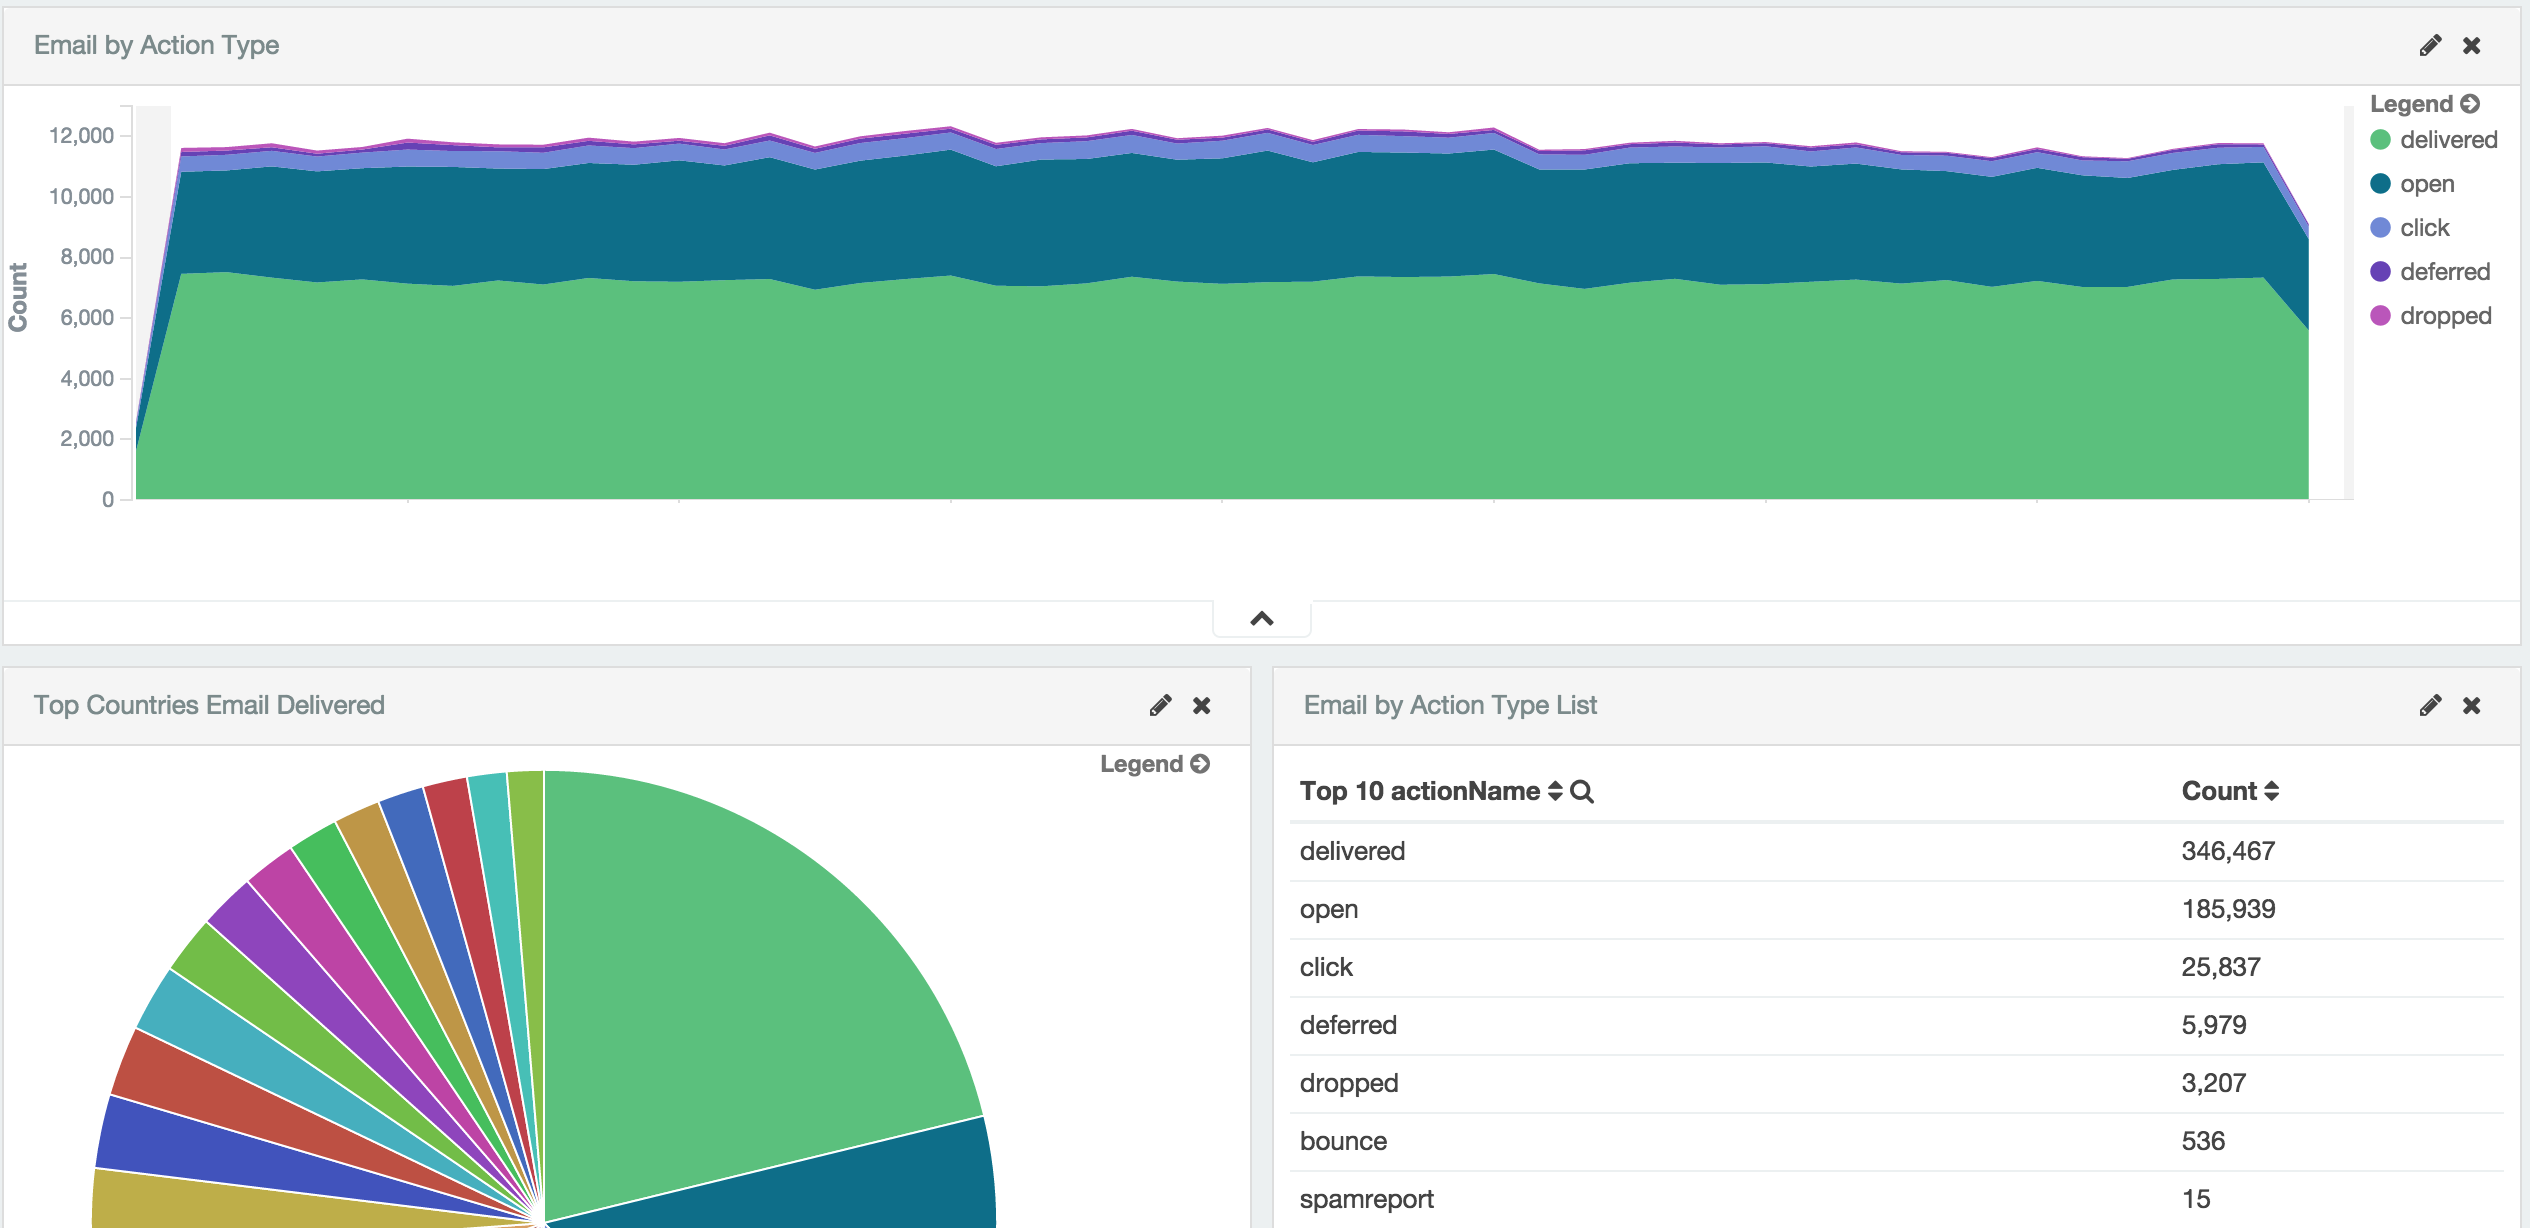
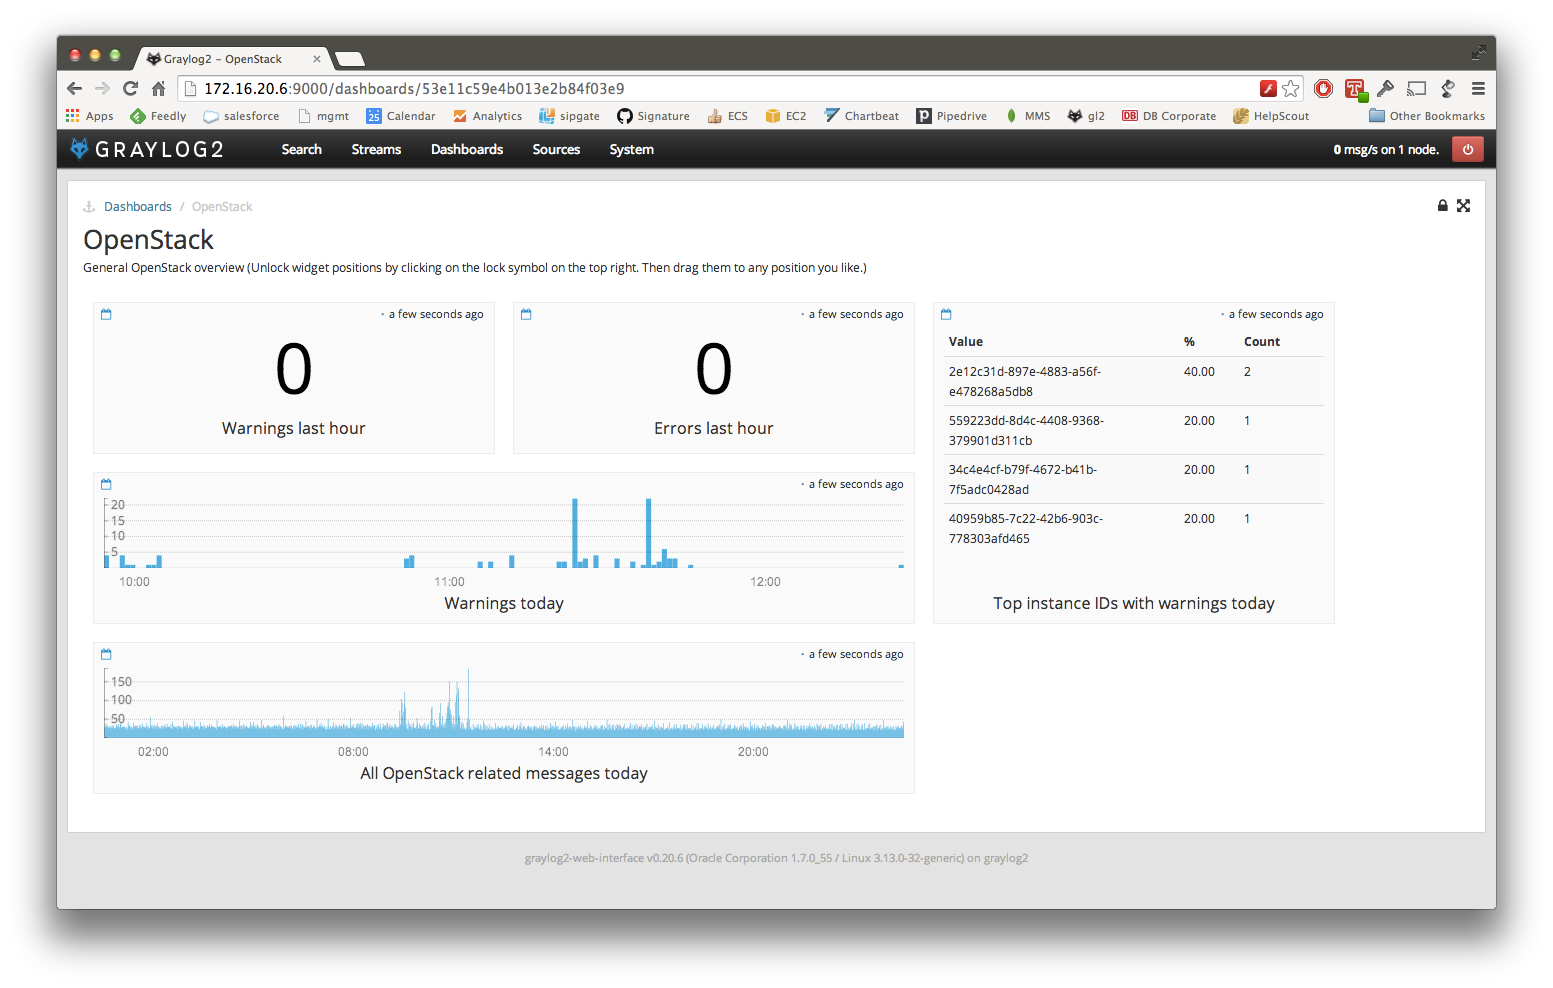
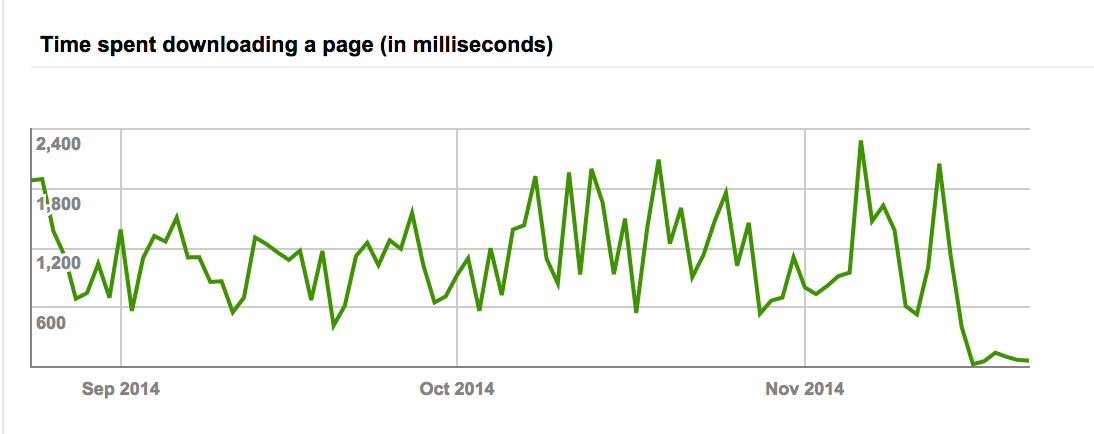
Using the data, you can build out dashboards for your email volumes
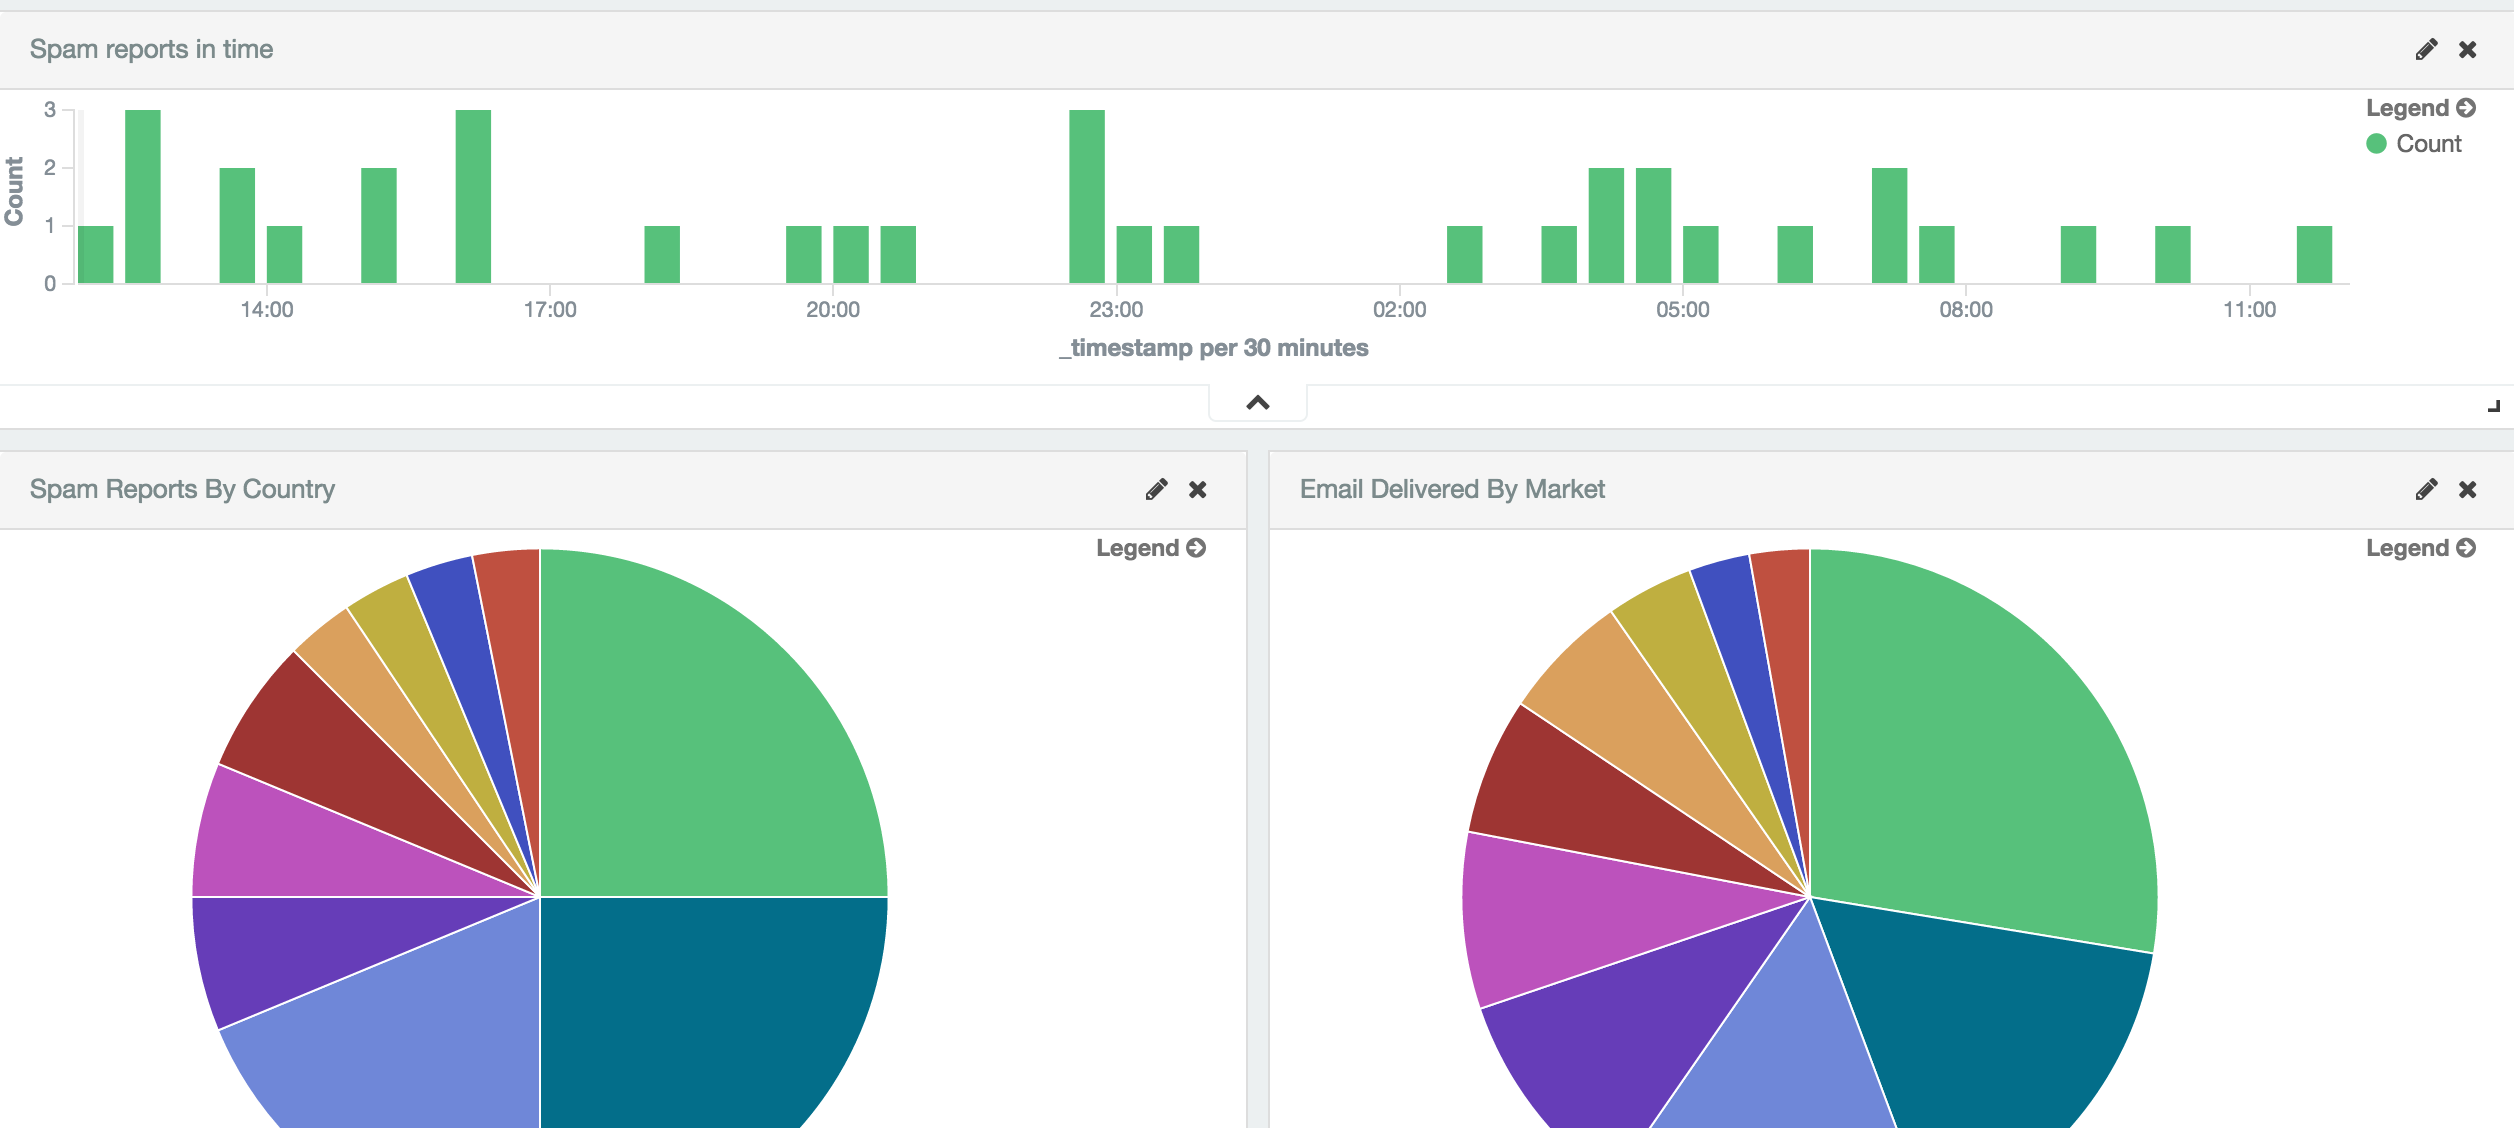
Your spam reports, split by country
User timeline based on action
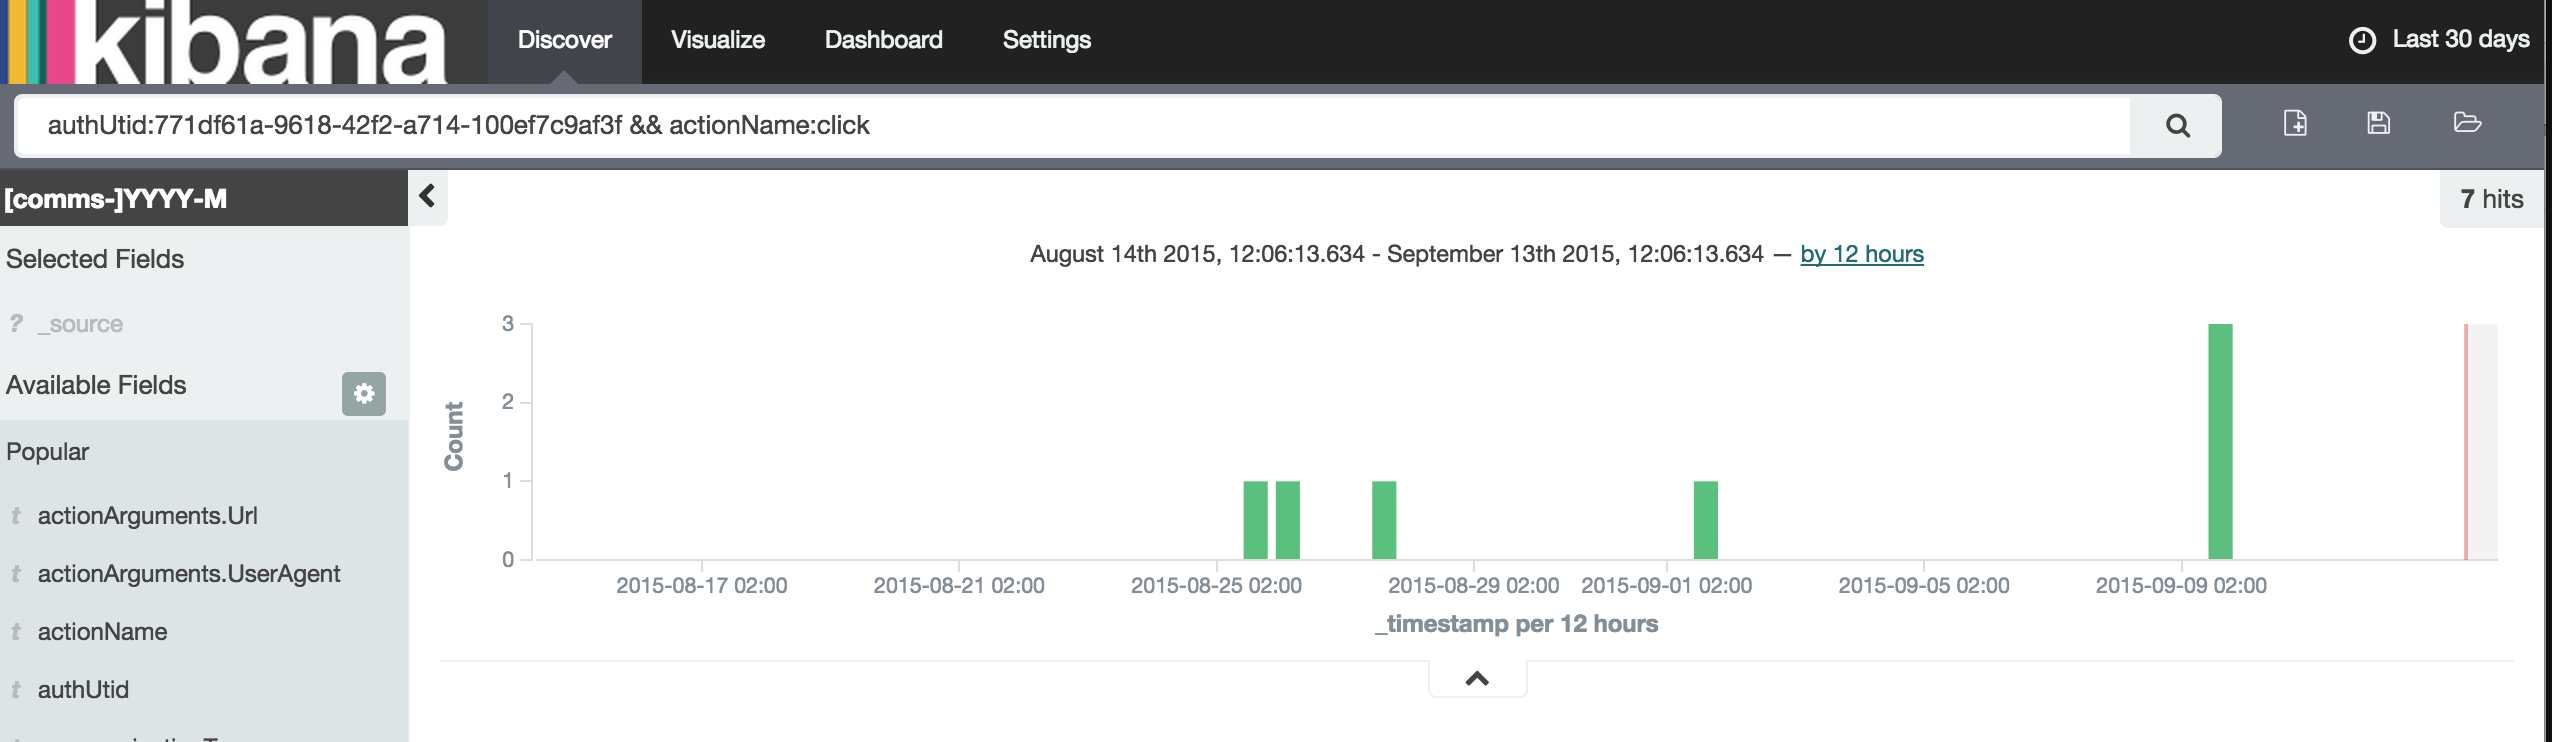
And of course, pick a choice of your time-frame


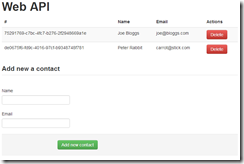 A significant part of ASP.NET MVC4 release was the Web API. In a nutshell, it’s a powerful framework that makes creation of HTTP services easy and straight-forward. In many ways, it’s something we’ve all been waiting for.


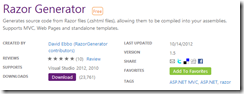
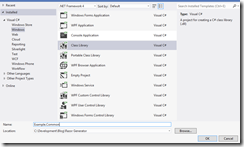 First, you will need to create you shared class library project. You can use the standard class library.
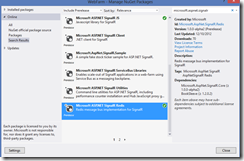
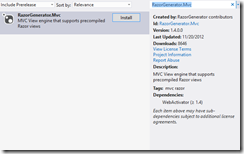 Next thing you need to need to do is include the RazorGenerator.MVC package via Nuget. This is going to bring down couple of dependencies and will enable serving of the auto-generated views once they are compiled in the dll.
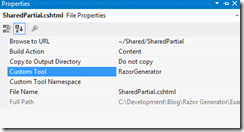 Finally, you need to make sure you specify RazorGenerator as a custom tool for the Views. Simply right-click on the views and select properties. You will a field for the Custom Tool which you should set to RazorGenerator.
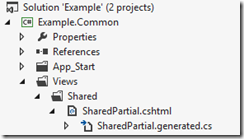 Once you re-build the project, you should see an arrow below your views, indicating there is a linked .cs file.