


- Making Premium Sci-Fi TV on a Shoestring Budget: Showrunner Jerry Rodriguez-Burckle Talks Dani Who? and Challenges in the Growing Mexican Market
- Promo: McMillions
- Sony’s Vlogger-Friendly Camera Grip Has Bluetooth Control Built In
- DJI’s New Mavic Mini Is a 249-Gram Ultralight Drone With a 30-Minute Flight Time, 2.7K Video & More SPONSORED
- Quantum Expands NVMe Offerings with Less-Expensive ‘F Series’ Appliance
- Behind the Soundtrack: Uncut Gems with Daniel Lopatin
- Academy Awards: Joker Leads the Pack as Oscar Season Begins in Earnest
- Promo: Lincoln Rhyme: Hunt for the Bone Collector
- ShotPut Pro integrates with Frame.io SPONSORED
- Cinematographer Rodrigo Prieto, ASC, AMC, Gives The Irishman His All

Making Premium Sci-Fi TV on a Shoestring Budget: Showrunner Jerry Rodriguez-Burckle Talks Dani Who? and Challenges in the Growing Mexican Market
Jan 15, 2020
Science-fiction thriller Dani Who? is a far cry from traditional Mexican television fare. Produced by Headroom, a boutique production unit...
Promo: McMillions
Jan 14, 2020
Remember McDonald’s Monopoly? The promotional giveaway game where tiny Monopoly-themed tickets, some of them worth thousands of dollars or...
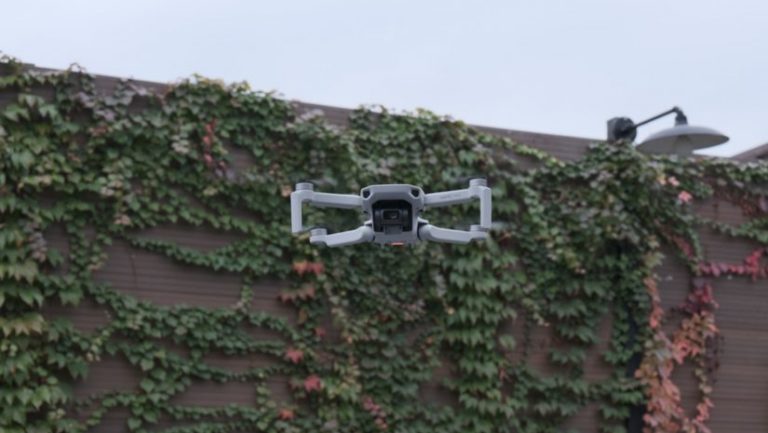
DJI’s New Mavic Mini Is a 249-Gram Ultralight Drone With a 30-Minute Flight Time, 2.7K Video & More
Nov 7, 2019
To help you reach new heights and in order to make your drone flying smaller, lighter, safer, and better,...
Sponsored Content
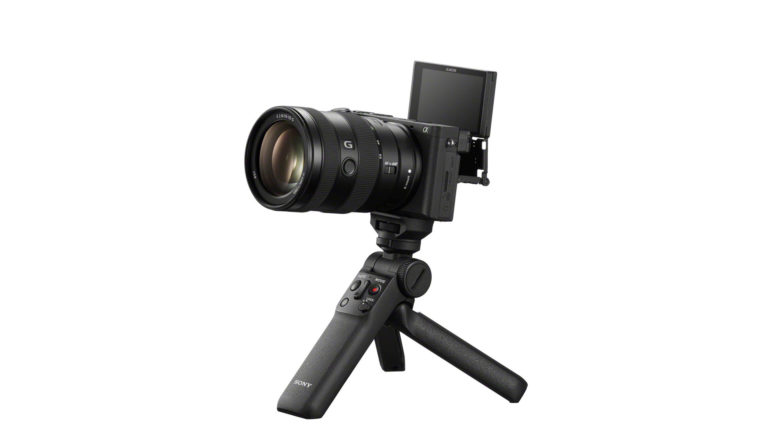
Sony’s Vlogger-Friendly Camera Grip Has Bluetooth Control Built In
Jan 14, 2020
Sony announced a new grip designed for a range of its Alpha cameras. The GP-VPT2BT Shooting Grip with Wireless...
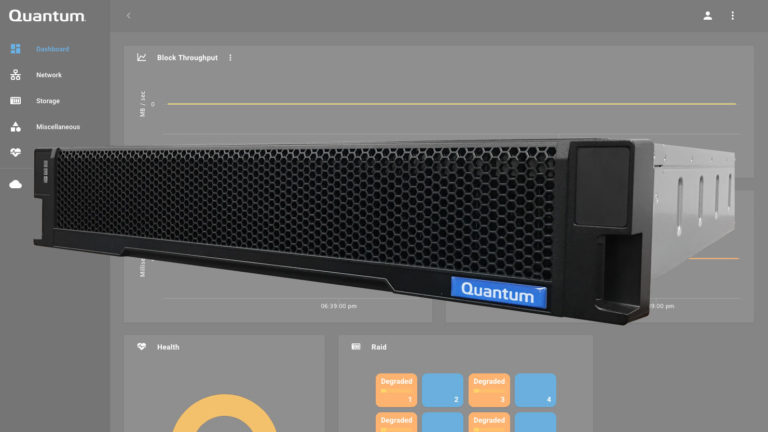
Quantum Expands NVMe Offerings with Less-Expensive ‘F Series’ Appliance
Jan 14, 2020
Quantum is looking to increase adoption of high-performance NVMe storage with the announcement of a new entry-level version of...
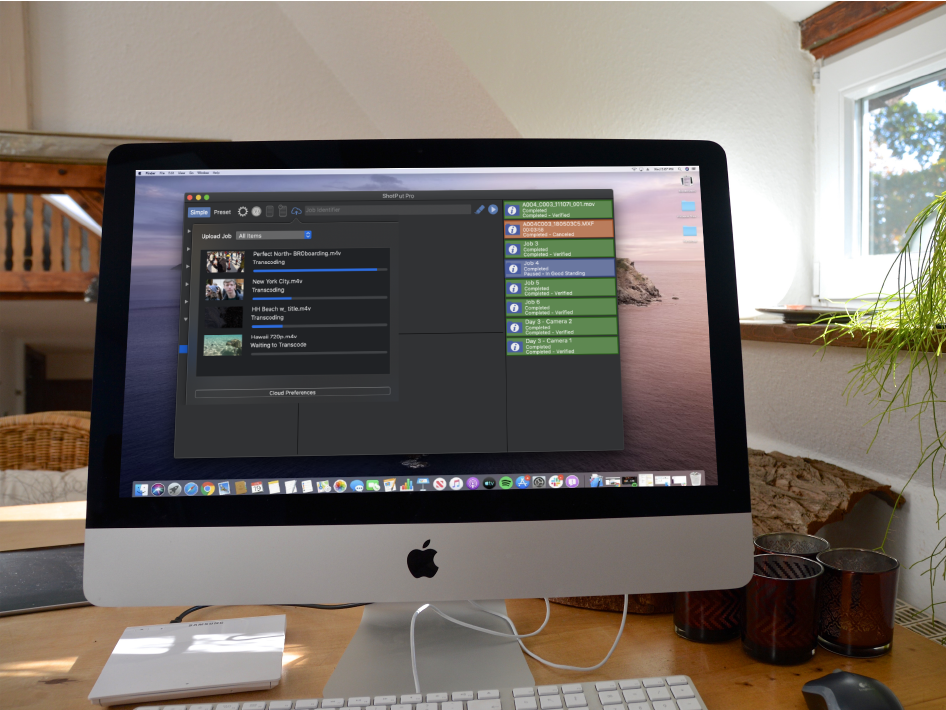
ShotPut Pro integrates with Frame.io
Oct 24, 2019
The most recent release of ShotPut Pro 2019.3, integrates with the popular cloud-based collaboration platform Frame.io. ”Imagine Products’ integration with...
Sponsored Content
Behind the Soundtrack: Uncut Gems with Daniel Lopatin
Jan 13, 2020
In this short film made by the folks behind the Moog One synthesizer, composer Daniel Lopatin (aka Oneohtrix Point...

Academy Awards: Joker Leads the Pack as Oscar Season Begins in Earnest
Jan 13, 2020
Joker leaped to the front of the Oscar race this morning, receiving 11 Academy Award nominations, including best picture,...
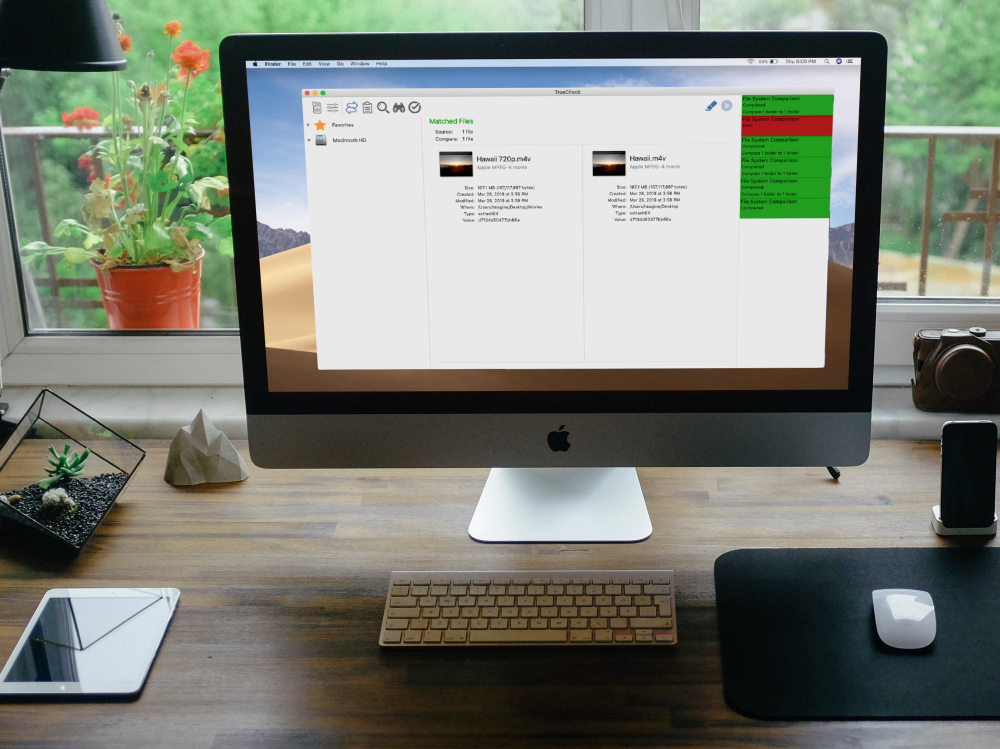
TrueCheck, the File Analysis App
Oct 15, 2019
The long awaited file analysis app from Imagine Products, TrueCheck is now available!! This app was created from multiple...
Sponsored Content
Promo: Lincoln Rhyme: Hunt for the Bone Collector
Jan 10, 2020
2C Creative dug into Lincoln Rhyme detective story The Bone Collector to develop a first-person voice promoting the new NBC...
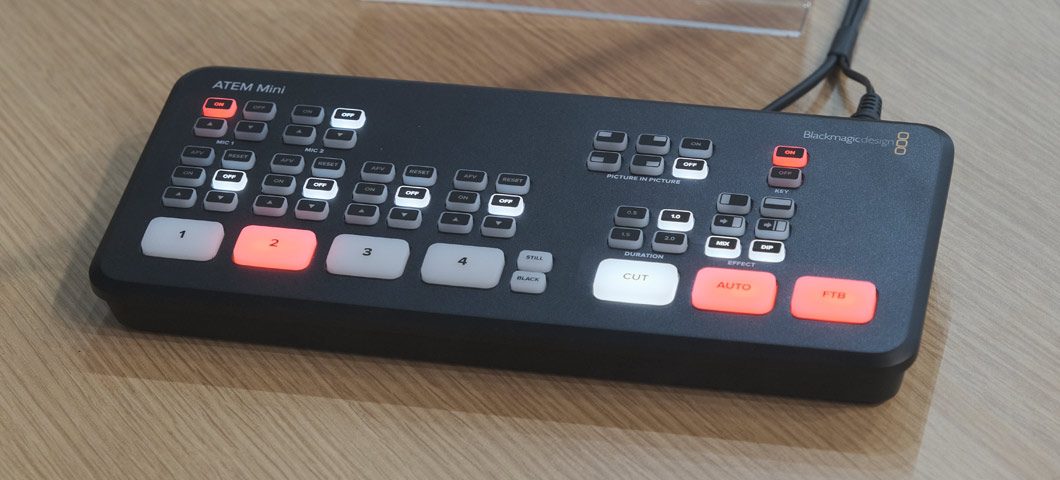
Blackmagic Design Announces the New ATEM Mini Live Production Switcher
Sep 20, 2019
The ATEM Mini — which made its debut at the Blackmagic booth — is an easy-to-use live production switcher...
Sponsored Content
Cinematographer Rodrigo Prieto, ASC, AMC, Gives The Irishman His All
Jan 10, 2020
For its critical success, awards buzz, and technical breakthroughs revolving around the unique use of brand-new digital de-aging techniques...
Spinning a GoPro at 1800rpm
Jan 9, 2020
Czech YouTuber Mr. Michal used a lathe to spin a GoPro Hero 7 camera at speeds ranging from 14...

Review: Panasonic AG-CX350 4K Camcorder
Dec 18, 2019
It can’t shoot 4K raw to internal memory. You can’t mount a 50–1000mm zoom on it, and it doesn’t...

Cinematographer Paul Cameron, ASC, on Lending the Hint of a Vintage Look to 21 Bridges
Dec 2, 2019
Irish director Brian Kirk, best known for his work on Luther and Game of Thrones, replaced battling Starks and...

Download This: 2019 Camera Comparison Chart
Nov 27, 2019
Update 1/3/20: The 2019 Camera Comparison Chart [PDF] has been updated this week with the addition of the Canon C500...

Steve Yedlin, ASC, on Controlling the Look of Mystery Movie Knives Out
Nov 27, 2019
Knives Out, writer-director Rian Johnson’s fond, fast-paced and funny homage to detective fiction — and Agatha Christie in particular...

Small Steps, Giant Leaps: Carlos Gálvez on Working for BBC Studios and Using Cinema 4D to Celebrate the 1969 Moon Landing
Dec 23, 2019
Fifty years ago, Neil Armstrong and Buzz Aldrin walked on the surface of the moon. To celebrate the event,...

De-Aging De Niro: VFX Supe Pablo Helman on The Irishman’s New Approach to Performance Capture
Dec 6, 2019
Some of the pre-release buzz around The Irishman was … skeptical. Yes, director Martin Scorsese remains one of the most celebrated...
Pixar Expands USD Support, Integrates with SideFX Solaris in RenderMan 23
Dec 3, 2019
Pixar Animation Studios said RenderMan version 23, which it released today, features enhanced support for Pixar’s Universal Scene Description...

Framestore to Open Mumbai Facility Next Year
Dec 3, 2019
Framestore’s next expansion will take place in Mumbai, where the company plans to open a “full digital production facility”...

Review: Loupedeck CT Control Surface
Dec 12, 2019
The Loupedeck CT is an inexpensive control panel that offers an experience that comes close to much costlier dedicated...

Burbank Expands in Santa Monica, a New Neighborhood Option for Multi-Location Projects
Sep 25, 2019
FotoKem has moved in above Margarita Mix in Santa Monica, the company announced, describing the expansion as a “new...
Mac/Avid Reboot Issue: Bug in Google Chrome Update Is Likely to Blame
Sep 25, 2019
A widely reported problem Avid users have been having this week with their MacOS Media Composer systems failing to boot...

Emmy-Nominated Editor Leo Trombetta, ACE, on True Detective
Aug 26, 2019
The third season of enigmatic crime drama True Detective from creator-writer-executive producer Nic Pizzolatto plays with perspective and narrative...

Signature Post Opens with Three Atmos Stages in Burbank
Dec 30, 2019
Audio post facility Signature Post has opened its doors to high-end feature and television projects on Victory Boulevard in...

Harman Adds Bluetooth to One Series Desktop Monitors
Dec 5, 2019
Harman is adding Bluetooth connectivity to its JBL One Series desktop reference monitors. At $179/pair, they’re entry-level monitors aimed...

iZotope’s Dialogue Match Is Cut-and-Paste for EQ, Reverb and Ambiance in Pro Tools
Nov 5, 2019
iZotope released Dialogue Match, a new software tool the company claims analyzes the “sonic character” of dialogue recordings to...

Avid Ships S4 Audio Control Surface
Oct 7, 2019
Avid is shipping the S4 audio control surface, a compact design that the company said offers a streamlined alternative to...
Burbank Expands in Santa Monica, a New Neighborhood Option for Multi-Location Projects
Sep 25, 2019
FotoKem has moved in above Margarita Mix in Santa Monica, the company announced, describing the expansion as a “new...

Dolby Vision-Ready Canon DP-V3120 4K HDR Reference Display Is Due in November
Sep 5, 2019
HDR colorists will soon have a new option in the color suite with the arrival of Canon’s new flagship...
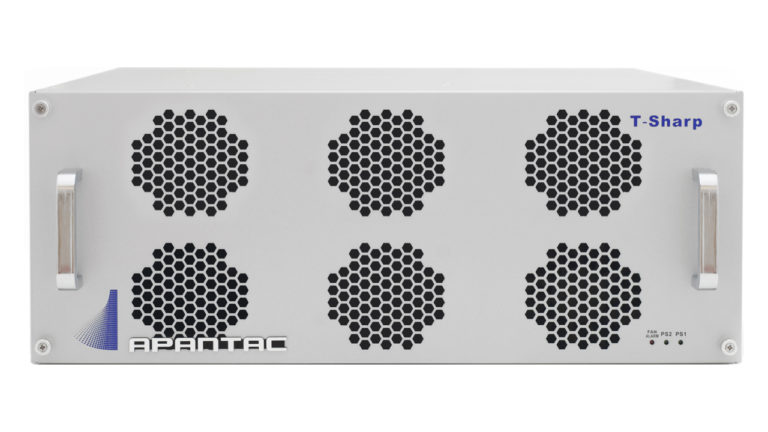
Apantac Adds HDMI 2.0 to Broadcast Multiviewers
Aug 20, 2019
Acknowledging a trend toward interfacing broadcast equipment with off-the-shelf consumer display hardware, Apantac said it has added HDMI 2.0...
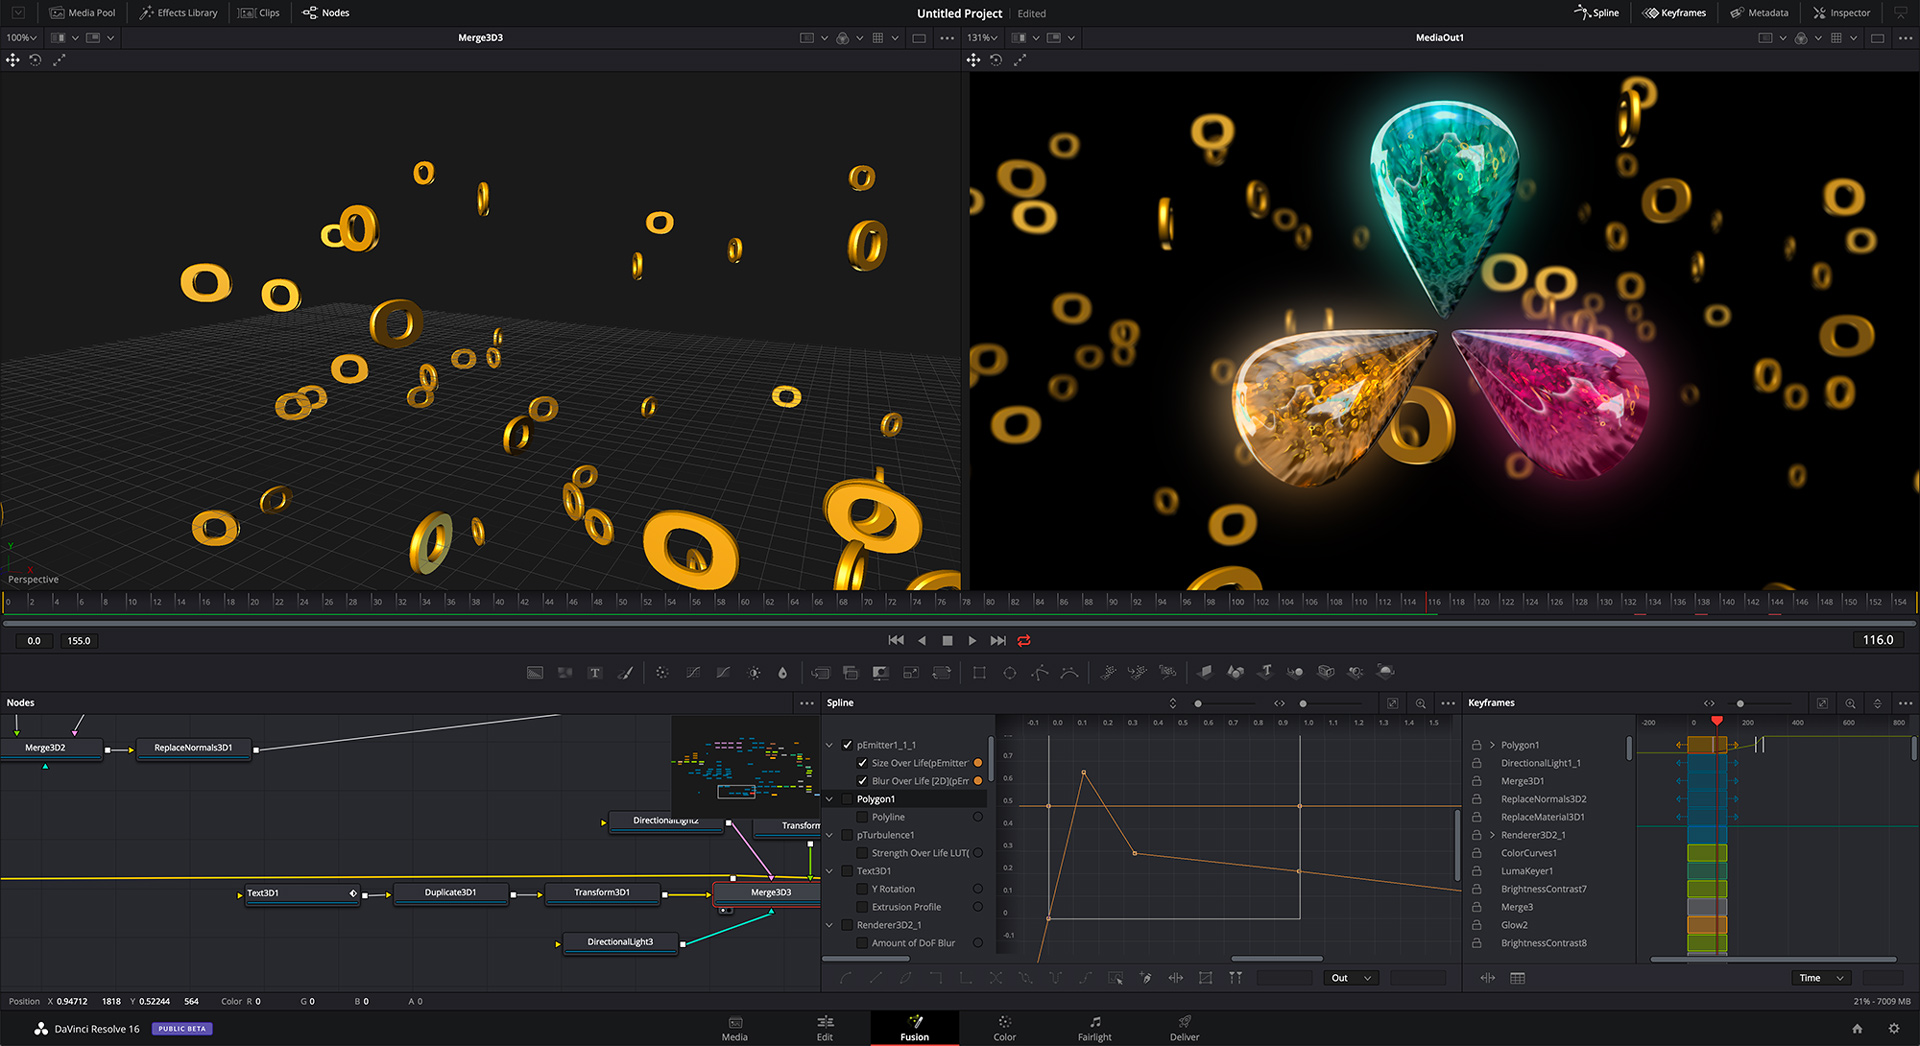
Blackmagic Design Finalizes Resolve 16.0 but Keeps the New Features Coming
Aug 8, 2019
Can’t stop, won’t stop: Blackmagic Design today announced the final release of DaVinci Resolve 16.0 and then immediately opened...
Quantum Expands NVMe Offerings with Less-Expensive ‘F Series’ Appliance
Jan 14, 2020
Quantum is looking to increase adoption of high-performance NVMe storage with the announcement of a new entry-level version of...
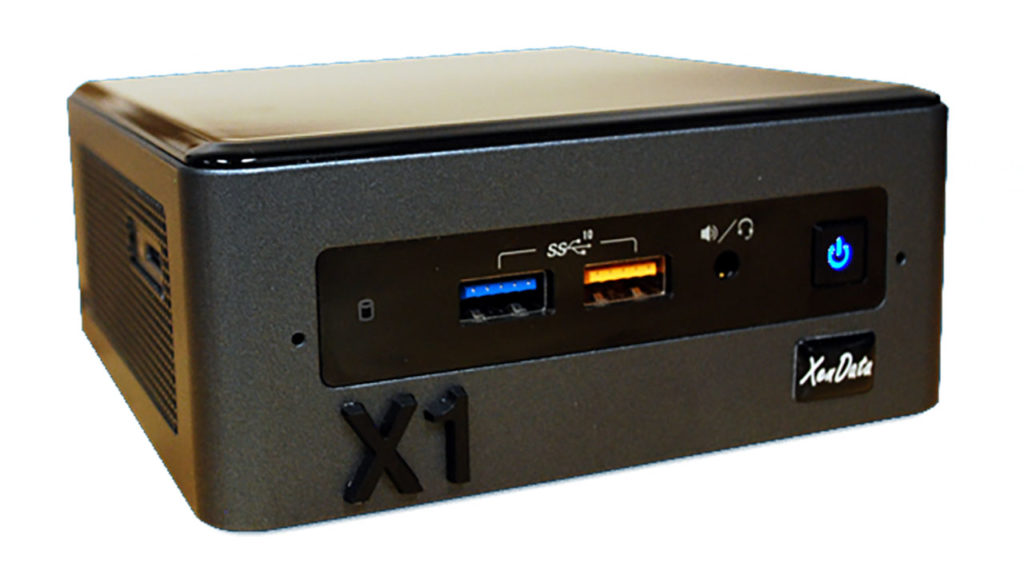
XenData Ships X1 Desktop Archive Appliance
Dec 10, 2019
XenData began shipping the X1 Archive Appliance, a new network-connected desktop device that builds a bridge between file-based applications...

Puget Systems Teams with LumaForge on Workflow Servers
Oct 28, 2019
PC builder Puget Systems and NAS device vendor LumaForge said today that they have developed a testing and certification...
Storage Considerations at Every Stage of your Workflow
Sep 23, 2019
Shooting Planet Earth II involved 42 camera operators capturing 4K footage that amounted to 400 TB. The rise of...

Production in the Big Apple: Pleasure and Pain
Oct 22, 2019
A panel of producers assembled for a discussion at NAB Show New York last week agreed that, for content...

Ross Video to Debut New Broadcast Gear at NAB New York
Oct 15, 2019
Ross Video said it will debut a new UHD master control switcher and a Nielsen Watermark Encoder for IP...

For-A Shows Latest Frame Rate Converter with 4K Option at IBC
Sep 24, 2019
For-A debuted its new FRC-9100 at IBC, presenting a frame-rate converter that converts everything, essentially, into everything else. It’s...

Panasonic Shows New AJ-CX4000GJ 4K Broadcast Camera at IBC
Sep 16, 2019
Panasonic debuted a new shoulder-mount UHD 4K broadcast camera, the AJ-CX4000GJ, at IBC. The single-chip camera has a B4...
Recent
- Making Premium Sci-Fi TV on a Shoestring Budget: Showrunner Jerry Rodriguez-Burckle Talks Dani Who? and Challenges in the Growing Mexican Market
- Promo: McMillions
- Sony’s Vlogger-Friendly Camera Grip Has Bluetooth Control Built In
- Quantum Expands NVMe Offerings with Less-Expensive ‘F Series’ Appliance
- Behind the Soundtrack: Uncut Gems with Daniel Lopatin
- Academy Awards: Joker Leads the Pack as Oscar Season Begins in Earnest
- Promo: Lincoln Rhyme: Hunt for the Bone Collector
