The post Protein-Packed Adai Dosa: A Healthy Twist Without Rice appeared first on Subbus Kitchen.
]]>Protein-Packed Adai Dosa – a healthy and protein-packed twist on the classic South Indian dosa. Made without rice, this version is perfect for those looking to add more plant-based protein to their diet. The secret lies in a delicious combination of green gram dal, black urad dal, and black chana dal, soaked overnight and ground into a coarse batter. Not only is this dish a great breakfast option, but it’s also gluten-free and full of flavor. Whether you enjoy it with chutney, sambar, or a dollop of butter, this adai dosa is sure to be a hit with everyone at the table!
Tips to make perfect Protein Packed Adai Dosa
Here are some tips for making the perfect Adai Dosa:
- Soak the Dals Properly: Soak the dals (green gram, black urad dal, and black chana dal) overnight to ensure they grind smoothly and help in achieving a light and fluffy texture.
- Grind to Coarse Consistency: For the best adai dosa, grind the batter to a coarse consistency, not too smooth. This gives the adai its characteristic texture and crunch.
- Adjust the Water: While grinding, add water little by little to get the right batter consistency. It should be thick but pourable.
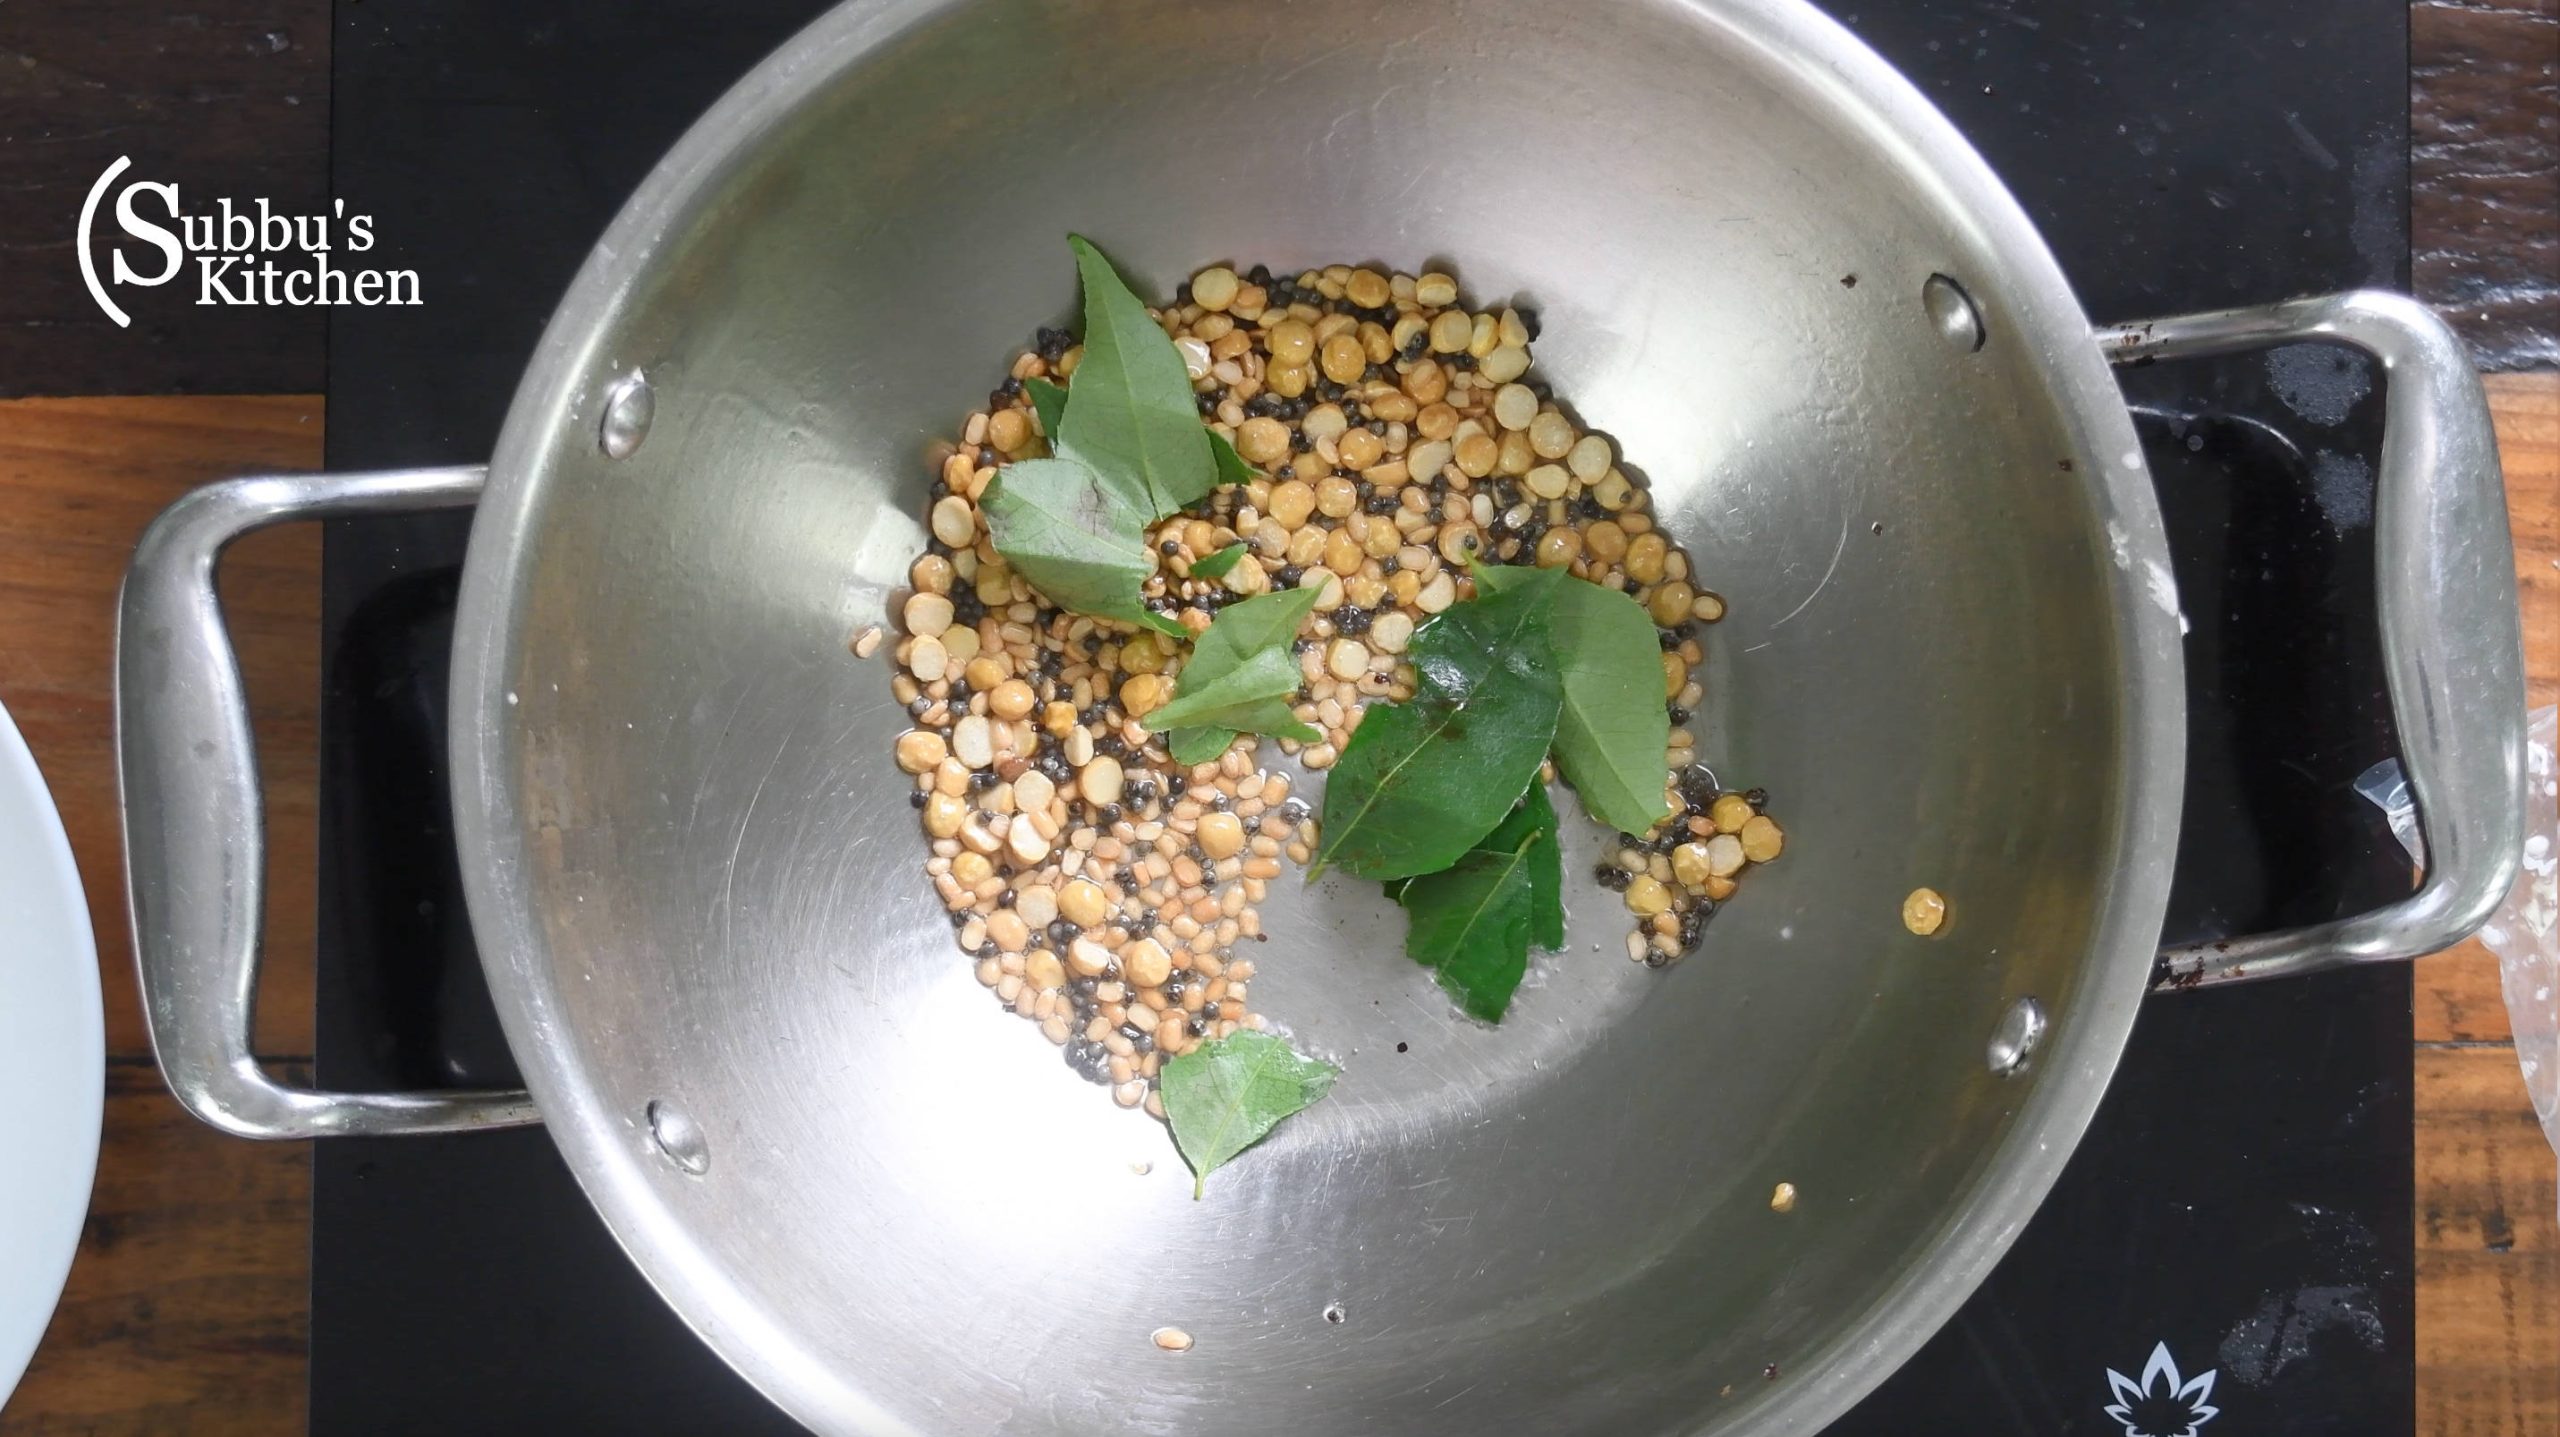
- Use Fresh Curry and Coriander Leaves: Adding fresh curry leaves and coriander leaves enhances the flavor and aroma of the adai.
- Use an iron dosa tawa to make the adai for an authentic flavor and crisp texture.
- Cook on Low Flame: Cooking the adai on a low flame ensures it cooks evenly and turns golden brown without burning.
- Add Oil Generously: For a crispy texture, pour oil around the edges and in the center of the adai while cooking.
- Flip Gently: When flipping the adai, be gentle to prevent it from breaking. Use a spatula to carefully lift it.
- Serve Immediately: Adai dosa tastes best when served hot, so serve it immediately with chutney, sambar, or any preferred side dish.
You may also want to try
- Instant Oats Dosa – We can make instant, crispy and yummy dosa with Oats. As it’s name suggest it doesn’t require grinding, fermentation of batterI. Instant Oats Dosa is quick, easy and tasty to make. A perfect breakfast for a balanced diet.
- Wheat flour Dosa – Wheat Flour dosa is a quick and easy dish which you can prepare in 20 minutes. Normally for dosa, we need to soak rice, urid dal for many hours and grind it and then ferment it. But Wheat flour dosa is very simple and can be made with ready made flours without much effort.
- Rava dosa – Rava Dosa is a popular South Indian Dosa Variety made with the Sooji batter and spices. This is very aromatic and crisp, and its quite popular in the restaurants. This crispy, tasty dosa can be made easily in the home. The best part of making this dosa is that no grinding, fermentation rqeuired and it’s instant.
Recipe Card to make Protein-Packed Adai Dosa

Protein-Packed Adai Dosa: A Healthy Twist Without Rice
Equipment
- 1 Dosa Pan preferably Iron pan
Ingredients
- ½ cup Green Gram (Pachai Payiru) (whole)
- ½ cup Black Urad Dal (whole)
- ½ cup Black Chickpeas (Kala Chana)
- 5 nos Red Chili (adjust to your taste)
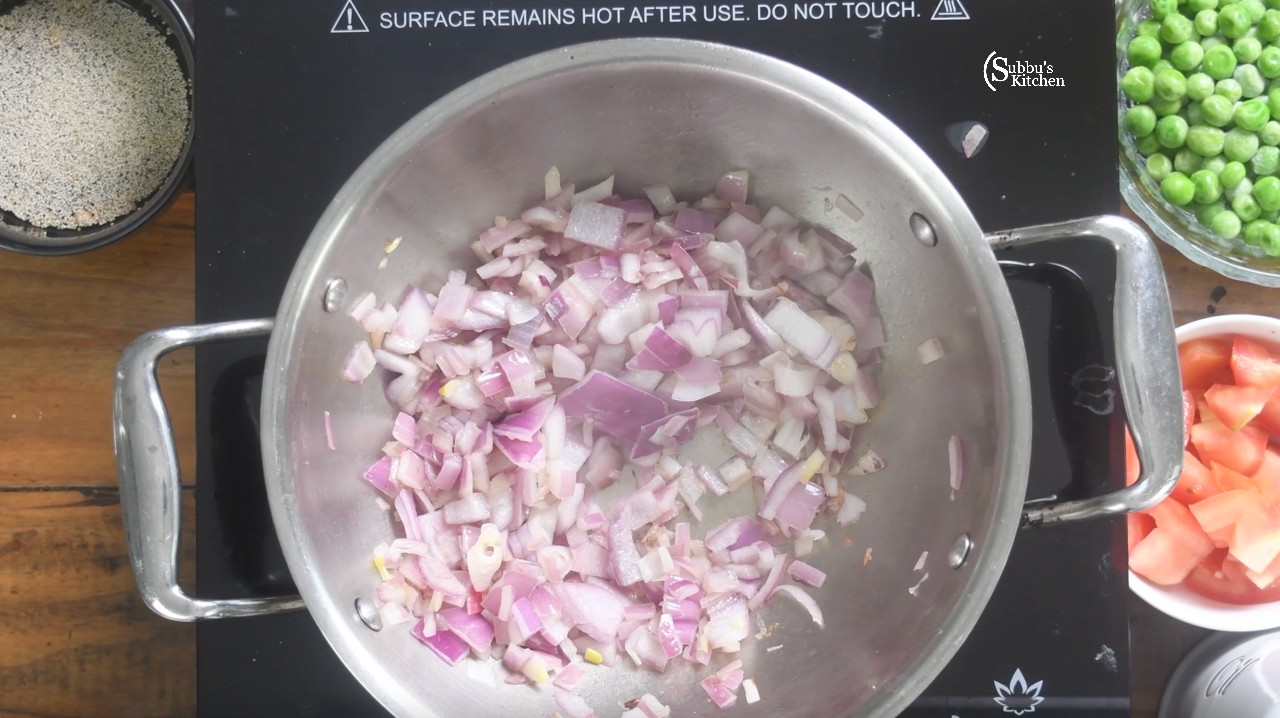
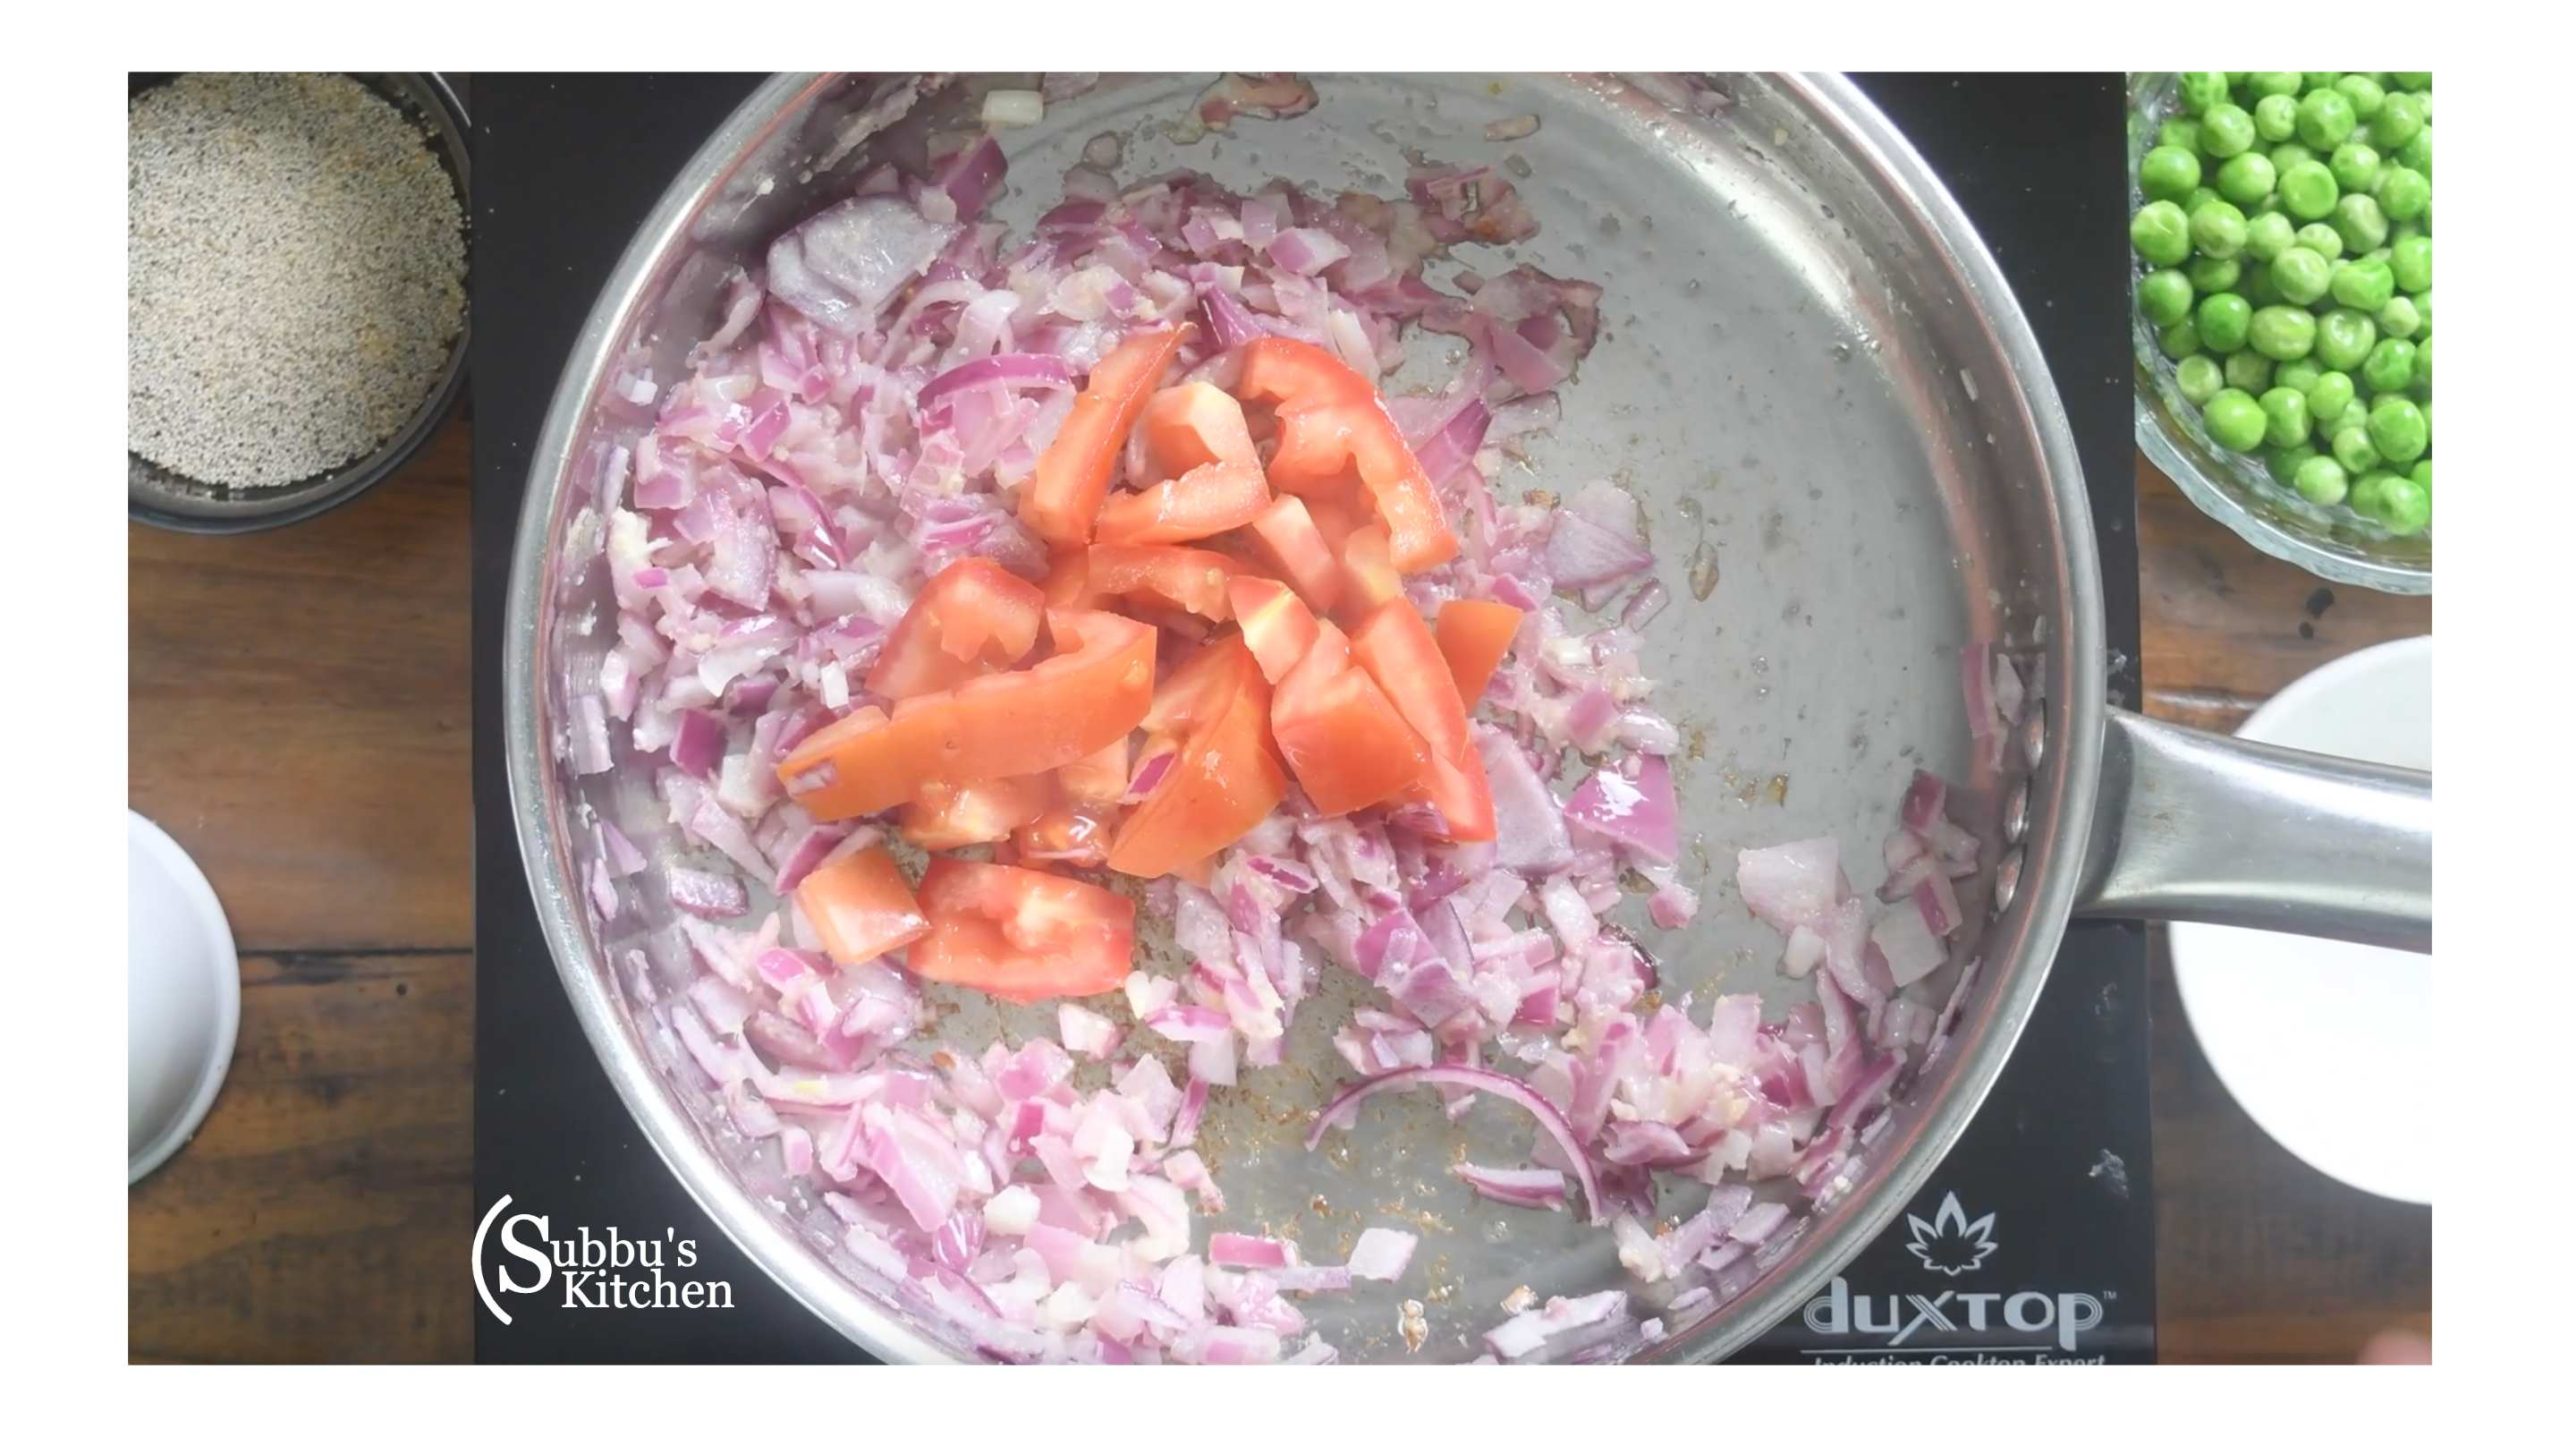
- 1 nos Onion roughly chopped
- 1 sprig Curry leaves
- ¼ cup Coriander Leaves finely chopped
- 1½ tsp Salt adjust to your taste
Instructions
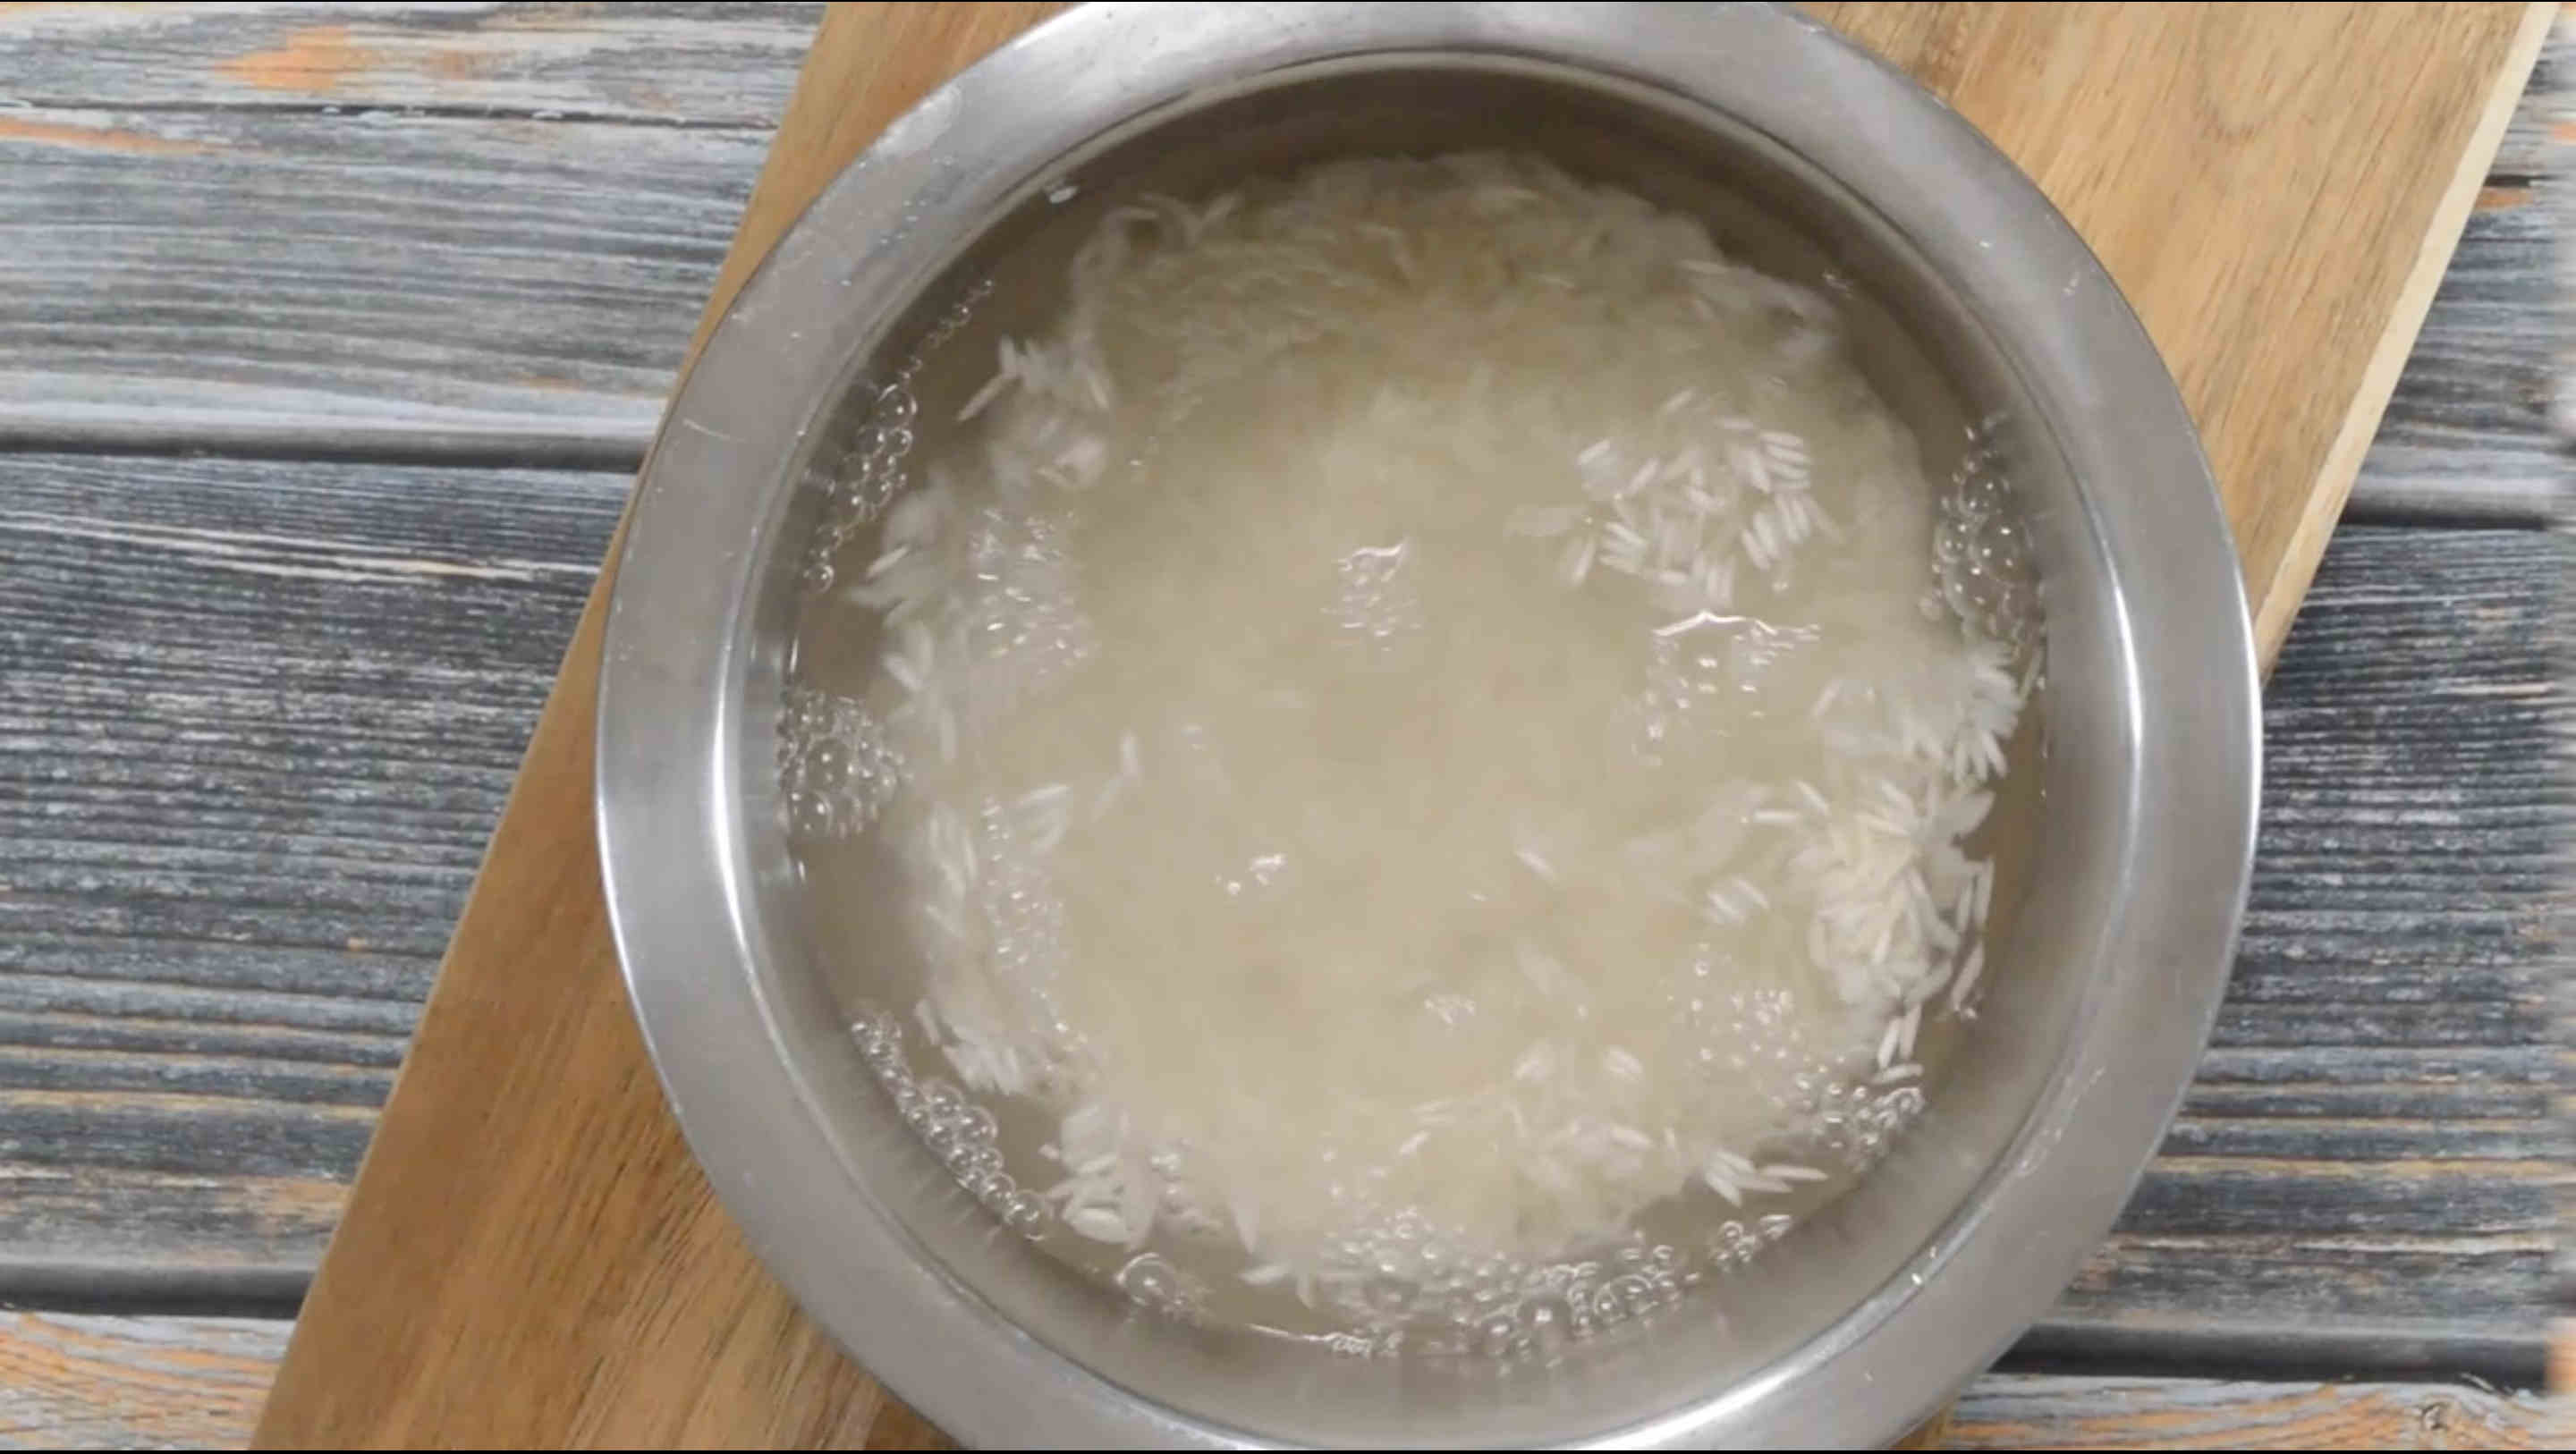
- Add all the lentils (green gram dal, black urad dal, and black chickpeas) to a bowl and rinse them thoroughly with water.½ cup Green Gram (Pachai Payiru), ½ cup Black Urad Dal, ½ cup Black Chickpeas (Kala Chana)
- Soak the lentils in water overnight or about 8 hours.
- After about 8 hours, Drain the water and transfer the lentils to the mixer grinder.
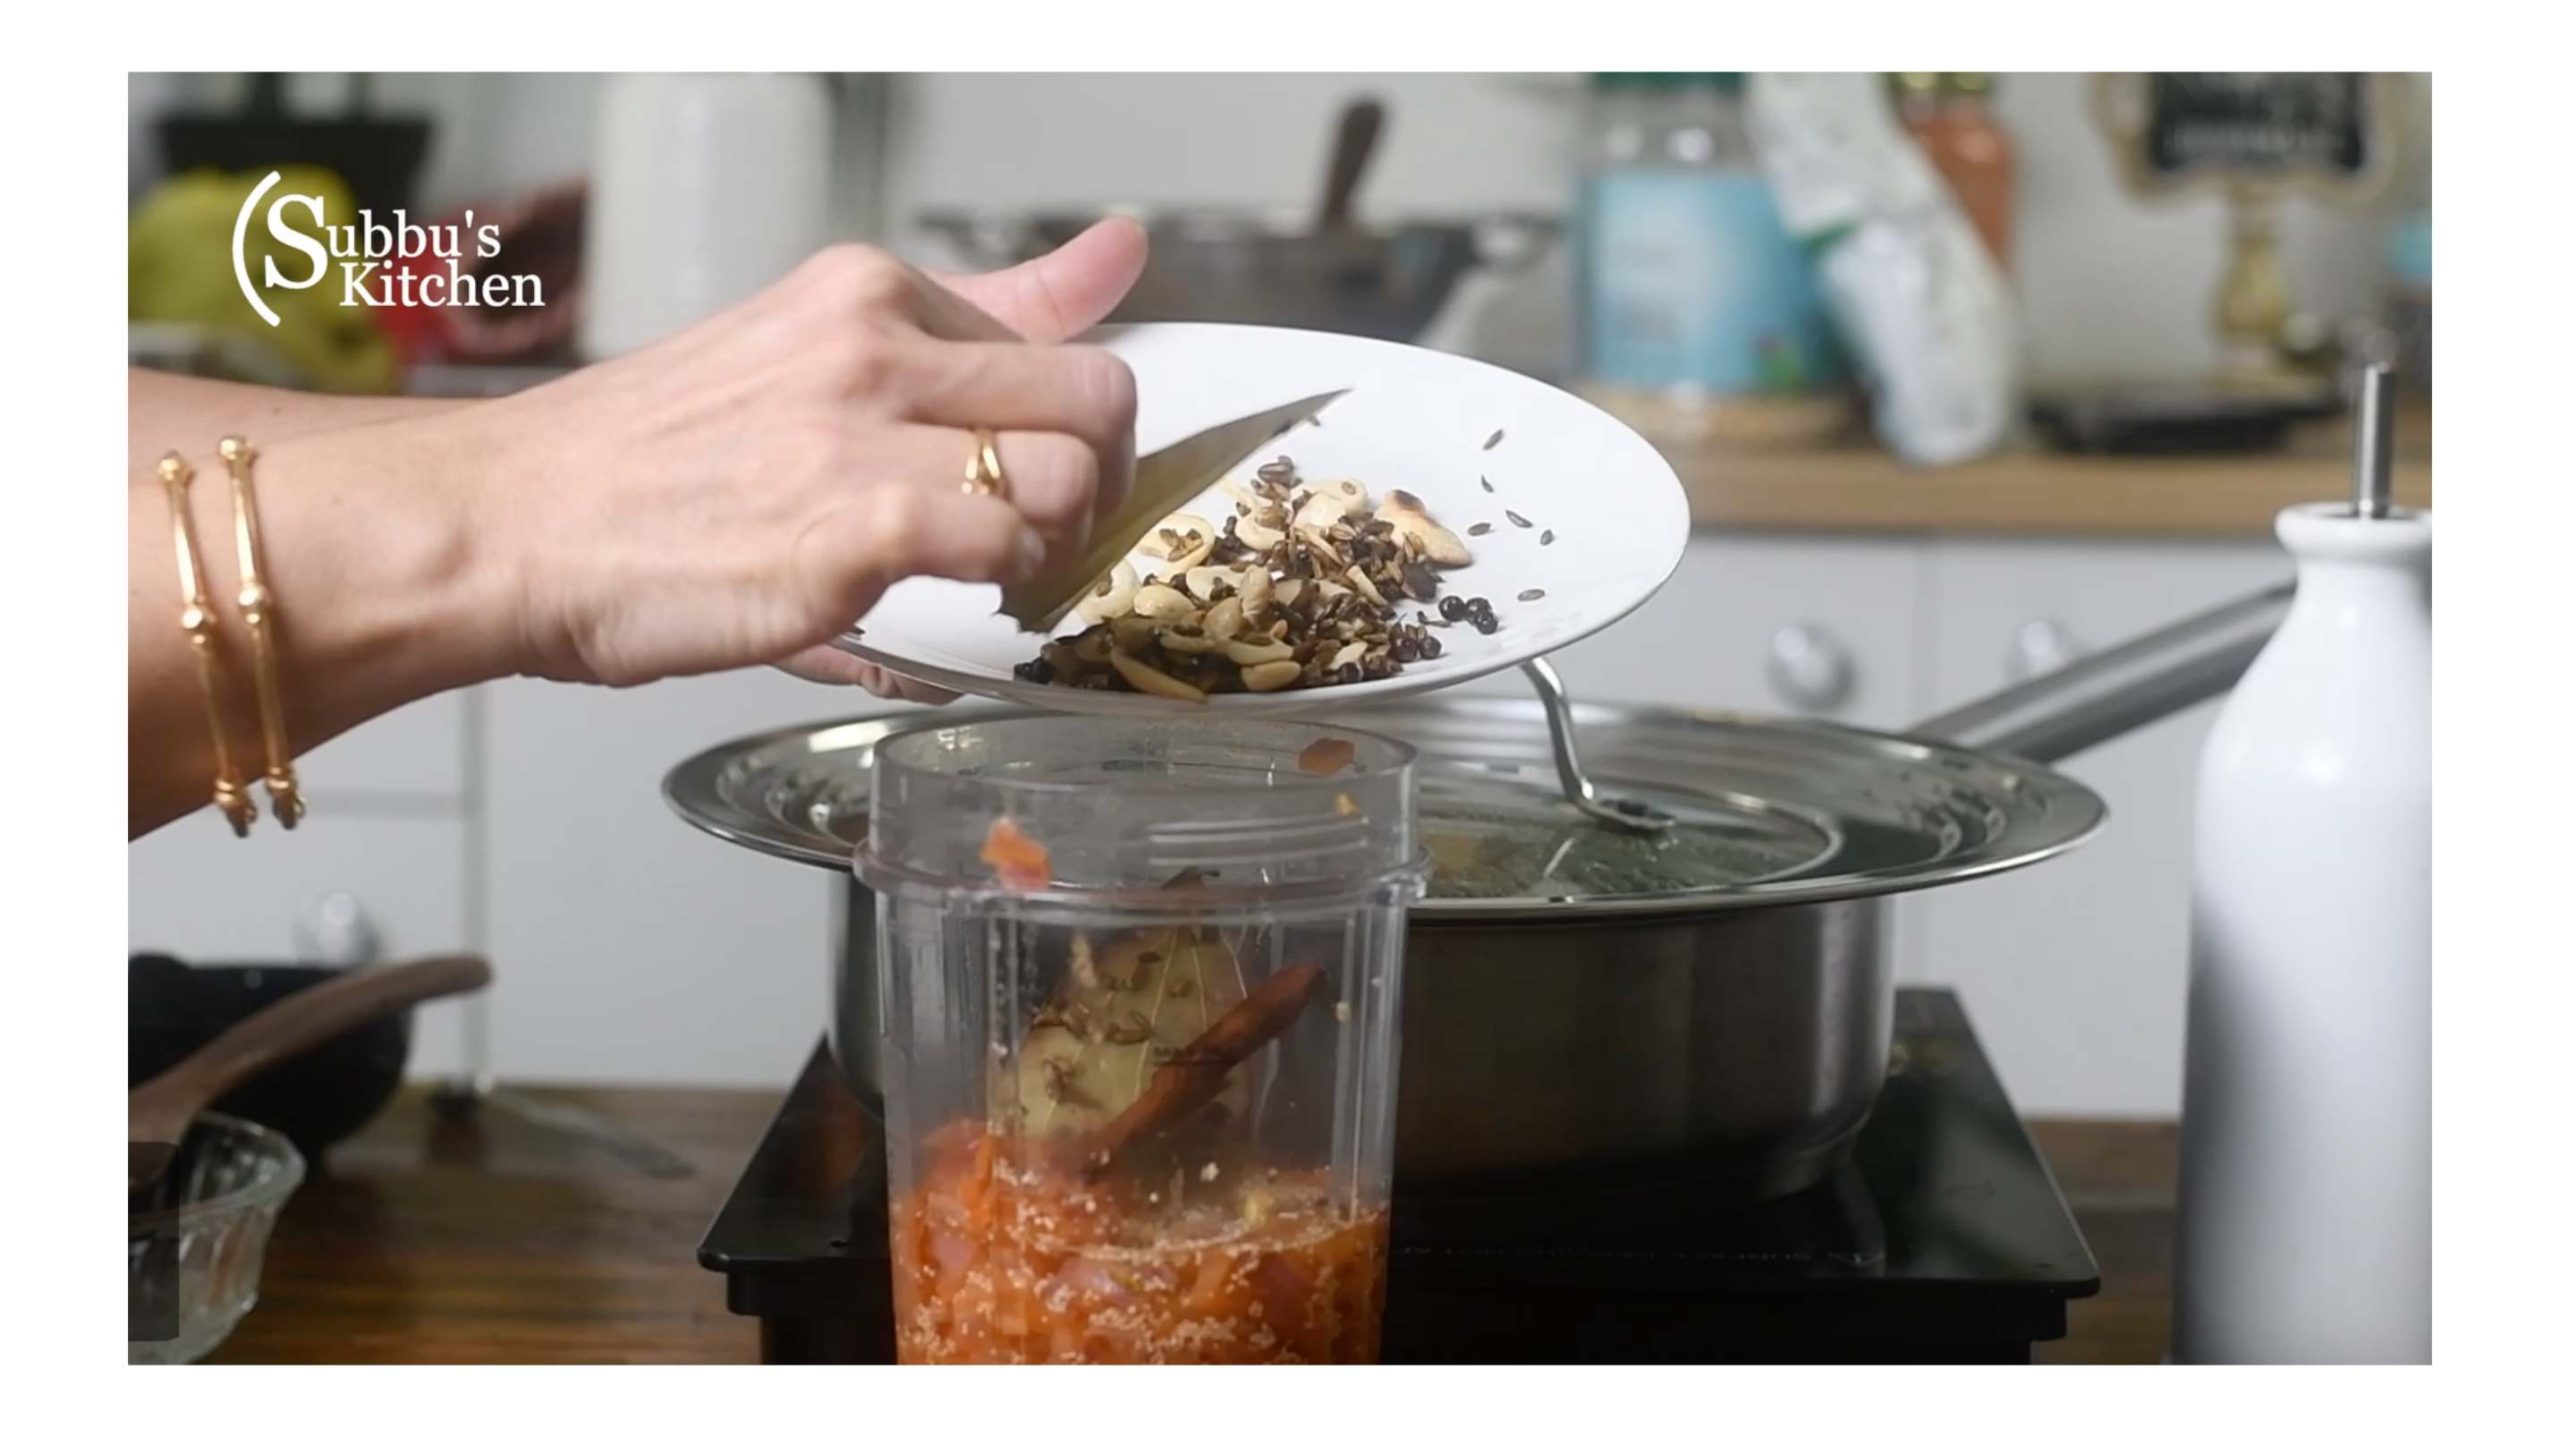
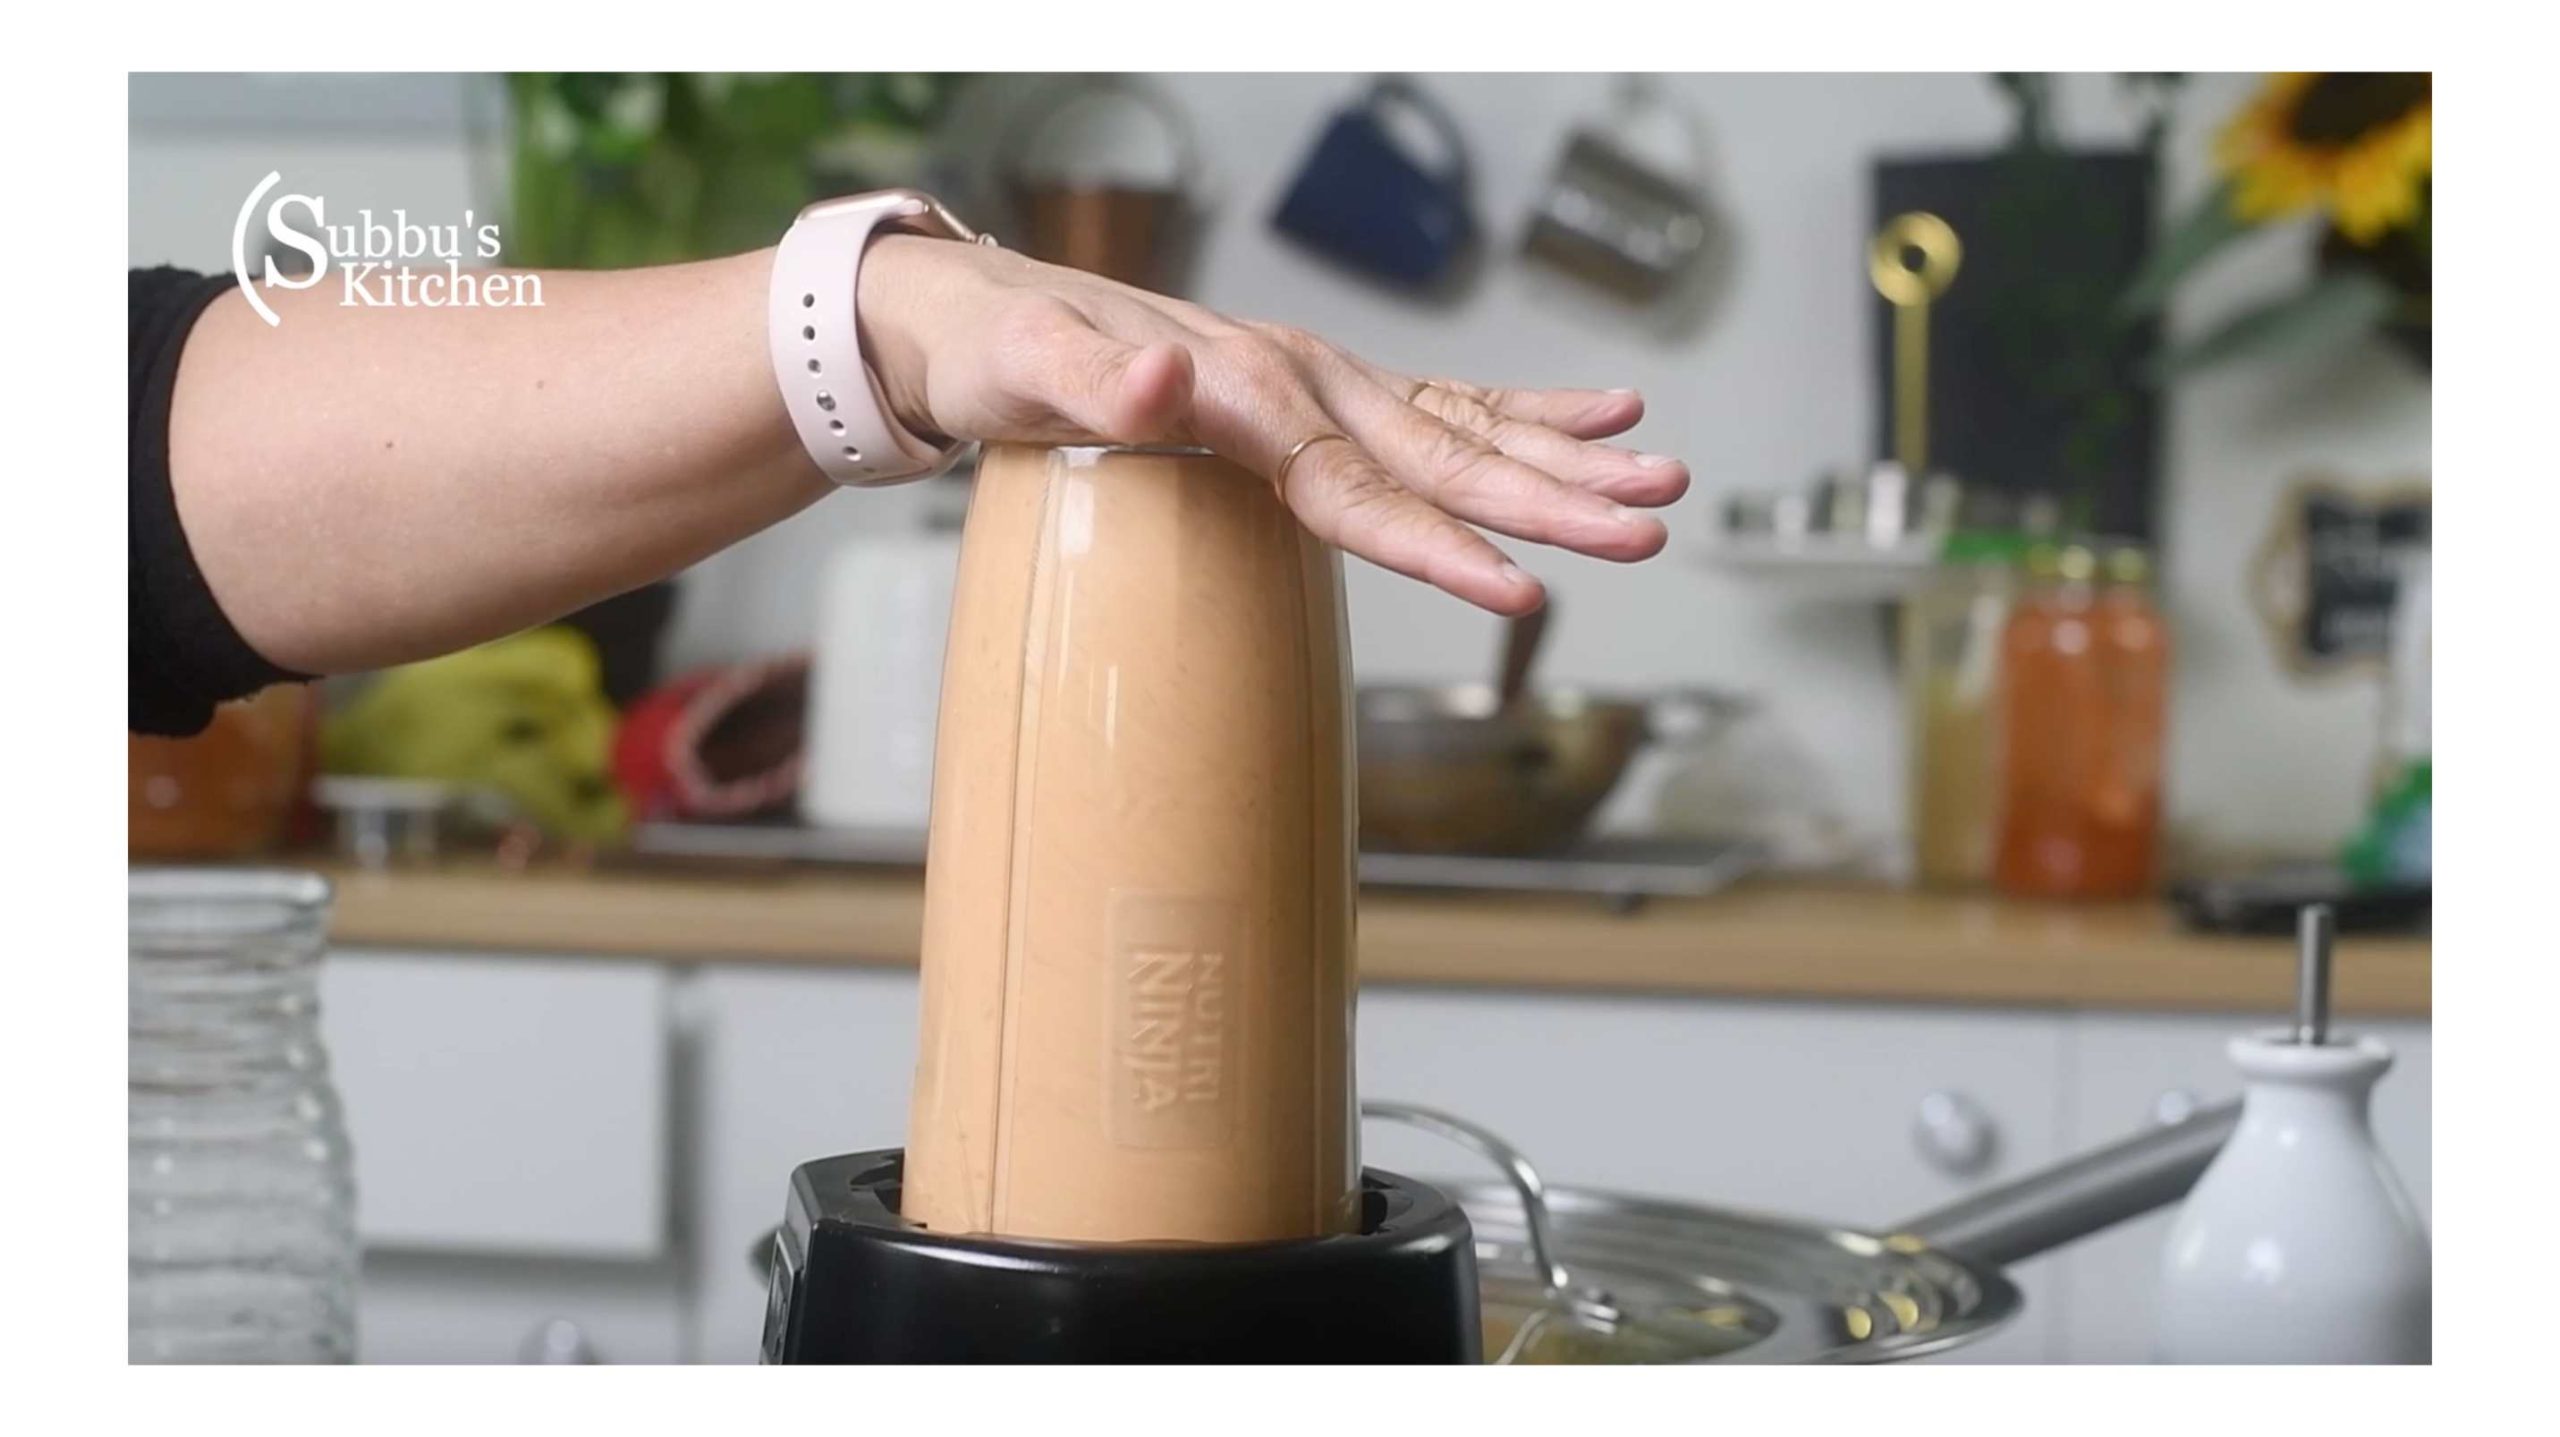
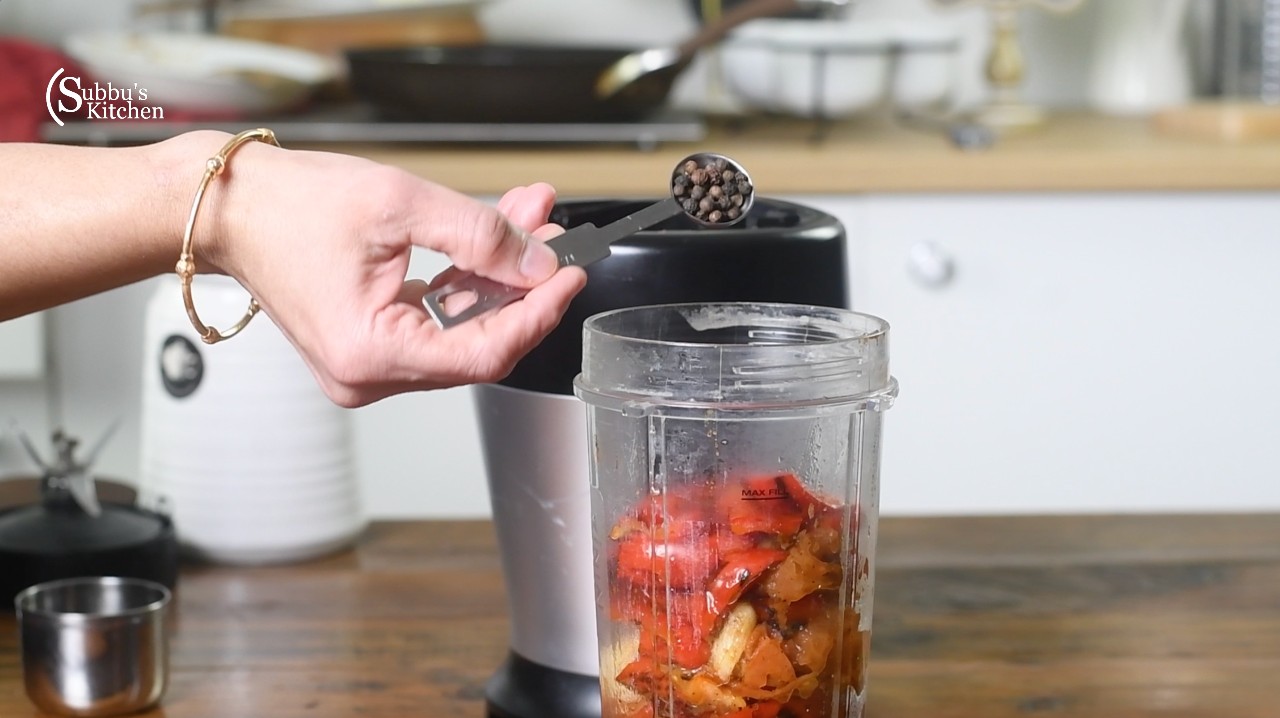
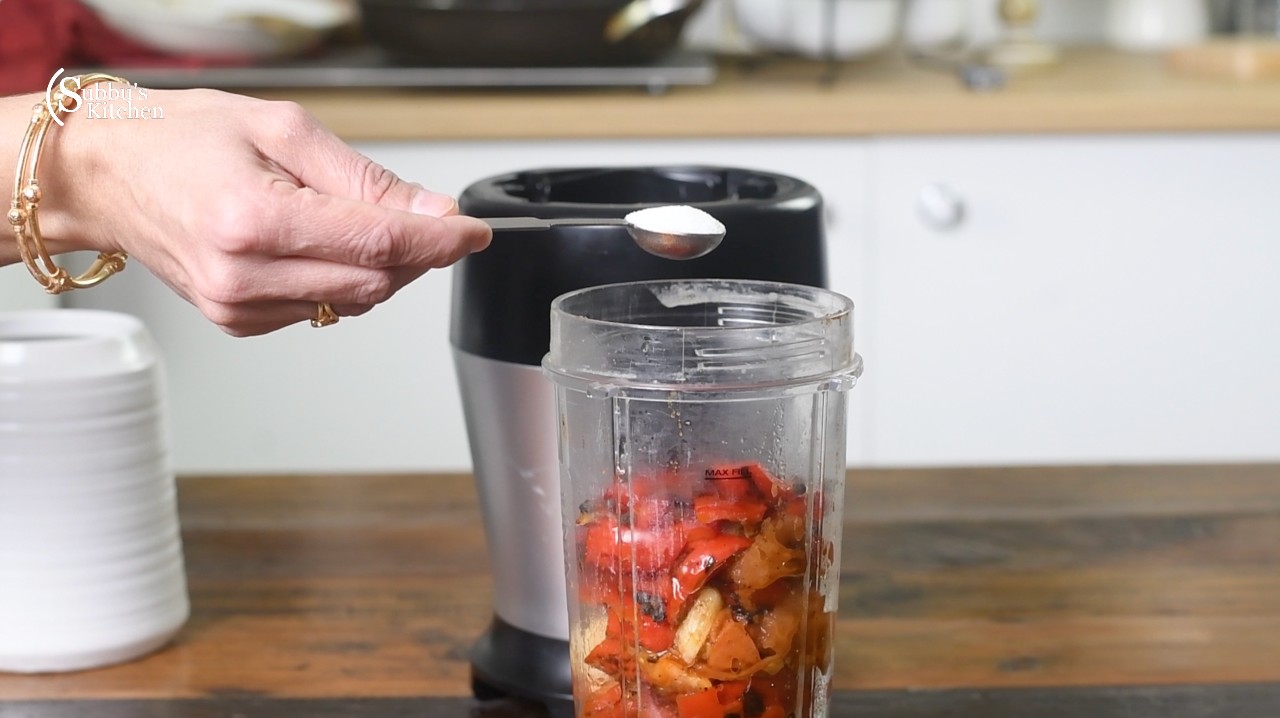
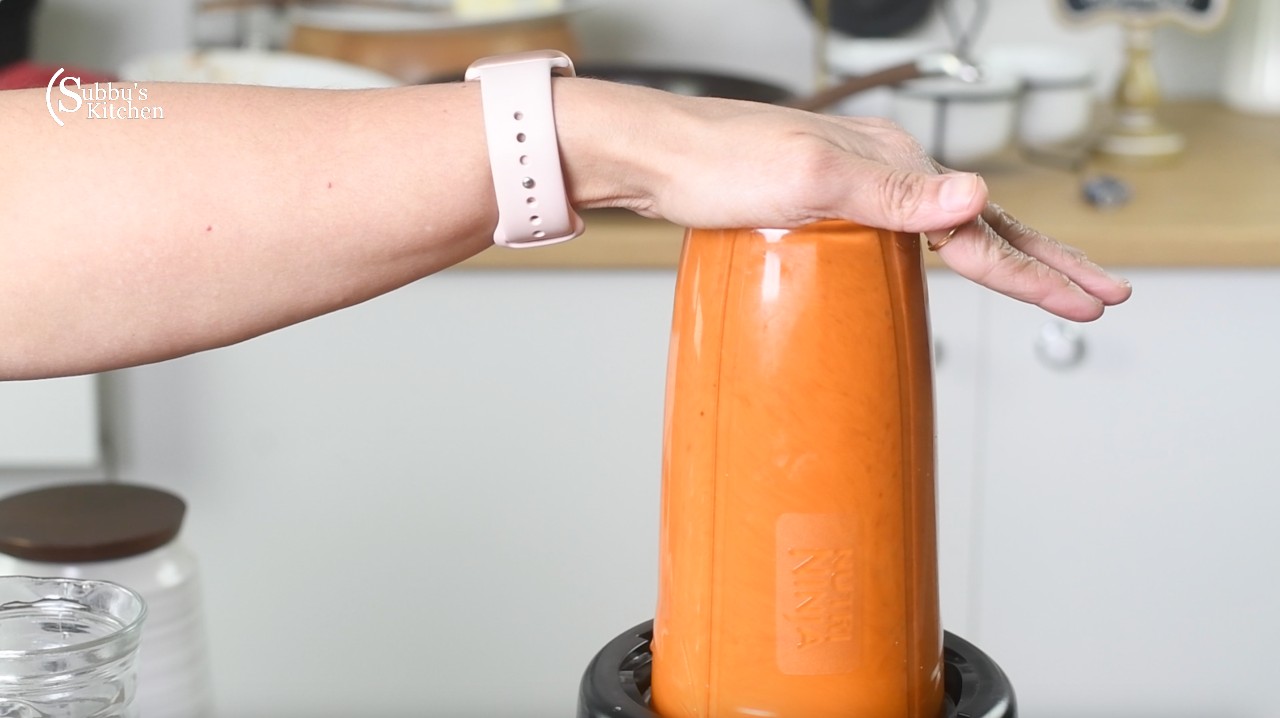
- Add red chili, roughly chopped onion, and salt to the mixture. Grind them into a coarse batter.5 nos Red Chili, 1 nos Onion, 1½ tsp Salt
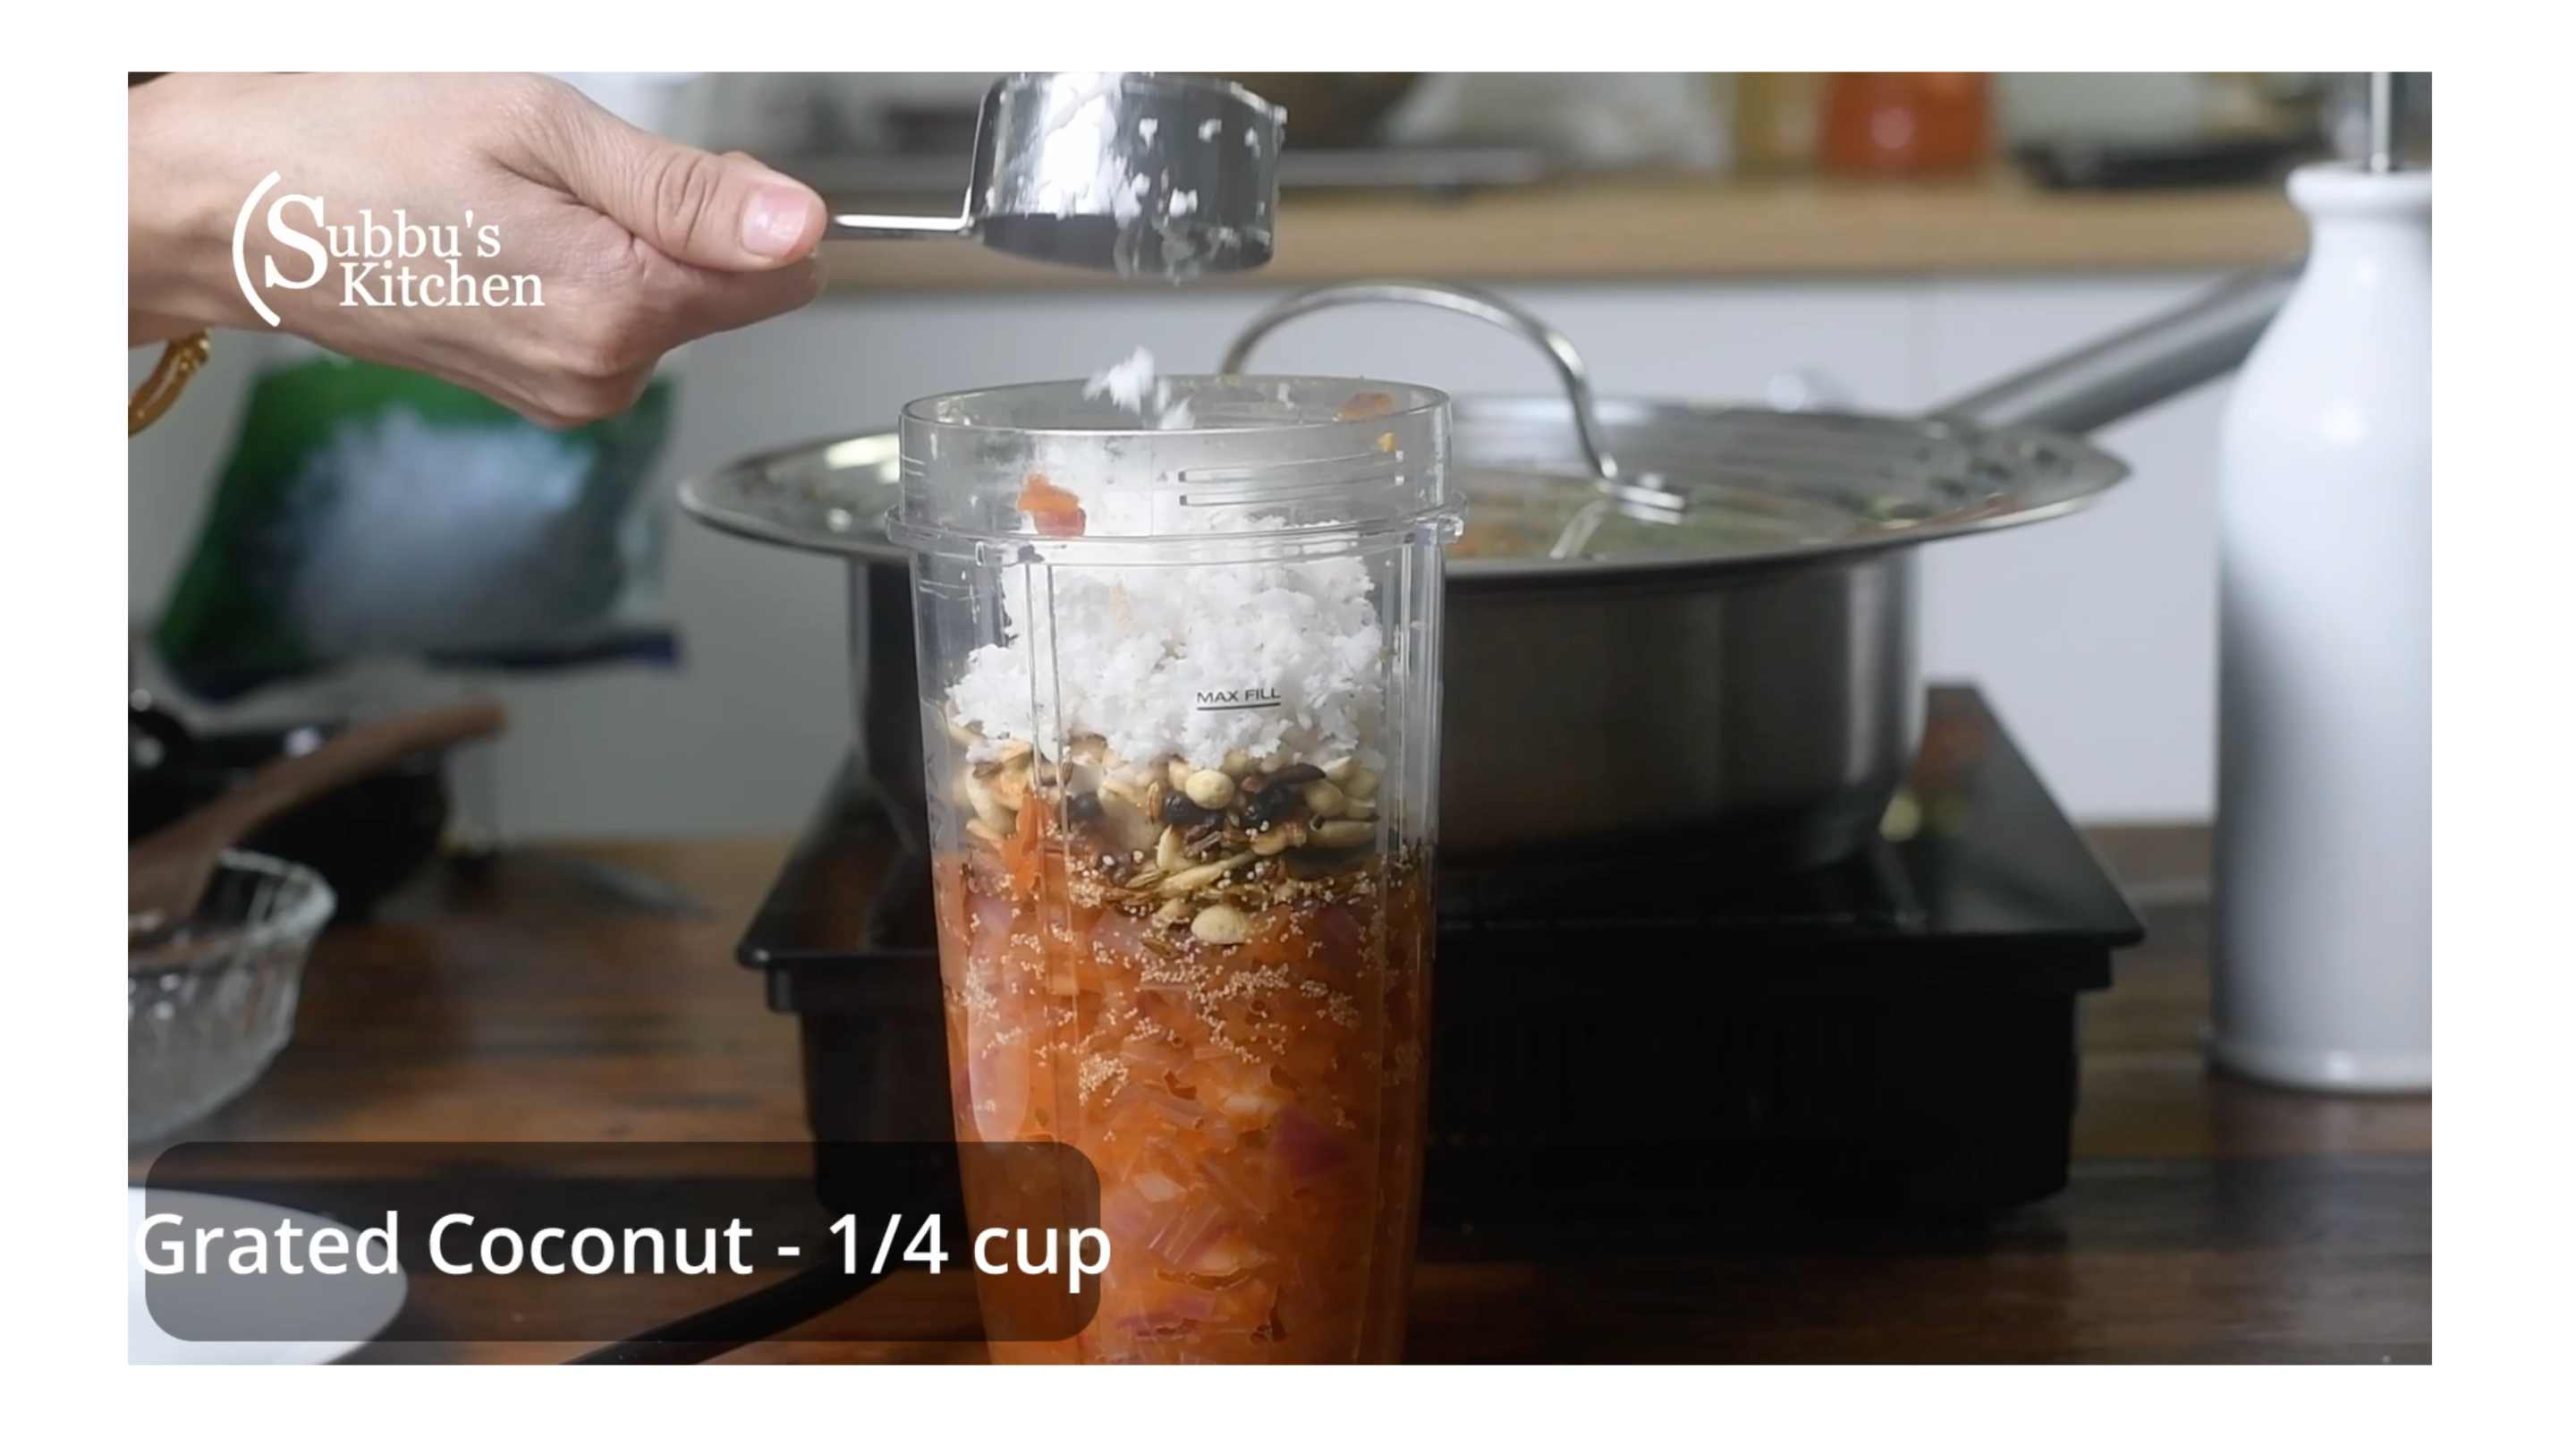
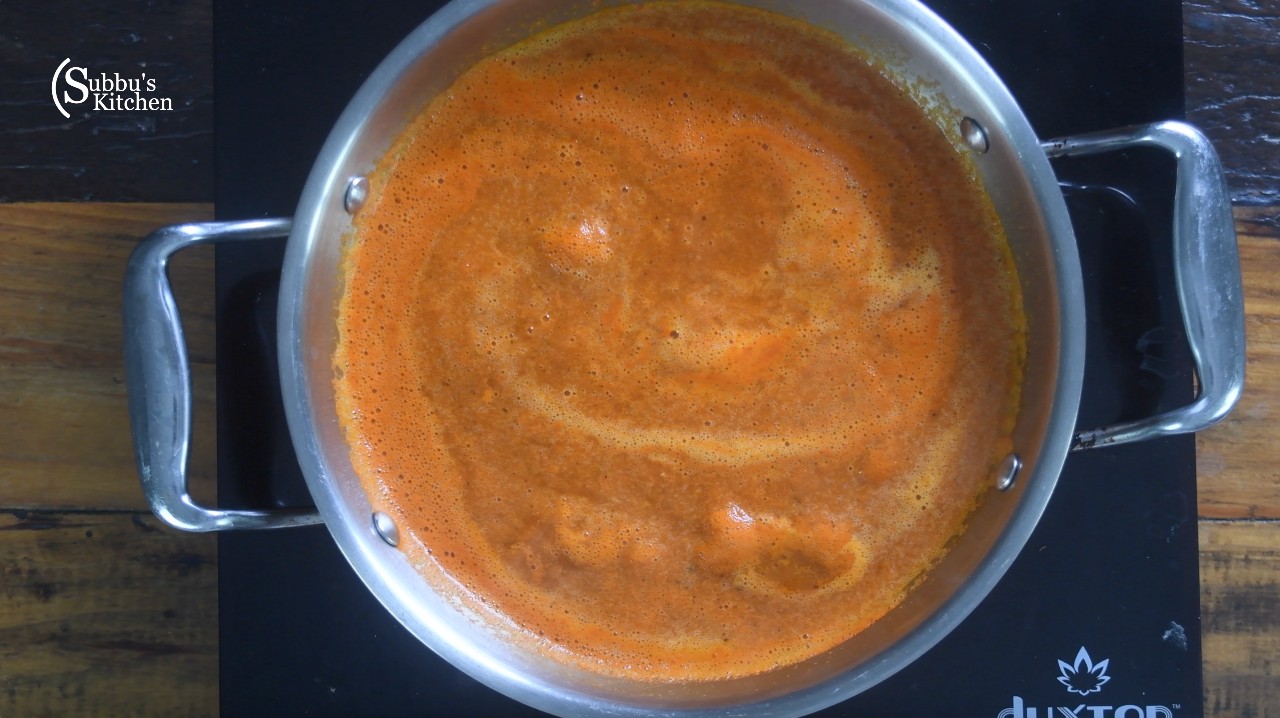
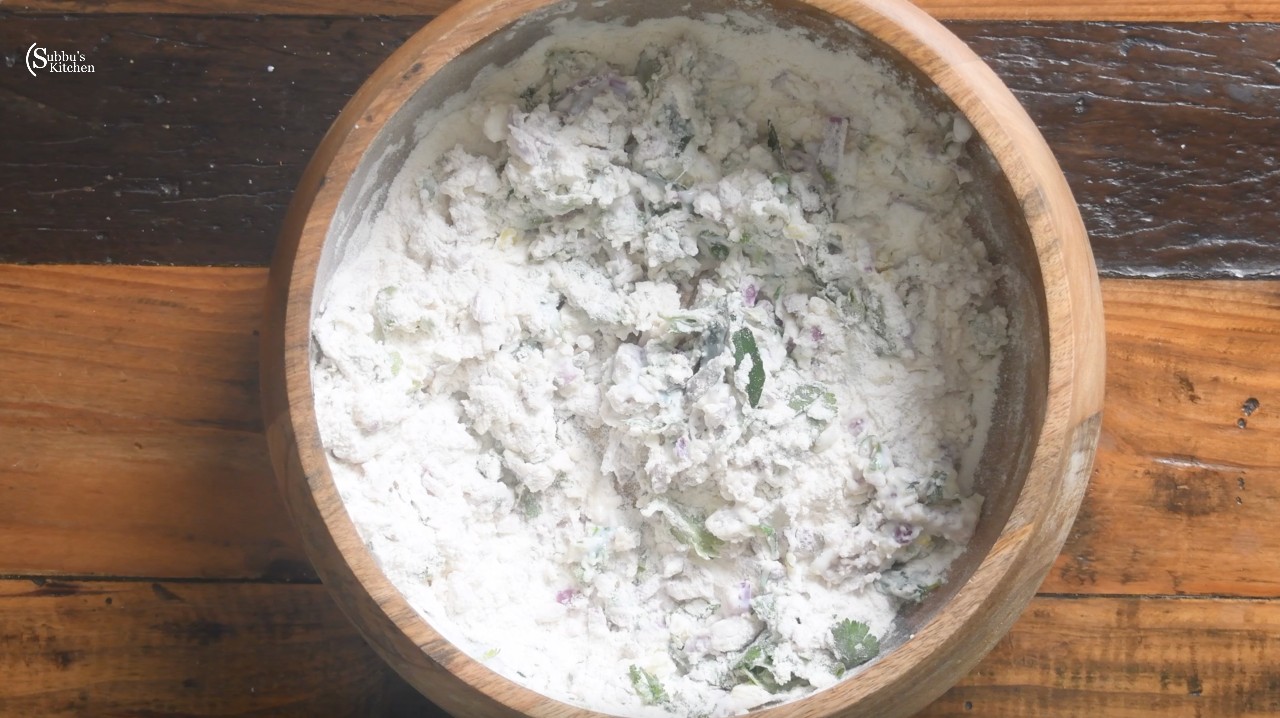
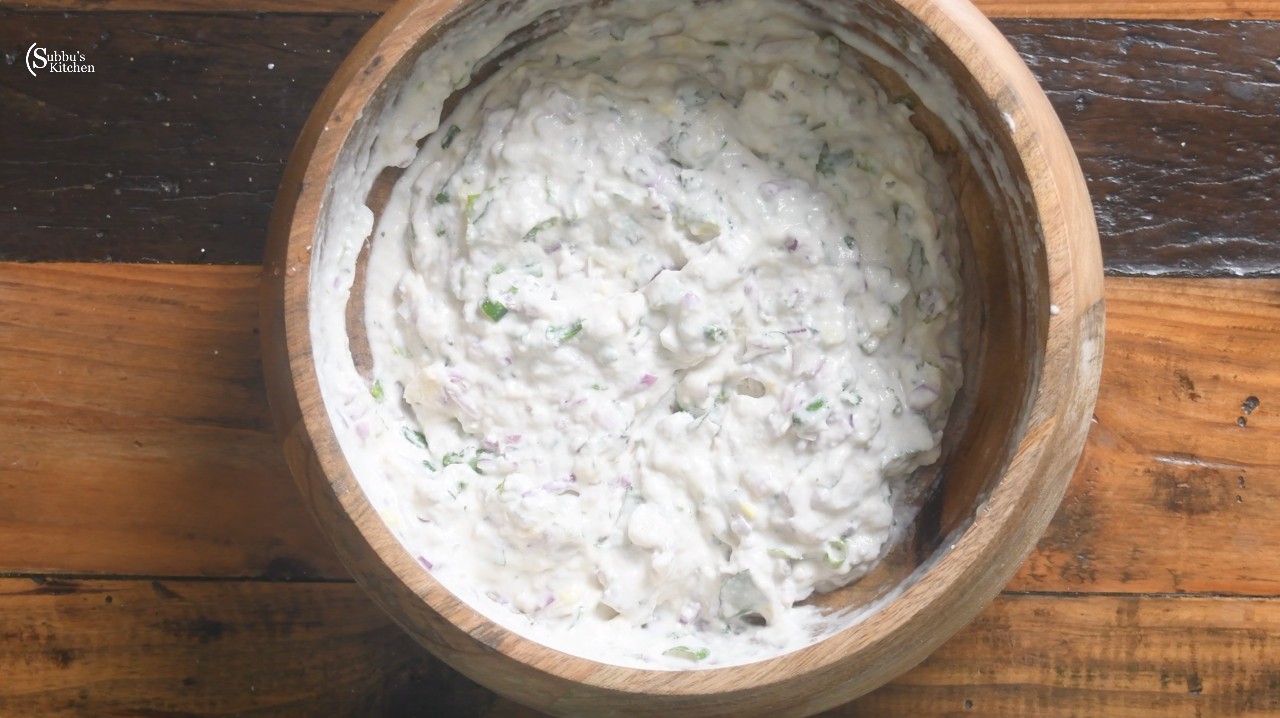
- Transfer the batter to a bowl. Add curry leaves and coriander leaves, then mix everything well.1 sprig Curry leaves, ¼ cup Coriander Leaves
- Heat a tawa (Dosa Pan) and sprinkle a few drops of water to check if it sizzles. Once the tawa is hot, pour a ladle of adai batter in the center and gently spread it out into a thick, even layer.
- Pour oil around the edges of the adai. Make a small hole in the center and add a few drops of oil. Keep the flame low and allow the adai to cook until the bottom turns light golden brown.
- Gently flip the adai and cook on low flame until the other side turns golden brown. Repeat the process for the remaining adai batter.
- Relish the protein-rich adai with your choice of chutney, sambar, jaggery, butter, or aviyal for a delicious and wholesome meal!
Video
Notes
- Soak the Dals Properly: Soak the dals (green gram, black urad dal, and black chana dal) overnight to ensure they grind smoothly and help in achieving a light and fluffy texture.
- Grind to Coarse Consistency: For the best adai dosa, grind the batter to a coarse consistency, not too smooth. This gives the adai its characteristic texture and crunch.
- Adjust the Water: While grinding, add water little by little to get the right batter consistency. It should be thick but pourable.
- Use Fresh Curry and Coriander Leaves: Adding fresh curry leaves and coriander leaves enhances the flavor and aroma of the adai.
- Cook on Low Flame: Cooking the adai on a low flame ensures it cooks evenly and turns golden brown without burning.
- Add Oil Generously: For a crispy texture, pour oil around the edges and in the center of the adai while cooking.
- Flip Gently: When flipping the adai, be gentle to prevent it from breaking. Use a spatula to carefully lift it.
- Serve Immediately: Adai dosa tastes best when served hot, so serve it immediately with chutney, sambar, or any preferred side dish.
Nutrition
The post Protein-Packed Adai Dosa: A Healthy Twist Without Rice appeared first on Subbus Kitchen.
]]>