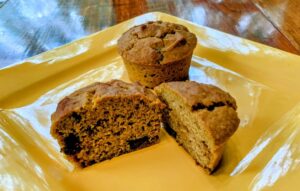
Craving cozy fall flavors without gluten or dairy? Whip up these moist, delicious Gluten-free, Dairy-free Chocolate Chip Pumpkin Muffins!
My Return
These muffins and this recipe represent, to some degree, why I didn’t share anything new on Savvy Baker for almost 12 years. A family member had to give up gluten and dairy, so we went from using two bread machines on a regular basis to using one sporadically. Since then, I’ve created a handful of go-to gluten-free (GF) recipes, but those early years of GF baking were a definite challenge.
With “normal” recipes, I can make all sorts of adjustments and still have the end result work out—or at least be edible. Not so with gluten-free. One seemingly minor change can ruin an entire batch of pancakes, muffins or bread, which is disappointing, frustrating and expensive. So, instead of continuing to test and post new recipes, I shifted my focus to homeschooling, only baking what our family needed. Now that we have a vibrant sourdough starter and three adults eating wheat-based bread every day, I’m baking regularly again, and I have time to occasionally share my more successful GF recipes.
A lot has changed since I last blogged on a regular basis. I’m incorporating some of those changes, such as the “print recipe” button (eventually), but I do not plan to incorporate dozens of ads spread throughout dozens of photos in each post.
Challenges
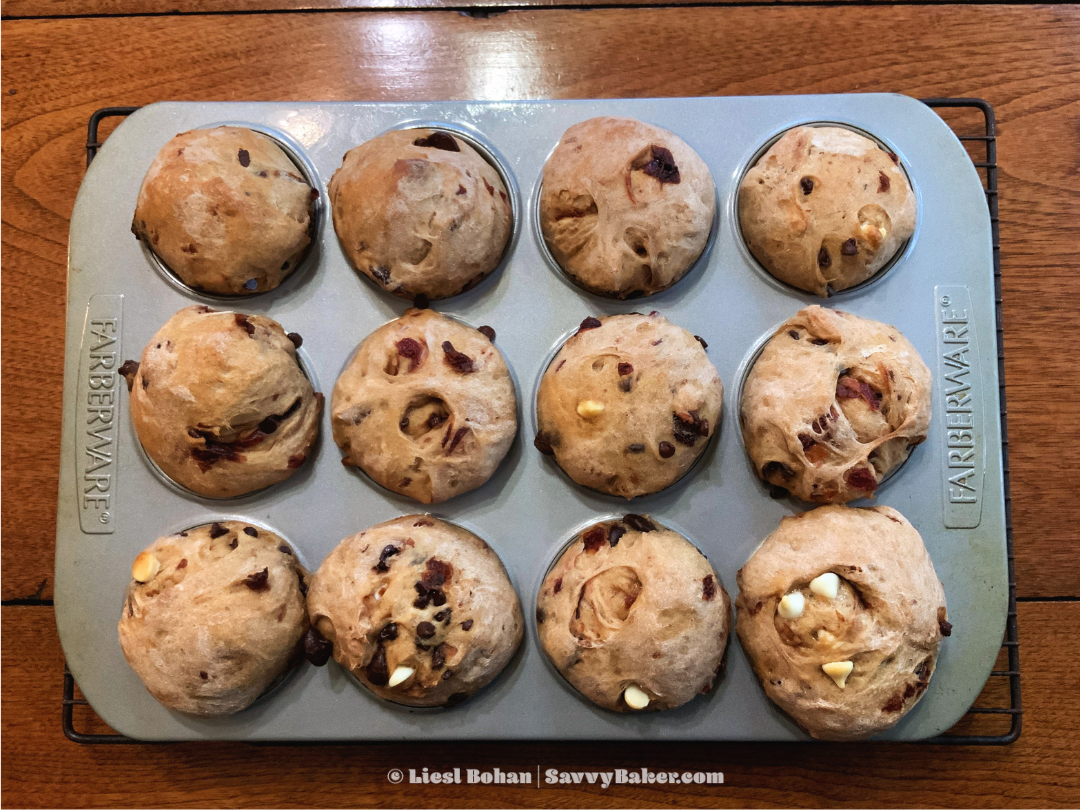
Back to this recipe… It has taken months to prepare. It didn’t take nearly as long to create the whole-wheat version I shared years ago, and though I hit upon a fairly reliable recipe for this GF version early on, there were several things I needed to work out before publishing it. One such thing is the muffin tin challenge (see Notes #3) and the eggs challenge (see Notes #1): the “large” farm-fresh eggs I use equate to extra-large store-bought eggs, so I had to come up with an alternative Wet Ingredients mix to compensate for the difference.
Finally, there is a quality challenge: a difference in quality between using the oat-sorghum-almond meal (OSA) combo listed in the primary Dry Ingredients and the all-purpose GF (APGF) flour alternative mentioned in the Notes. I prefer the OSA combo because I think the muffins made with it have a better taste, texture and moisture content. Using APGF flour is easier, and the muffins look and feel more like those made with wheat, but I don’t think they taste quite as good. Interestingly (and annoyingly), oat and sorghum flours were less expensive than the APGF options when I first started baking these years ago. That’s no longer true, so the easiest option is now also the cheapest.
I hope you enjoy these as much as we do. Happy baking!
Liesl
.

Gluten-free Dairy-free Chocolate Chip Pumpkin Muffins
Wet Ingredients
Dry Ingredients
Add-ins
Directions
-
Preheat oven to 375° F and line a 12-cup muffin tin with large parchment paper liners.*
-
Add all seven wet ingredients to a large bowl or the bowl of your mixer and blend until combined.
-
Whisk together all seven dry ingredients in a large bowl.
-
Add the dry ingredients all at once to the wet and then mix just until fully incorporated.
-
Stir in chocolate chips.
-
Divide batter evenly among prepared cups.
-
Bake for 15 minutes at 375°.
-
Reduce oven temperature to 350° F and bake for another 7-8 minutes or until a toothpick inserted into a muffin’s center comes out clean.
- Remove muffin tin to a wire rack to cool.
-
After 10 minutes, remove muffins to rack to cool further..
*If you don’t have these liners, try silicone muffin “tins” misted with cooking spray and these adjusted bake times: 21 minutes at 375° plus 5-7 minutes at 350° (same toothpick test).
Store in an airtight container for 2-3 days. After that freeze or refrigerate any leftover muffins.
Notes
- If you have extra-large eggs, reduce the next three liquid ingredients (milk, applesauce and oil) to ¼ cup each.
- As noted in the Dry Ingredients list above, you can substitute all-purpose gluten-free flour for either of the flours or the almond meal. If you use it for all three, the total measurement is 2 cups.
- As noted in the Directions above, if you don’t have parchment paper liners, use silicone muffin “tins” misted with cooking spray and these bake times: 21 minutes at 375° plus 5-7 minutes at 350°. Using liners or silicone is more critical with the tender oat-sorghum-almond flour combo; if you opt for the APGF flour, you can use a regular muffin tin misted with cooking spray.
- The reason for the two different bake temperatures is that the higher temperature prompts gluten-free muffins to rise and set quickly, but keeping them at that temperature for the entire baking time can result in dry, overdone muffins, thus the mid-bake temperature drop.
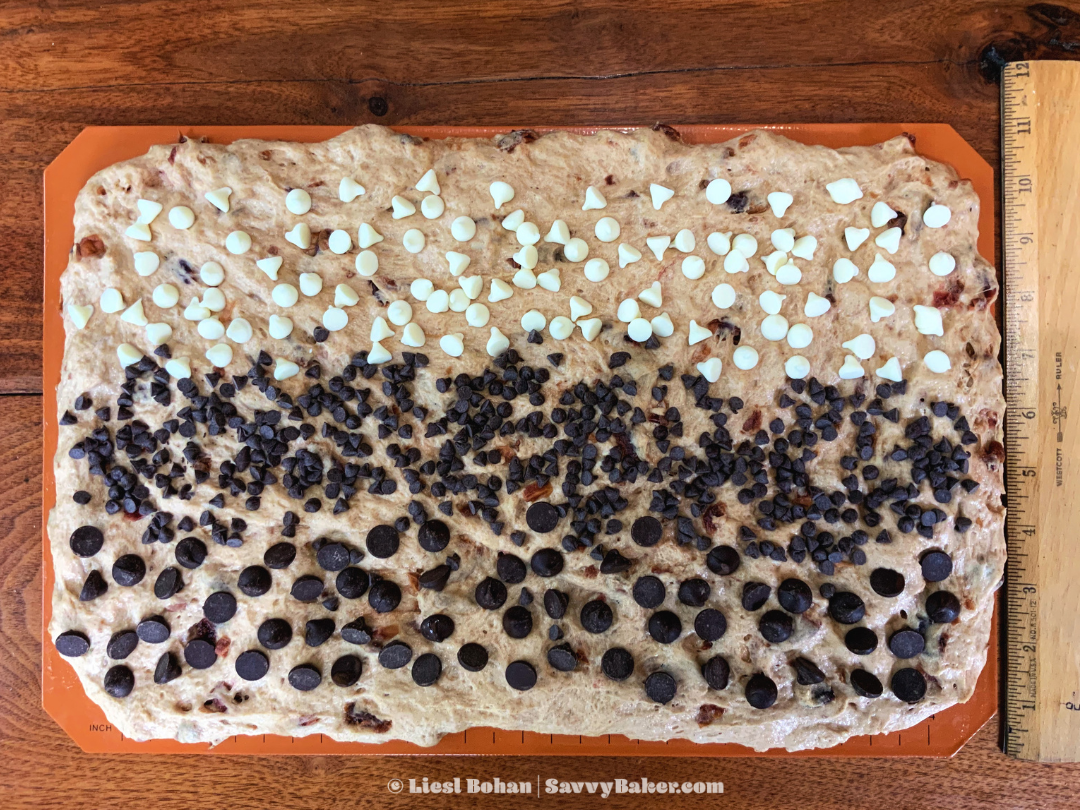
- I used to only use mini chips for this recipe because ¾ cup of those distributes the chocolate evenly throughout each muffin that you’re guaranteed at least a few in every bite, BUT it’s hard to find inexpensive dairy-free mini chips, so now I typically use baking morsels or chunks. Aldi, Kroger and Target have dark or Belgian dark chocolate chunks at budget prices. They aren’t labeled dairy-free, but they contain cocoa butter instead of milk fat, so they’ve worked well for us.
- Finally, to make these nut-free, use a nut-free milk and substitute oat flour, sorghum flour or all-purpose gluten-free flour for the almond flour.

 ”
” ”
”


")
")


")
")


