


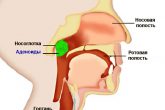
Ухо, горло, нос

Ухо, горло, нос
Виды ринопластики у доктора Фахриддина Облокулова
Нос не всегда является украшением лица. Хотя обычно считается, что большой нос указывает на большой ум, большинство женщин предпочитают иметь…


Суставы и кости
Посмотреть все
Суставы и кости
УЗИ во время беременности
Одним из наиболее важных компонентов наблюдения беременности является контроль за состоянием и темпами развития будущего малыша. В этом важную роль…
Суставы и кости
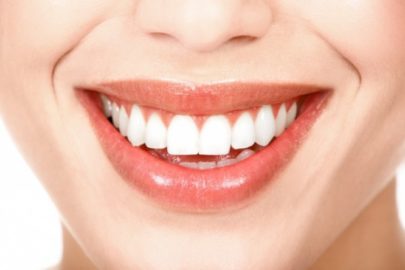
Стоматология. Что делать, когда естественные зубы изнашиваются?
Все мы хотим красиво улыбаться. Но что делать, если в полости рта есть кариес, и когда, несмотря на многочисленные попытки…
Суставы и кости
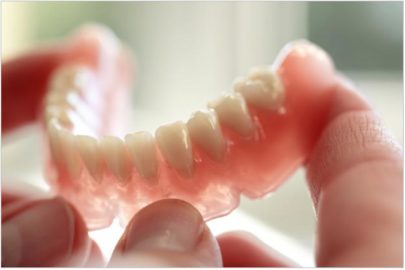
Протезирование зубов
Процесс протезирования предполагает косметическую и восстанавливающую реконструкцию отсутствующих зубов. Достижения современной стоматологии дает широкий спектр возможностей. К каждому, конкретному случаю…
Сердечно-сосудистые заболевания
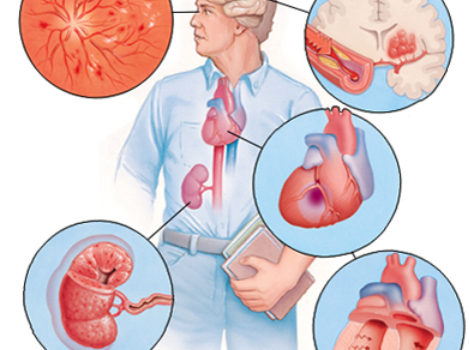
Гипертония и дуплексное сканирование
Как начинается гипертония? Пассивный образ жизни, отрицательные эмоции и нервные срывы нарушают слаженную работу нервной и эндокринной системы. Затем происходят…

Заболевания крови

Что лечит врач-гематолог?
Что такое гематология? Гематология является узкой медицинской специализацией, которая занимается изучением и лечение заболеваний крови. Кроветворение — процесс, без которого…
- 2018 - diagnoz.info. Все права защищены