The post 7 Best WooCommerce Inventory Management Plugins (2026) first appeared on IsItWP - Free WordPress Theme Detector.
]]>The stock count in wp-admin still said 2. It had said 2 for a week.
A flash sale had moved faster than I could refresh product pages by hand, and WooCommerce’s built-in stock field just wasn’t built for that kind of pace.
I refunded the customer, apologized, and went looking for a real inventory system instead of a single number field.
That search is how I ended up testing every serious WooCommerce inventory management plugin on the market. Here’s what actually works.
Key Takeaways
- ATUM is my top pick for most stores. It’s free, and it replaces a spreadsheet with a real stock dashboard, purchase orders, and supplier tracking.
- Bulk editing saves the most time. If you manage 100 or more products, Smart Manager and Stock Manager both cut hours of one-by-one editing down to minutes.
- Multi-location sellers need a dedicated tool. WooCommerce has no native concept of separate warehouses, so I cover the plugin that adds it.
- Manufacturers need more than stock counts. If you build products from raw materials, I include one tool built for that specifically.
- Free options are genuinely usable. 4 of the 7 tools below have no-cost versions I’d trust on a live store.
How I Test WooCommerce Inventory Plugins
 Click to see my testing methodology
Here’s exactly how I evaluate WooCommerce inventory plugins:
- Stock accuracy under load: Does the plugin update stock counts in real time, or does it lag during high-traffic sales like my flash sale did?
- Bulk editing speed: How long does it take to update stock across 50 products at once, compared to WooCommerce’s default one-by-one screens?
- Multi-location support: Can the plugin track separate stock per warehouse or store, or does it assume one shared pool?
- Setup time: How long from install to a working dashboard, without touching code?
- WordPress.org star reviews: I read through real user reviews for recurring complaints, not just the star average.
- Pricing fairness: Does the free version actually work on a live store, or is it a stripped teaser for the paid plan?
Why Trust IsItWP?
At IsItWP, we’ve been the WordPress community’s go-to resource since 2009, helping over 2 million users choose better plugins, themes, and tools.
Unlike review sites that never actually use the products, we install these plugins on real WooCommerce stores and test them against real stock scenarios before recommending anything.
Best WooCommerce Inventory Management Plugins Compared
| Plugin | Best For | Starting Price | Free Version |
| 1. ATUM Inventory Management | Stores that outgrew basic stock counts and need warehouse-level detail for free | Free (premium add-ons available) | Yes |
| 2. Smart Manager | Store owners bulk-editing stock, prices, and SKUs across a large catalog | $199/year | Yes |
| 3. Multi-Location Inventory Management | Multi-store or multi-warehouse sellers who need separate stock per location | $79/year | Yes |
| 4. Stock Manager | Small stores that want a free, no-frills bulk stock editor | Free | Yes |
| 5. Notifima | Stores that need back-in-stock alerts and waitlists for out-of-stock products | Free (Pro from $49/year) | Yes |
| 6. FlexStock | Sellers who prefer managing stock from a Google Sheet instead of wp-admin | Free (Ultimate from $79/year) | Yes |
| 7. Katana Cloud Inventory | Manufacturers who need raw-material and production tracking, not just retail stock | Free plan available, Core from $299/month | Yes |
1. ATUM Inventory Management 
Best for: WooCommerce store owners who want warehouse-level inventory control without paying for it
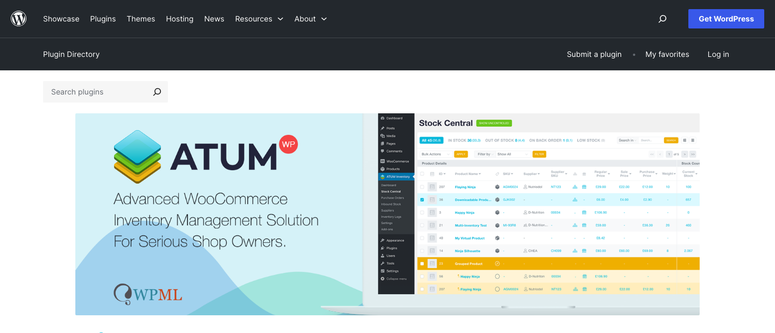
Why Is ATUM One of the Best WooCommerce Inventory Management Plugins?
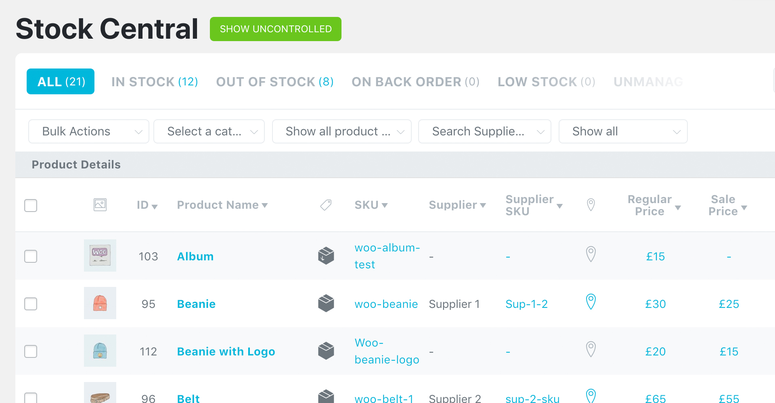
ATUM was the plugin that finally solved my overselling problem. Its Stock Central dashboard shows every product’s stock, SKU, and location on one screen, updated in real time.
It also logs reserved stock, lost stock, and returns separately, so I can see why a number changed instead of just that it did. That level of detail is normally locked behind a paid plan elsewhere.
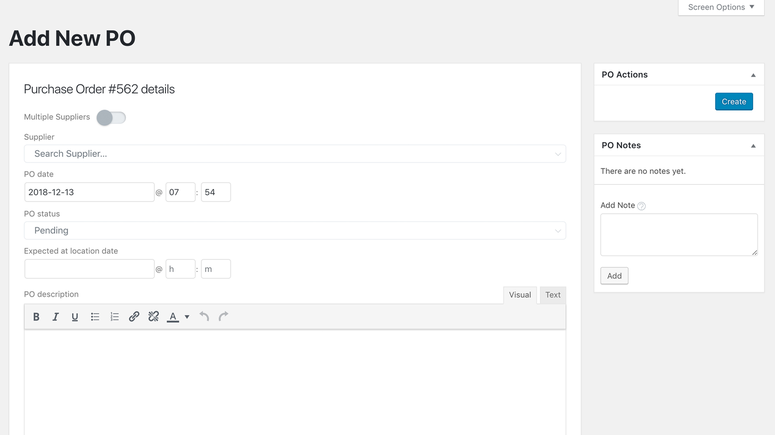
ATUM also builds in supplier management and purchase orders. When Stock Central flags a low-stock item, I can create a purchase order and send it to my supplier as a PDF without leaving WordPress.
If you sell perishable or batch-tracked products, the Multi-Inventory add-on is worth the upgrade. It lets you set FIFO or LIFO selling priority by expiry date and blocks a sale once a batch runs out, so you never accidentally sell expired stock.
My Experience with ATUM
Setup took about 15 minutes. ATUM scanned my existing WooCommerce catalog and populated Stock Central automatically, no manual data entry required.
The multi-location warehouse feature is where ATUM pulls ahead of simpler stock plugins. I organized products by physical shelf location, which made my next inventory count noticeably faster.
A few WordPress.org reviewers mention occasional stock-number mismatches after bulk imports, which matched a small sync delay I saw once after a CSV upload. It resolved itself after a manual refresh.
 ► Pros
- Free core plugin includes purchase orders, supplier management, and multi-location tracking
- Logs reserved, lost, returned, and inbound stock separately for real audit detail
- Works with WPML for multilingual stores
 ► Cons
- Premium add-ons like Multi-Inventory and Product Levels cost extra on top of the free core
- A few reviewers report occasional stock mismatches after bulk CSV imports
Pricing: The core plugin is free, with purchase orders, supplier management, and multi-location tracking included. Premium add-ons like Multi-Inventory start at $84/quarter or $216/year for a single site, priced separately by license count. A 14-day free trial is available on each add-on before you pay anything.
2. Smart Manager
Best for: Store owners who need to bulk-edit stock, prices, and SKUs across a large catalog fast
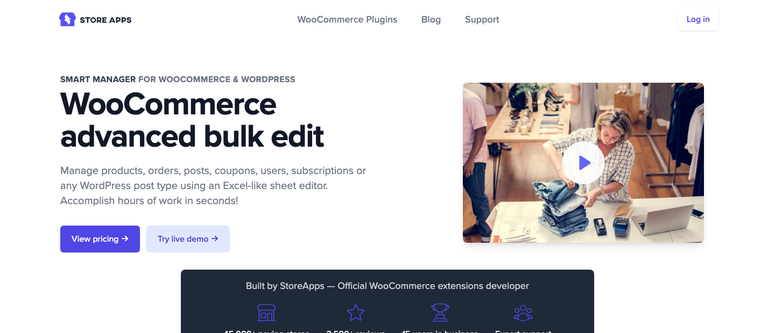
Why Is Smart Manager One of the Best WooCommerce Inventory Management Plugins?
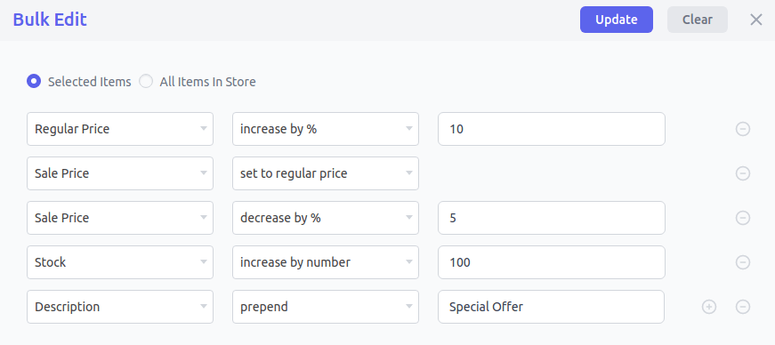
Smart Manager turns your WooCommerce product list into an Excel-style grid. Instead of opening each product to change its stock or price, I edit multiple rows at once and save them all together.
It also handles orders, coupons, and users in the same grid interface, plus scheduled bulk edits for changes I want to run automatically later.
My Experience with Smart Manager
I used Smart Manager to update stock counts across 80 products after a supplier shipment. What would have taken an hour of one-by-one editing took about 6 minutes in the grid view.
The undo button is what I appreciated most. I fat-fingered a bulk price change once, and reversing it took one click instead of manually fixing every product again.
► Pros
- Genuinely fast bulk editing across products, orders, coupons, and users
- Undo function reduces risk when editing large batches
- Scheduled bulk edits let you queue price or stock changes in advance
► Cons
- It’s a bulk editor, not a dedicated inventory system, so there’s no purchase order or supplier tracking
- The paid version costs more per year than most other tools on this list
Pricing: A free lite version is available on WordPress.org. The paid version starts at $199/year for one site, with a 30-day money-back guarantee.
3. Multi-Location Inventory Management
Best for: Sellers running more than one physical store or warehouse who need separate stock per location
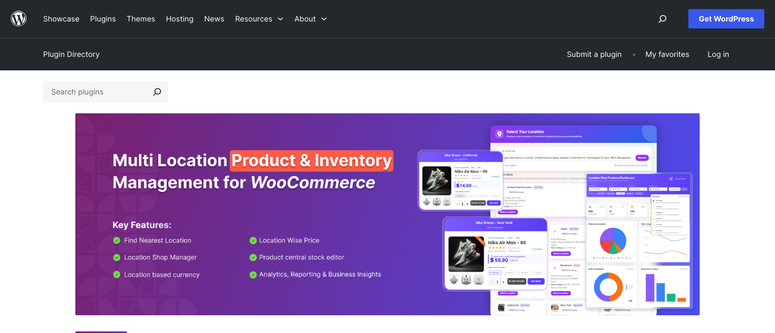
Why Is Multi-Location Inventory Management One of the Best WooCommerce Inventory Management Plugins?
WooCommerce assumes you have one warehouse and one stock count. This plugin breaks that assumption by giving every store, warehouse, or pickup point its own separate stock and pricing.
It also routes and splits orders automatically across locations, and lets you restrict manager access so staff only see their assigned location.
My Experience with Multi-Location Inventory Management
I tested this on a demo store set up with two pickup locations. The customer-facing location selector on the product page worked as a simple dropdown, and stock updated correctly per location as I placed test orders.
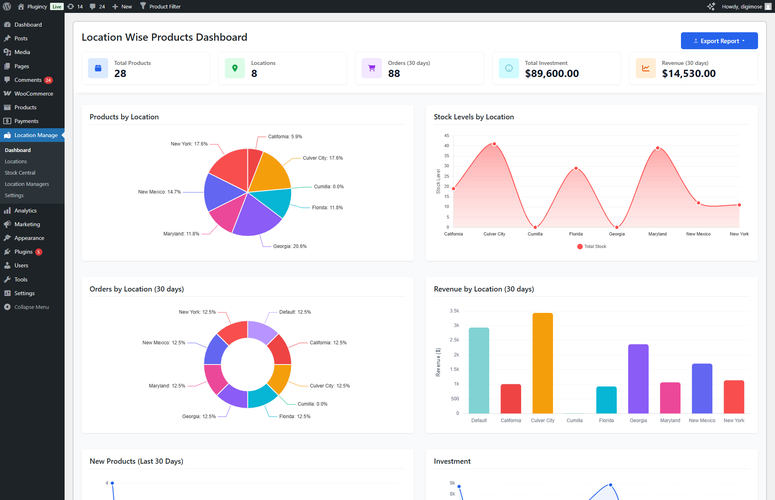
Setup involved more decisions than the single-warehouse tools on this list, since I had to assign every product to a location before anything worked correctly. It’s worth the extra setup time if you actually run multiple locations.
► Pros
- True separate stock and pricing per location, not a shared pool with location tags
- Automatic order routing and splitting across warehouses
- Location-restricted manager roles for delegating without giving full store access
► Cons
- Small install base and review count on WordPress.org compared to other tools here
- Overkill if you only run a single store or warehouse
Pricing: A free version is available on WordPress.org. Paid plans start at $79/year for a single site, with a 15-day money-back guarantee.
4. Stock Manager
Best for: Small stores that want a free, no-frills way to bulk-edit stock
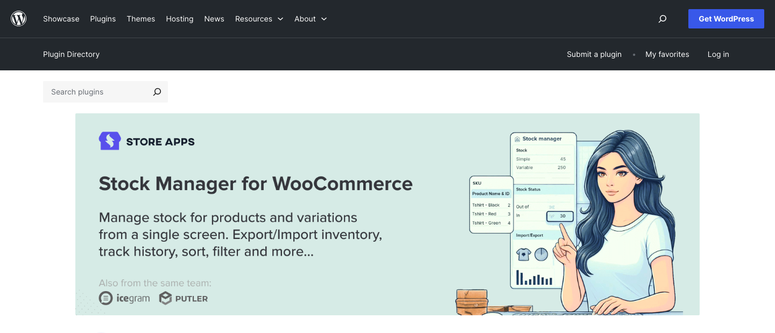
Why Is Stock Manager One of the Best WooCommerce Inventory Management Plugins?
Stock Manager is the simplest tool on this list, and that’s the point. It gives you one screen to edit stock status, quantity, price, and SKU across every product and variation.
There’s no paid upgrade to push you toward. The WordPress.org listing states plainly that no Pro version exists.
My Experience with Stock Manager
I installed this on a small test store with 40 products and had the stock grid live in under 5 minutes. No configuration screens, no setup wizard.
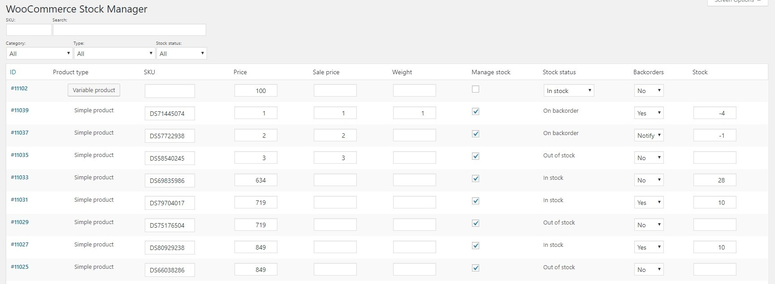
The built-in stock history log is a nice touch I didn’t expect from a free plugin. It let me see exactly when a product’s stock count changed, without installing a separate audit plugin.
► Pros
- 100% free with no upsell, ever
- Built-in stock history log for auditing changes
- Fastest setup of any tool on this list
► Cons
- No purchase orders, supplier tracking, or multi-location support
- Basic feature set compared to ATUM at the same price point
Pricing: Completely free, with no paid or Pro version.
5. Notifima
Best for: Stores losing sales to out-of-stock products who want a waitlist that recaptures the demand
Why Is Notifima One of the Best WooCommerce Inventory Management Plugins?
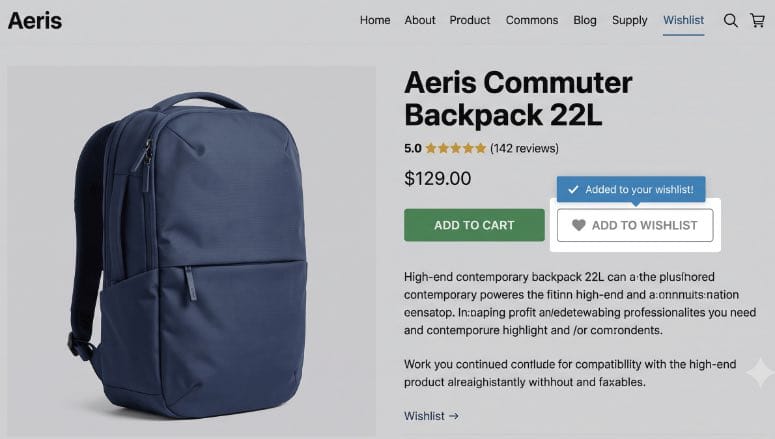
An out-of-stock product doesn’t have to mean a lost sale. Notifima lets customers join a waitlist and automatically emails them the moment the item is back.
It works across simple, variable, grouped, and subscription products, and I like that it’s actively maintained. The plugin was updated within the past week when I checked it.
My Experience with Notifima
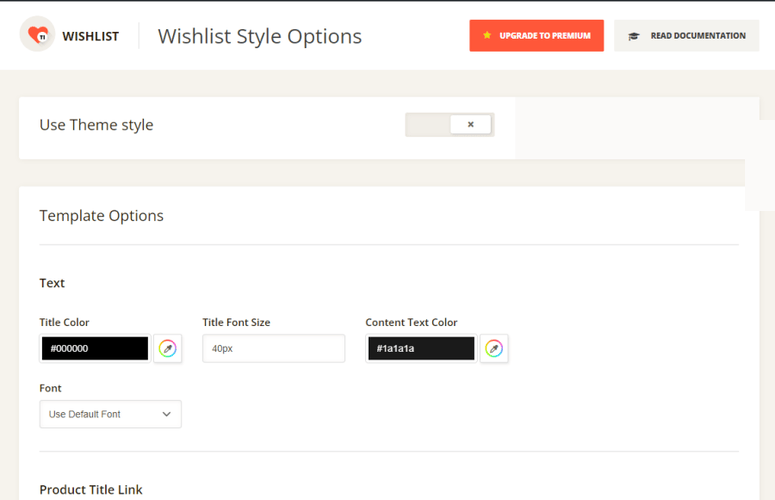
I set an out-of-stock product to trigger the waitlist form and customized the opt-in button text and colors to match my theme. The setup took about 10 minutes.
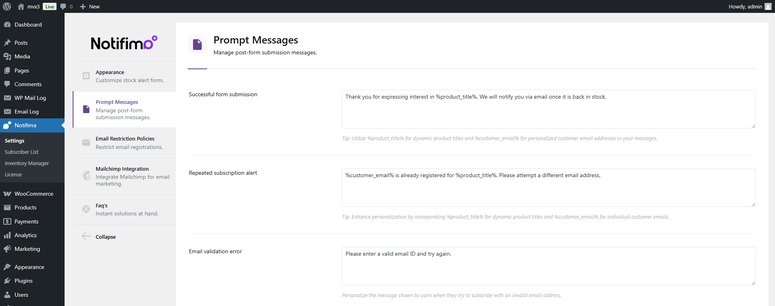
Some WordPress.org reviewers mention that plugin updates sometimes change the form’s HTML, which can undo custom styling. I’d budget a few minutes to recheck your form after any update.
► Pros
- Free tier covers a full back-in-stock waitlist workflow, not a stripped teaser
- Actively maintained, updated within the past week
- Works with simple, variable, grouped, and subscription products out of the box
► Cons
- Plugin updates can reset custom form HTML, per some reviewer reports
- It’s a waitlist and alert tool, not a full stock-tracking dashboard like ATUM
Pricing: Free version available with the full waitlist and alert workflow. Notifima Pro starts at $49/year for one site and adds Mailchimp integration, reCAPTCHA, and an inline-editing inventory dashboard.
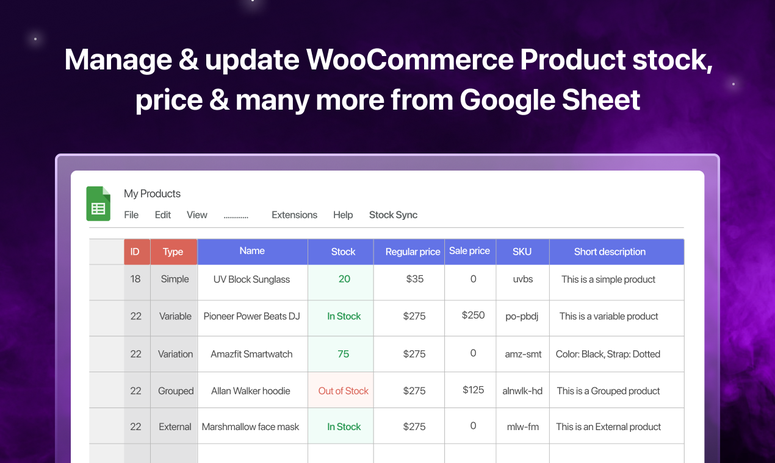
6. FlexStock
Best for: Sellers who already manage inventory in spreadsheets and want that workflow synced to WooCommerce
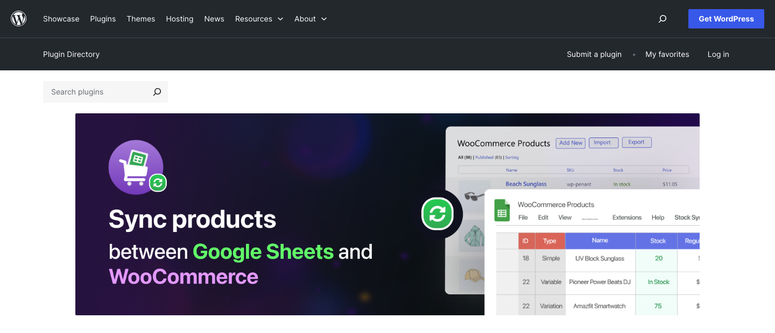
Why Is FlexStock One of the Best WooCommerce Inventory Management Plugins?
FlexStock swaps the WooCommerce admin screen for a Google Sheet. I can bulk-edit stock, price, and SKU in a spreadsheet I already know how to use, and it pushes back to my store automatically.
The sync runs both directions. Change a stock count in WooCommerce and it appears in the Sheet, or edit the Sheet and it updates the store.
My Experience with FlexStock
Connecting my Google account and linking a Sheet took about 10 minutes. My products appeared as rows, with variations broken out separately.
The free version syncs every 10 minutes, which was fast enough for my test store. A few reviewers on WordPress.org describe it as resource-heavy on larger catalogs, though the free tier’s 500-product cap naturally limits how much of that risk applies to smaller stores.
► Pros
- Genuinely two-way sync, not just a one-time export
- Backorder handling and variable-product support included free
- No new interface to learn if you already use Google Sheets
► Cons
- Can get resource-heavy on larger catalogs, though the free tier’s 500-product cap limits that exposure
- Smaller install base than other tools on this list, so fewer reviews to judge long-term reliability
Pricing: Free version syncs up to 500 products with a 10-minute auto-sync interval. The Ultimate version starts at $79/year for one site, removes that cap, and adds faster scheduling and formula support.
7. Katana Cloud Inventory
Best for: Manufacturers who need production planning and raw-material tracking, not just retail stock counts
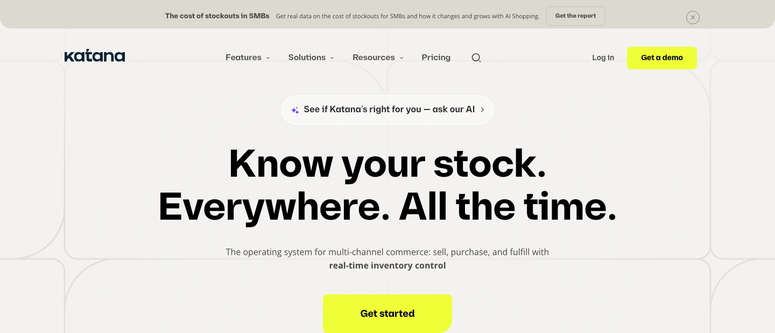
Why Is Katana One of the Best WooCommerce Inventory Management Plugins?
Katana isn’t a WordPress plugin. It’s a cloud manufacturing platform that connects to WooCommerce, and I’m including it because none of the plugin-based tools on this list handle actual production.
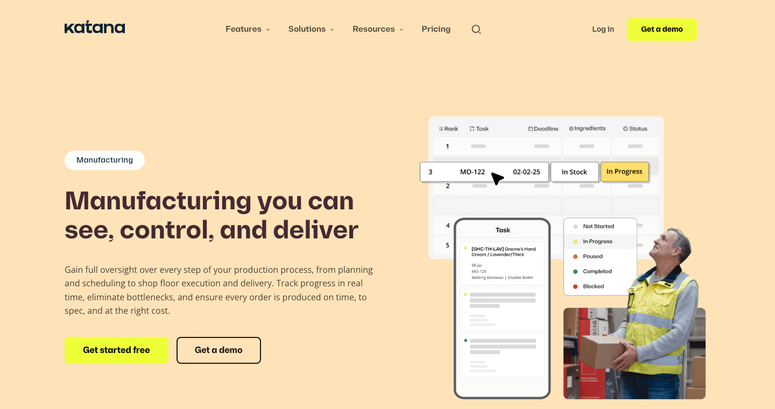
If you build products from raw materials, Katana manages your bill of materials, schedules production, and syncs stock and orders with WooCommerce in real time.
My Experience with Katana
I connected my WooCommerce store under Settings » Integrations by entering my store URL and authorizing access. Sales orders started appearing in Katana within minutes.
The free plan caps you at 30 SKUs, though Katana gives you a 15-day grace period to trim your catalog or contact them about upgrading before that limit is enforced. Fine for testing, tight for a real store. Reviewers on Capterra and G2 consistently praise the interface, but several mention steep price increases as usage grows.
► Pros
- Real bill-of-materials and production planning that no WooCommerce plugin offers
- Native, real-time WooCommerce sync, not a third-party connector
- Unlimited users, locations, and integrations even on the free plan
► Cons
- Overkill and expensive if you’re a reseller, not a manufacturer
- Reviewers report costs climbing quickly as order volume and locations scale
Pricing: Free plan available (30 SKUs, no credit card required). Core plan starts at $299/month with usage-based pricing for extra locations and sales order volume. No money-back guarantee is published.
Bonus: Adjacent Tools to Optimize Your Stock Flow
These three tools don’t track stock levels themselves, but each touches inventory in a real way. I’m covering them separately so I’m not overselling what they actually do.
AdTribes
AdTribes is a product feed plugin, not a stock tracker. Its inventory connection is real though: it auto-syncs your price, stock, and product details to Google Shopping, Meta, and 100-plus other channels on a schedule.
If you sell on multiple channels, this is what stops a channel from showing a product as in stock after you’ve sold out on your own site. A free version covers unlimited feeds.
Wholesale Suite
Wholesale Suite handles B2B pricing and bulk ordering, not stock counts. But if you’re selling inventory in bulk to wholesale accounts, it’s worth pairing with one of the inventory tools above.
It gives wholesale customers role-based pricing and a fast product-table ordering screen, so bulk orders move through your existing stock without a separate B2B platform. A free version is available on WordPress.org.
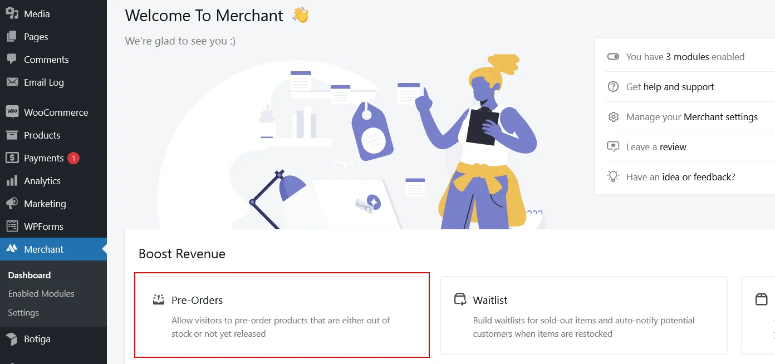
Merchant
Merchant is a conversion and store-enhancement plugin, not an inventory manager. The reason it’s here is its free Pre-Orders module, which lets you sell out-of-stock or not-yet-released products instead of losing the sale.
Merchant’s Waitlist add-on covers the same back-in-stock notification job as Notifima, bundled with 30-plus other conversion features. Worth a look if you want pre-orders and waitlists alongside upsells and trust badges in one plugin.
How to Choose the Right WooCommerce Inventory Management Plugin
With 7 tools covering different scenarios, here’s how I’d match each to a specific situation.
- Running a single store with a growing catalog? Start with ATUM. It’s free and covers stock tracking, purchase orders, and supplier management without a paid upgrade.
- Managing hundreds of products or orders? Smart Manager or Stock Manager will save you the most time on bulk edits.
- Selling from more than one store or warehouse? Multi-Location Inventory Management is the only tool here built specifically for that.
- Selling perishable or batch-tracked products? ATUM’s Multi-Inventory add-on handles FIFO/LIFO selling and batch tracking.
- Losing sales to out-of-stock products? Notifima’s waitlist recaptures that demand automatically.
- Manufacturing your own products? Katana is the only tool here built for bill-of-materials and production planning.
FAQs: WooCommerce Inventory Management
Does WooCommerce have built-in inventory management?
Yes, but only in a basic form. WooCommerce tracks a single stock quantity per product and can hide out-of-stock items.
It has no built-in support for multiple warehouses, purchase orders, or supplier tracking. That’s where a dedicated plugin like ATUM comes in.
What is the best free WooCommerce inventory management plugin?
ATUM is my top free pick. Its free version includes a full stock dashboard, purchase orders, and supplier management, which is more than most paid tools offer at that price.
Can I track stock across multiple warehouses in WooCommerce?
Not with WooCommerce alone. You’ll need a dedicated plugin like Multi-Location Inventory Management, which gives each warehouse or store its own separate stock count.
ATUM’s Multi-Inventory add-on covers a similar need if you already use ATUM for your core stock tracking.
What’s the difference between stock status and stock quantity in WooCommerce?
Stock quantity is the actual number of units you have. Stock status is a separate setting, in stock, out of stock, or on backorder, that controls whether customers can buy the product.
WooCommerce can auto-update status based on quantity, but the two aren’t always synced if you edit one manually.
Do I need a separate plugin for low-stock alerts?
WooCommerce sends a basic low-stock email by default, but it’s easy to miss in a crowded inbox. Most of the plugins in this list, including ATUM and Notifima, add a dashboard alert or dedicated notification on top of that.
Can I manage inventory for a manufacturing business in WooCommerce?
WooCommerce and its plugins track finished-product stock, not raw materials or production schedules. If you manufacture your own products, a dedicated tool like Katana handles bill-of-materials and production planning that plugins don’t.
Will an inventory plugin slow down my WooCommerce store?
In my testing, the free plugins on this list added no noticeable load time. A few reviewers of Google Sheets-based tools like FlexStock report slower performance on very large catalogs, so I’d watch page speed if you’re running thousands of products.
Final Verdict
If you only take one plugin from this list, make it ATUM. It’s free, it’s the most complete stock dashboard here, and it scales into purchase orders and multi-location tracking as you grow.
If your bottleneck is bulk-editing hundreds of products instead of stock depth, Smart Manager will save you more hours per week. And if you run more than one store or warehouse, Multi-Location Inventory Management is the only tool built specifically for that job.
Resource Hub: WooCommerce Inventory Management
- Best WordPress eCommerce Plugins
- Best WooCommerce Reporting Plugins (Free & Paid)
- Best WooCommerce Wholesale Pricing Plugins
- Best WooCommerce Plugins to Grow Sales Rapidly
- Best WooCommerce Themes to Build eCommerce Stores That Convert
- Best Dropshipping Plugins for WordPress + WooCommerce
The post 7 Best WooCommerce Inventory Management Plugins (2026) first appeared on IsItWP - Free WordPress Theme Detector.
]]>


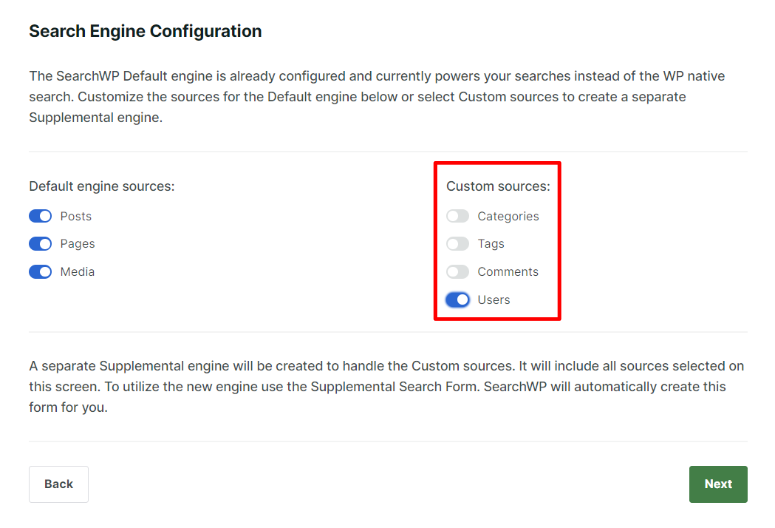

 Tip: While you’re in Settings, turn on partial matching and “Closest Match” too. It helps visitors find the right page even with a typo or a slightly different word.
 Note: SearchWP doesn’t have a free version. Plans start at $99 per year, and it comes with a 14-day money-back guarantee if it doesn’t work out for your site.