NOTE from Donna
Since I originally published this article we have moved on from this property. We took advantage of the current crazy real estate market and sold our home.
I can tell you I don't miss the deer (or the groundhogs who took residence under our shed). If we had decided to stay, I would have needed to get a dog. The method I used to repel the deer (application of scented products) was effective but did take constant application and monitoring. I found that if I missed a week or did not rotate the products I was using, the deer were back feasting on my daylillies.
Right now we are renting in a small town so no deer are feasting on the beds I'm caring for. And the rabbits and squirrels seem to be content to feast in the grove of trees next to our property and not chew on the few things I've planted. I'll keep you posted on where we land!
I live in the country – specifically in the woods. I have been a country girl all of my life. I love living where I do because I really enjoy the quiet and seeing the animals that share our land. I have a live-and-let-live approach to dealing with wildlife that sometimes can be destructive. As long as things don’t get too out of hand, we share and deal with the downside. I look at the moles that dig tunnels in my yard as my personal aerators – as long as they don’t eat the roots of my favorite flowers and I can deal with a slightly lumpy yard.
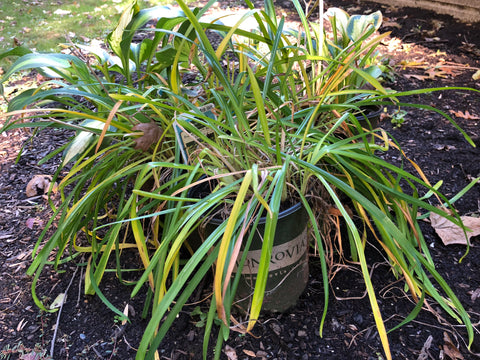
In the past the deer have browsed on the lower limbs of trees on their way to other feeding grounds. Not a problem until last summer when I found that they had eaten every single daylily flower (and there were lots) and munched on my favorite begonias. And this year they’ve added flowers from the pots on the front porch to their menu.
In frustration, I’ve decided I need to do something or see all my hard work and the money I spent on plants go to upscaling their diet.
What Happened?
So why after 20 years did the deer suddenly decide to ruin our working relationship? A few things happened.
First our dog was getting older. He did not mark his territory as much as he used to. We finally had to say goodbye to him so he was not there to let the deer know that this was his yard and not theirs.

Second, the orchard near our house put up a very high fence around the field across the street from our house.

Before our property was just a path to a much better selection of food. Now that access was cut off, we became the new smorgasbord of choice. I can’t really blame the orchard, but when they did it, I was pretty sure we were going to have the results we have now.
So What’s A Gardener to Do?
Ask around and you’ll get lots of suggestions on how to keep deer out of your yard or discourage them from eating your plants. I’ve heard lots of these stories, but before settling on a plan of attack, I decided to do some research on-line.
One of the main suggestions I found is to plant plants that deer don’t like. One downside to this is that if they’re hungry enough, deer will eat anything. So before I rip out all of my hostas and daylilies, I decided I wanted to look at other options.
The 3 Methods for Keeping Deer Away from Your Plants
After doing some research, I found was that there are 3 basic ways to keep deer away from your plants:
- Physical Barrier
- Scaring Them
- Unpleasant Odors
Let’s take a look at each.
Physical Barrier
Yes, I do mean a fence. There are lots of different kinds but the most important thing to remember here is that deer can jump – really high. I have watched them jump in and out of the pastures on the farm where I keep my horse. And the ones who are too small to jump over will often find a way to go under the fence.

The fence that the orchard put up is a perfect deer fence (unfortunately for me). It’s hard to tell by the photo in the previous section, but the fence is about 7-8 feet high and secured to the ground making it very difficult for the average white tail to jump over or go under.
Since this is not an option for us, I looked for other ways to discourage the deer.
Scaring Them
While noise and moving objects might be scary to deer in the wild, our suburban deer here in Eastern PA don’t see to be phased by much.

You can try aluminum pie plates or cans that are set up to rattle when the wind blows, scarecrows and ribbons that are scary to look at or motion activated sprinklers. There are also commercially available devices that make noise when motion-activated. And some are ultrasonic so humans can’t hear the sound. Whatever you choose, you probably will need to rotate what you use, since the deer are smart and will quickly learn what they can ignore.
Unpleasant Odors
Deer are influenced to eat something just like we are – their sense of smell encourages or discourages them depending on what’s at hand.

You can spread soap (I’ve always heard Irish Spring works great), have your dog mark his territory, plant plants that deer don't like or use homemade or commercially available deer repellants.
When the plants aren’t in season you’ll need to choose another method and for any repellant you apply, you’ll need to reapply after it rains. The other downside is that some of these repellants have an odor that is also distasteful to humans. Everything is a trade-off.
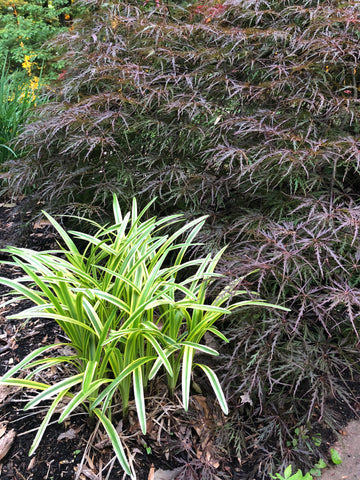
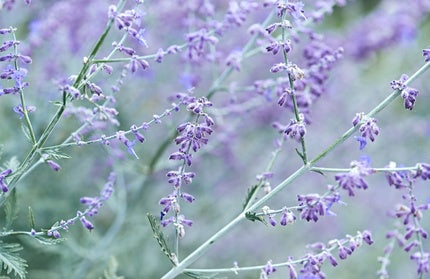
Some deer-repelling plants to consider are sage, thyme, lavender, oregano, Artemisia, Russian sage (Perovskia), catmint (Nepeta), hyssop (Agastache), boxwood (Buxus), Salvias, tansy (Tanacetum), bee balm (Monarda), mountain mint (Pycnanthemum), dead nettle (Lamium), blue mist shrub (Caryopteris), dill, lantana, and calamint (Calamintha). (I already have a few of these like bee balm and Russian sage in my gardens and they are doing quite well.)
For my first line of defense, I purchased Liquid Fence from my local home store and sprayed it wherever I saw them eating plants. I’ve often heard that these don’t work, but my research shows that the main reason they don’t is because they aren’t reapplied enough. I am happy to report that as long as I kept applying (especially after it rained), the deer were discouraged and stopped eating those plants.
And when they moved on to others that they had not eaten in the past, I just applied the Liquid Fence and they stopped eating those as well.

![]()
Living in Harmony
While not perfect, my spraying unpleasant scents like Liquid Fence on my favorite plants did discourage them. I did find that I needed to rotate the scents and use other repellants like Repel-All for a while and then go back to LiquidFence.

Have you been successful at keeping deer out of your yard? Comment below and let me know your experiences. We'd love to hear from you!
]]>