Photography Wallpapers
Browse 3,336+ Photography Wallpapers to download free in HD & 4K
Download Photography Wallpapers for any device and screen size. High quality Photography Wallpapers and images! Customize your desktop, mobile phone and tablet with our wide variety of cool and interesting Photography Wallpapers in just a few clicks.

-
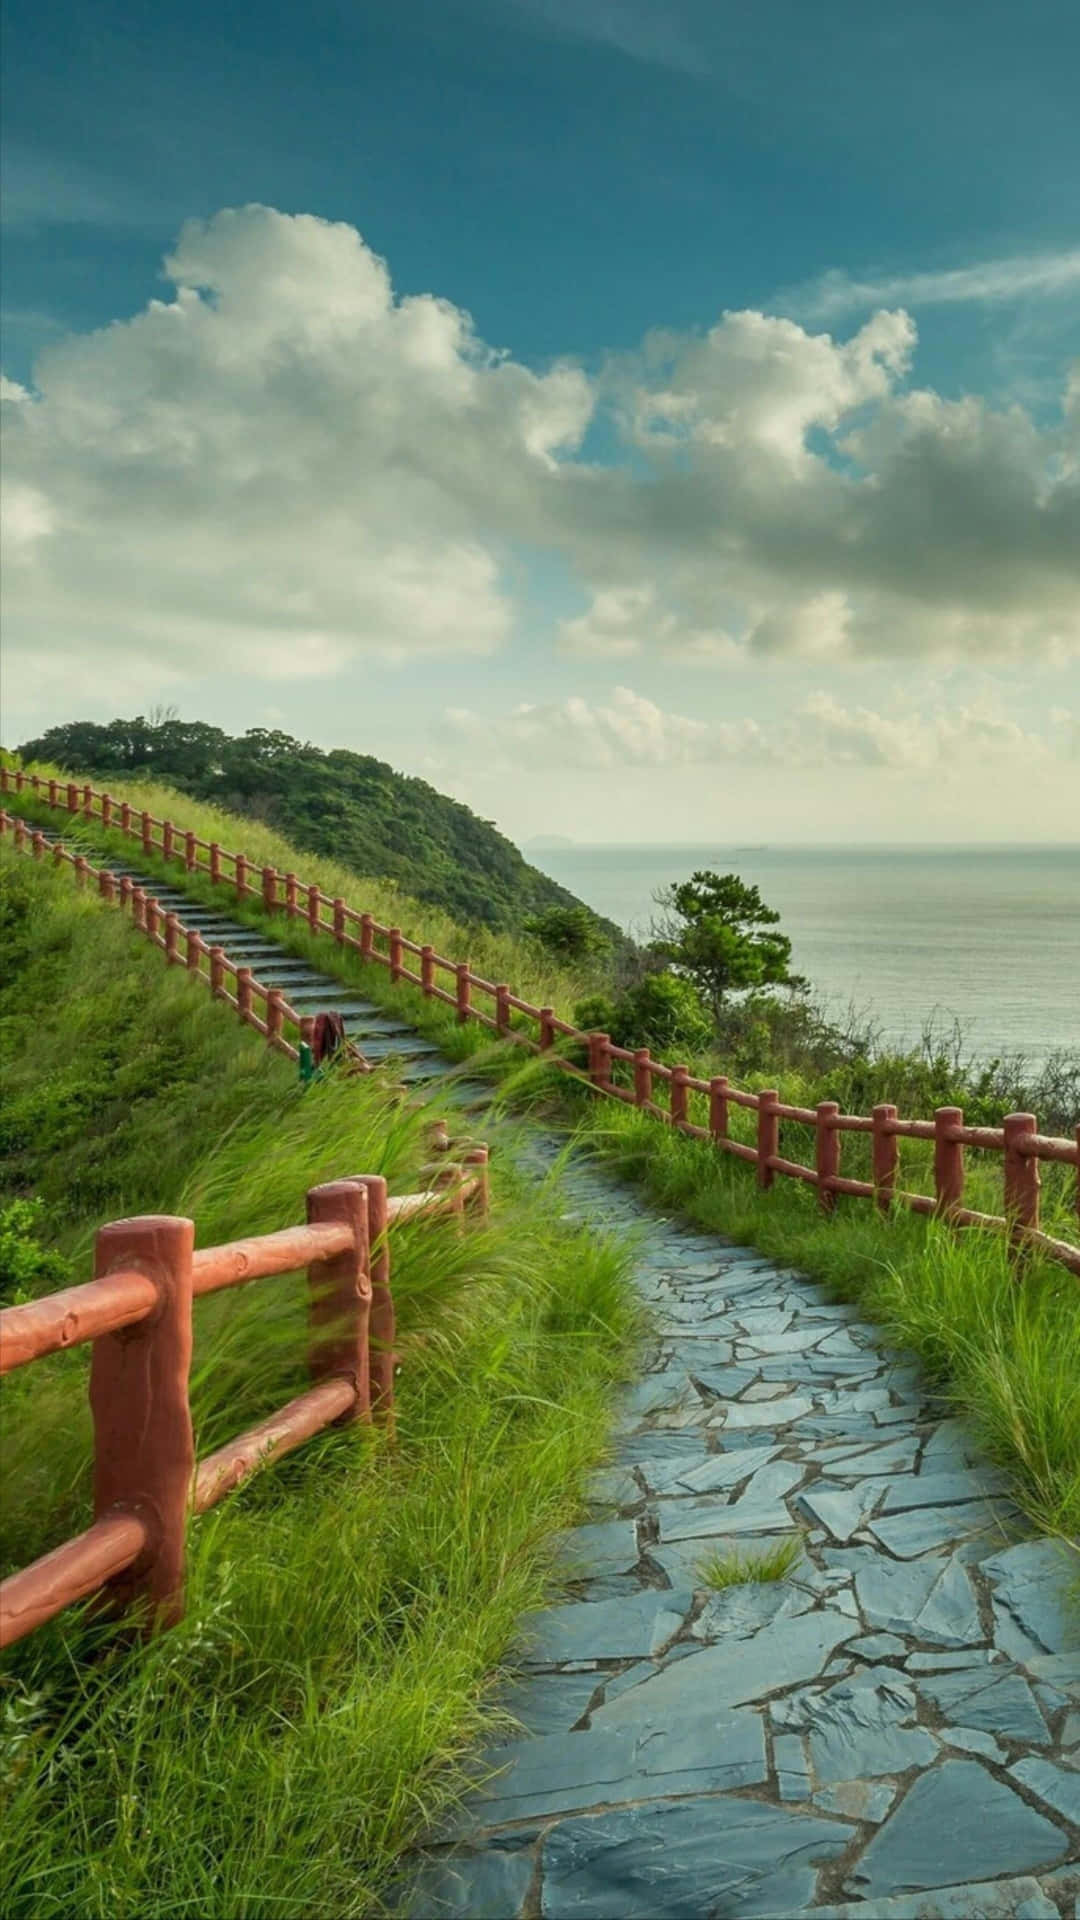
Winding stone path with red railings leading up a grassy hill to the ocean. — Photography Wallpaper -

Baby's breath flowers in soft blue tones on textured fabric background — Photography Wallpaper -
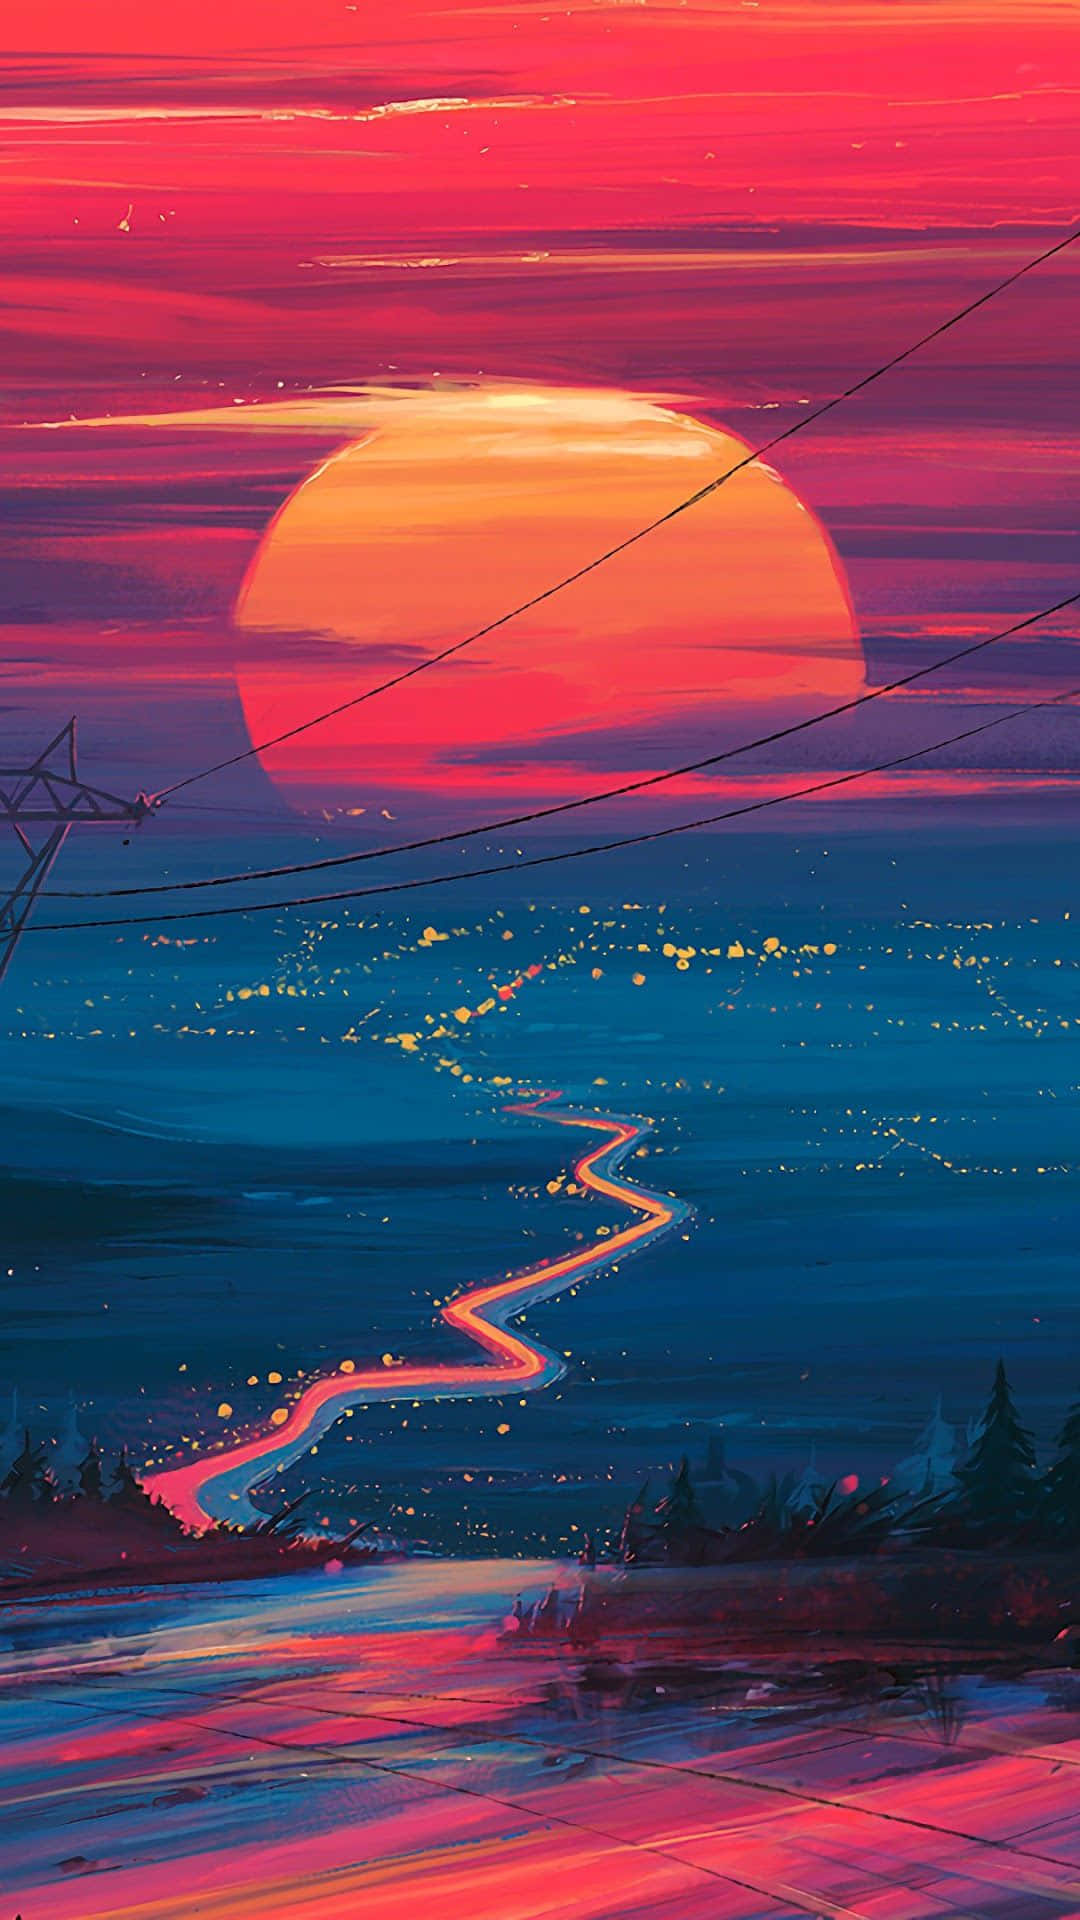
A glowing winding road under a vibrant orange sunset through a forested landscape. — Photography Wallpaper -

Blonde woman in pink lace camisole standing with arms crossed in studio. — Photography Wallpaper -

A smiling man in a white shirt stands before a vibrant sunset with palm trees and ruins. — Photography Wallpaper -
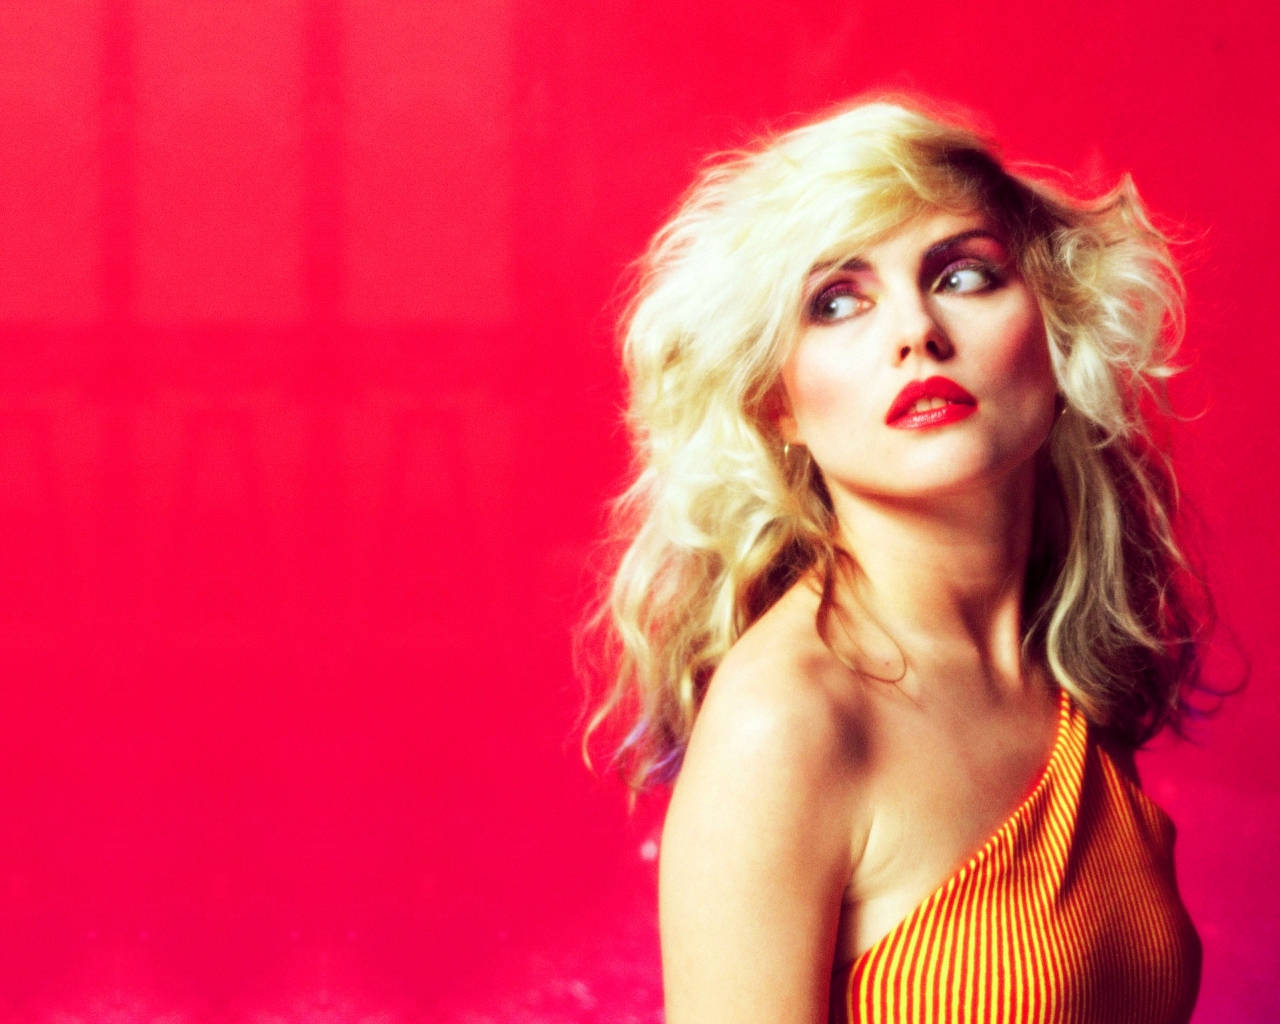
Blonde woman in orange striped top against red background looking up — Photography Wallpaper -

Black lifted truck parked near waterfall at sunset with glowing headlights. — Photography Wallpaper -

Person in white dress reaching for moon at twilight — Photography Wallpaper -

Wax sculpture of an elderly woman with wild white hair and lace top. — Photography Wallpaper -

Warren Buffett holding playing cards in a formal suit with a serious expression. — Photography Wallpaper -

Confident businessman in suit and glasses smiling with arms crossed. — Photography Wallpaper -
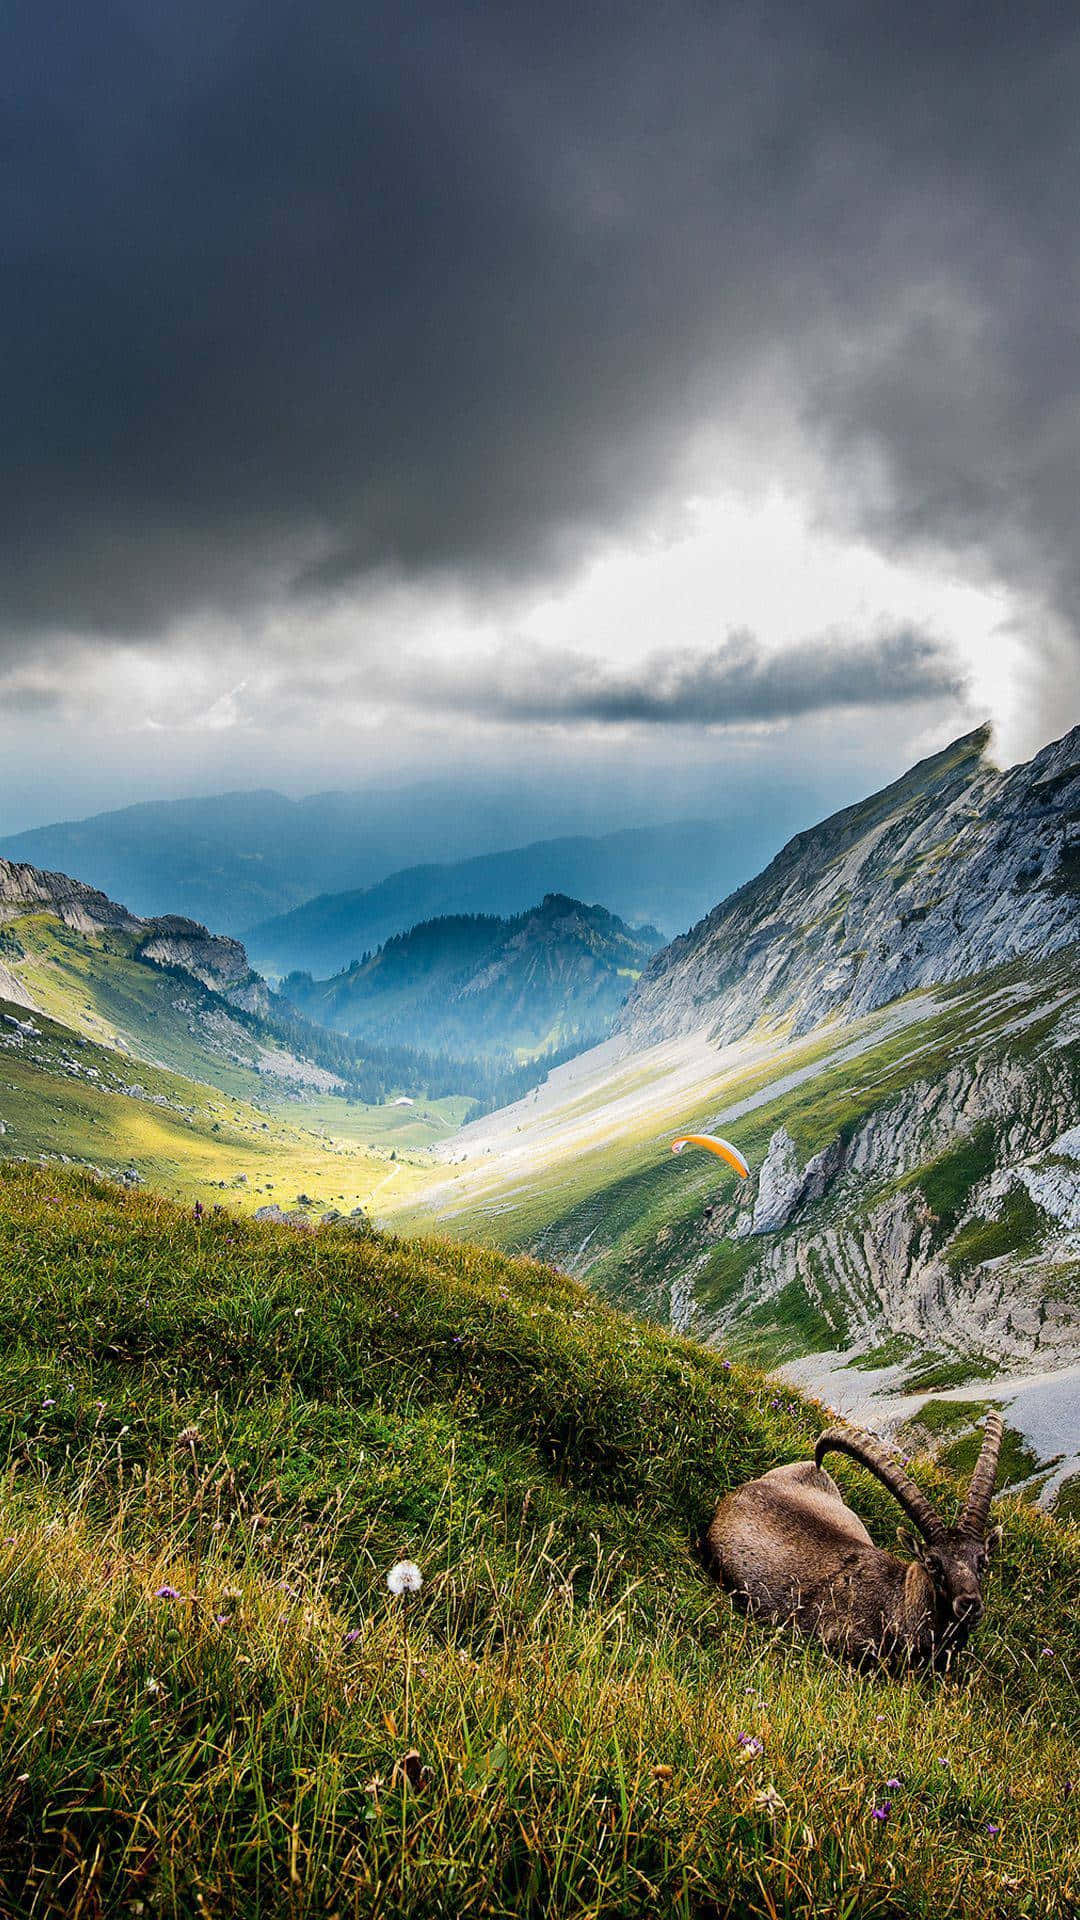
Mountain goat resting in grass with paraglider flying under storm clouds. — Photography Wallpaper -
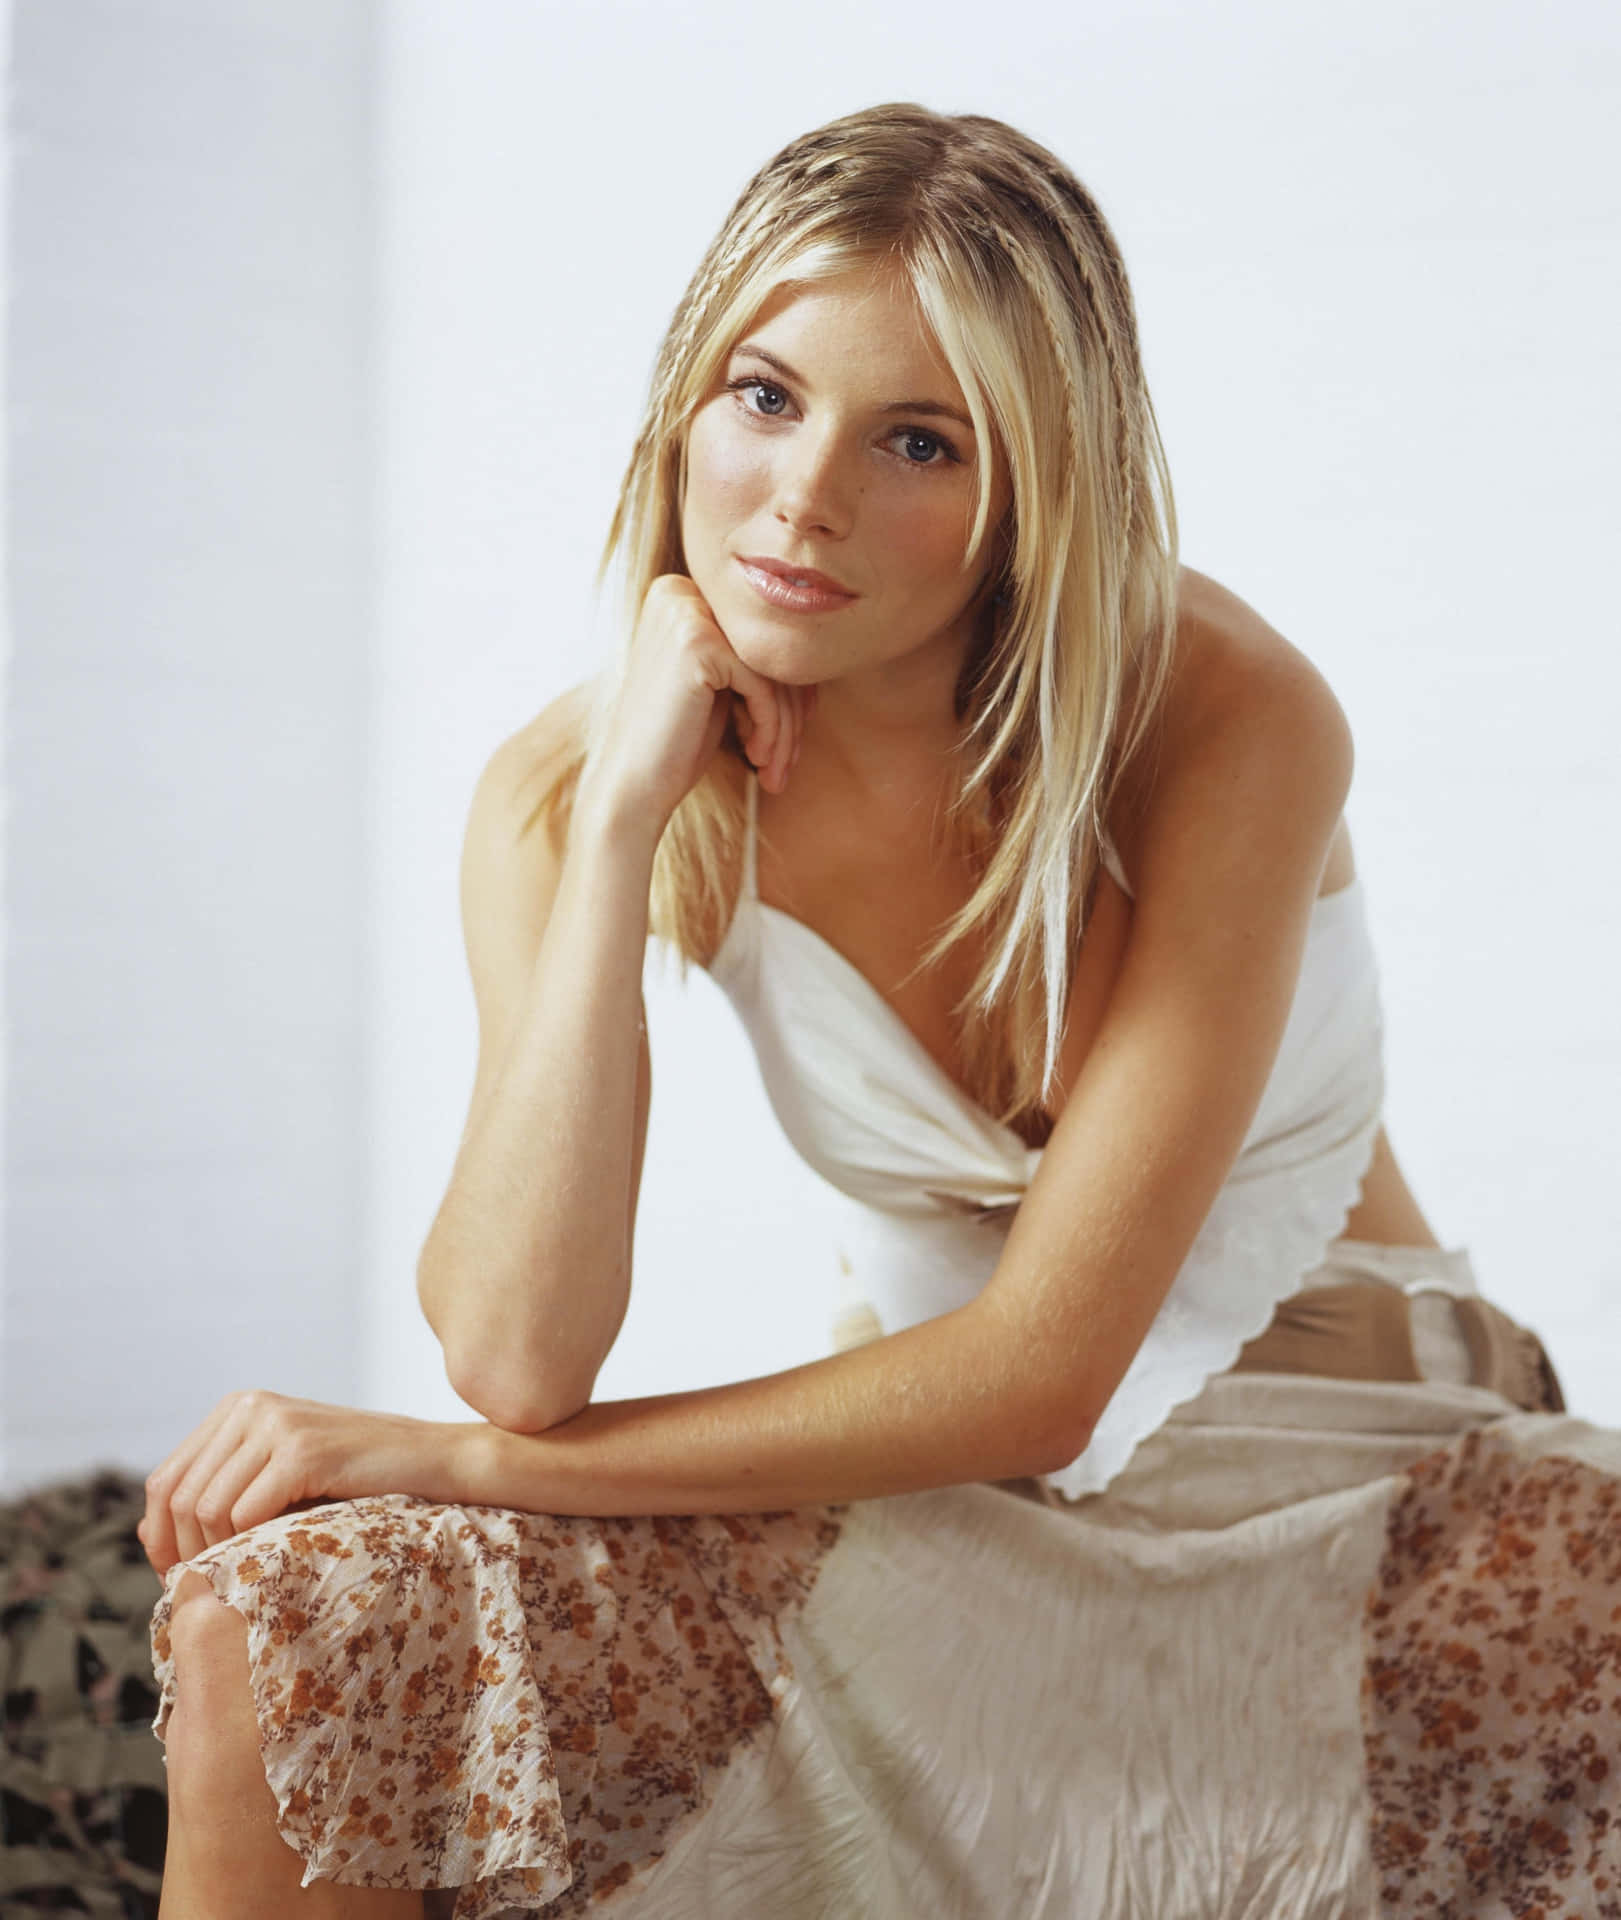
Blonde woman in white top and floral skirt sitting thoughtfully with hand under chin. — Photography Wallpaper -

Woman with purple hair and glasses playfully sticks out her tongue while holding a pink gaming controller. — Photography Wallpaper -
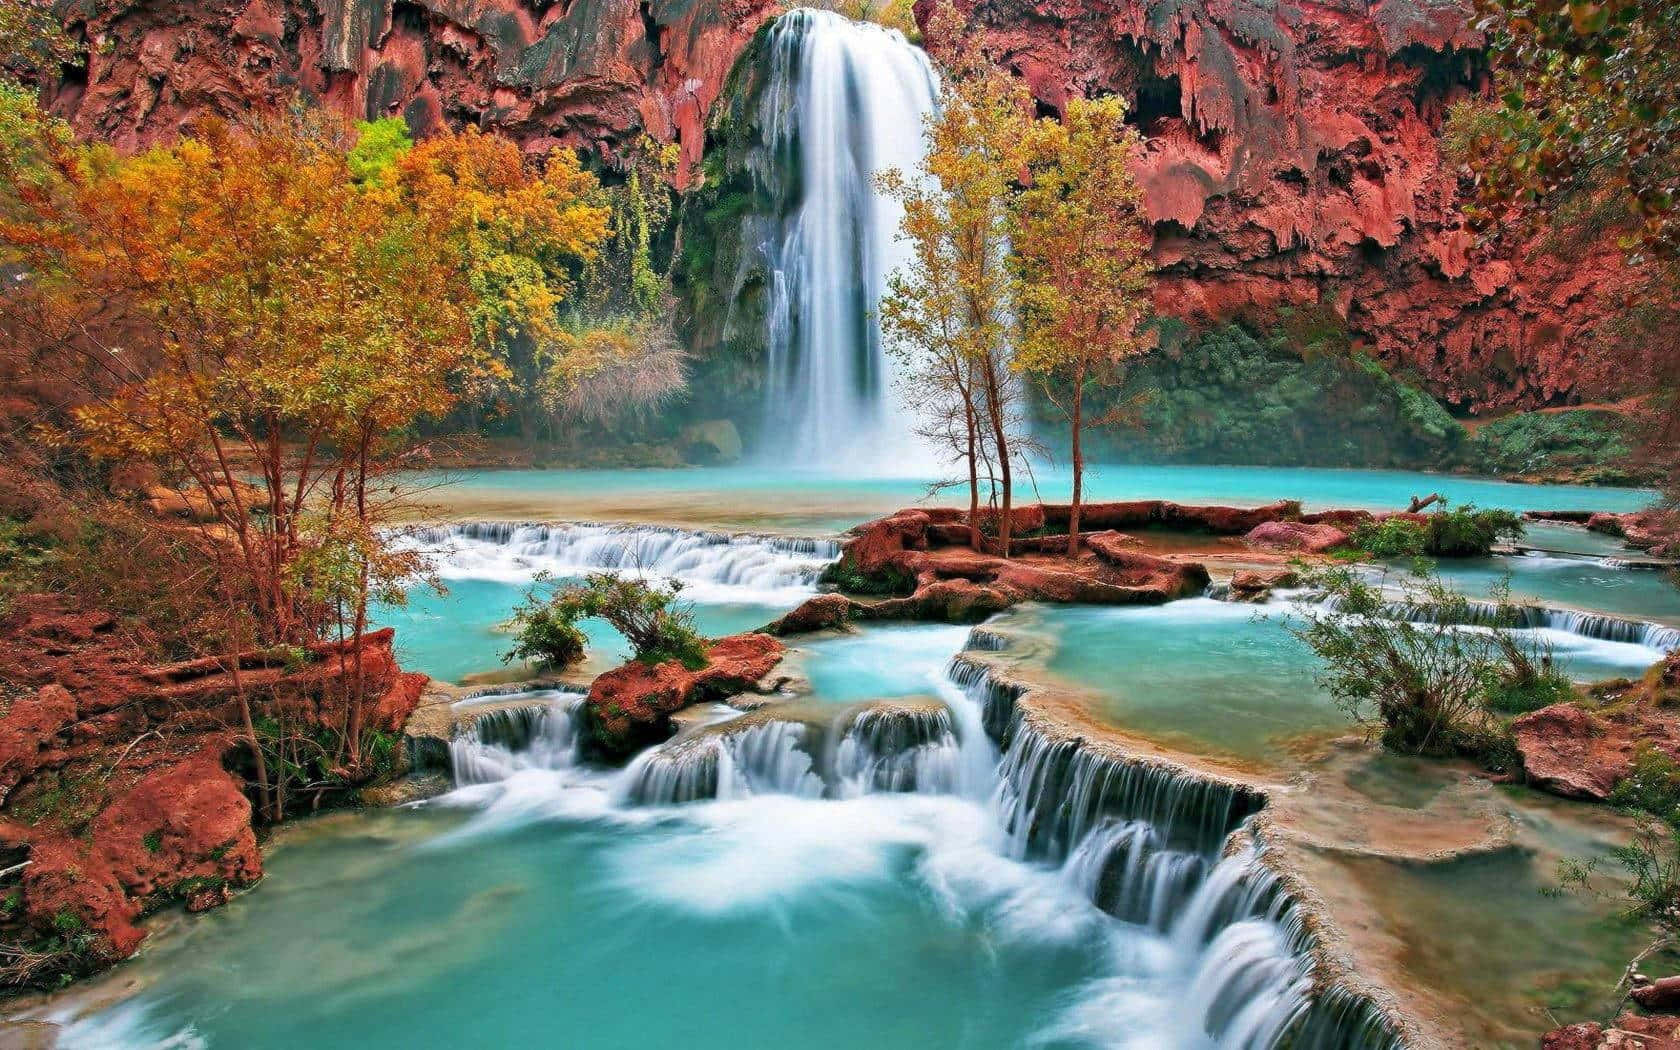
A turquoise waterfall flows over red rock formations with autumn trees nearby. — Photography Wallpaper -

Golfer in navy shirt and cap holding golf club outdoors — Photography Wallpaper -
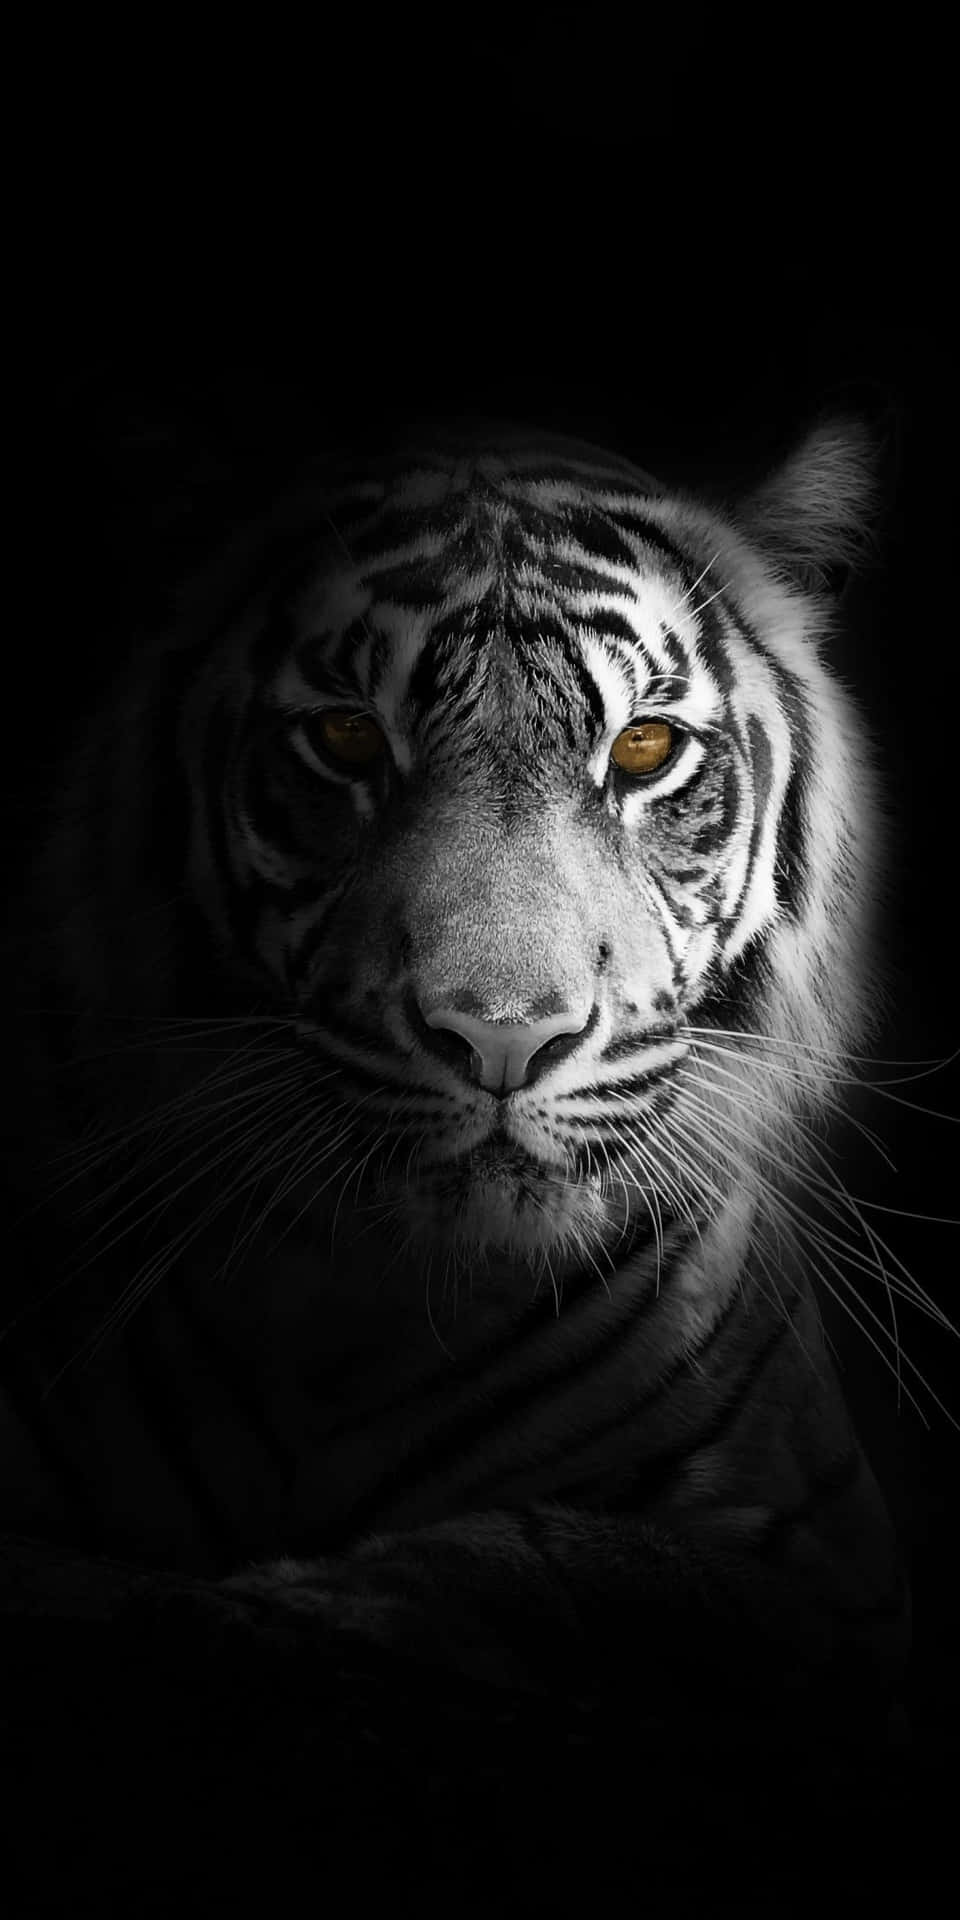
Close-up of a tiger's face with glowing eyes in darkness — Photography Wallpaper -
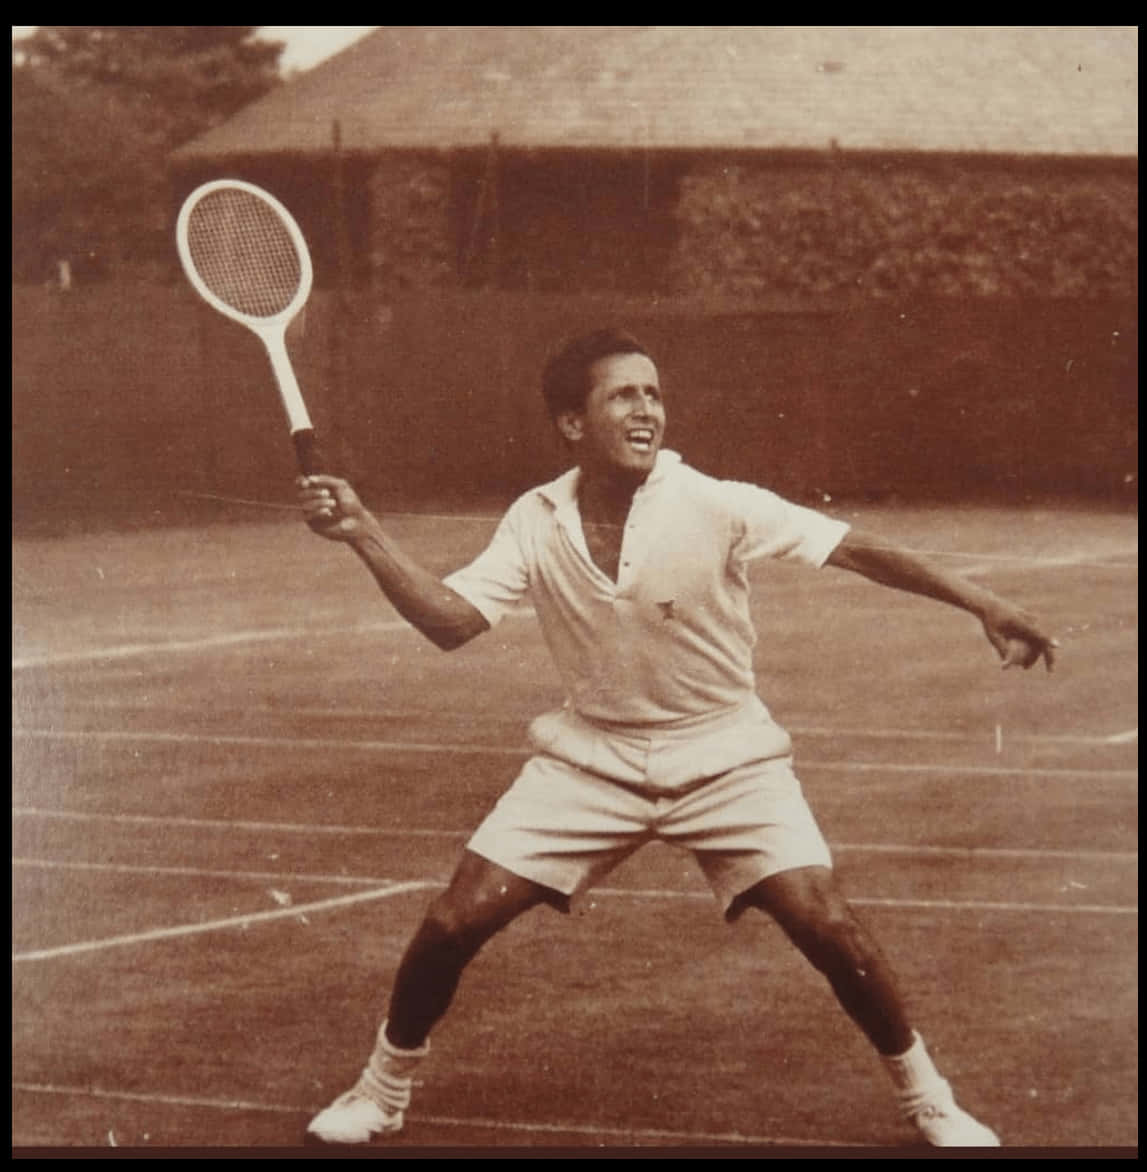
Vintage sepia photo of a male tennis player swinging a racket on a clay court. — Photography Wallpaper -
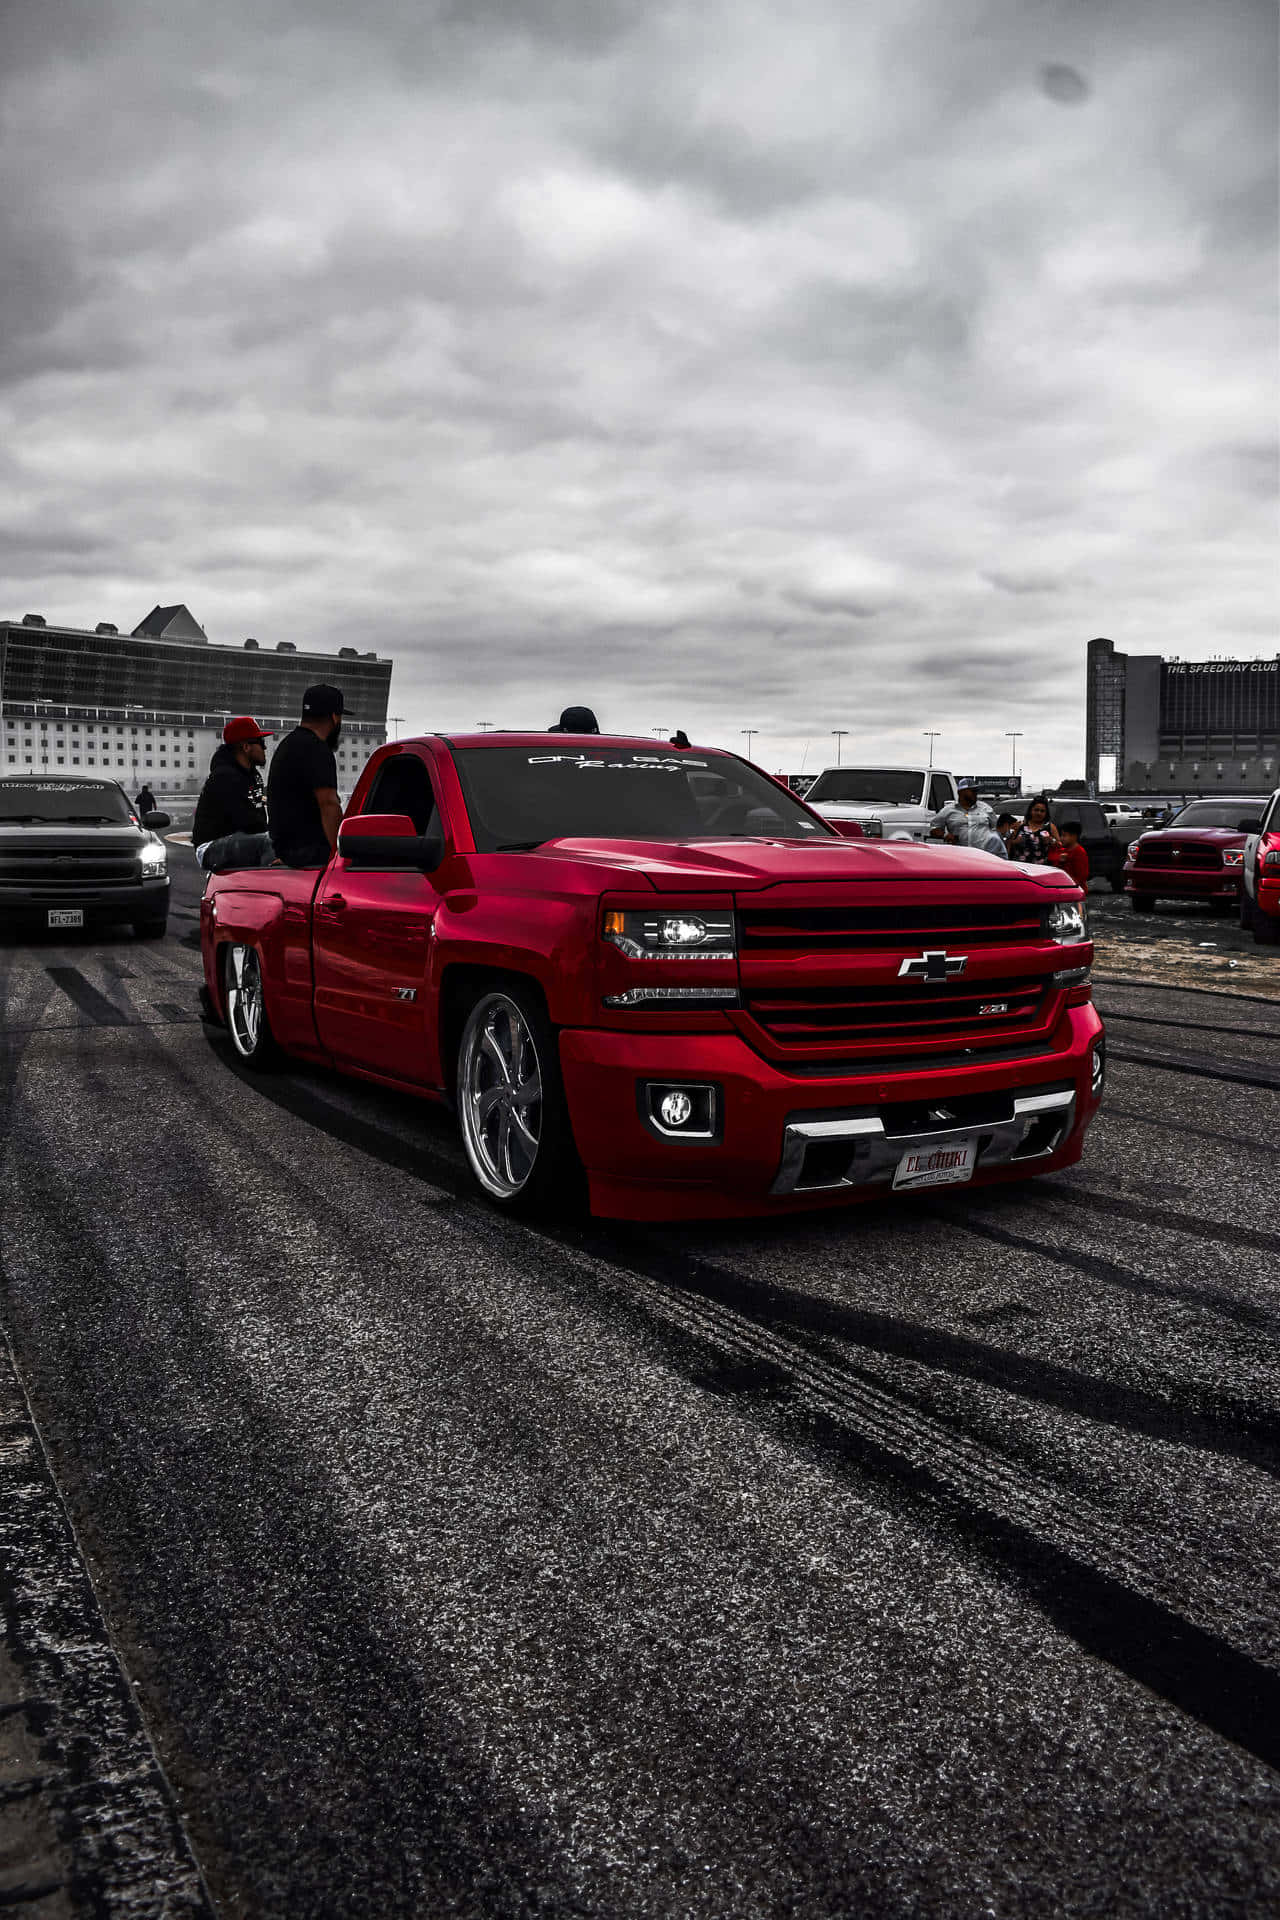
Red custom pickup truck performing burnout at a car show with spectators. — Photography Wallpaper -

Soccer player holding trophy aloft in victory celebration — Photography Wallpaper -
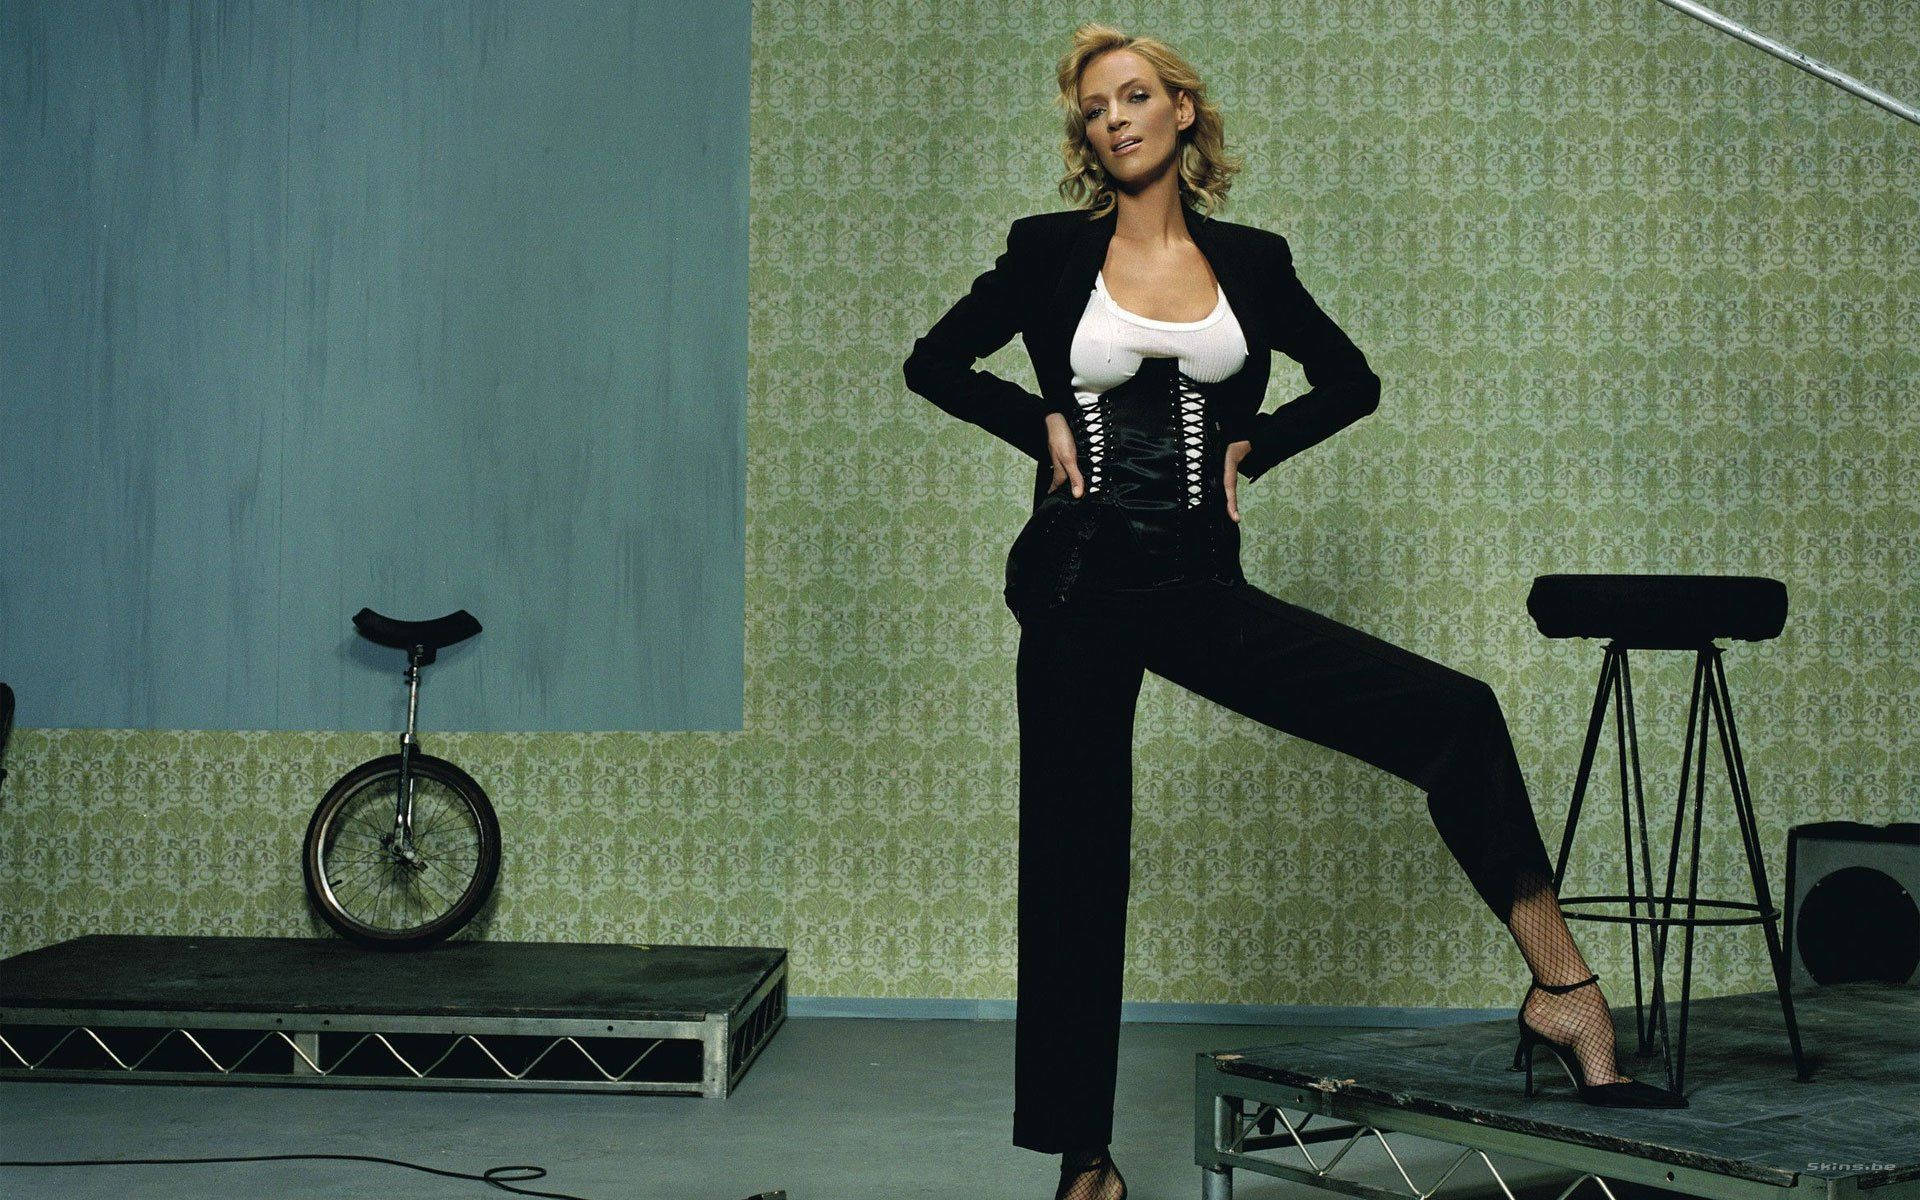
Blonde woman in black suit posing on stage with unicycle and stool. — Photography Wallpaper -

Night highway with blue light trails seen through a chain-link fence. — Photography Wallpaper -
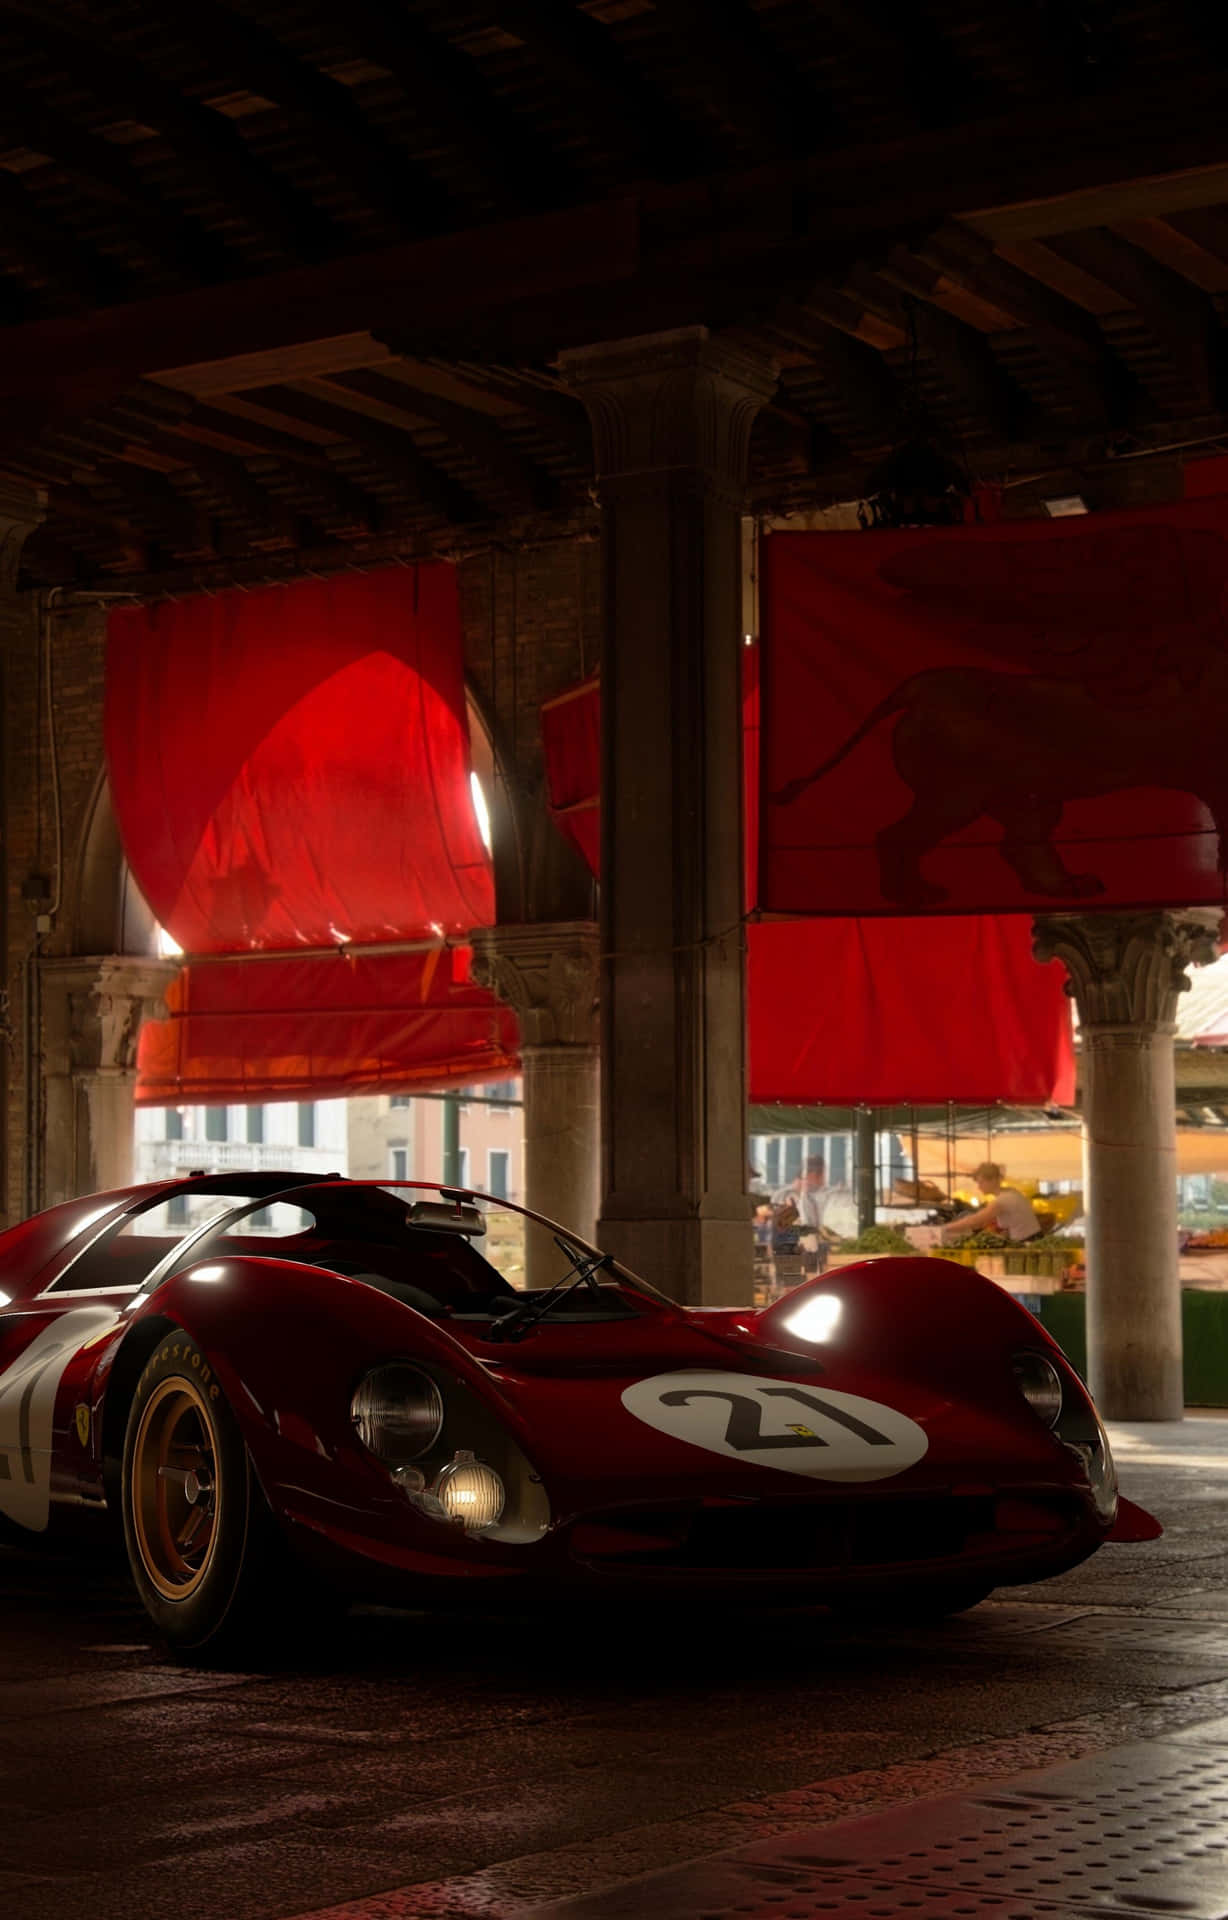
Vintage red Ferrari race car under red drapes in historic courtyard. — Photography Wallpaper -
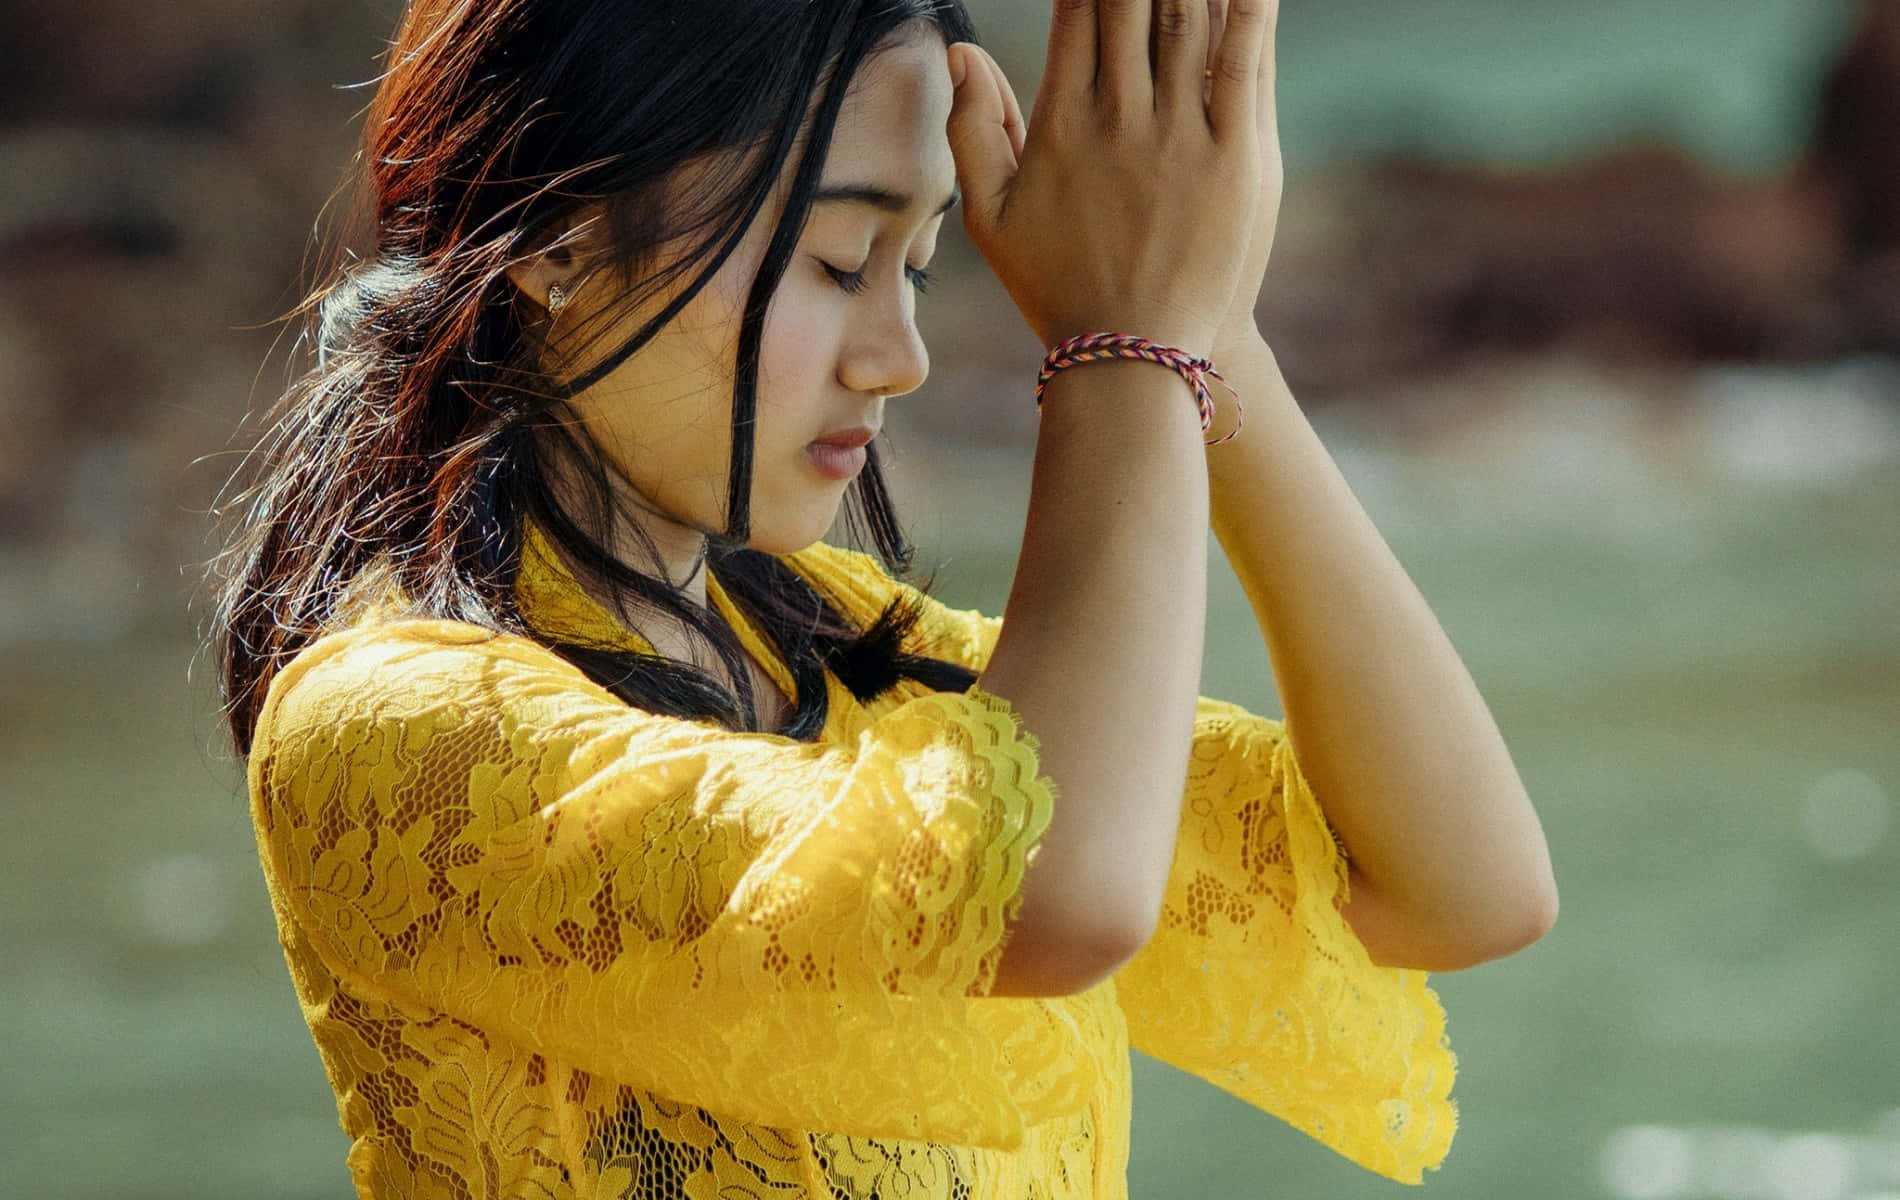
Young woman in yellow lace top clasping hands near face by water — Photography Wallpaper -
Historical portrait of Abraham Lincoln beside modern photo of George Clooney. — Photography Wallpaper -

A serious man in a military uniform looking upward. — Photography Wallpaper -
White horse rearing up in desert sand with blue sky background — Photography Wallpaper -
A man in a leather jacket aims a gun at the viewer in a dark gritty scene. — Photography Wallpaper -
Blonde woman smiling with arm raised wearing feathered top and beaded jewelry. — Photography Wallpaper -
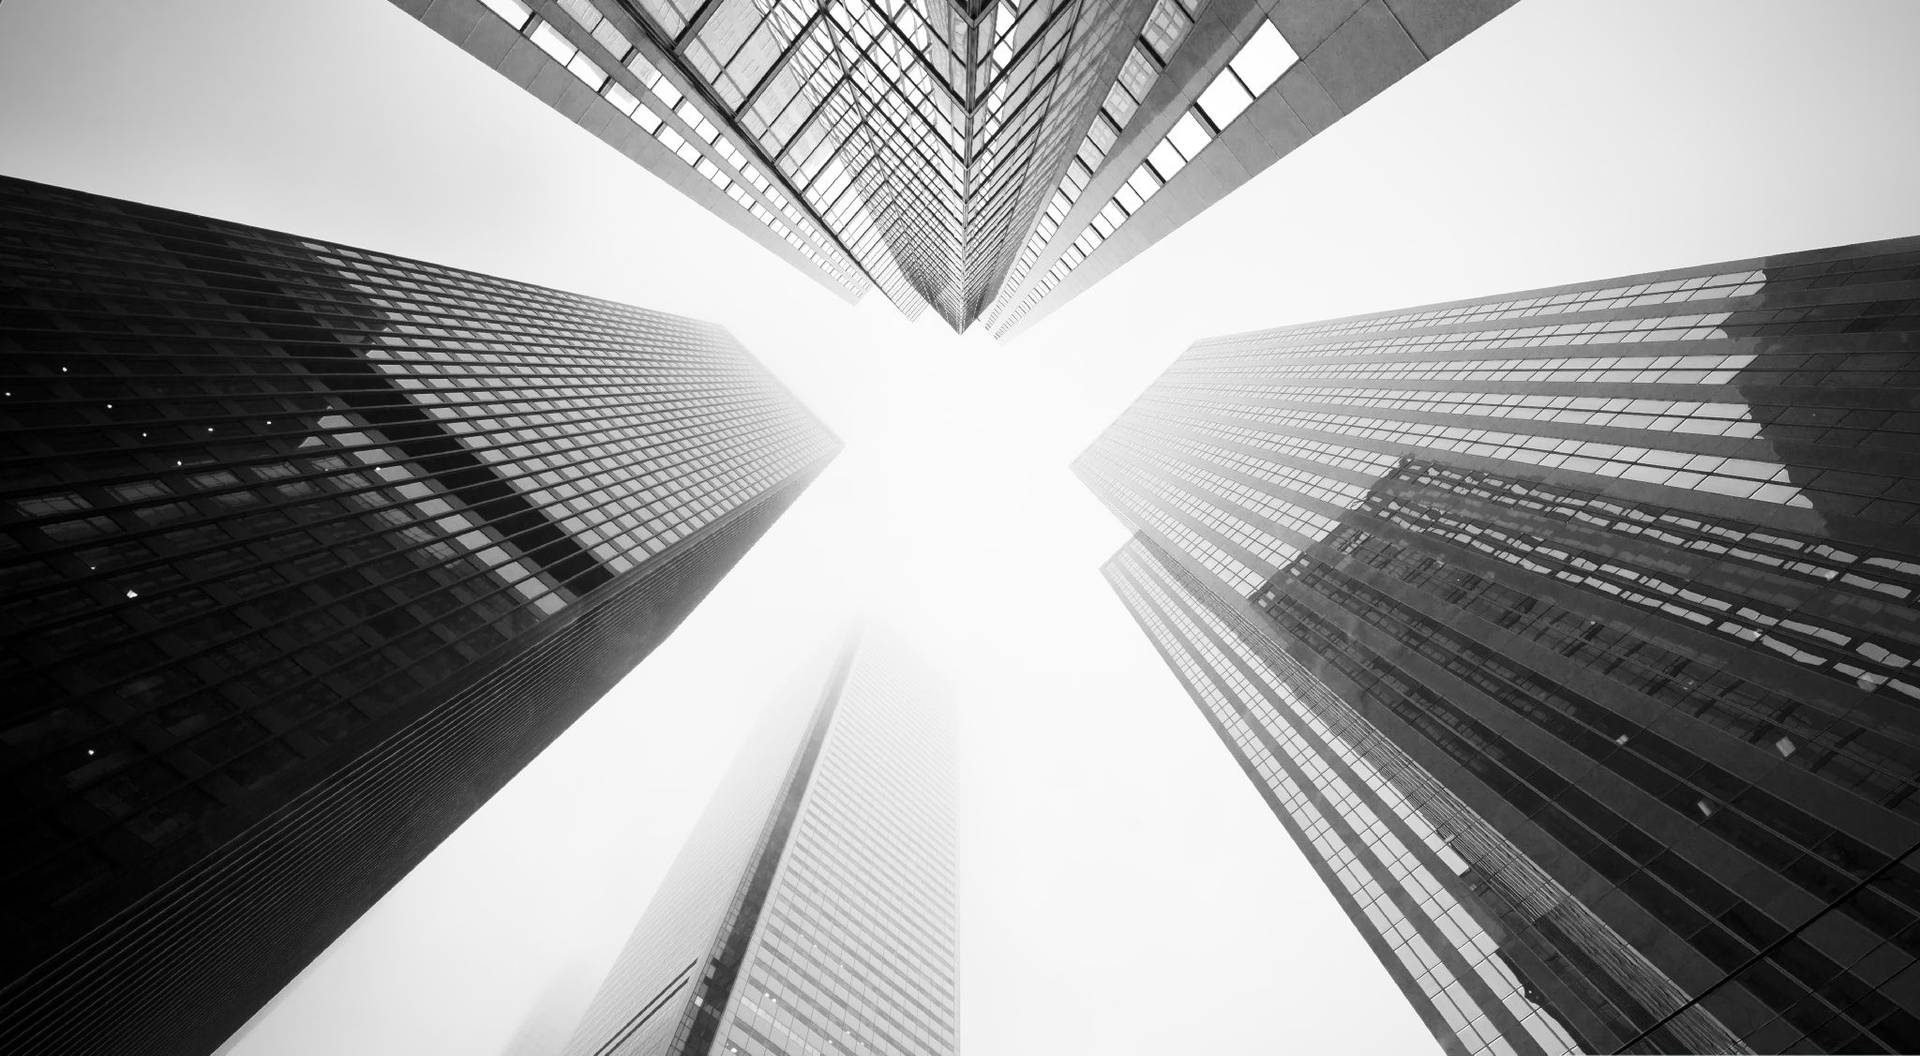
Towering skyscrapers converge toward a bright sky in a black and white urban scene. — Photography Wallpaper -
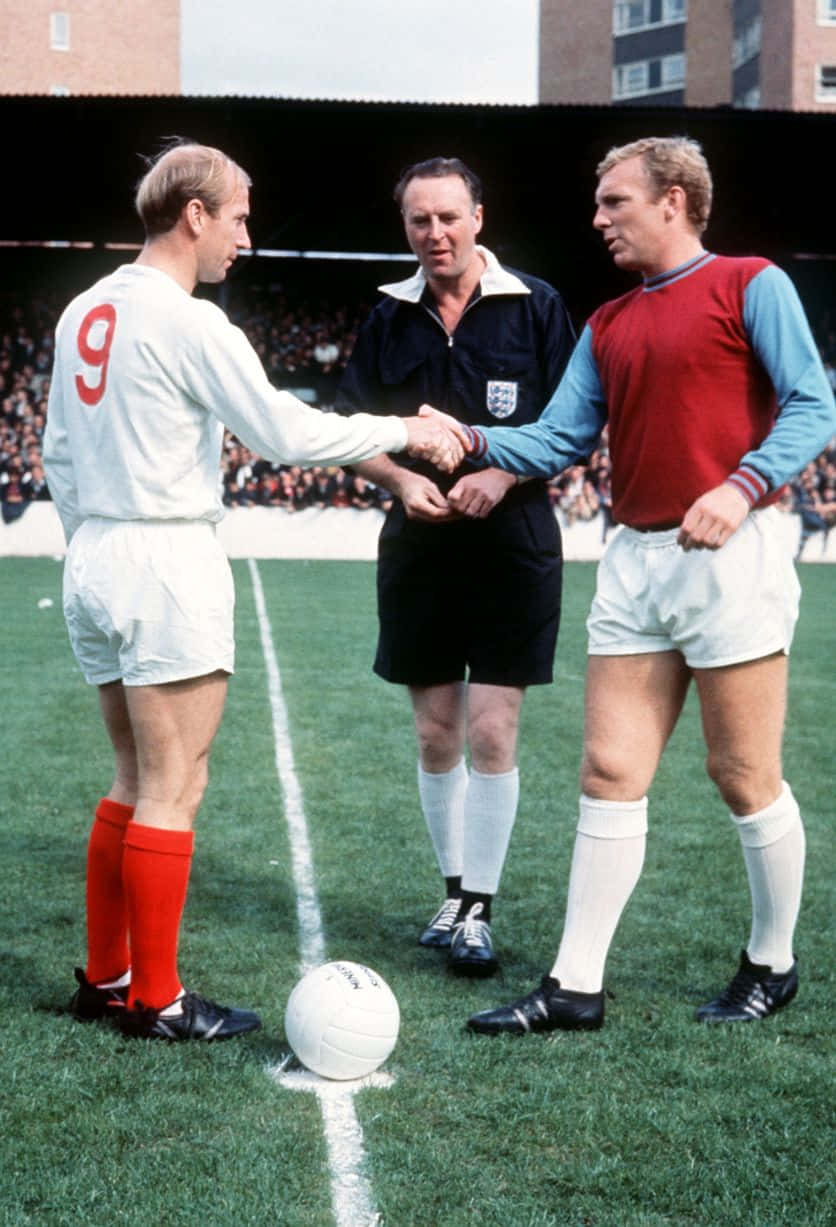
Two footballers shake hands with referee on grass pitch with ball at center circle. — Photography Wallpaper -
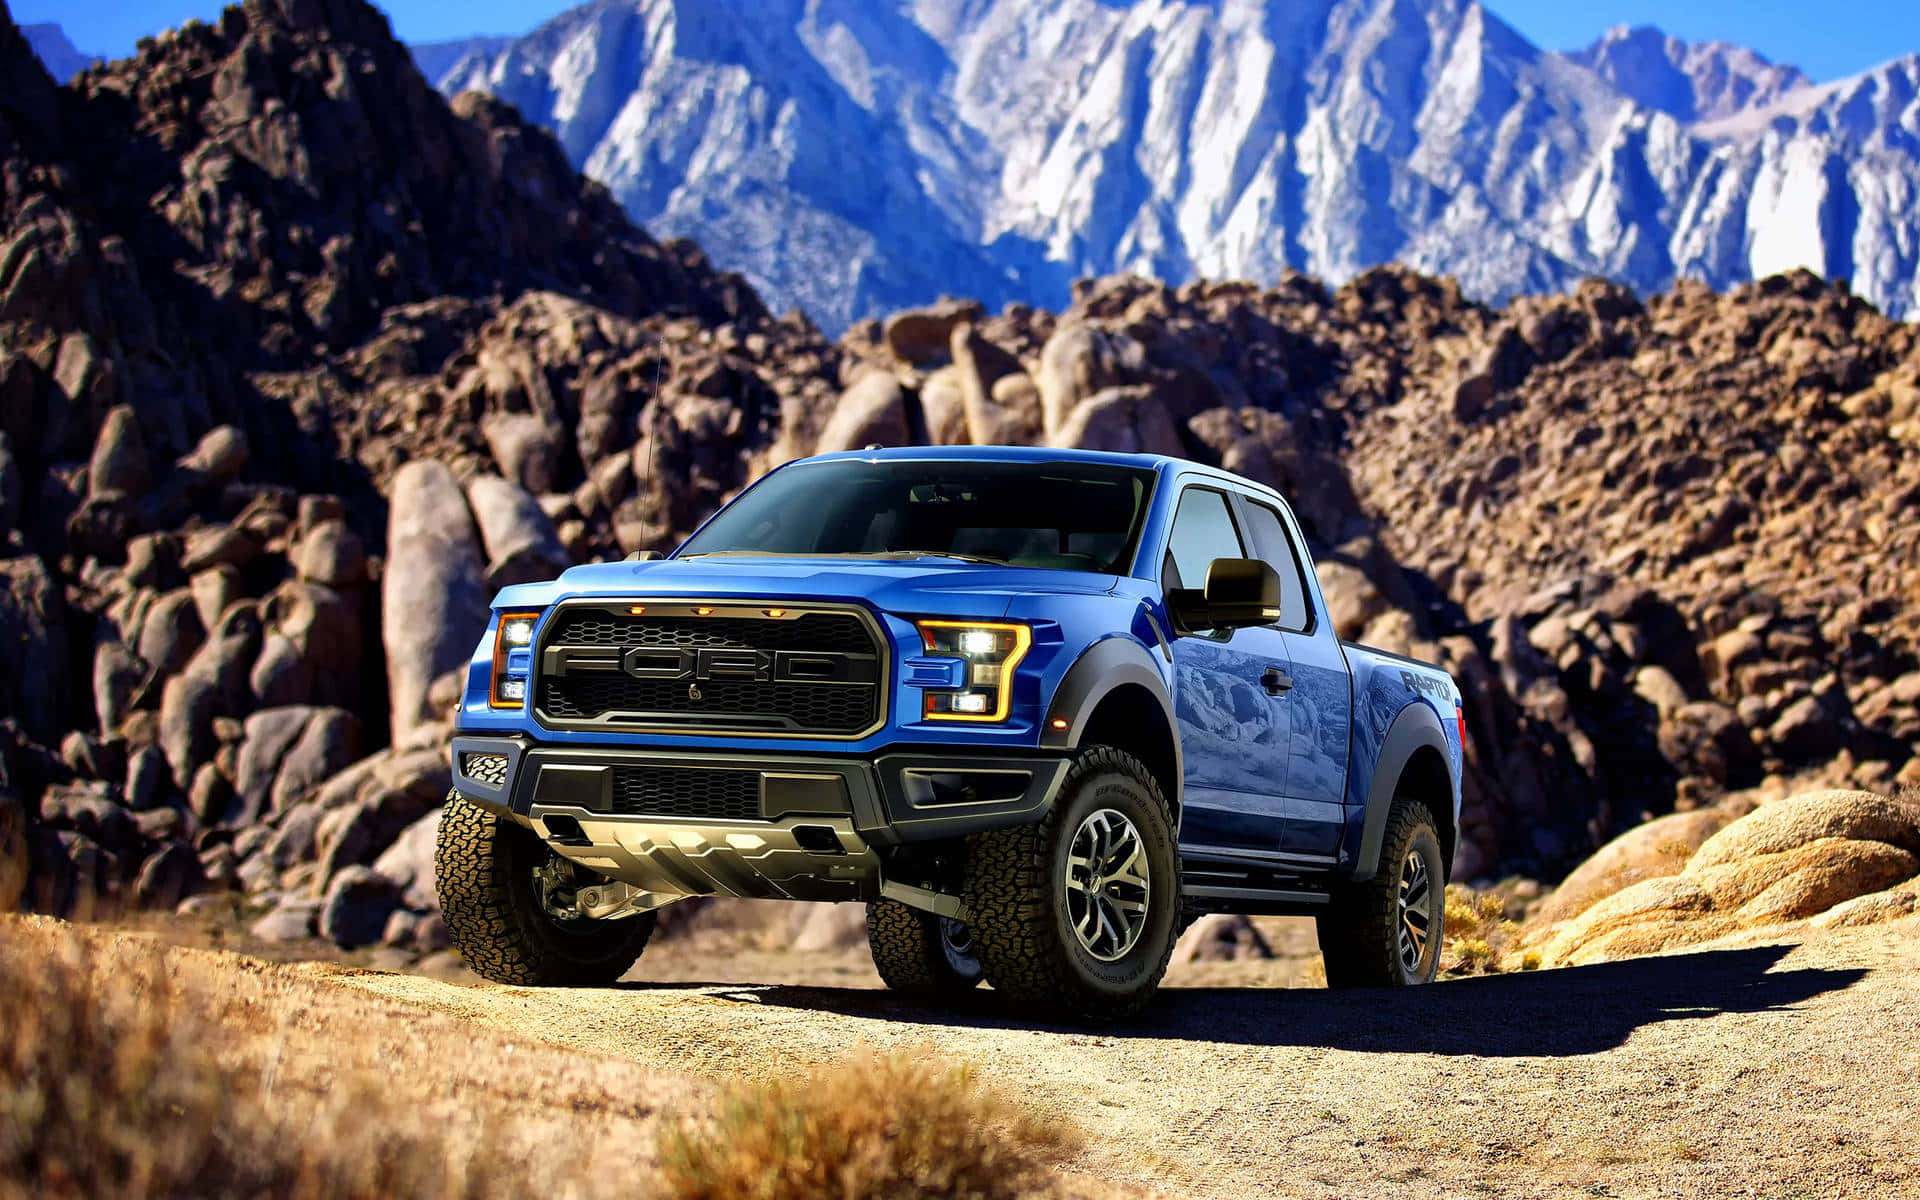
Blue Ford F-150 Raptor truck parked on desert trail with mountains in background — Photography Wallpaper -
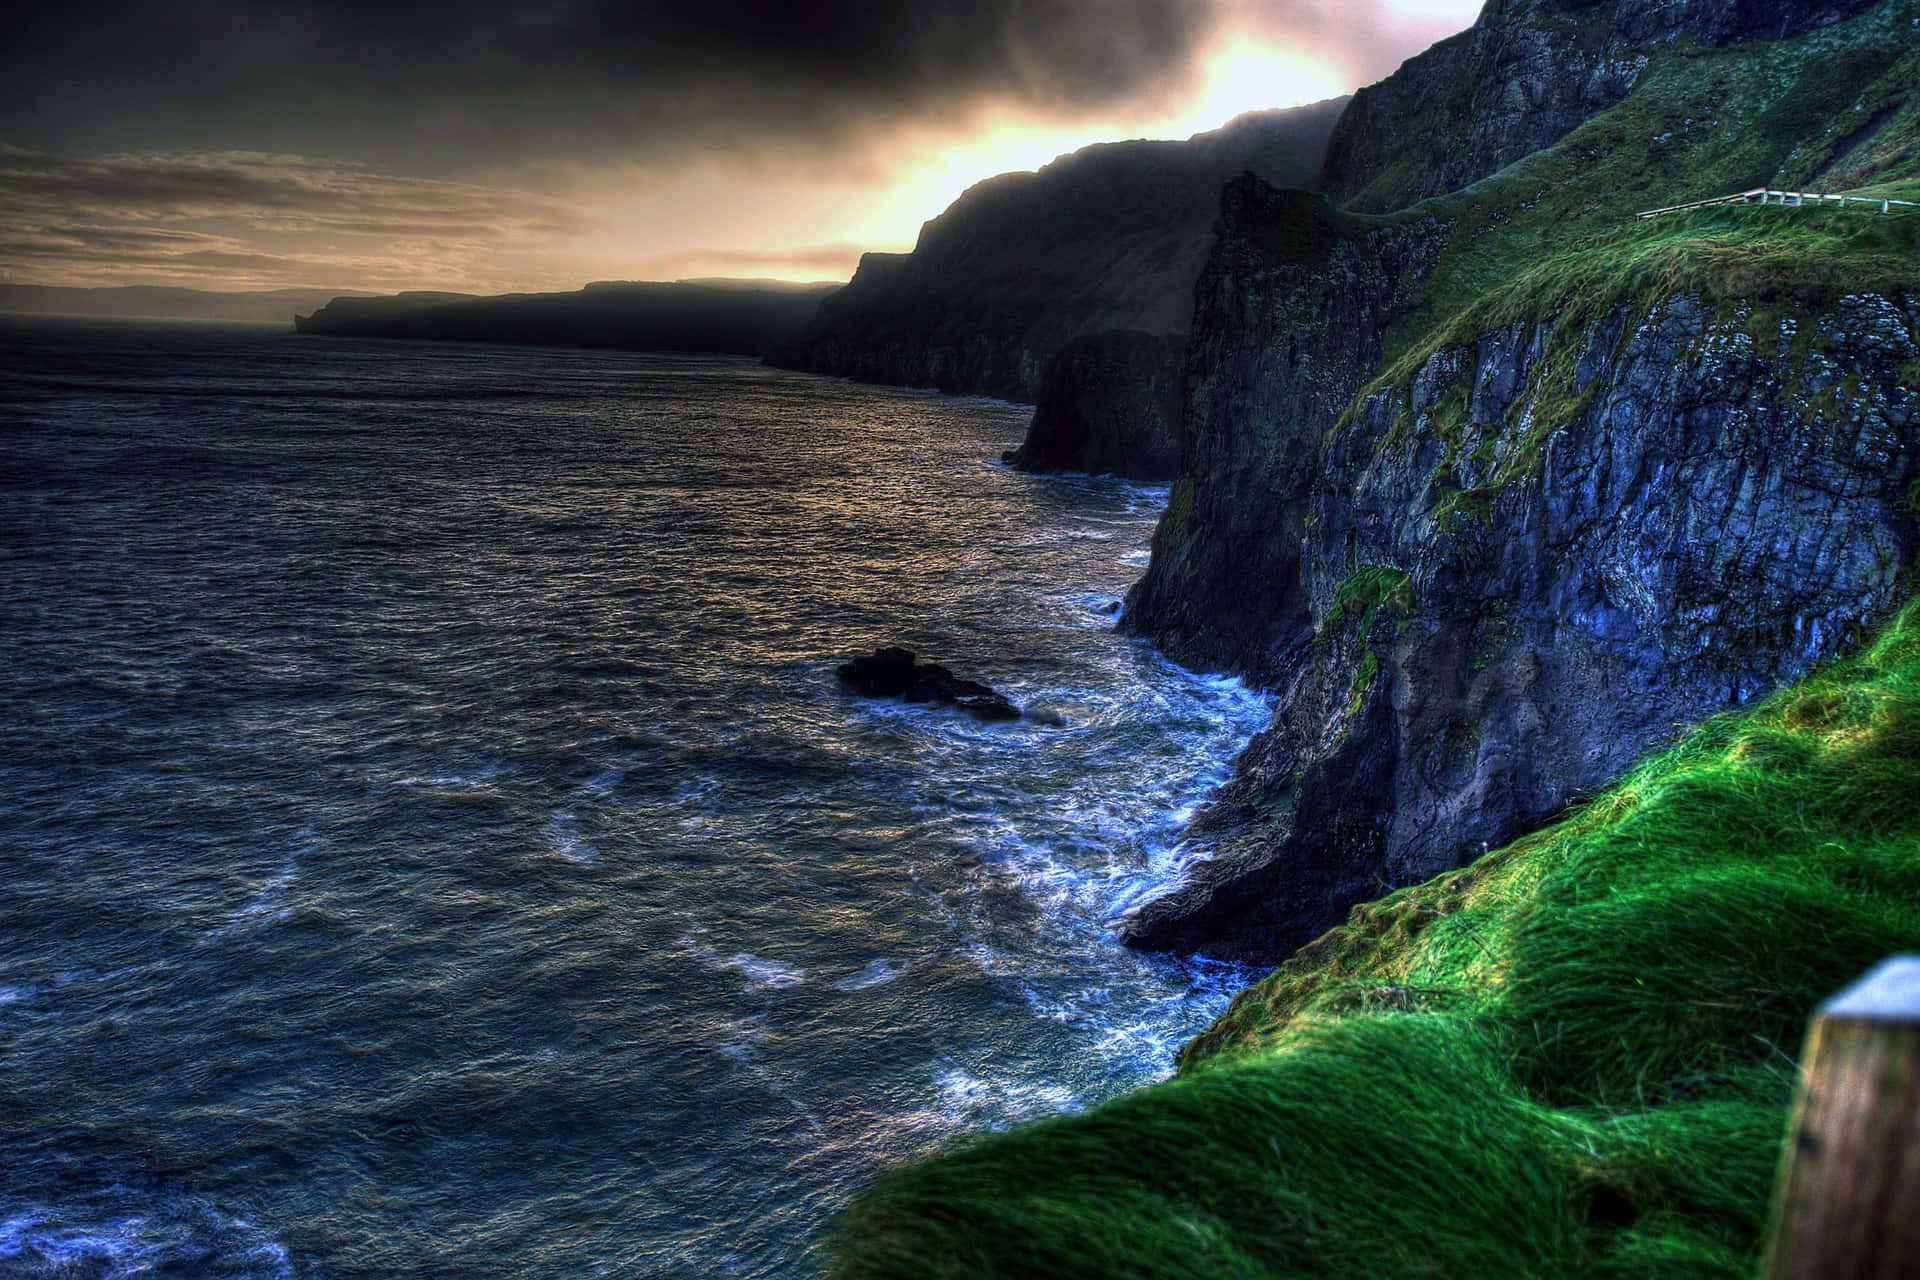
Cliffs with green grass overlook a stormy ocean at sunset. — Photography Wallpaper -

Wrestler with long blonde hair in a wrestling ring wearing a black t-shirt with 'mWo' logo. — Photography Wallpaper -
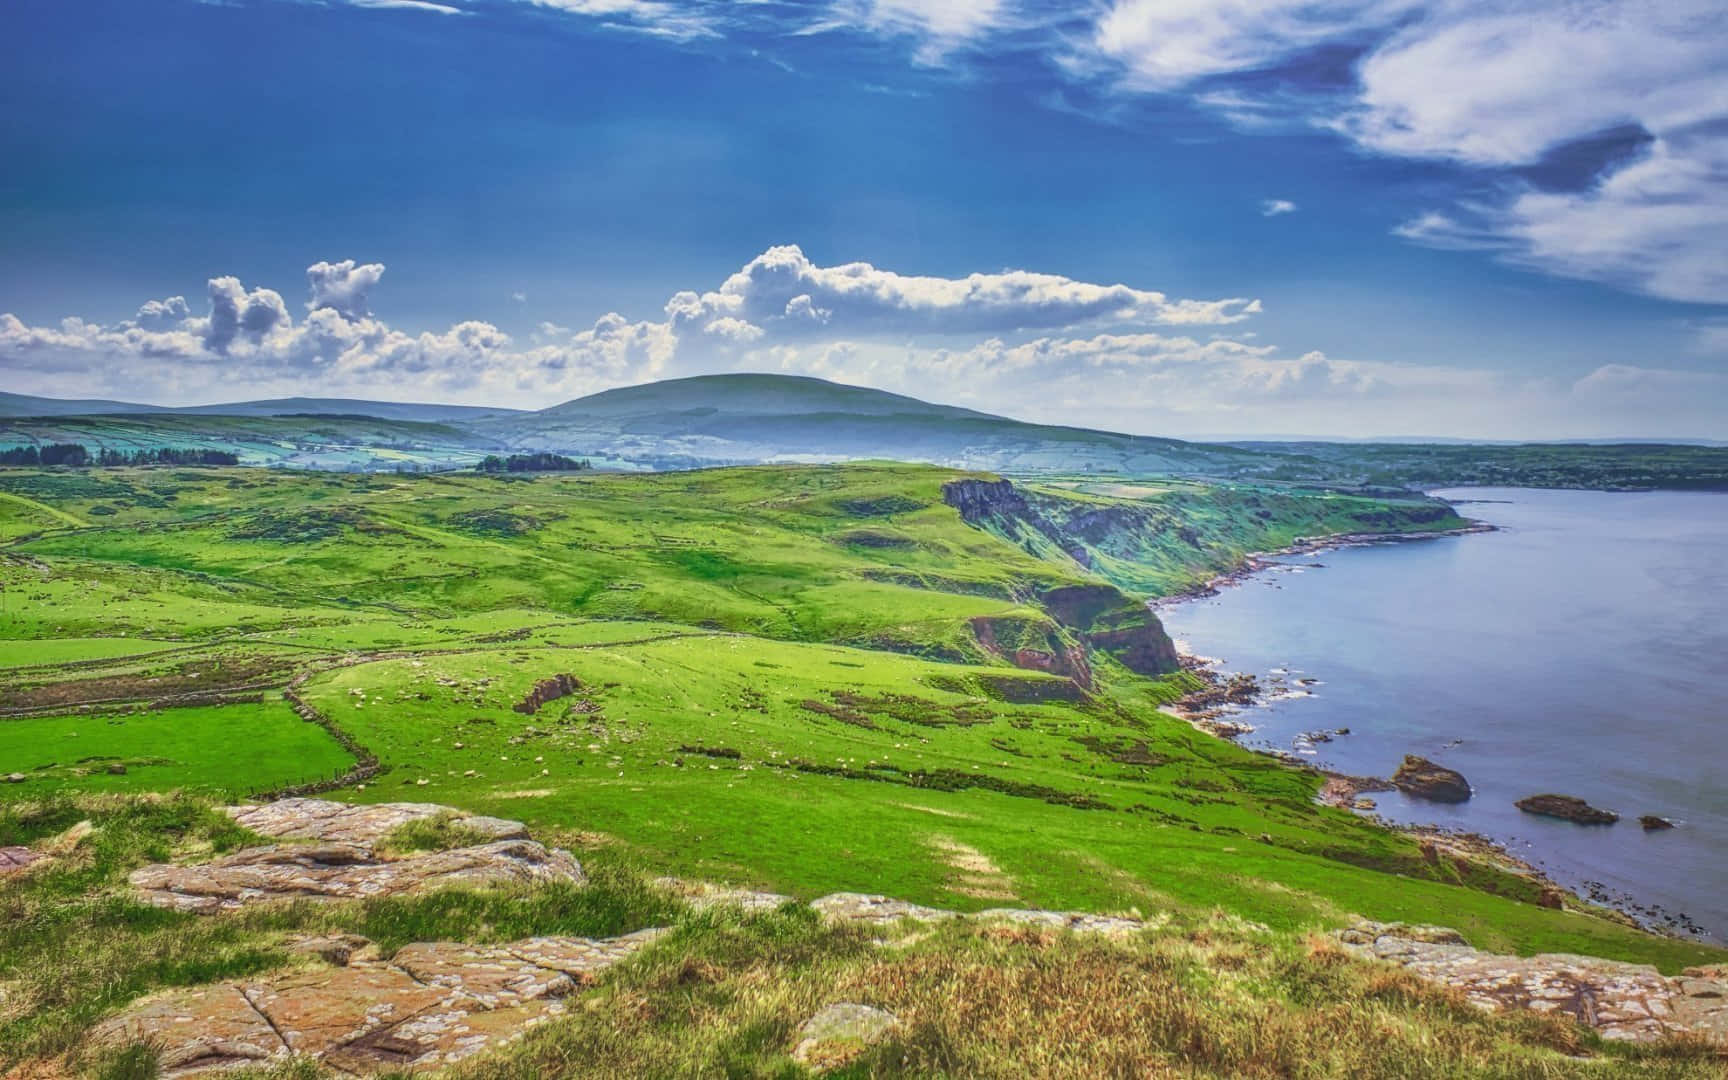
Rolling green hills meet a calm sea under a bright blue sky with fluffy clouds. — Photography Wallpaper -

Shackleton whisky bottle and box with Antarctic expedition theme. — Photography Wallpaper -

An elderly man in a suit and glasses smiles warmly in a black and white portrait. — Photography Wallpaper -

A yellow wildflower in bloom with green buds and foliage in soft focus background. — Photography Wallpaper -
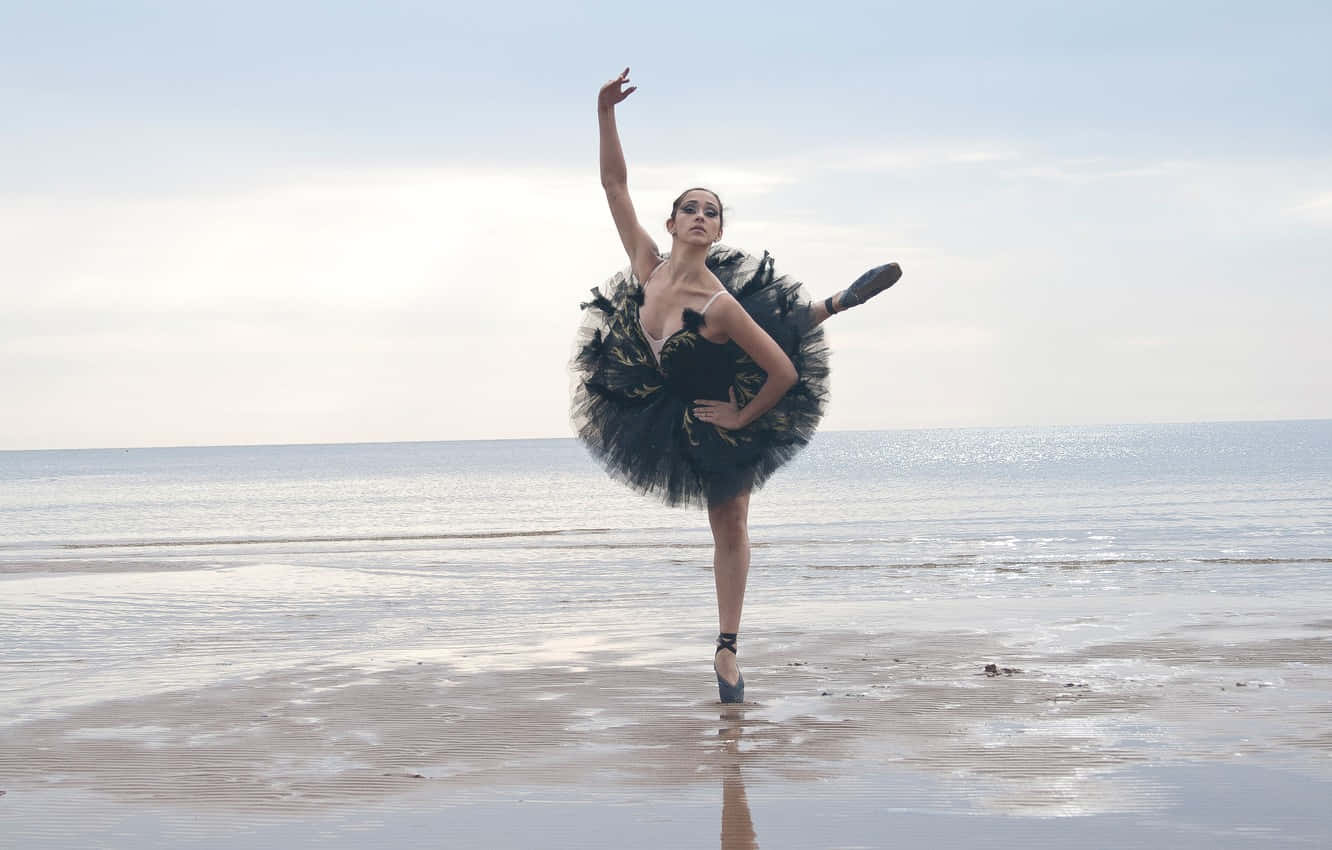
Ballerina in black tutu dancing on wet beach with ocean in background — Photography Wallpaper -

Woman in vintage dress seated on wooden chair in studio portrait — Photography Wallpaper -

Foamy ocean waves washing over dark sandy beach at twilight — Photography Wallpaper -

Fly fishing rod on mossy rock beside forest stream — Photography Wallpaper -
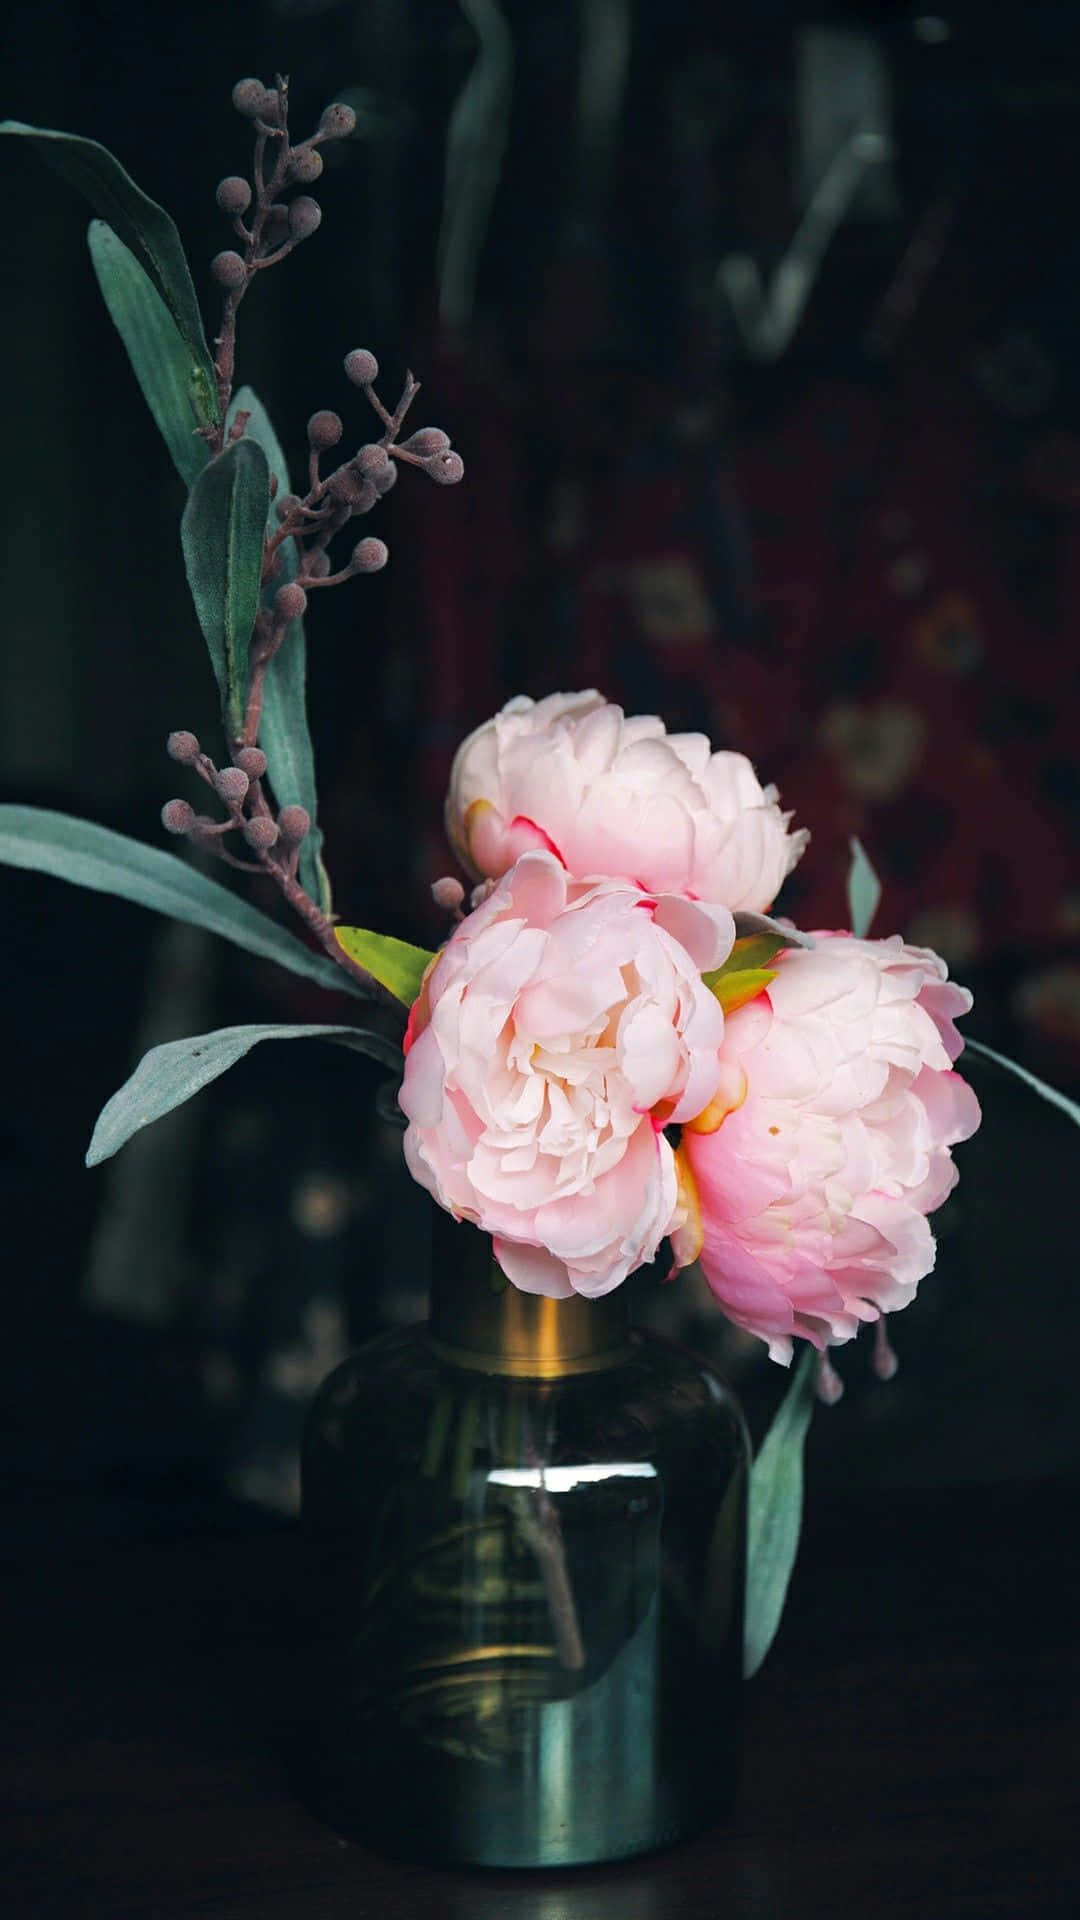
Pink peonies in a dark glass vase on a dimly lit surface. — Photography Wallpaper -

A scenic mountain valley with a winding blue lake surrounded by lush green cliffs and rocky terrain under a bright sky. — Photography Wallpaper -

French football team and coach celebrating with World Cup trophy — Photography Wallpaper -

A bowl of colorful sugar pearls spilling in a playful cascade. — Photography Wallpaper -
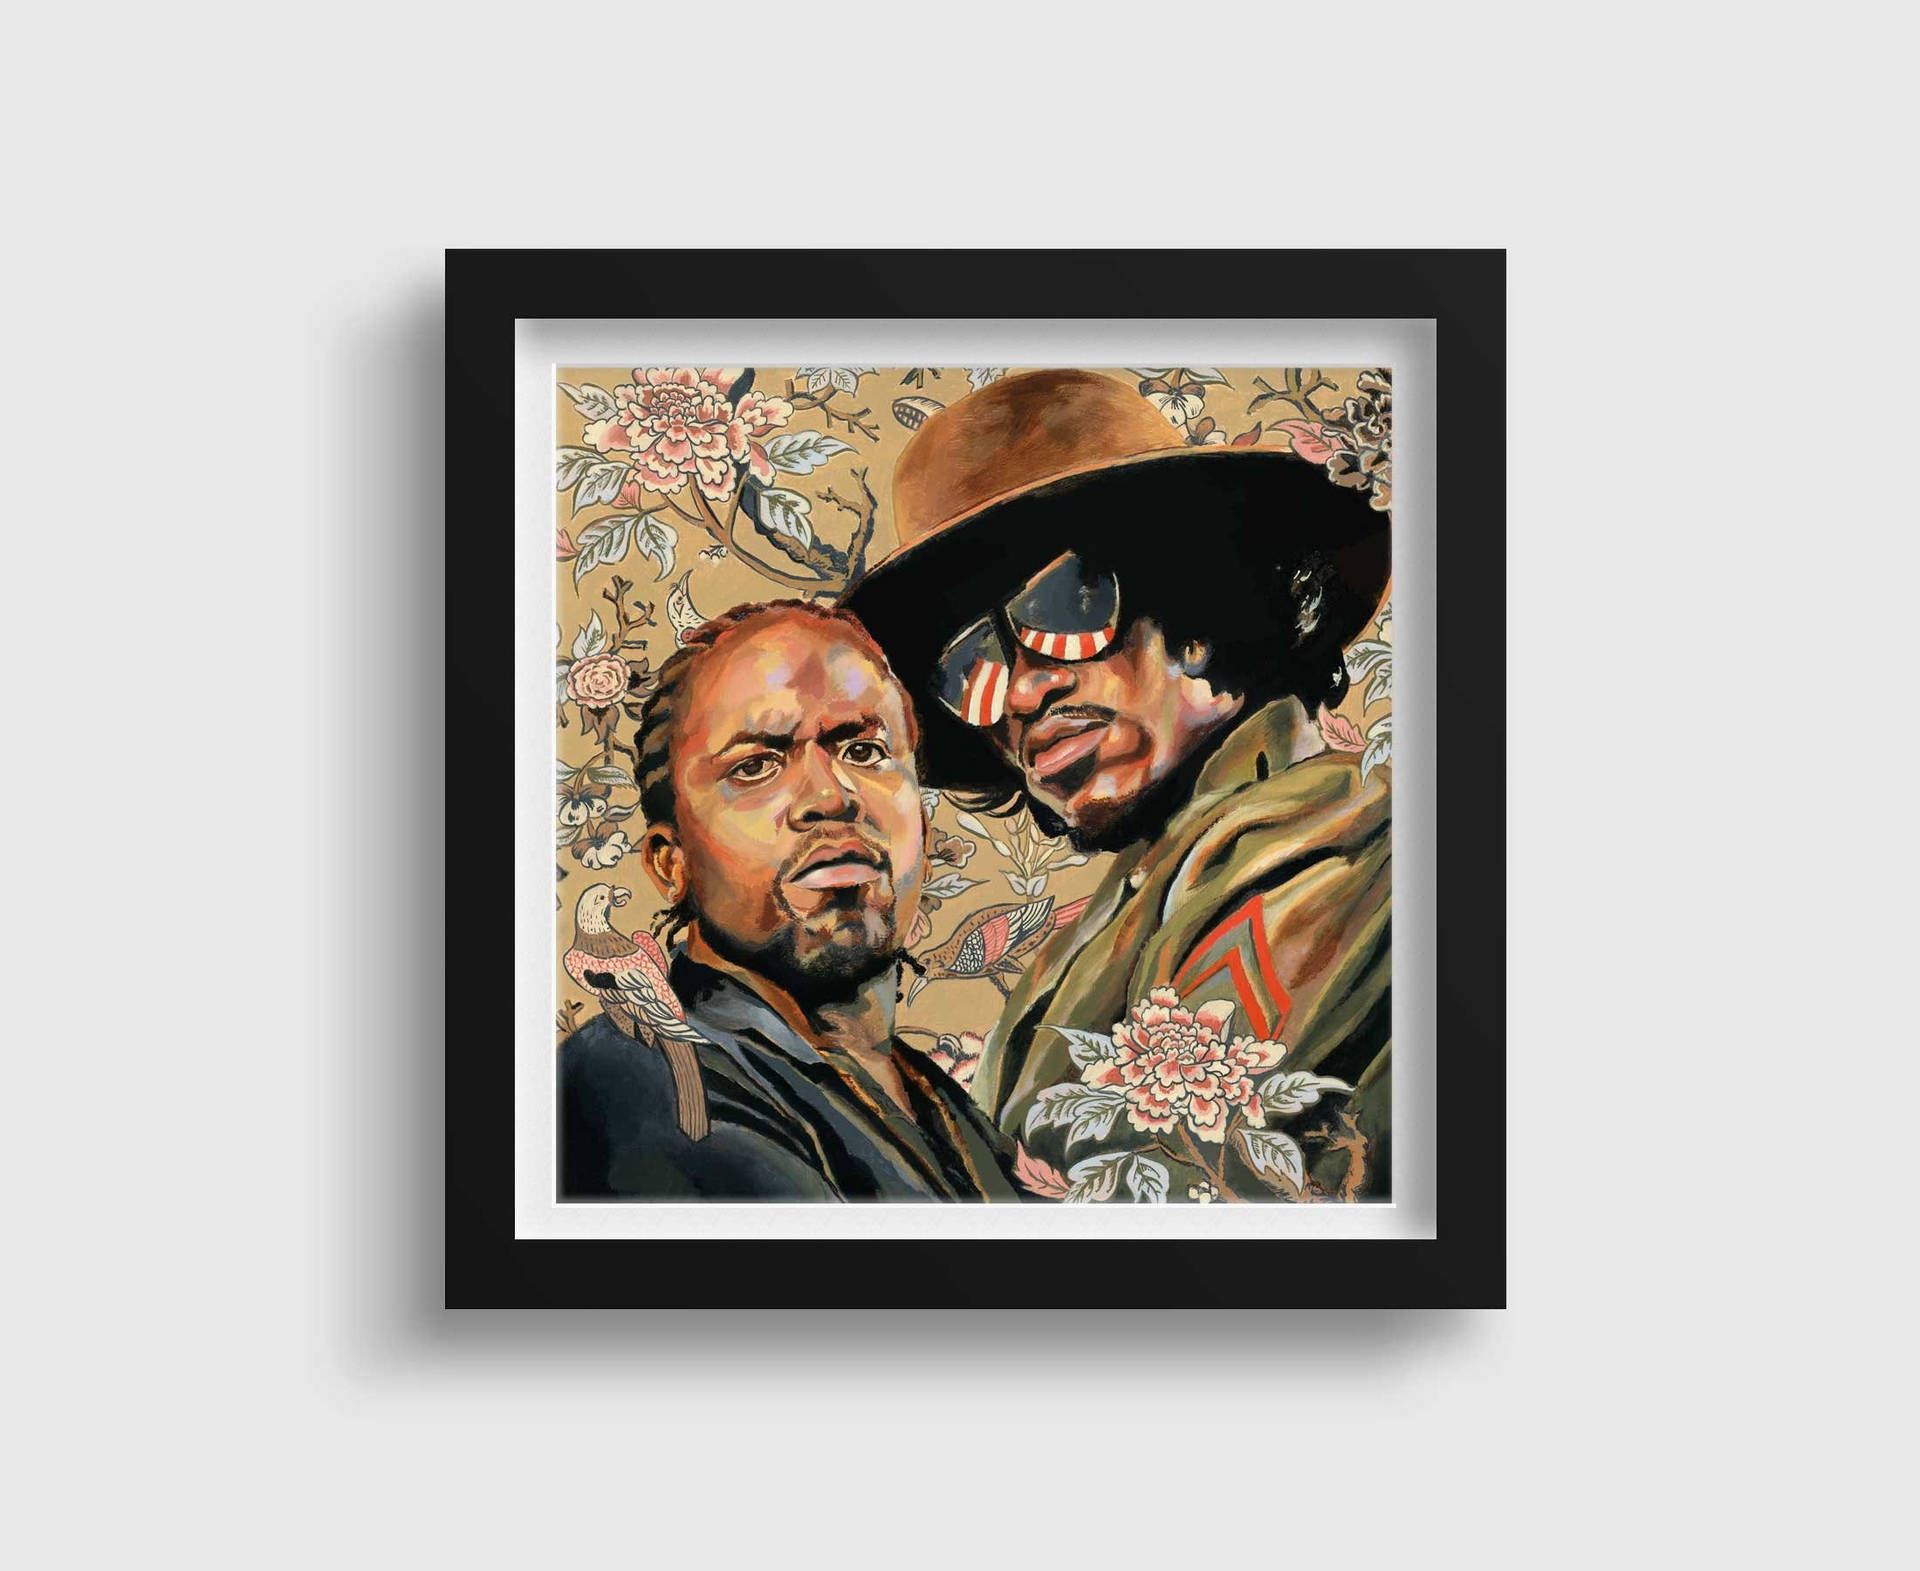
Framed digital artwork of two men one wearing a hat and sunglasses the other with a serious expression against a floral backdrop. — Photography Wallpaper -
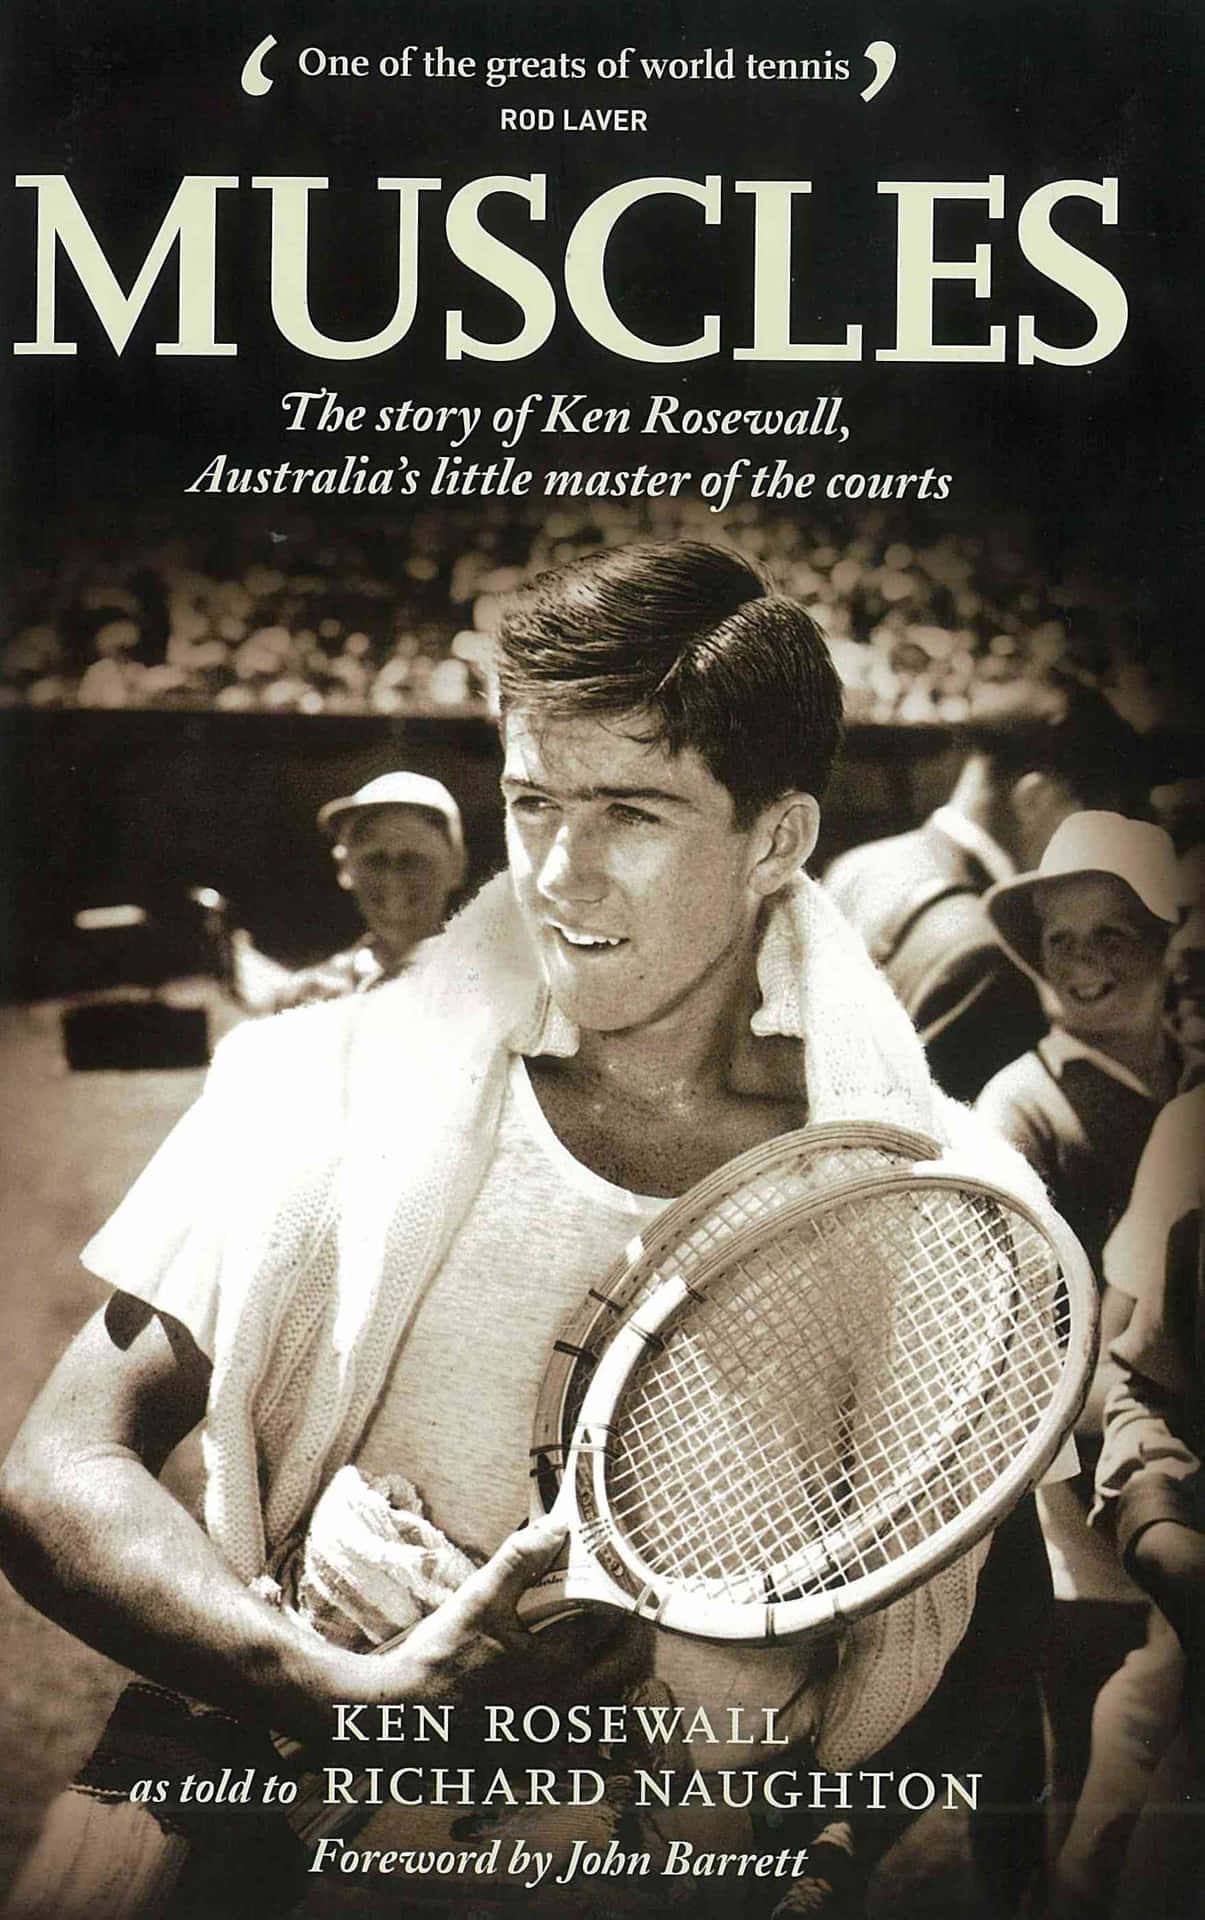
Young tennis player Ken Rosewall holding racket with towel over shoulder at match. — Photography Wallpaper -
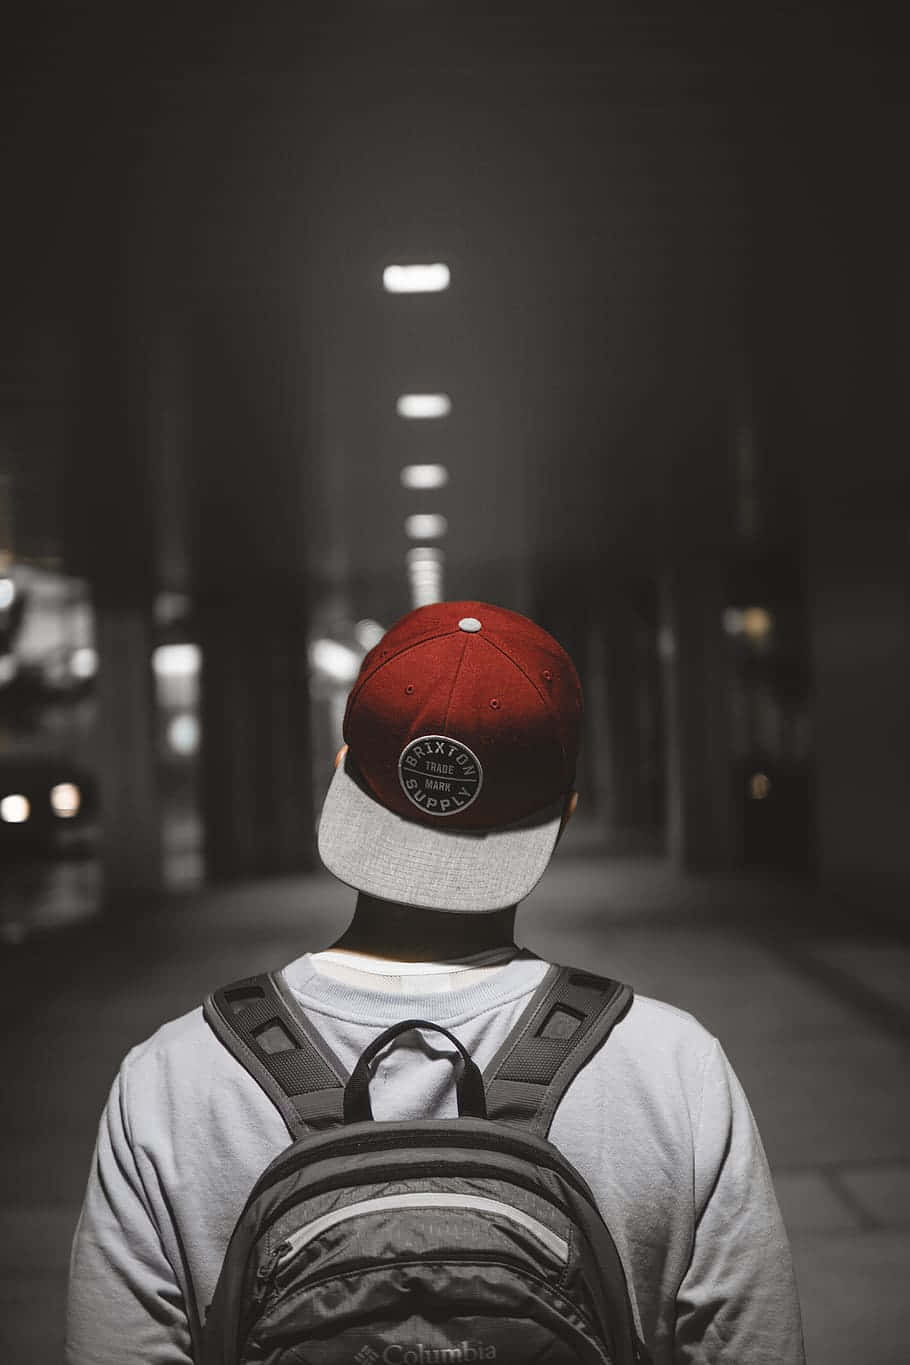
Person wearing red cap and backpack walking down city street at night. — Photography Wallpaper -

A smiling woman with dark hair and glasses at an event. — Photography Wallpaper -

Fresh cinnamon rolls with chocolate chips and white icing in a glass dish. — Photography Wallpaper -

Man holding finger to lips in dramatic black and white portrait. — Photography Wallpaper -
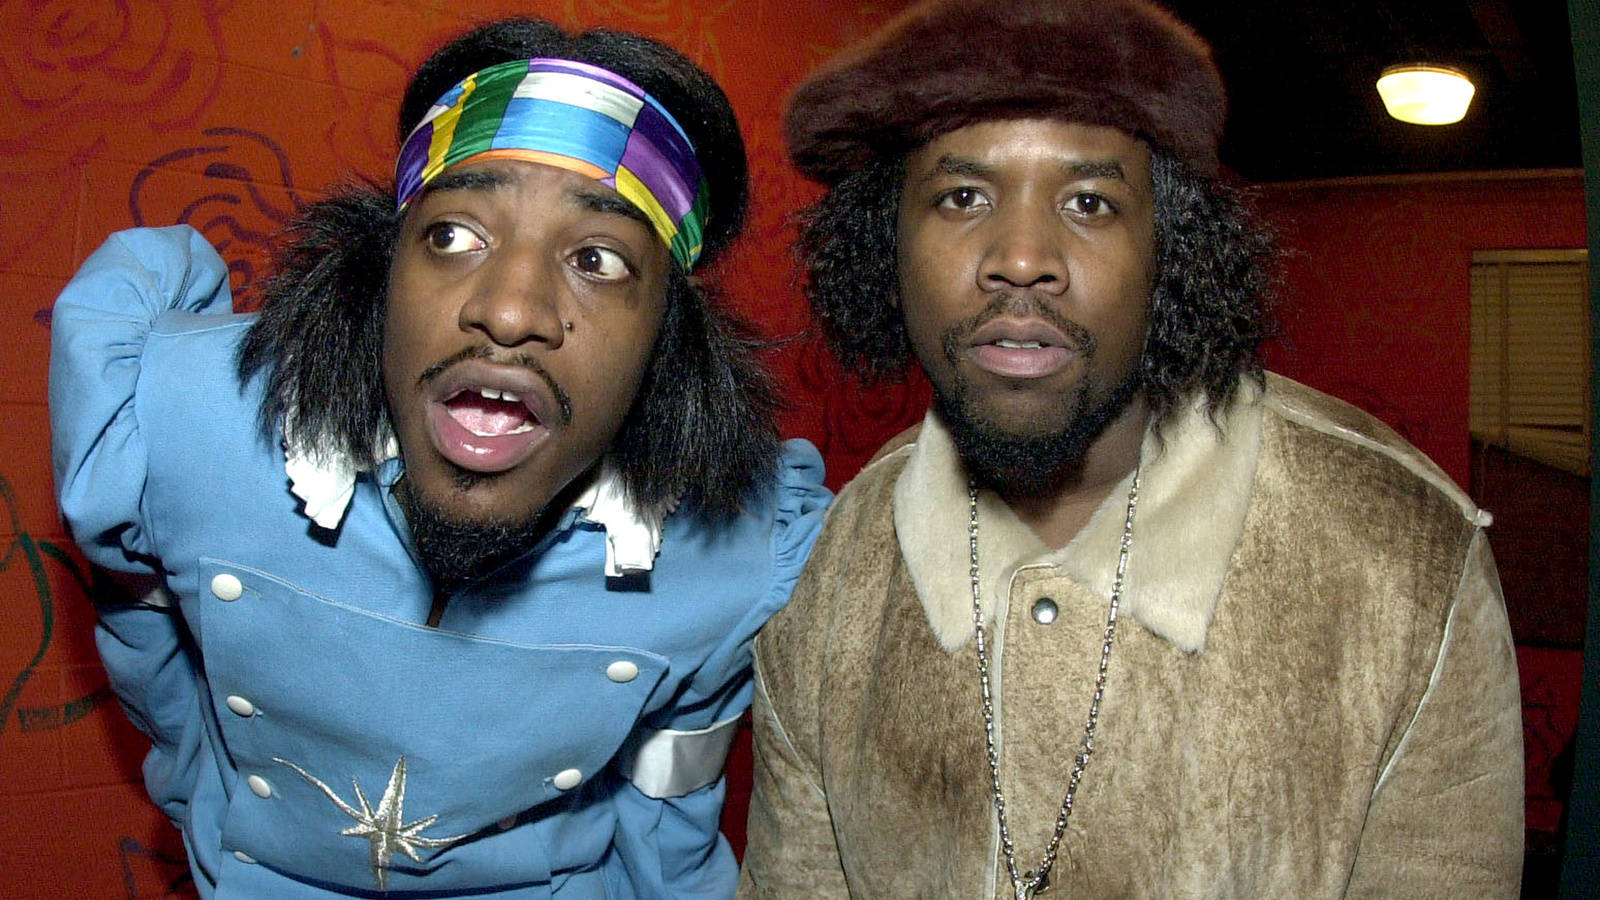
Two men in casual jackets posing for a photo indoors. — Photography Wallpaper -

White lifted Chevrolet truck parked in front of snowy mountains at sunset. — Photography Wallpaper -
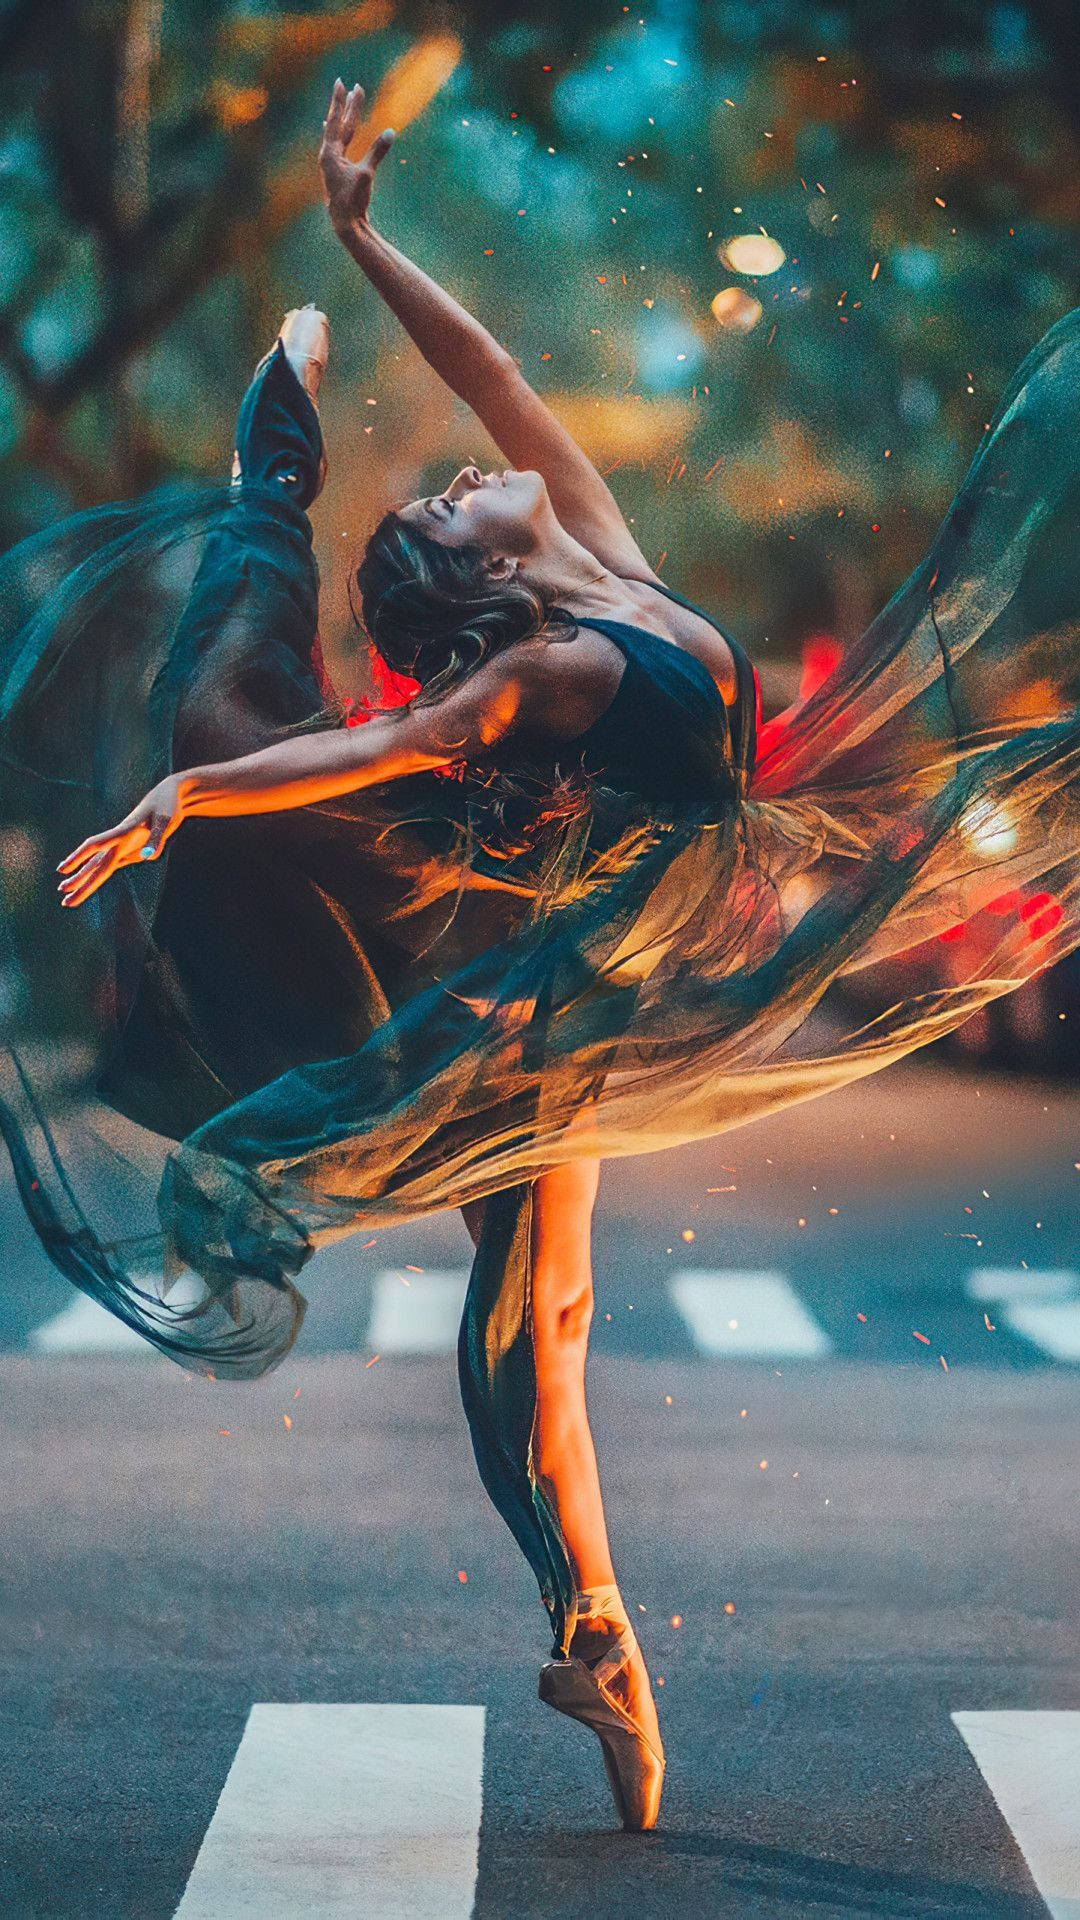
Ballerina dancing on a city street at dusk with sparks flying around her. — Photography Wallpaper -
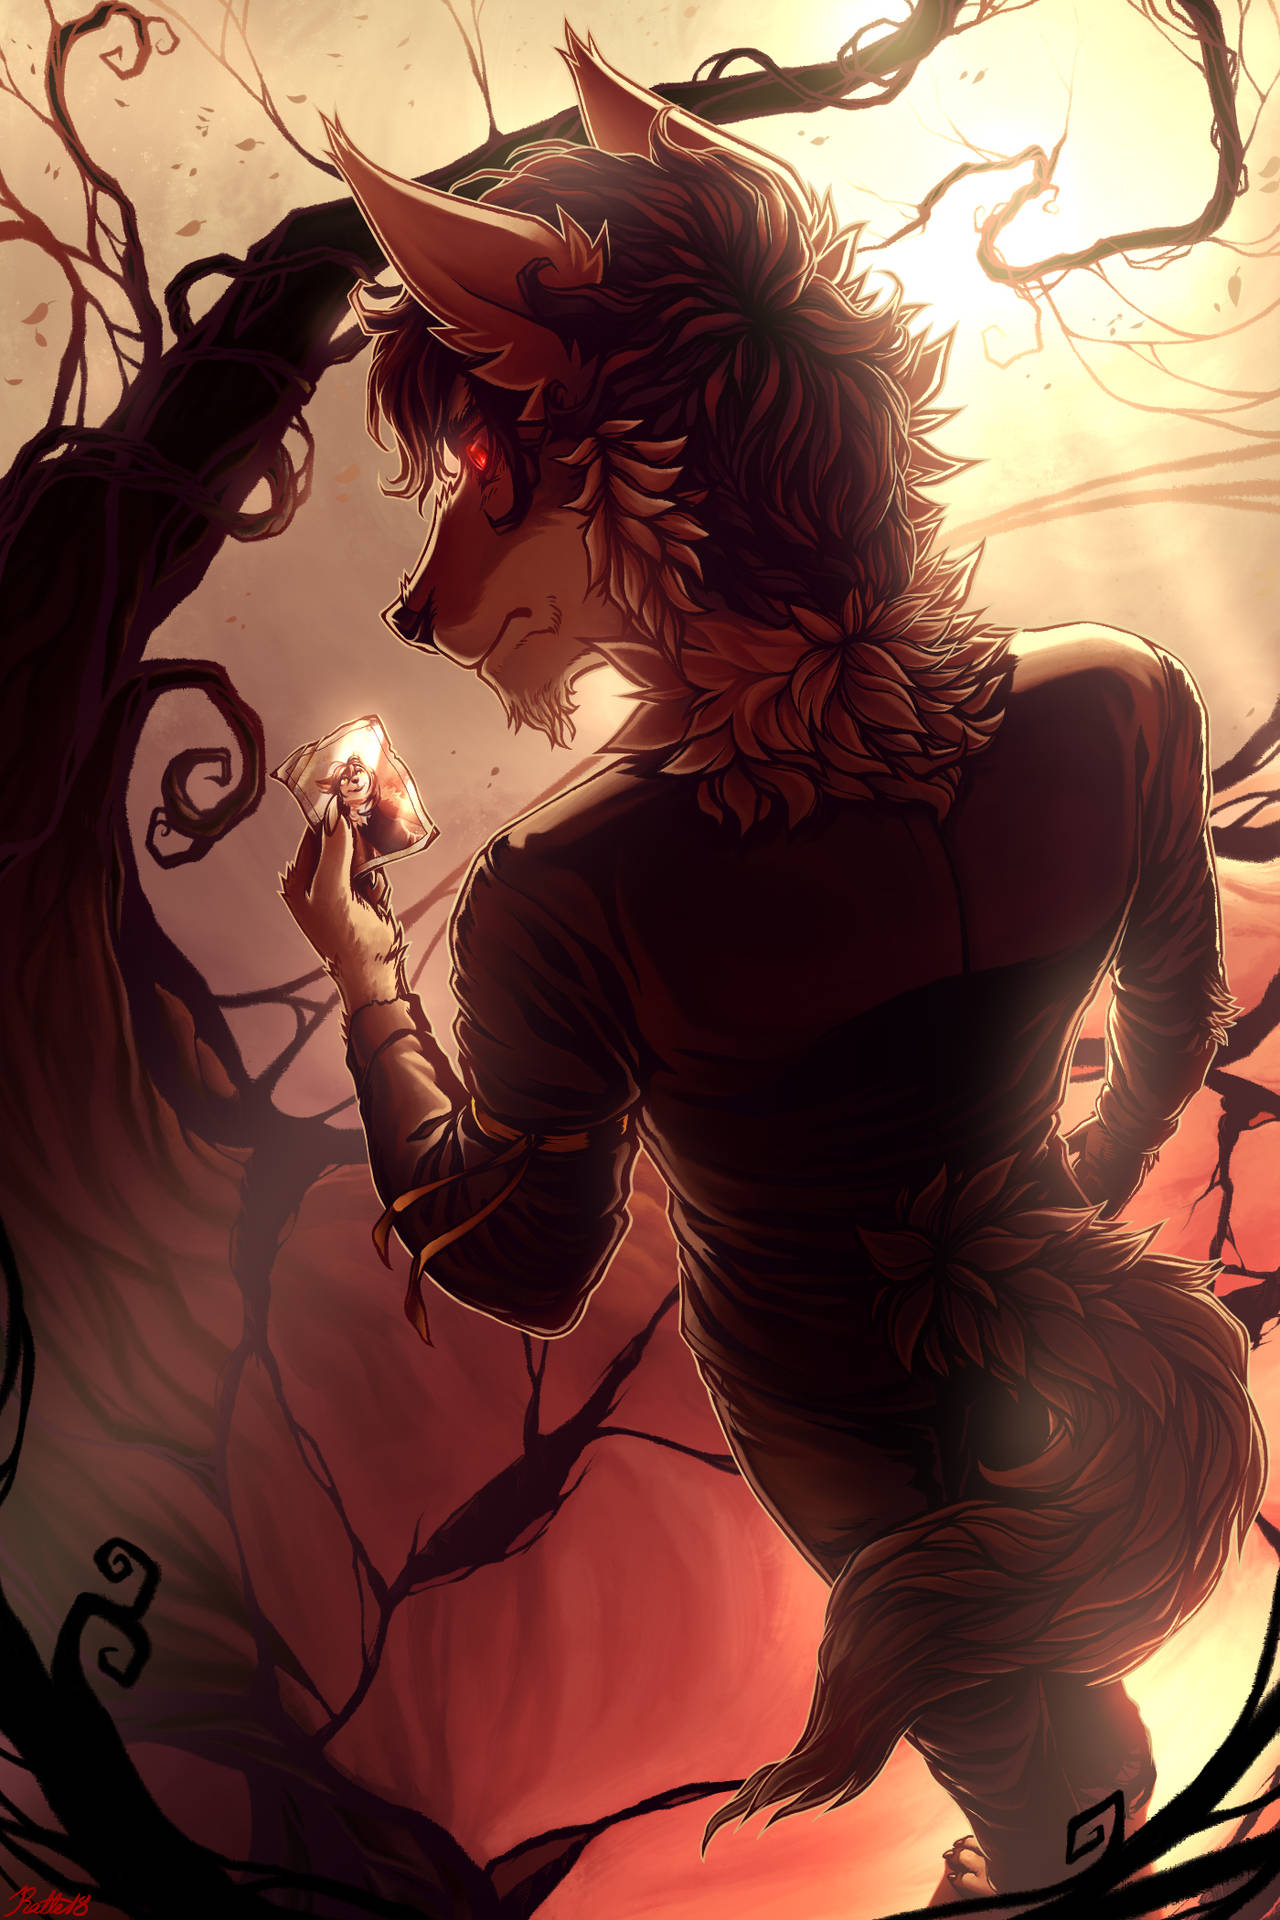
Fox-like anime character holding glowing orb in dark twisted forest at sunset. — Photography Wallpaper -

Person holding a DSLR camera at a desk with laptop and phone. — Photography Wallpaper -

A tree with orange leaves arches over a blue-reflected river in autumn. — Photography Wallpaper -
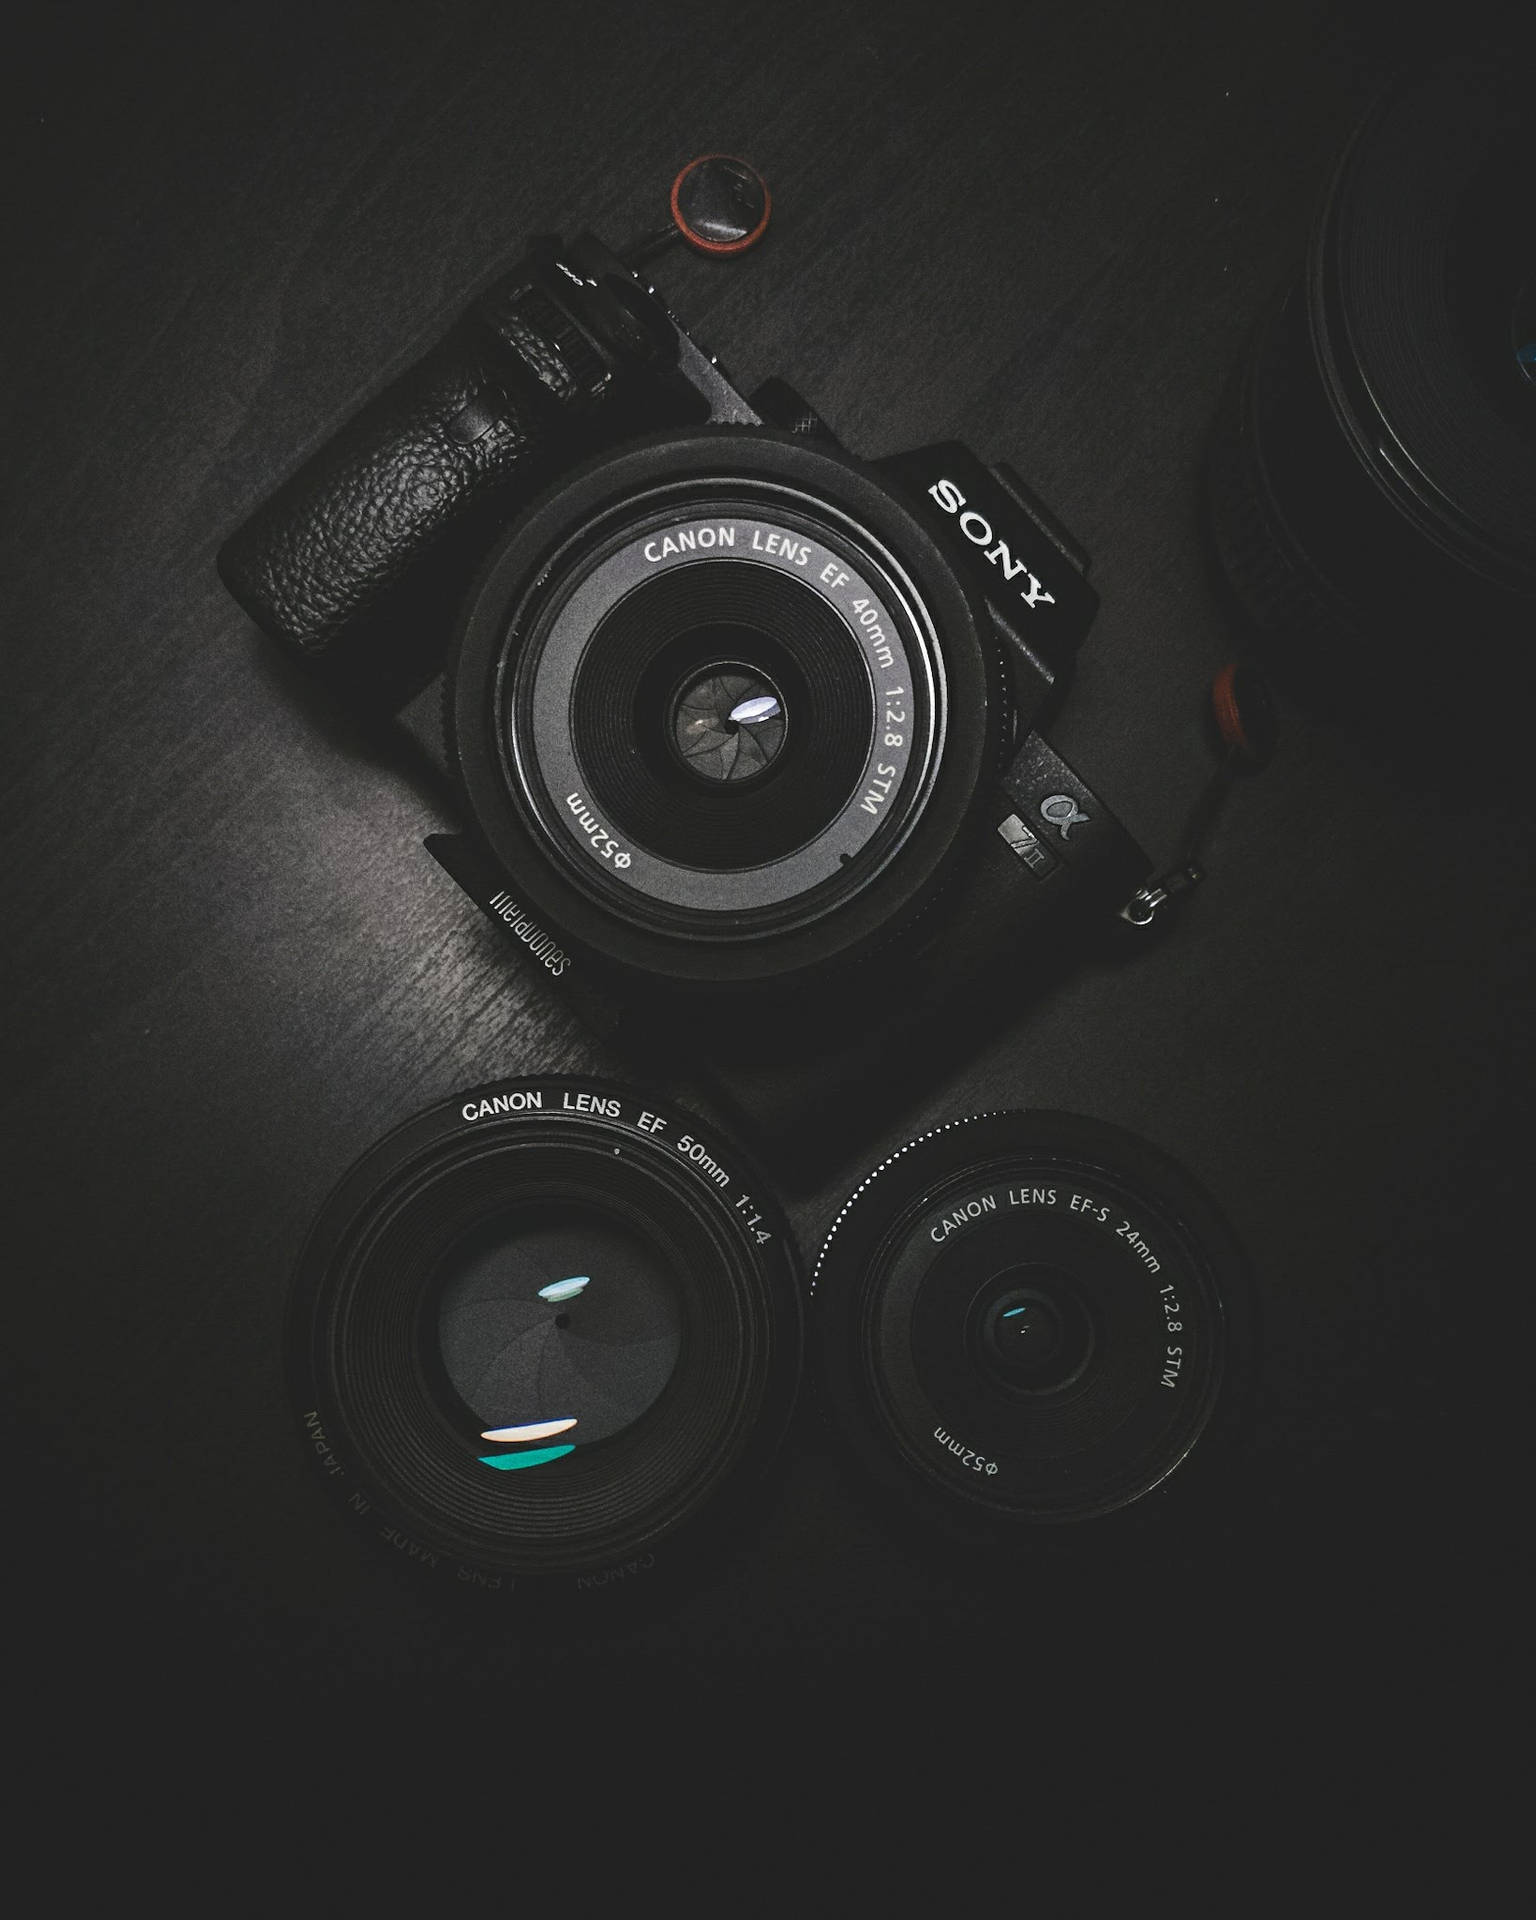
Sony camera and Canon lenses on dark wood surface — Photography Wallpaper -

Black iron fence with ball finials in a sunlit park setting. — Photography Wallpaper - Next page
Showing 1–60 of 3,336 wallpapers
Part of the Cool Pictures Collection
402 categoriesA thematic collection across wallpapers, backgrounds, pictures, SVG and PNG.
